If you use iCloud+, you can utilize a custom domain—a feature that's often overlooked. While maintaining the domain incurs separate costs, once you complete the setup, you can use your custom domain for email. Here are the steps to do so.
Using a Custom Email Domain with iCloud Mail
2025-10-20
Custom email domain
This feature allows you to use a custom domain with your iCloud account. The following restrictions apply:
- Up to 5 custom domains
- Up to three personalized email addresses per domain
- Custom domains can be shared within family sharing groups.
- Domains can be shared with people outside your family sharing group (non-family sharing).
While it's primarily intended for personal use, for those like me who want to send and receive emails using a custom domain and primarily use Apple products like the iPhone, it feels like just the right service.
Detailed official procedures are summarized below.
Add a domain
The following preparations are required as a prerequisite for performing the task.
- An Apple Account with two-factor authentication enabled.
- Set up iCloud Mail on your device.
If the above settings are complete, the official procedure will proceed as follows.
Let's proceed with the process.
Enter the domain details
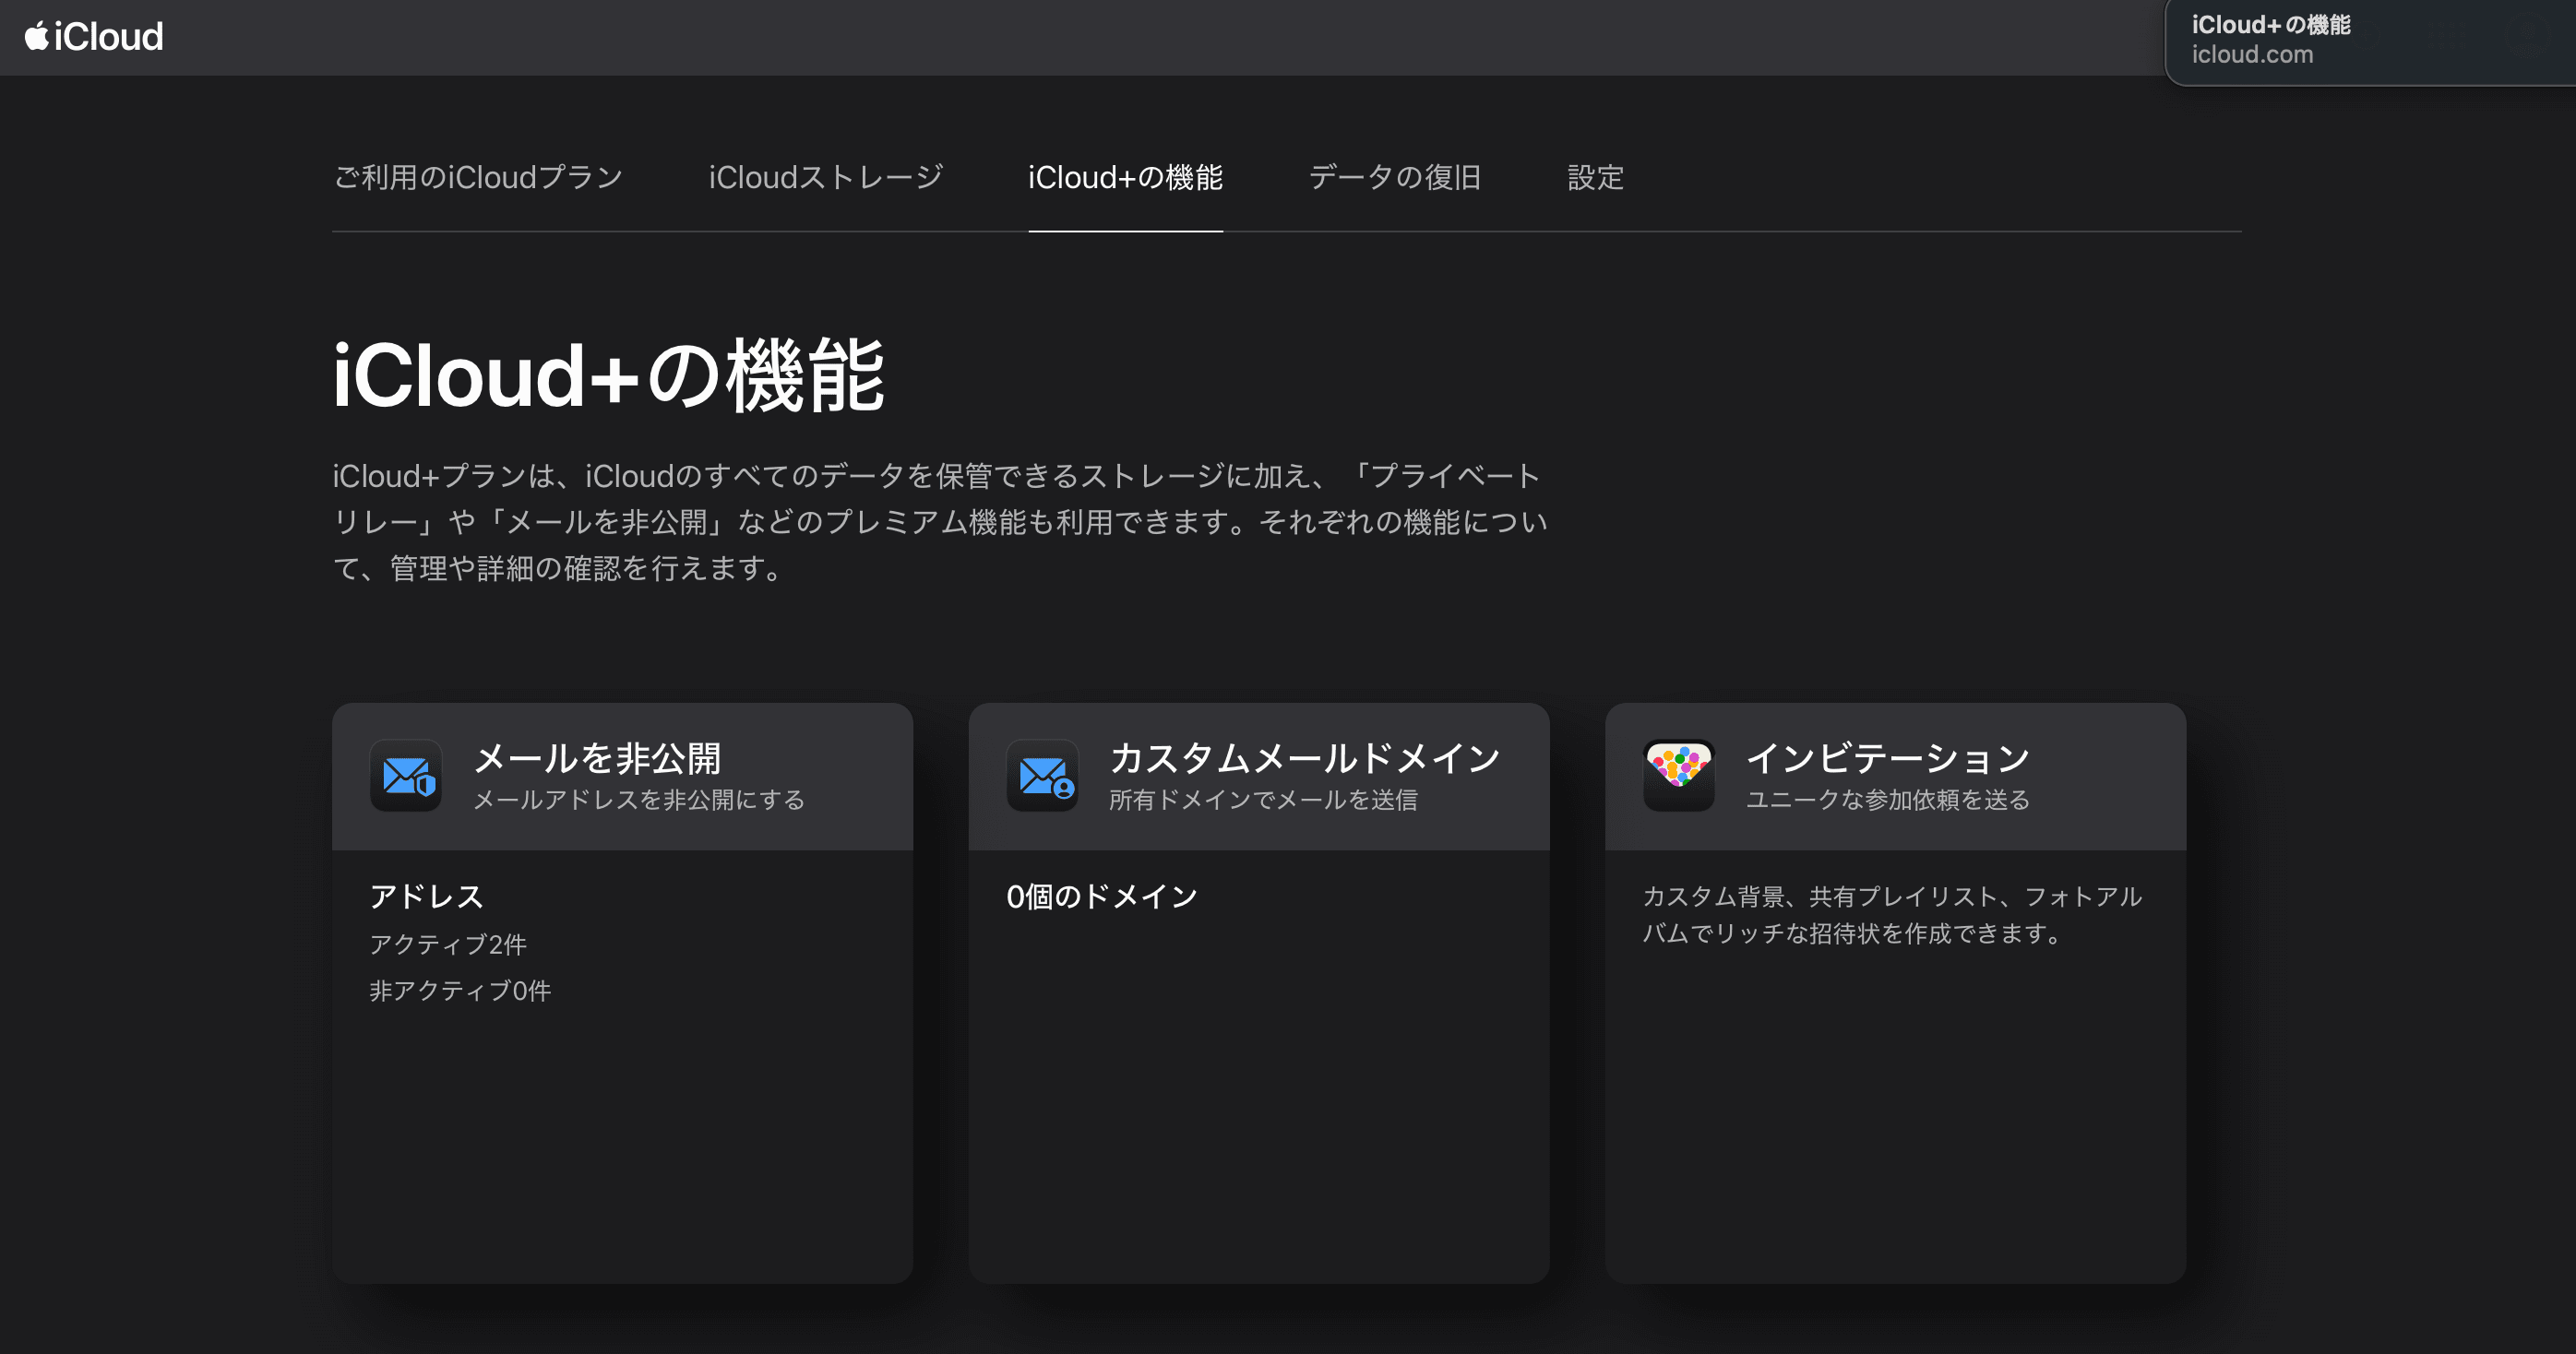
First, go to https://www.icloud.com/icloudplus. After logging in, you'll see a list of iCloud+ features like this. Click on the Custom Email Domain displayed in the middle.
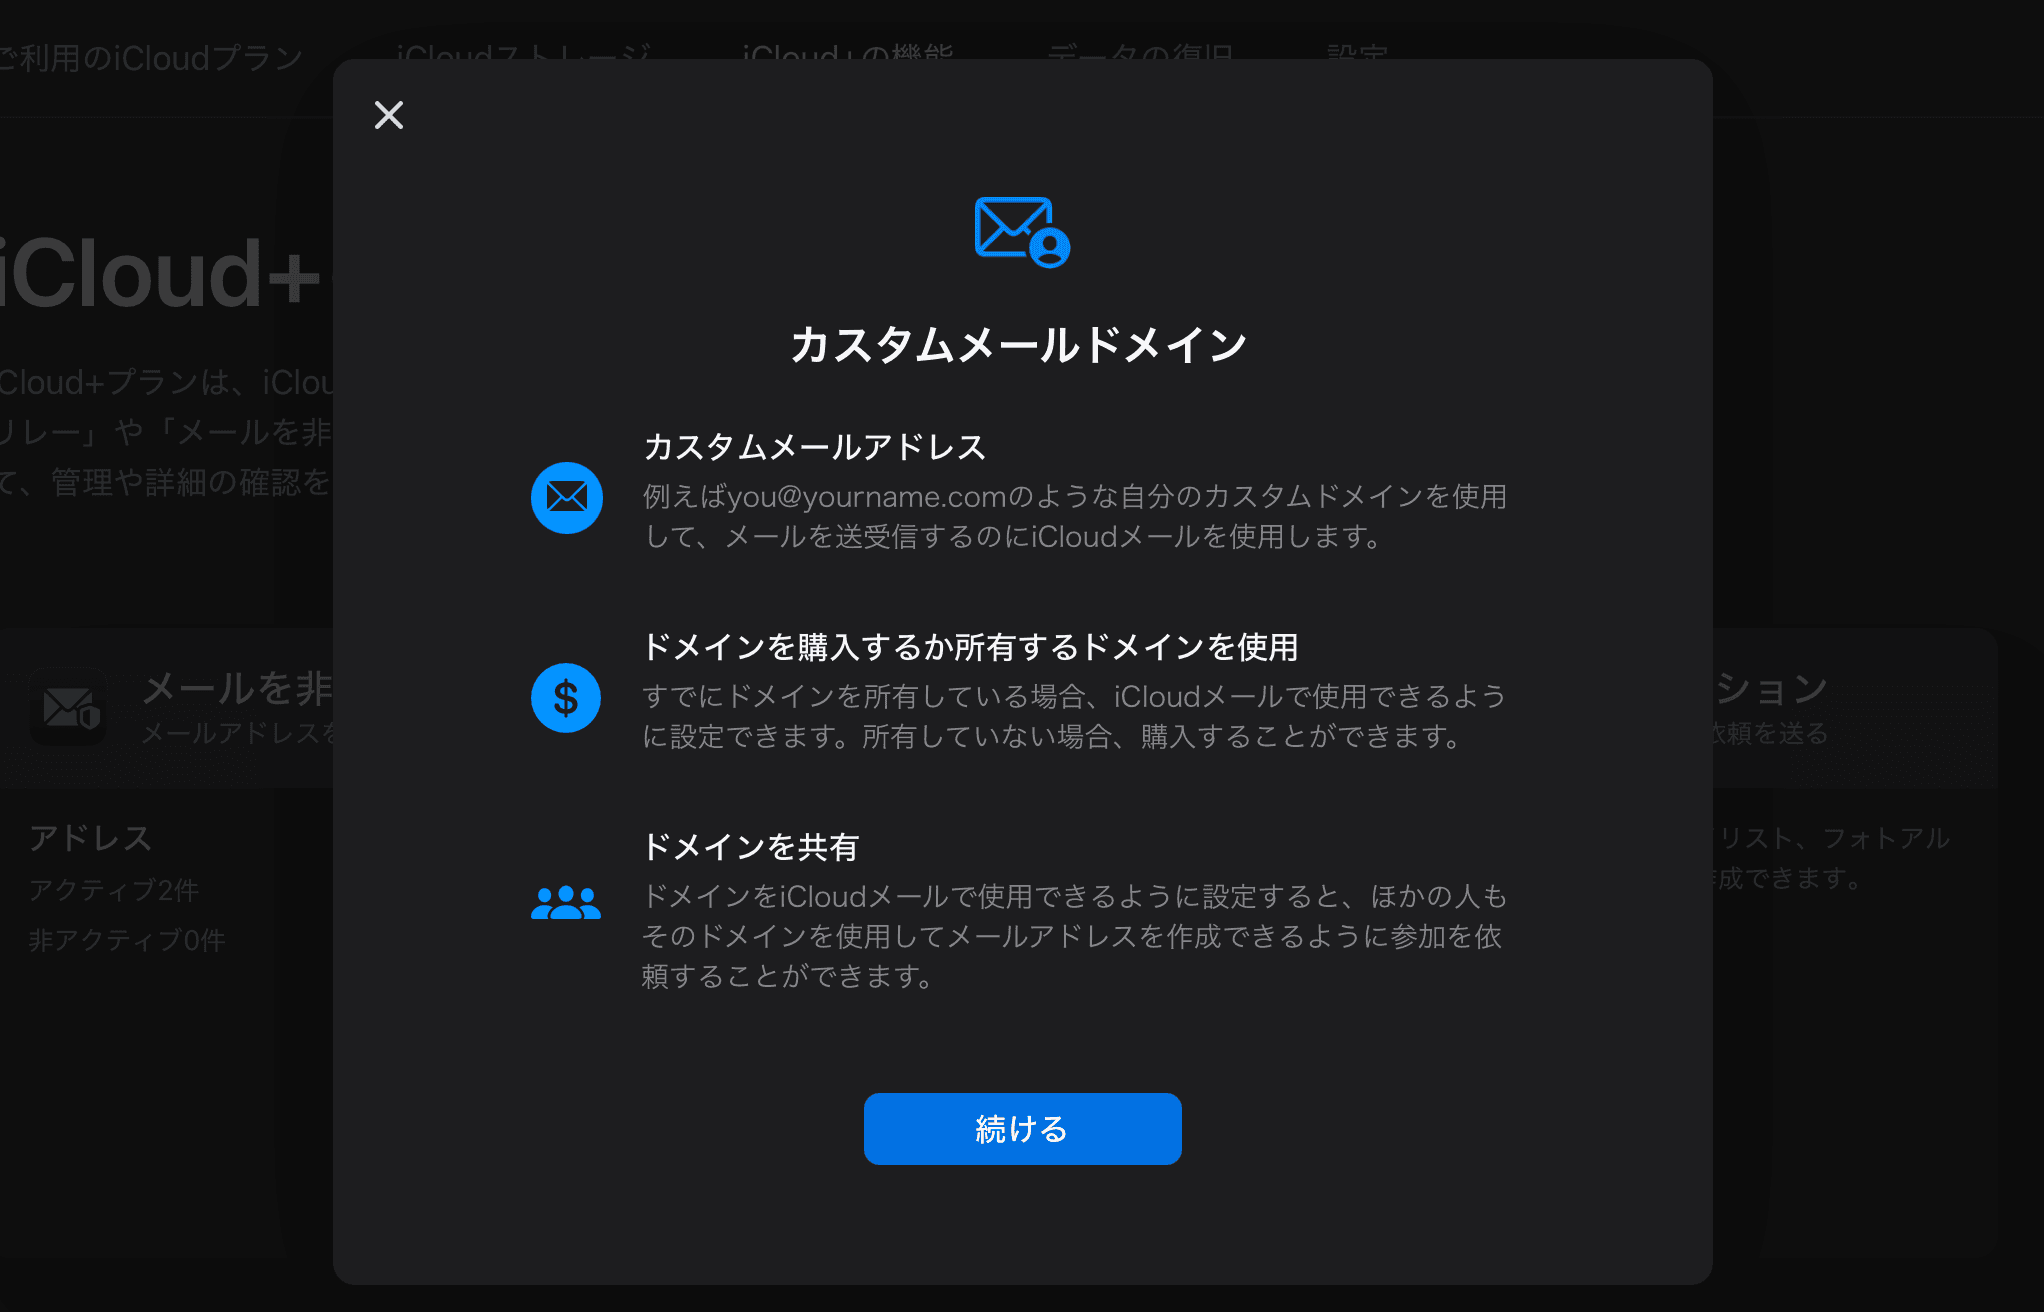
The explanation will be displayed, so please review it and click Continue.
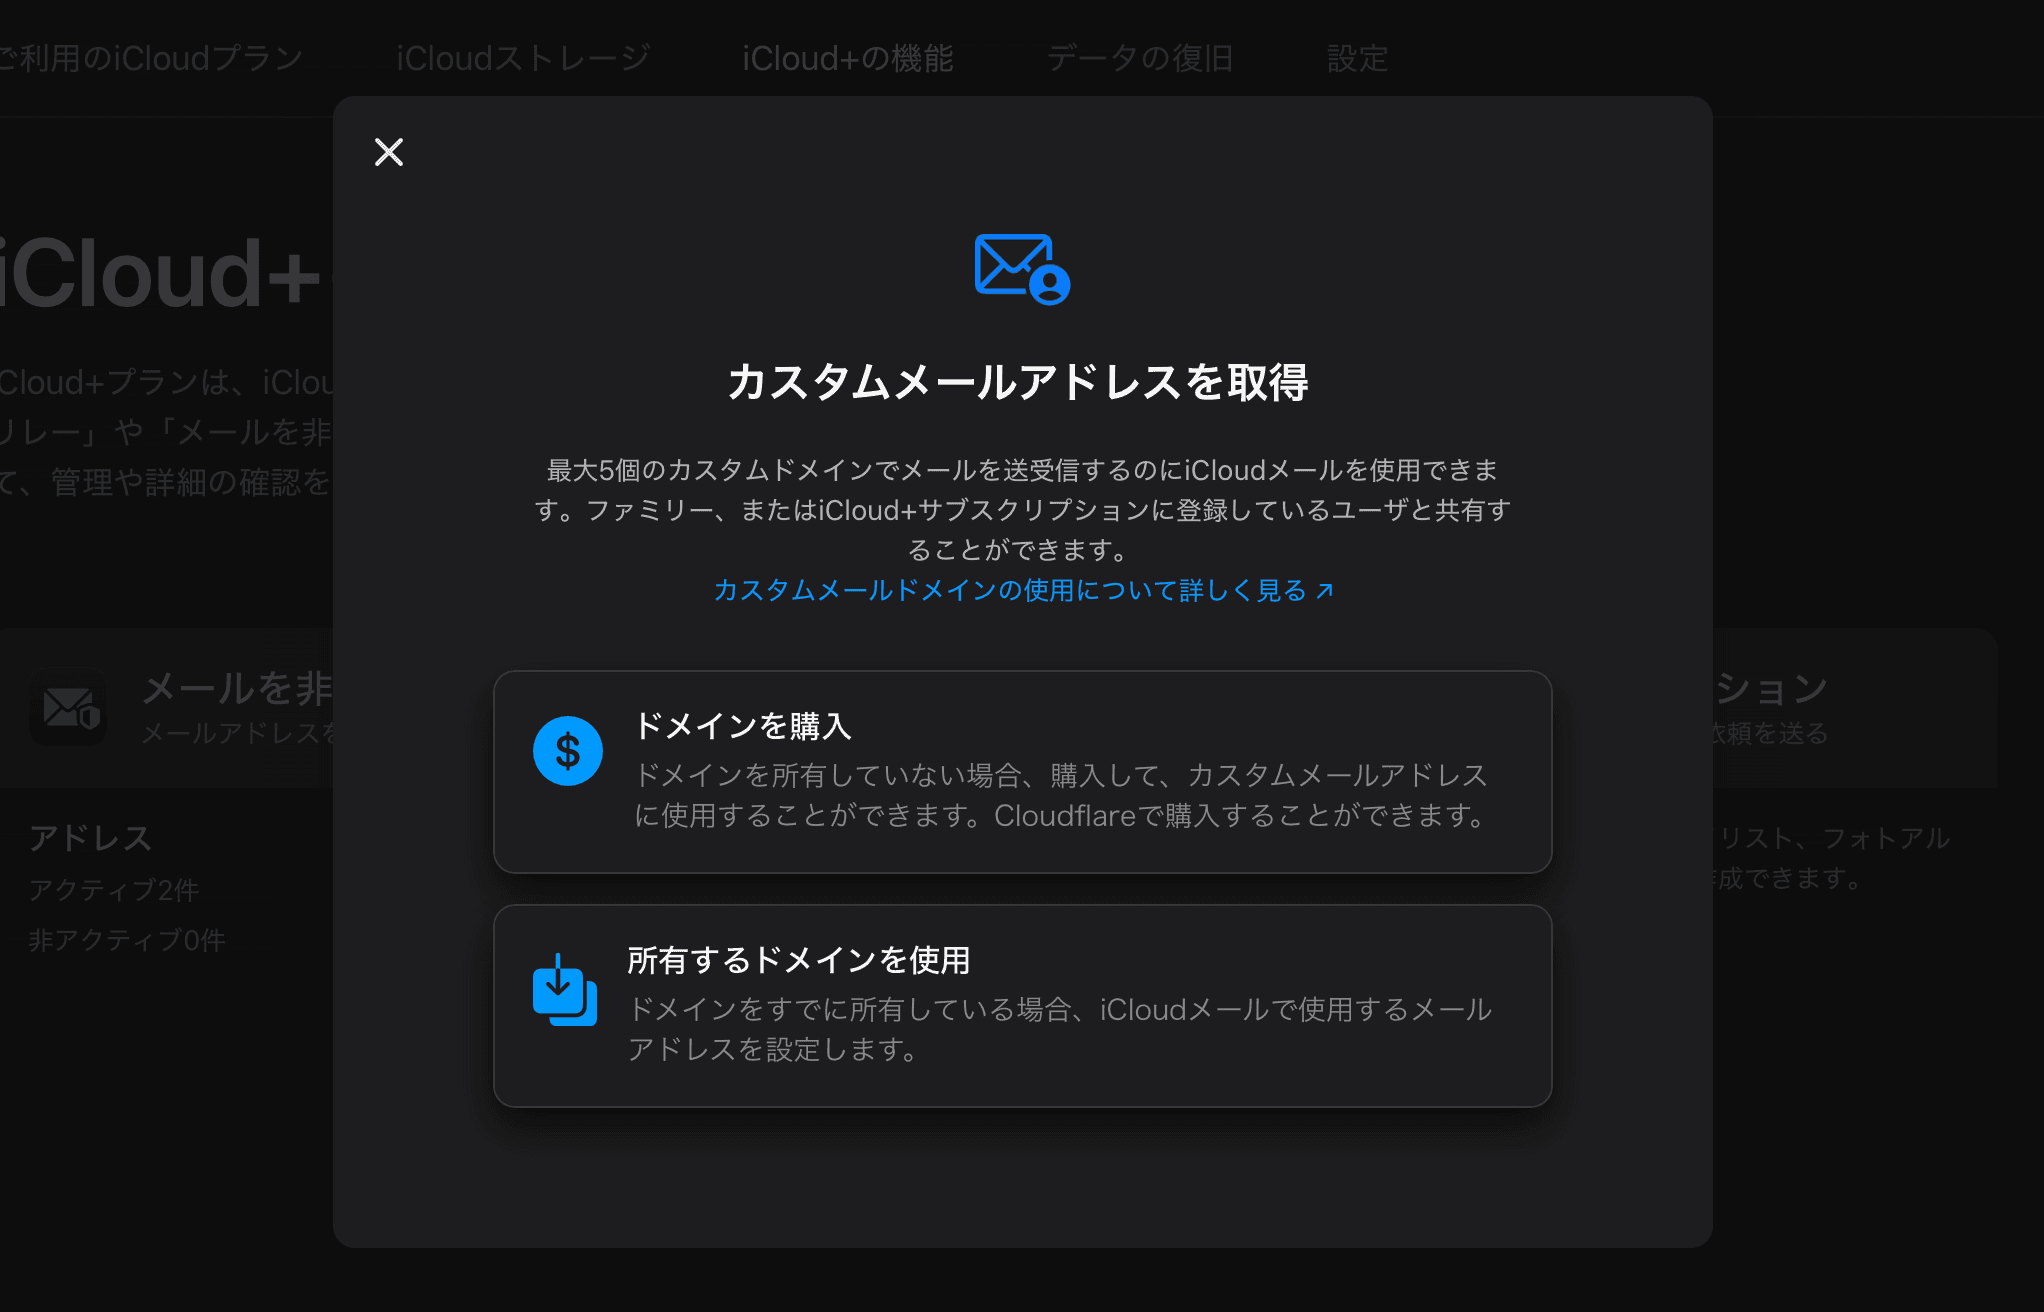
Since I already own the domain I want to use, I will select the option to use my own domain.
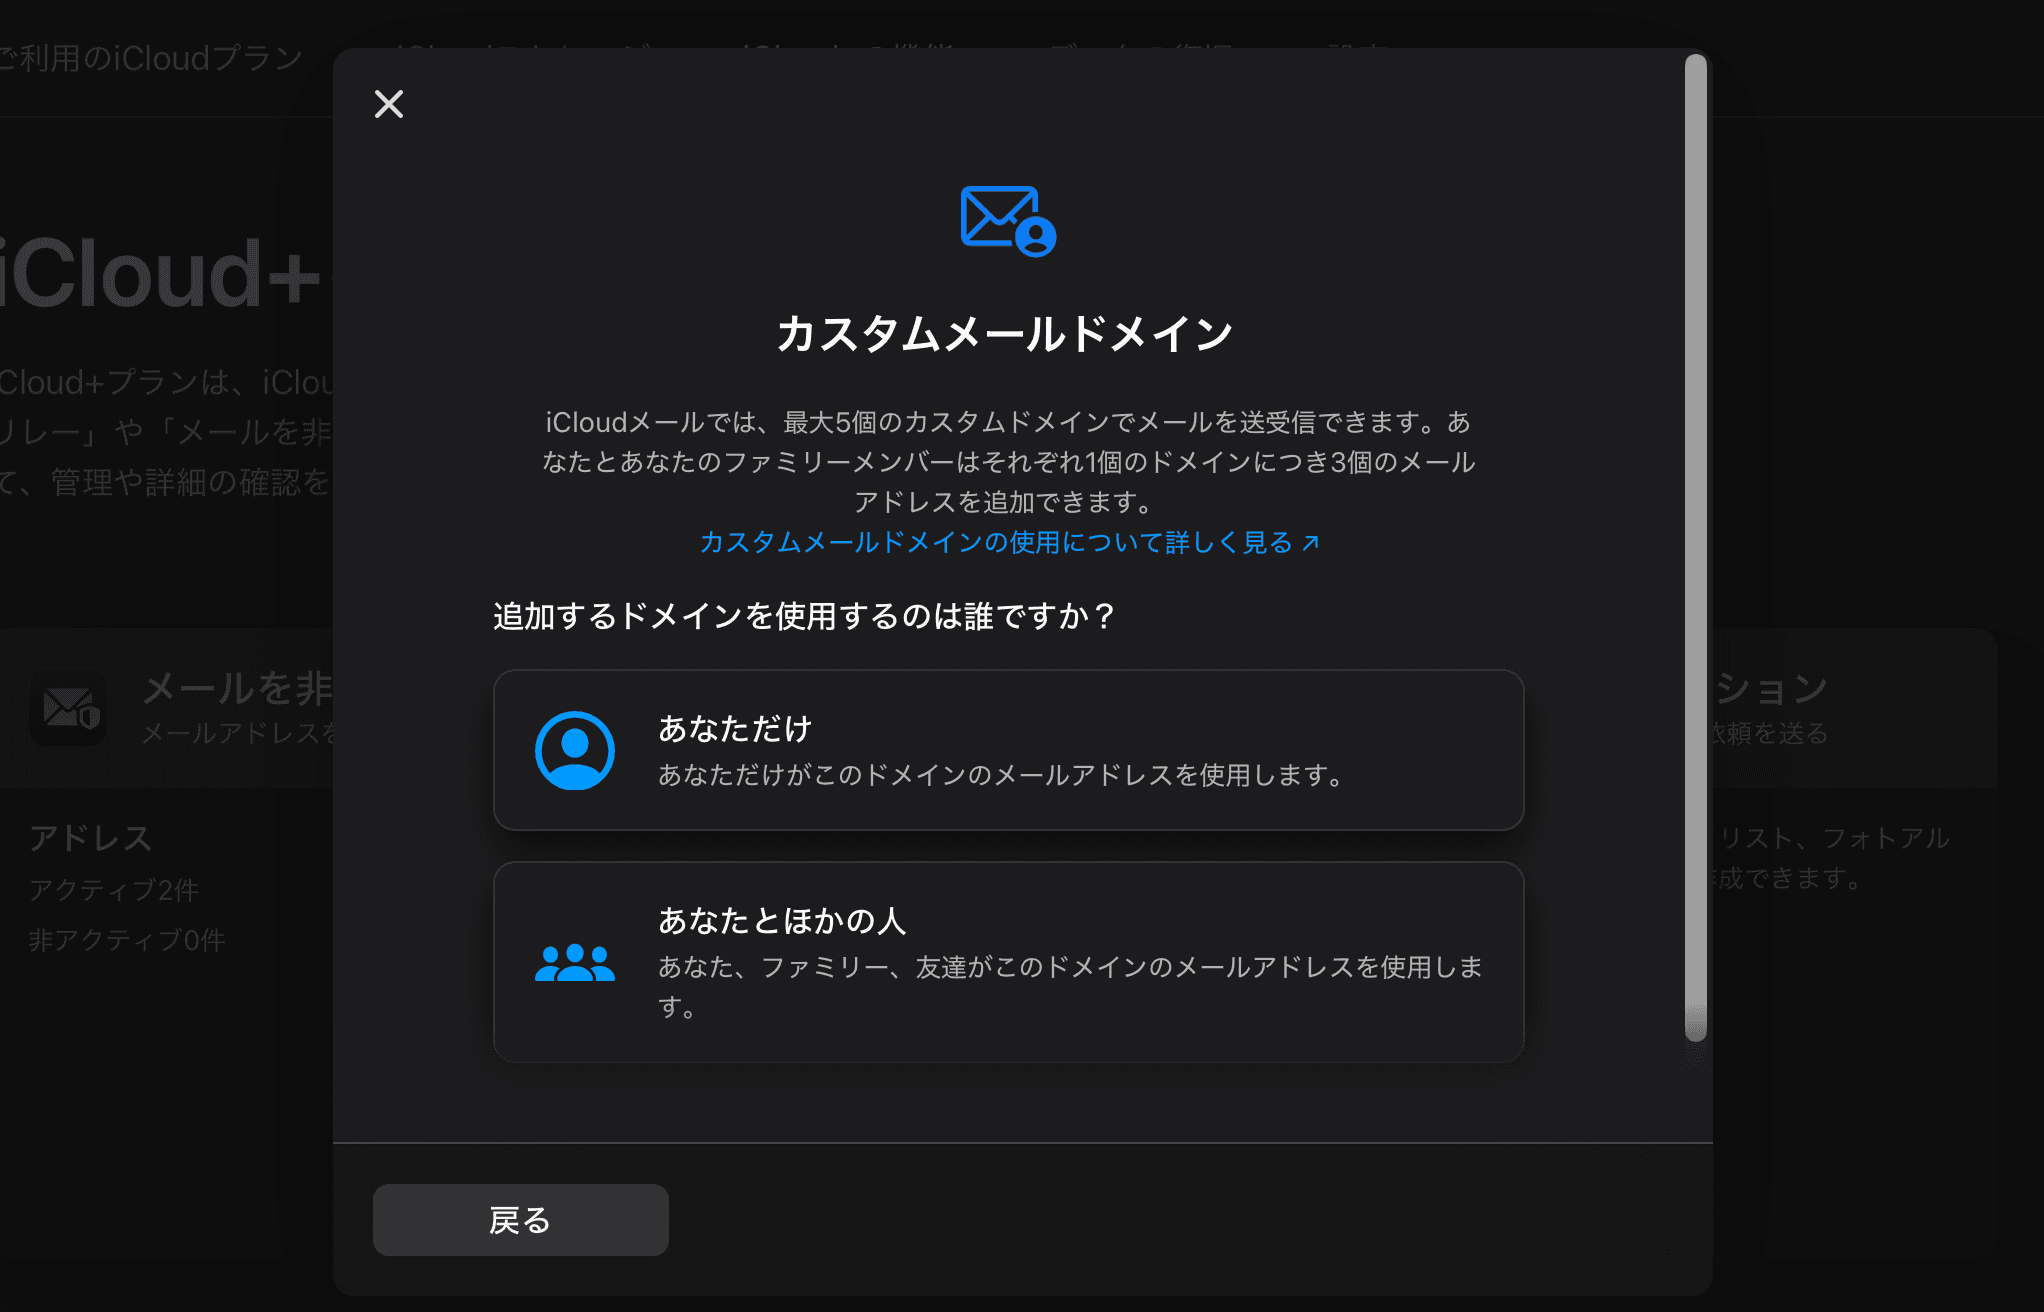
The scope for using a custom email domain will be displayed. Since family sharing is also a requirement this time, select "You and others" below.
Specify the domain name.
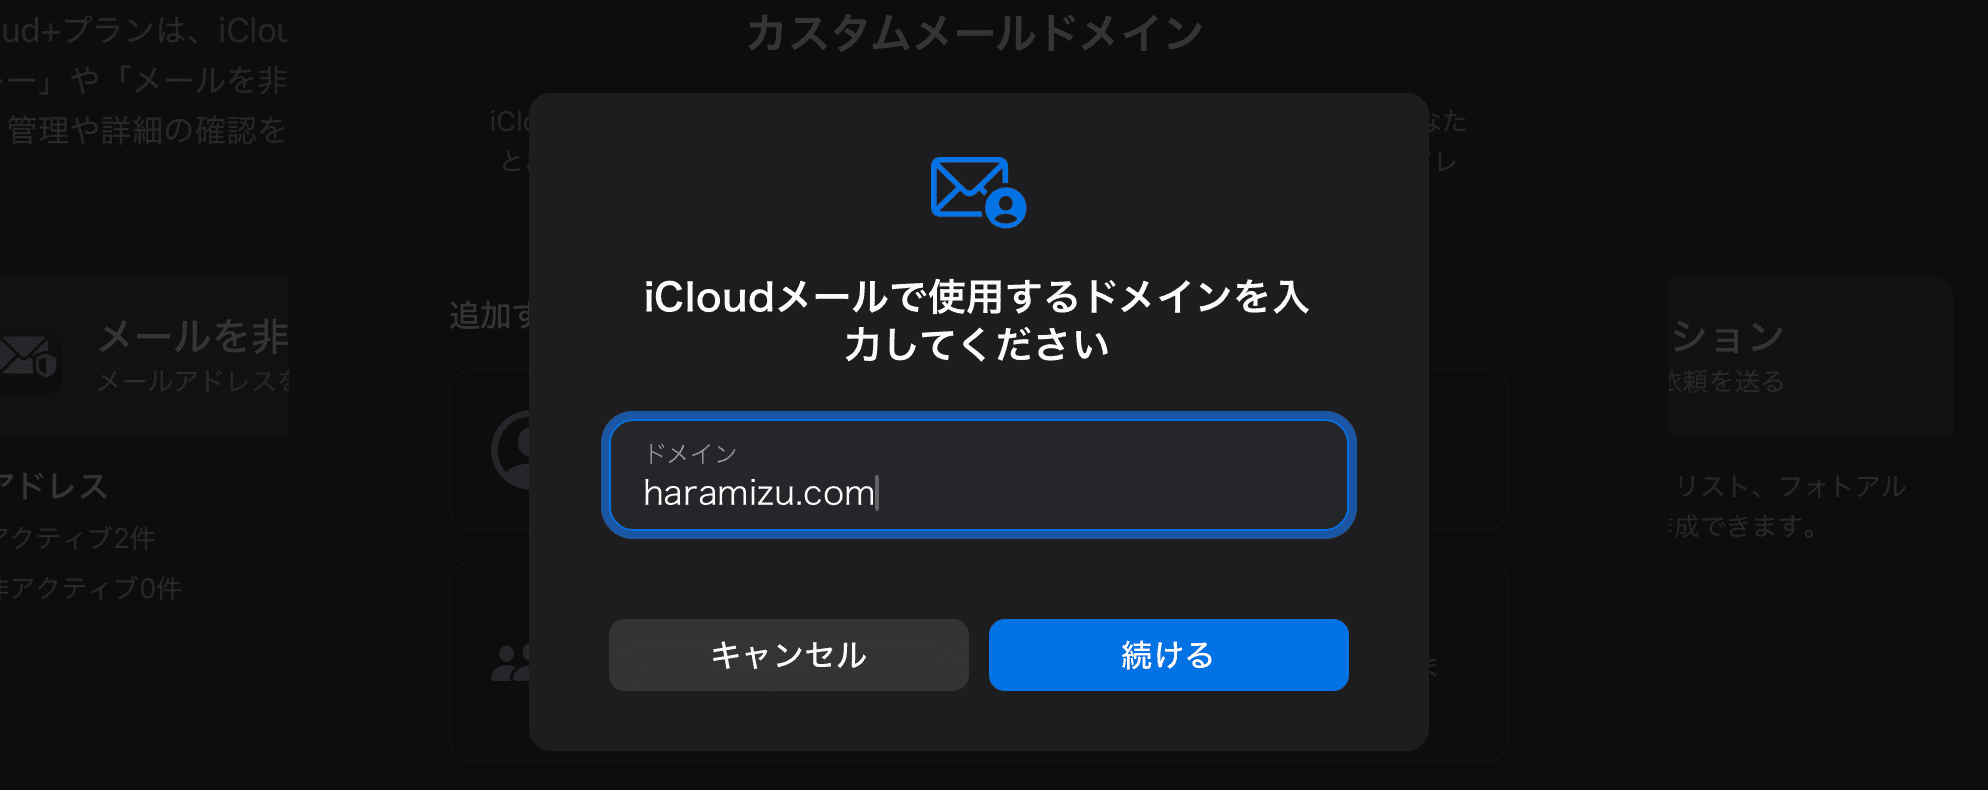
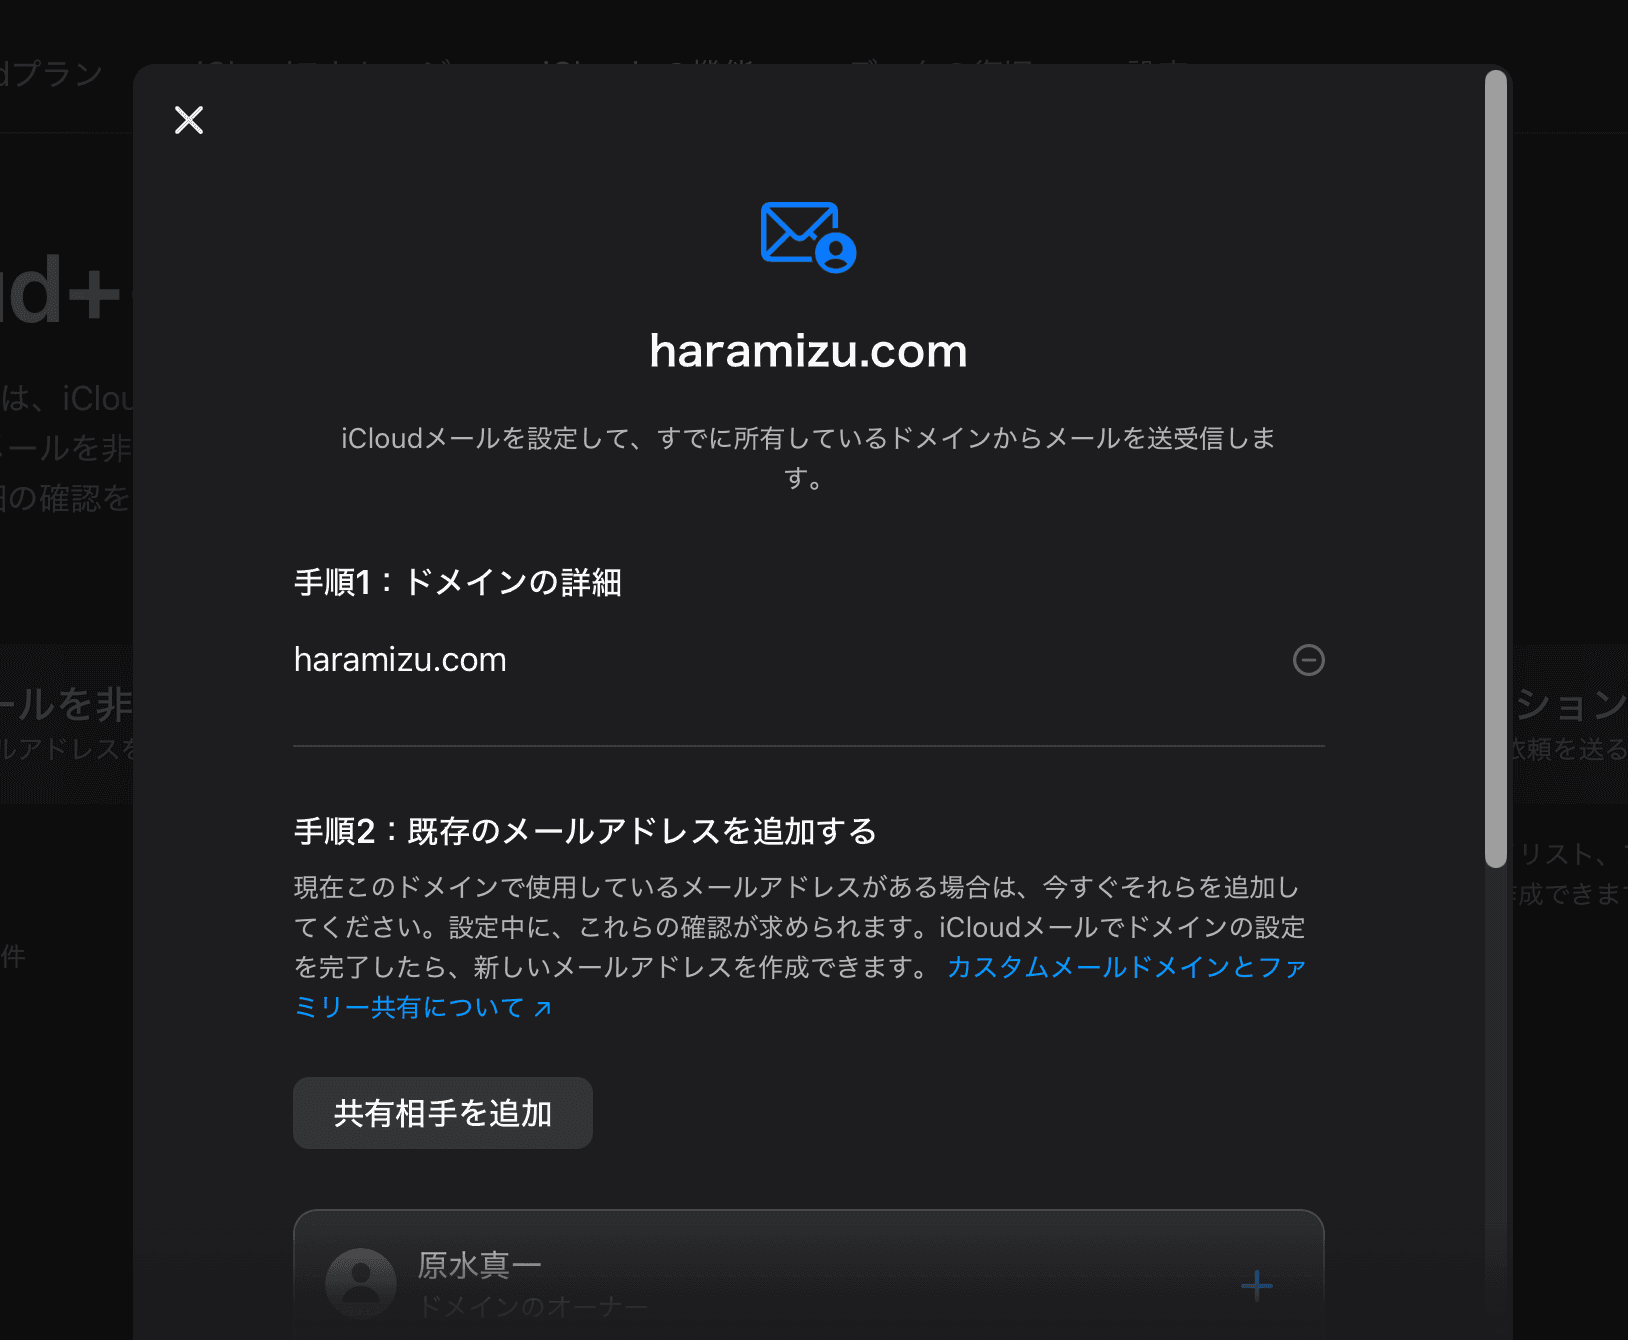
If you already have an email address associated with the relevant domain, a screen prompting you to specify it will appear. Please enter it as needed.
After completing your input, click the button at the bottom of the dialog to proceed.
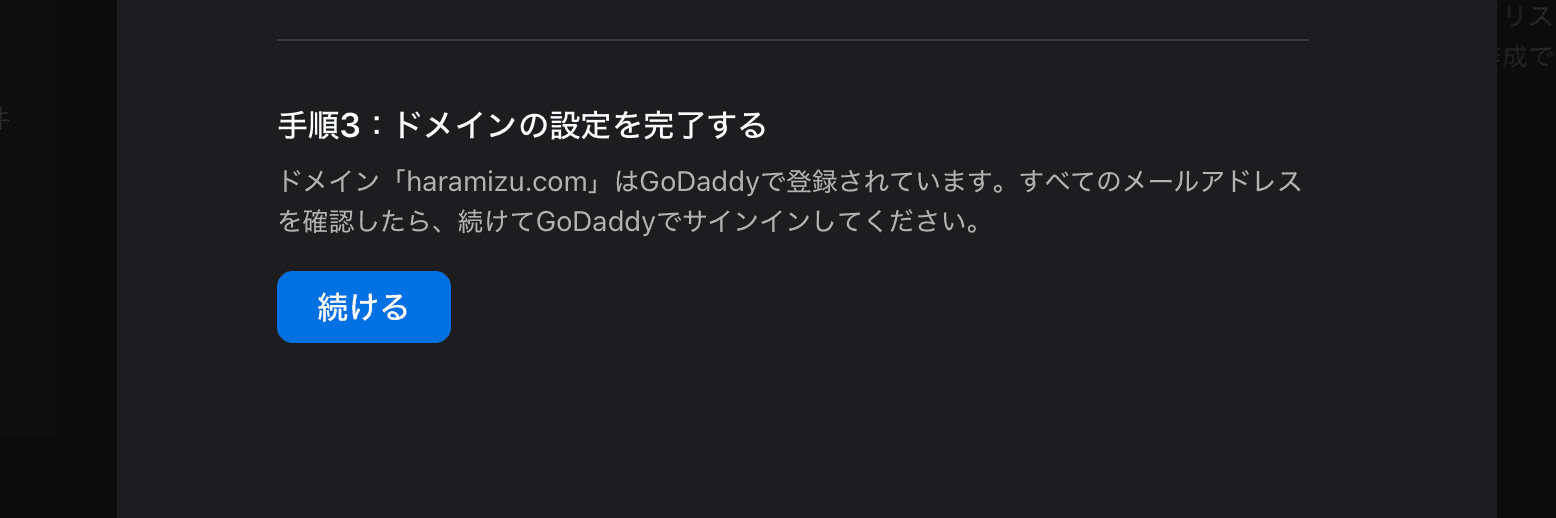
A pop-up dialog appears, displaying the GoDaddy login screen. After logging in, a confirmation prompt appeared asking whether to update the DNS. Actually, this domain had already been connected for testing with Google Workspaces beforehand, so this is essentially a switchover.
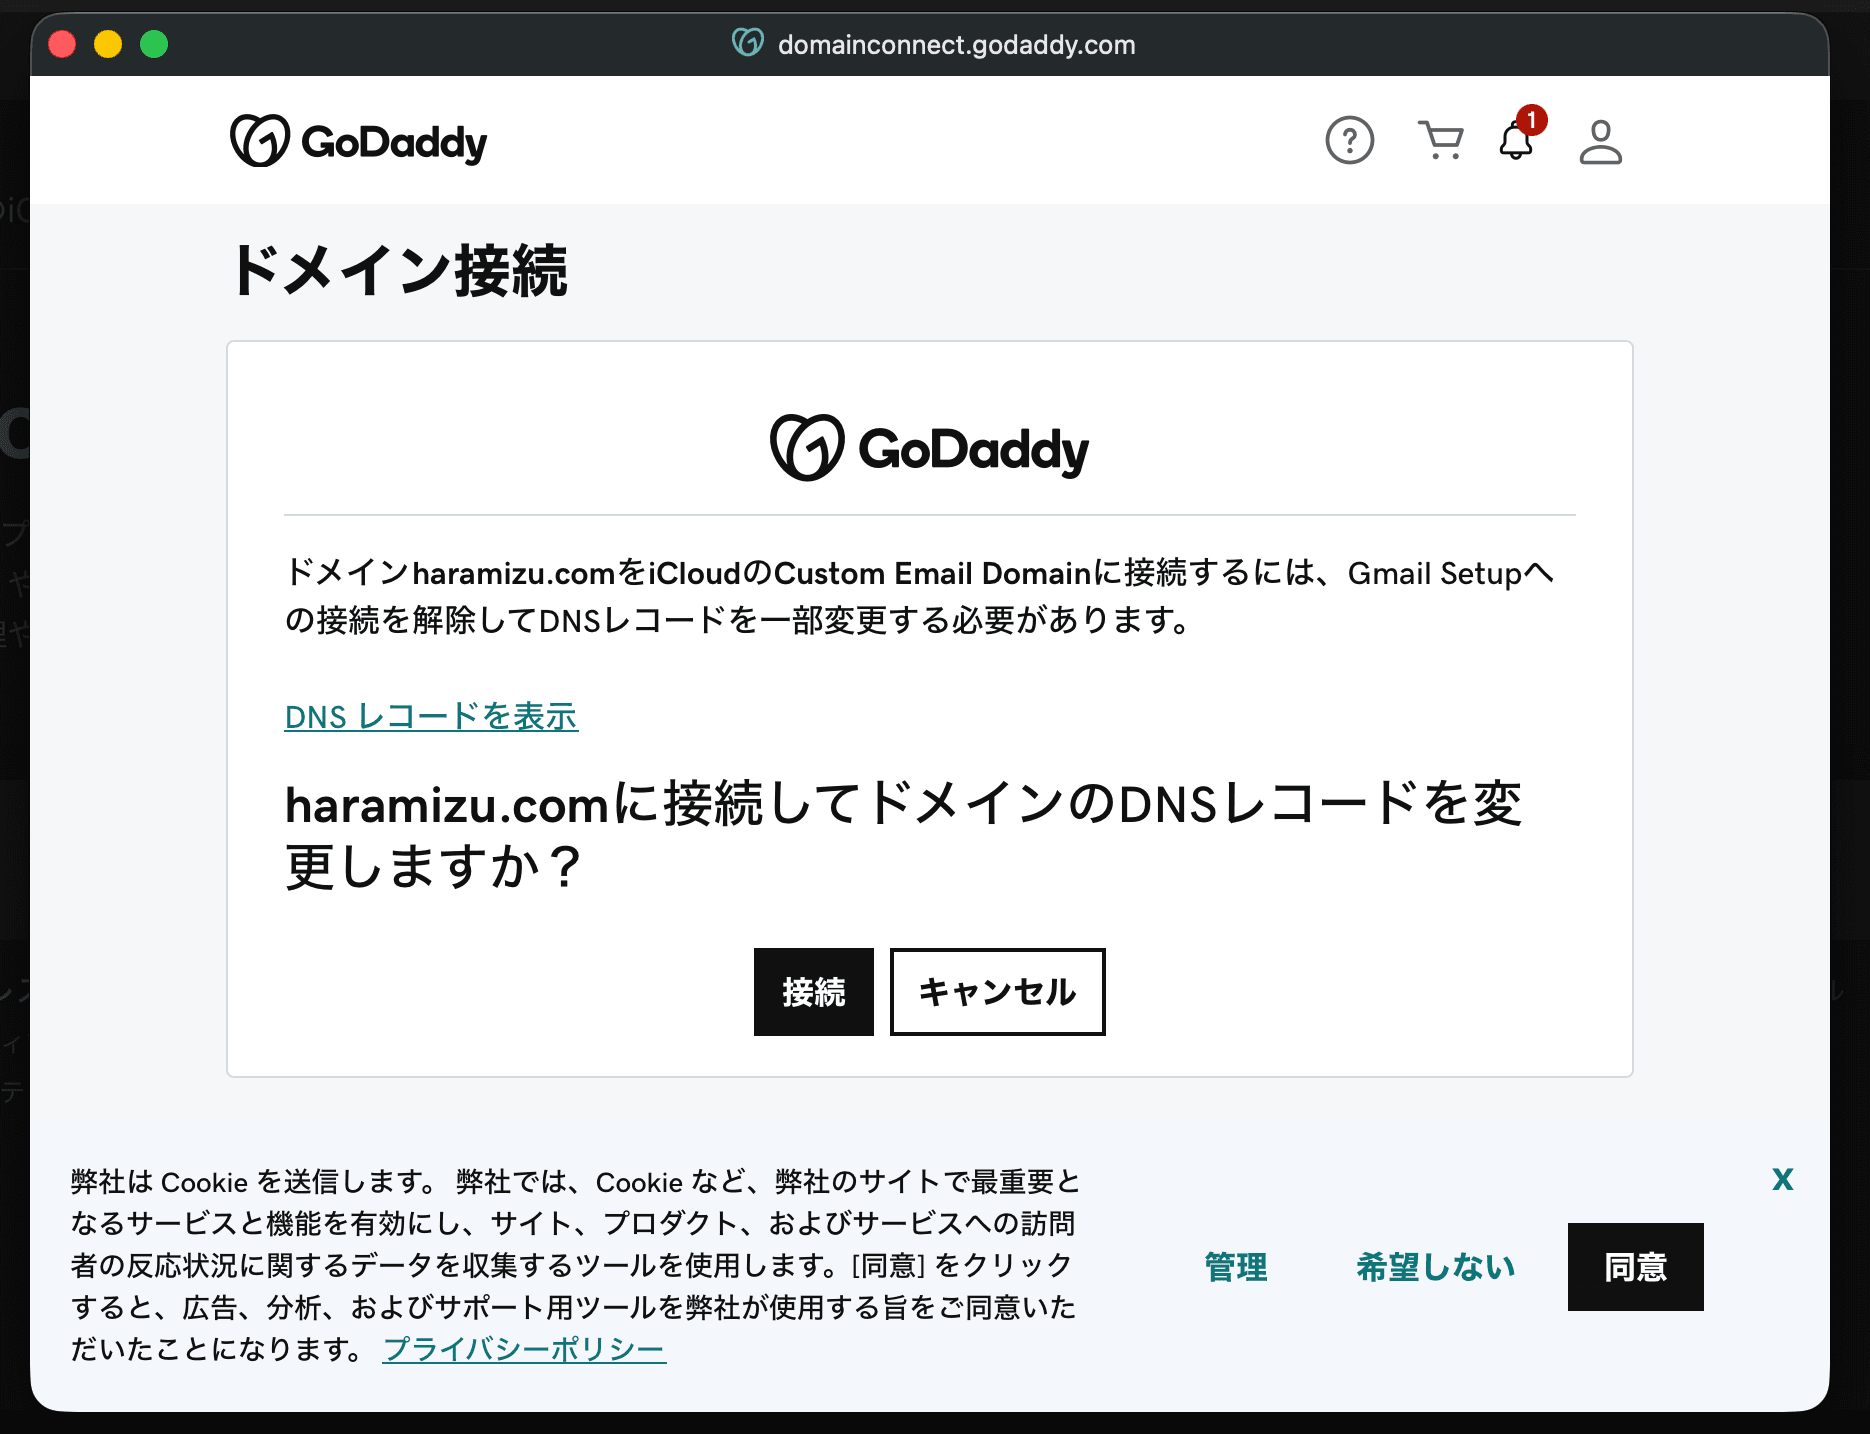
Clicking Connect will automatically update your DNS records.
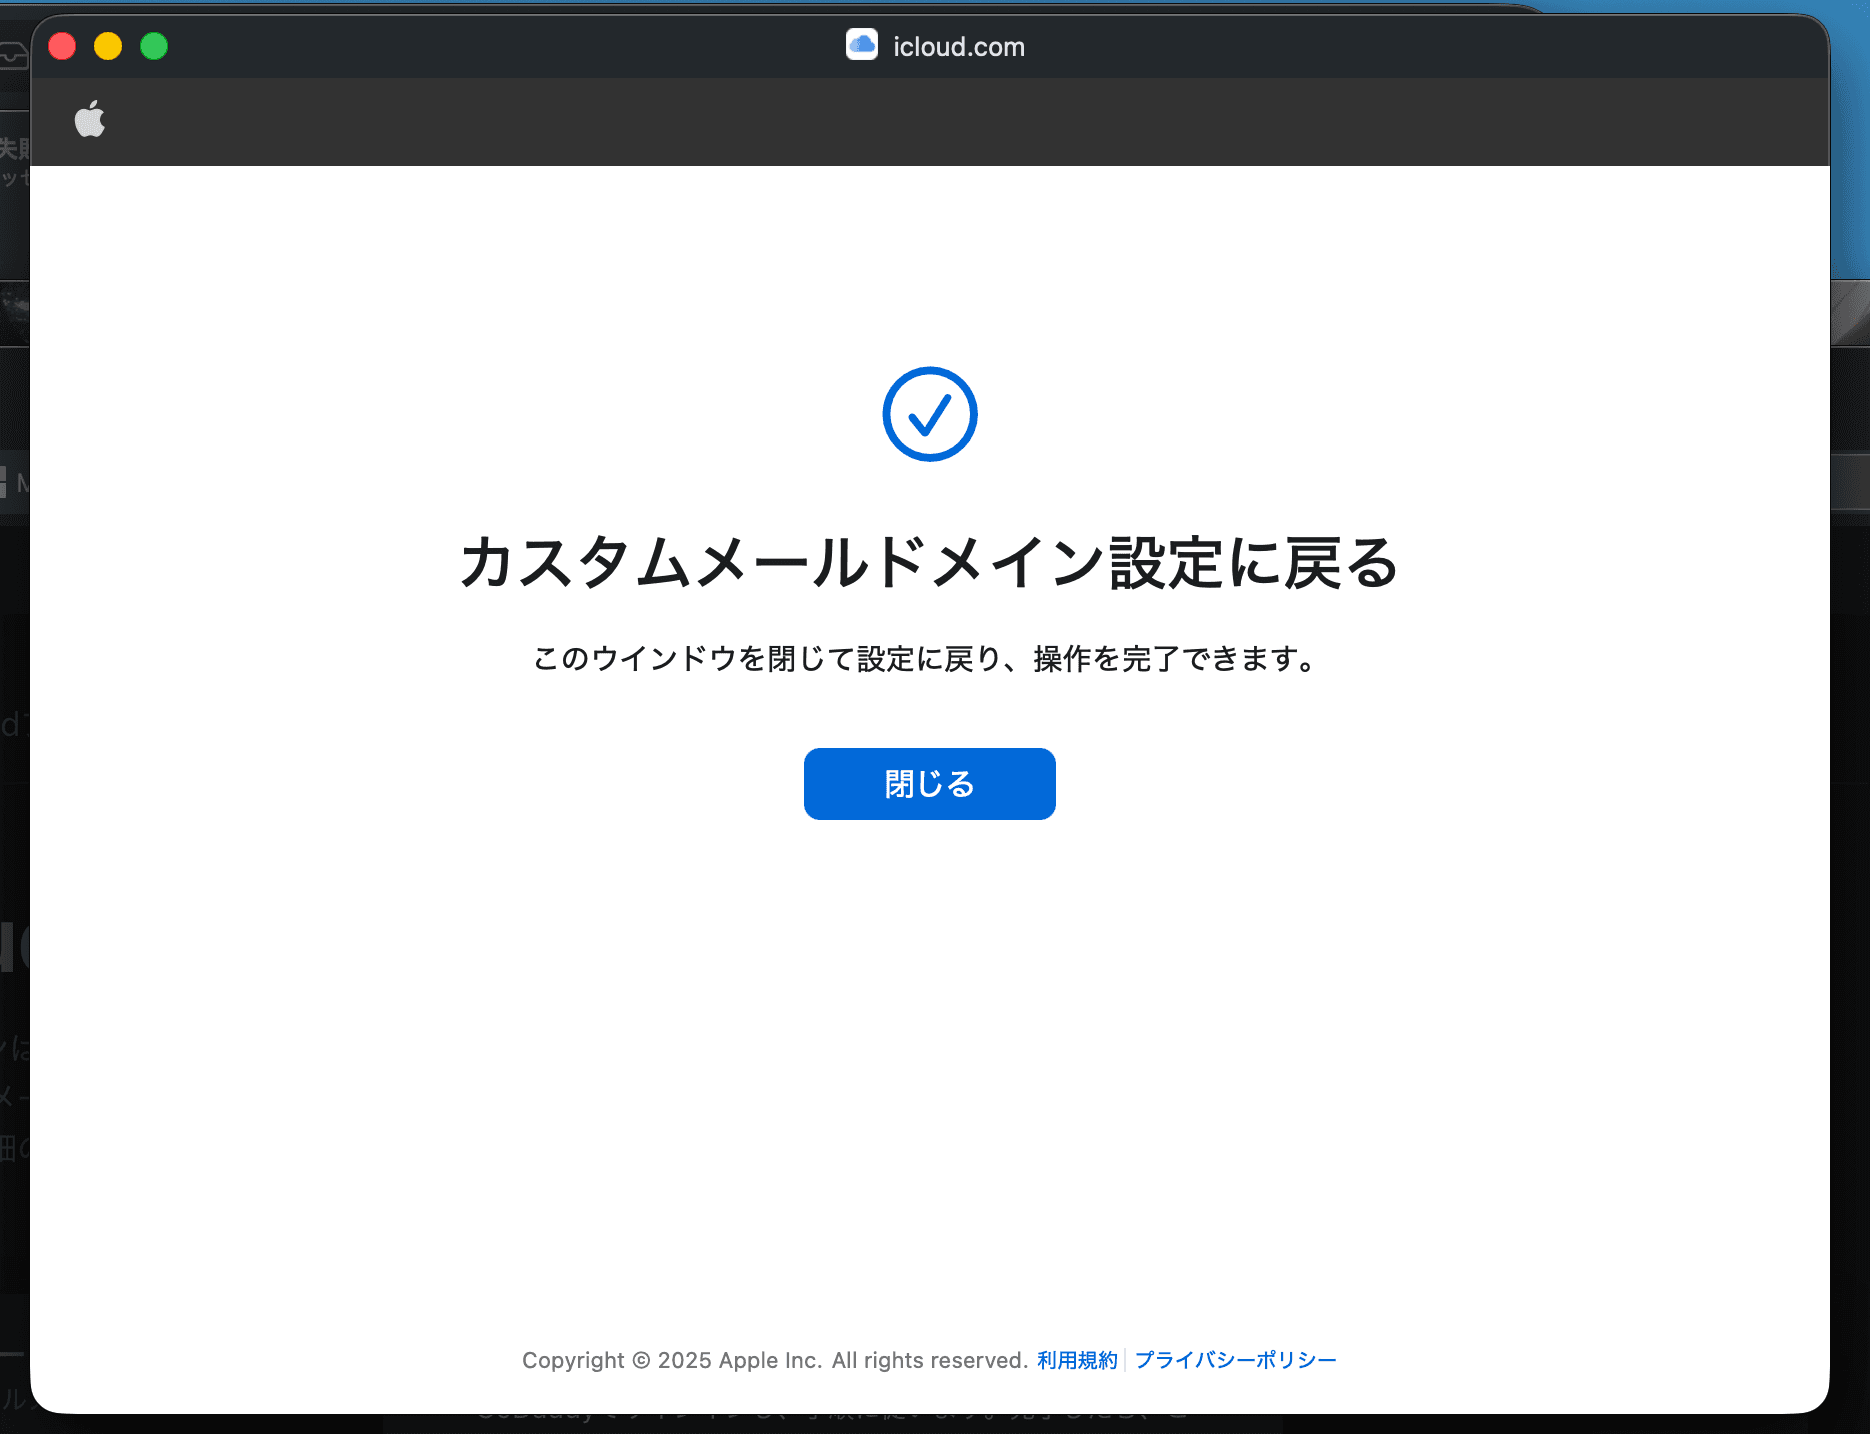
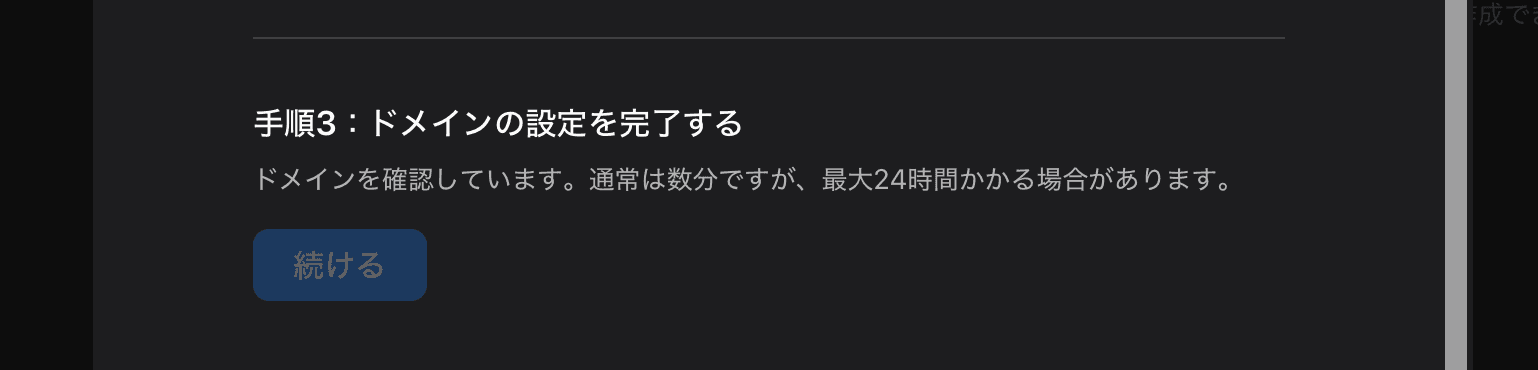
Upon returning to the admin panel, we are verifying the DNS update.
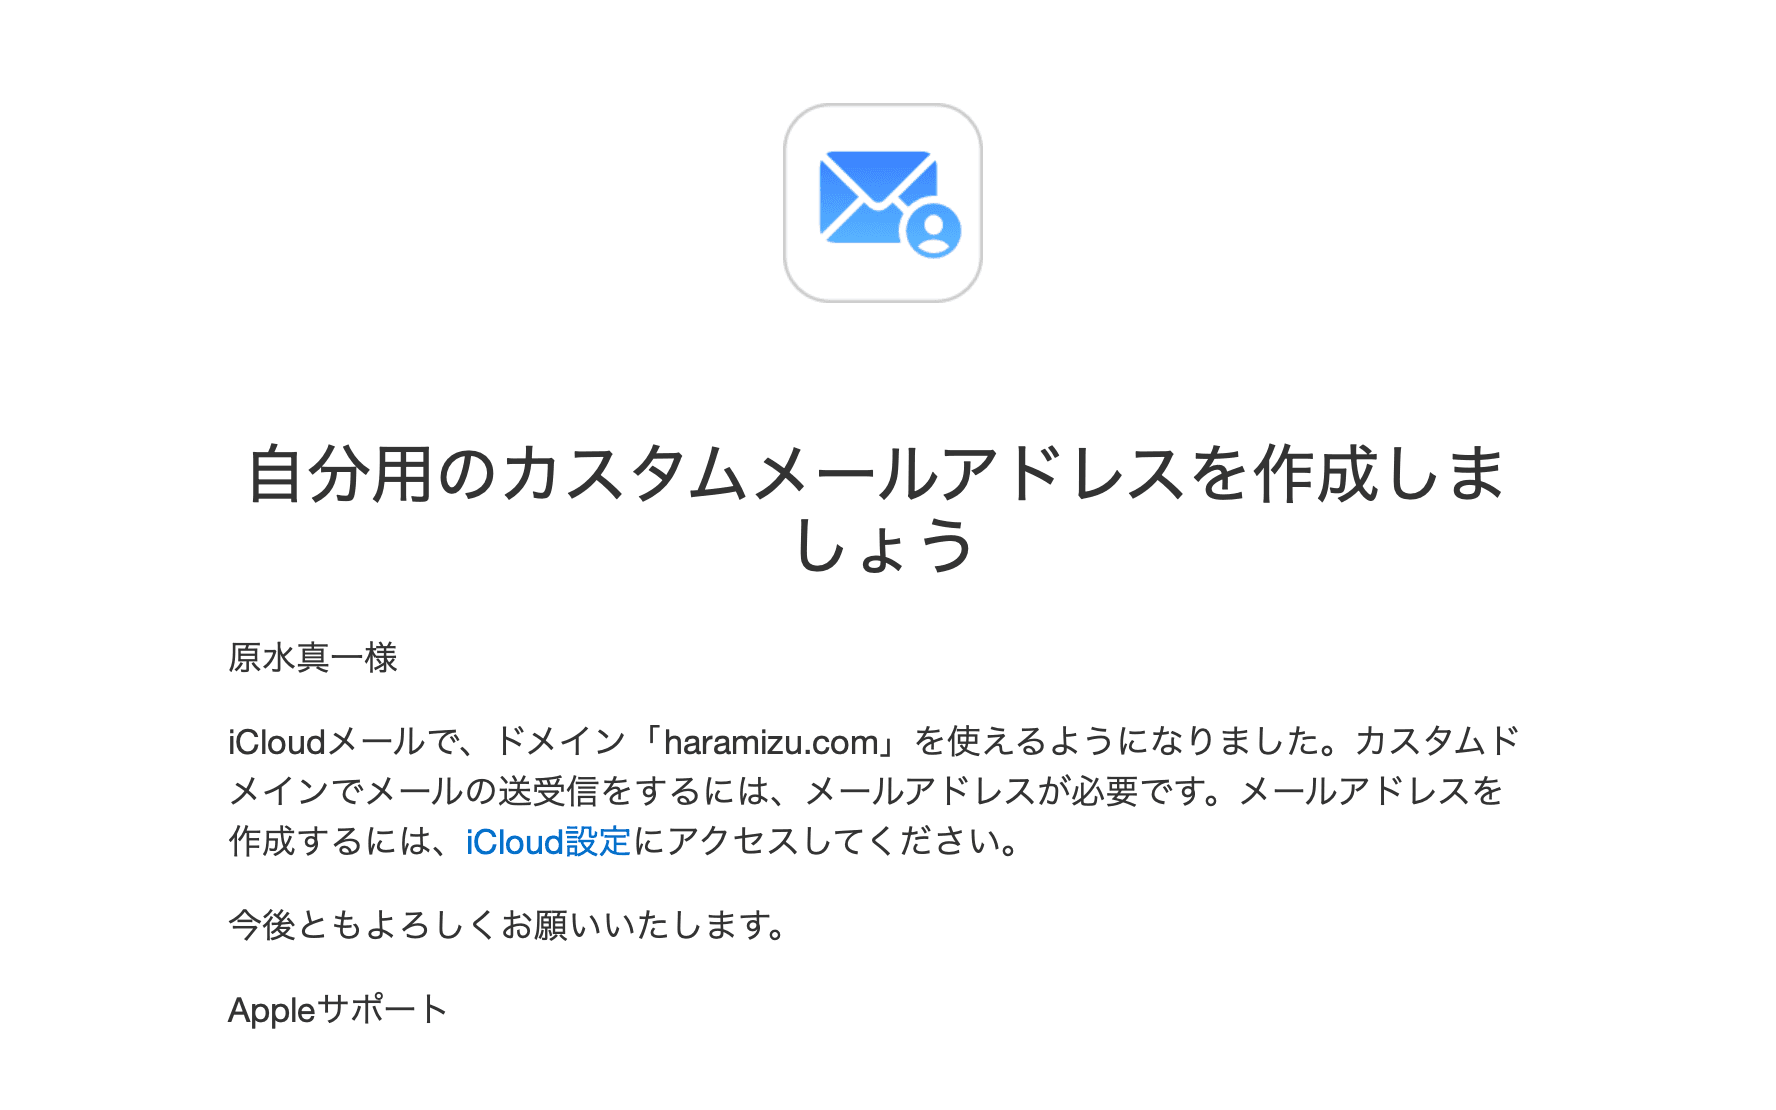
Upon completion, an email was received.
Regarding DNS, since I was using GoDaddy, it was very easy to set up. However, if you're using a registrar that isn't integrated, you'll see the DNS records and need to configure them yourself.
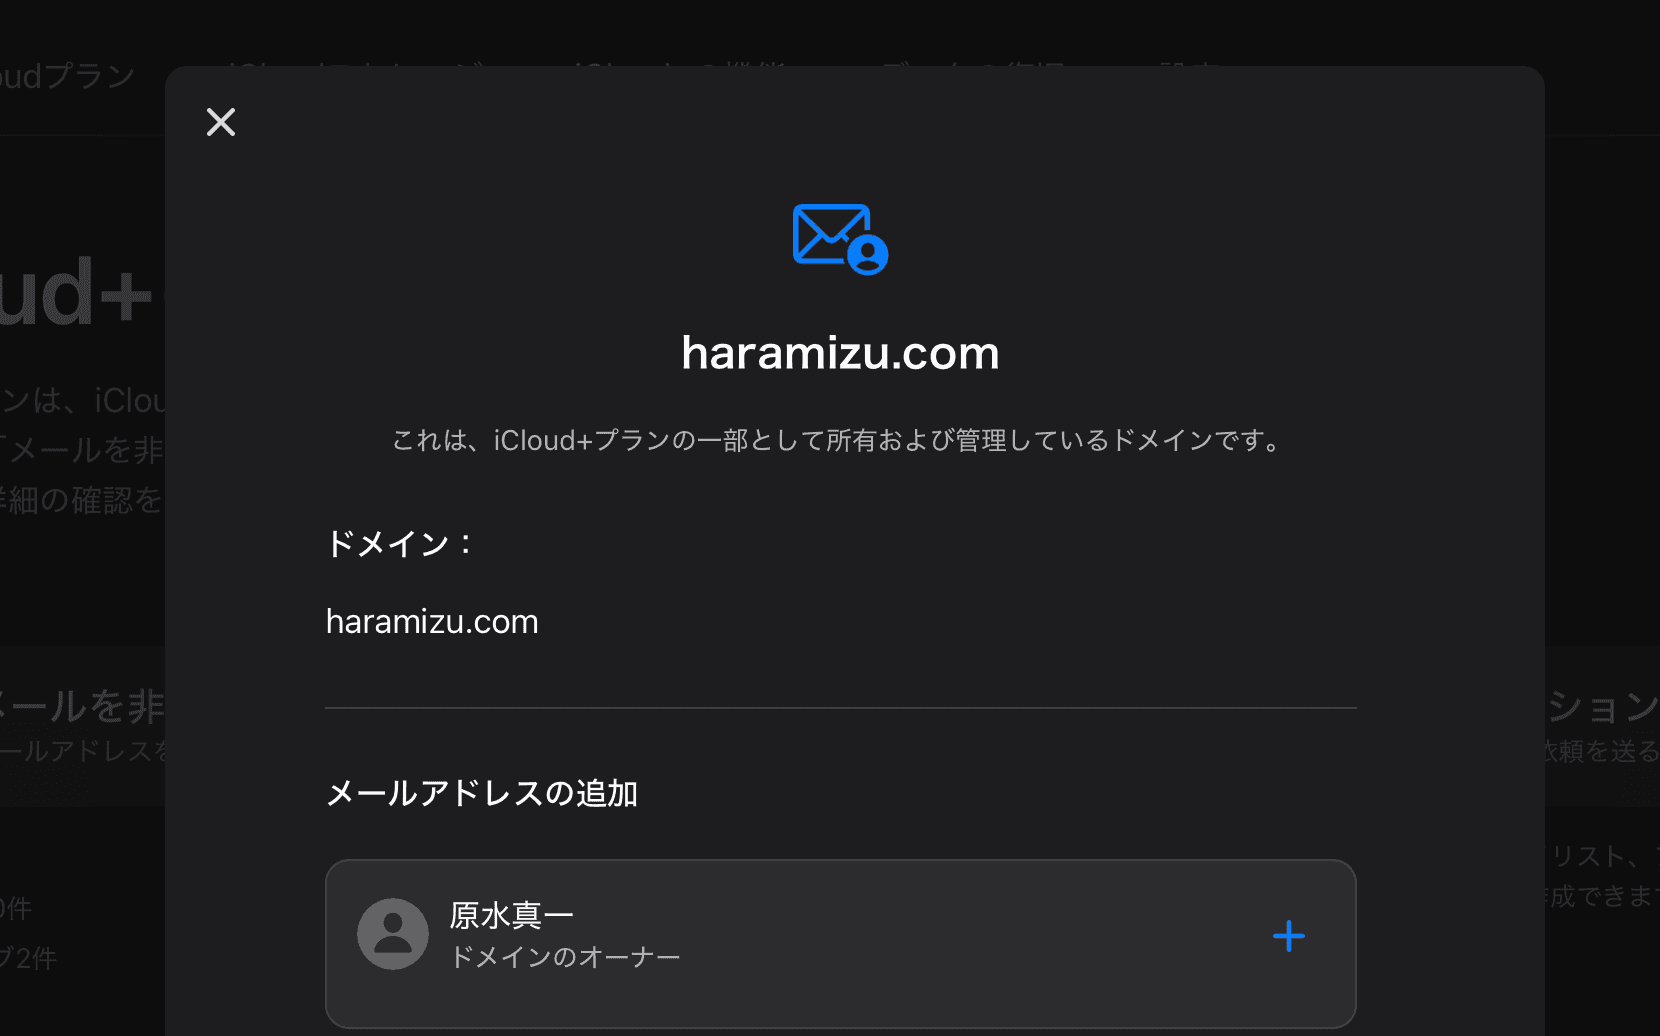
Confirmation of Usage Items
After completing the settings, several items related to the domain will be configured.
Add Email Address
In the email address management screen, you can add email addresses you wish to use. Of course, you cannot use the same email address as another user within the same domain.
Allow all incoming messages
This feature allows you to configure settings to receive emails from addresses in the format `support@`, even if you haven't actually created such an email address.
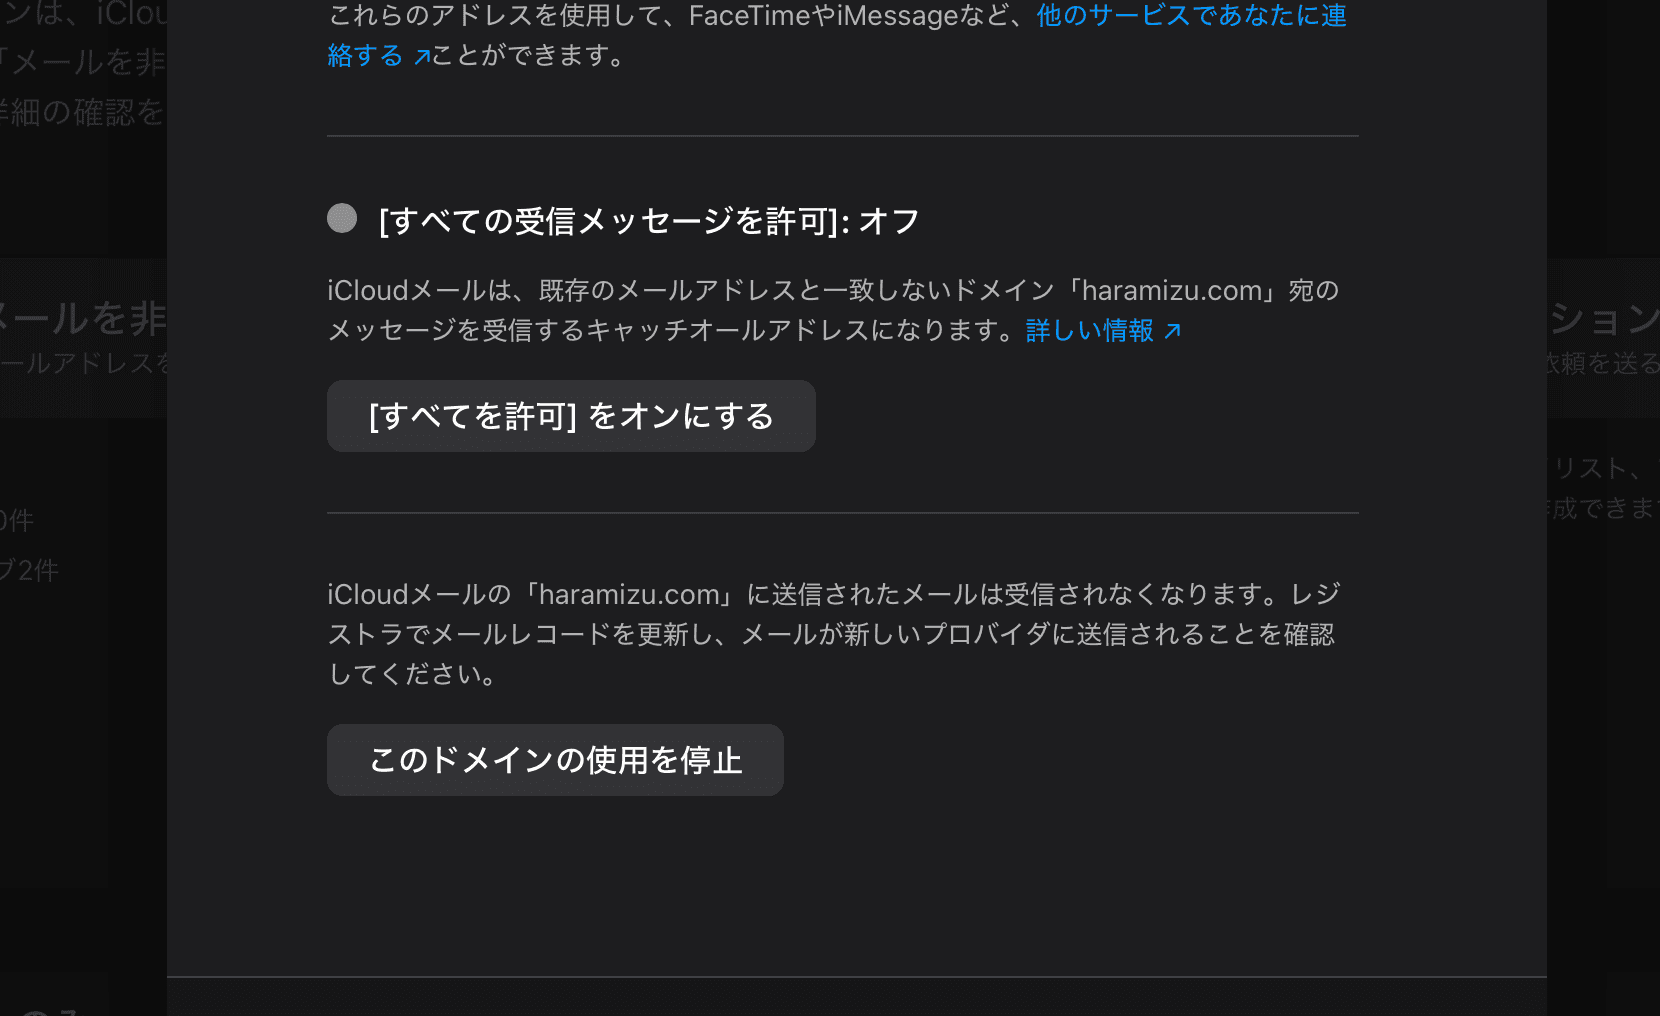
This feature only has two settings: on and off. If you're getting a lot of weird emails, you might want to turn it off. However, it will still let you receive emails with minor typos in the address, so adjust it to your preference.
Discontinue use of this domain
If you wish to use the domain with another service at a later date, you can turn it off here. When switching to another service in the future, simply remember that this option exists and leave it as is.
Mail Client Settings
Use with Apple Mail
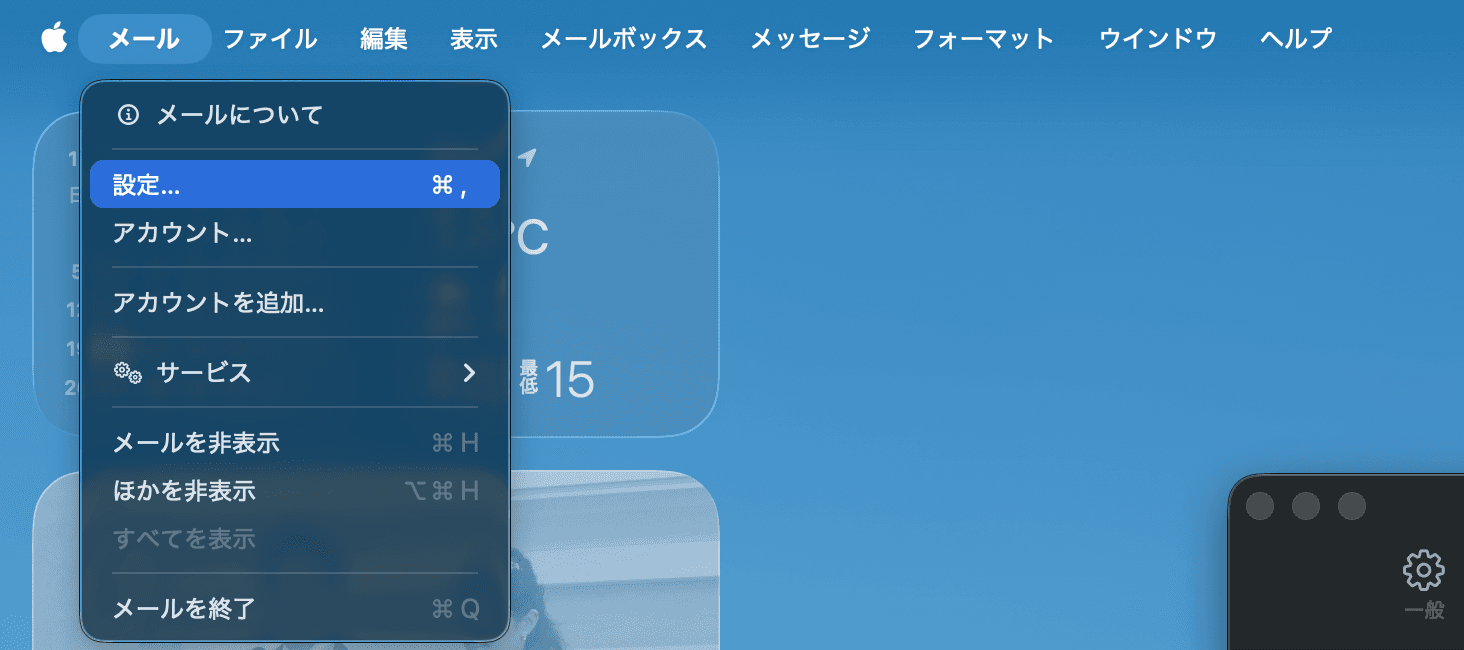
After adding the domain, we'll set up the email address you created so it can be used in your email app. Launch Mail on macOS and select Settings.
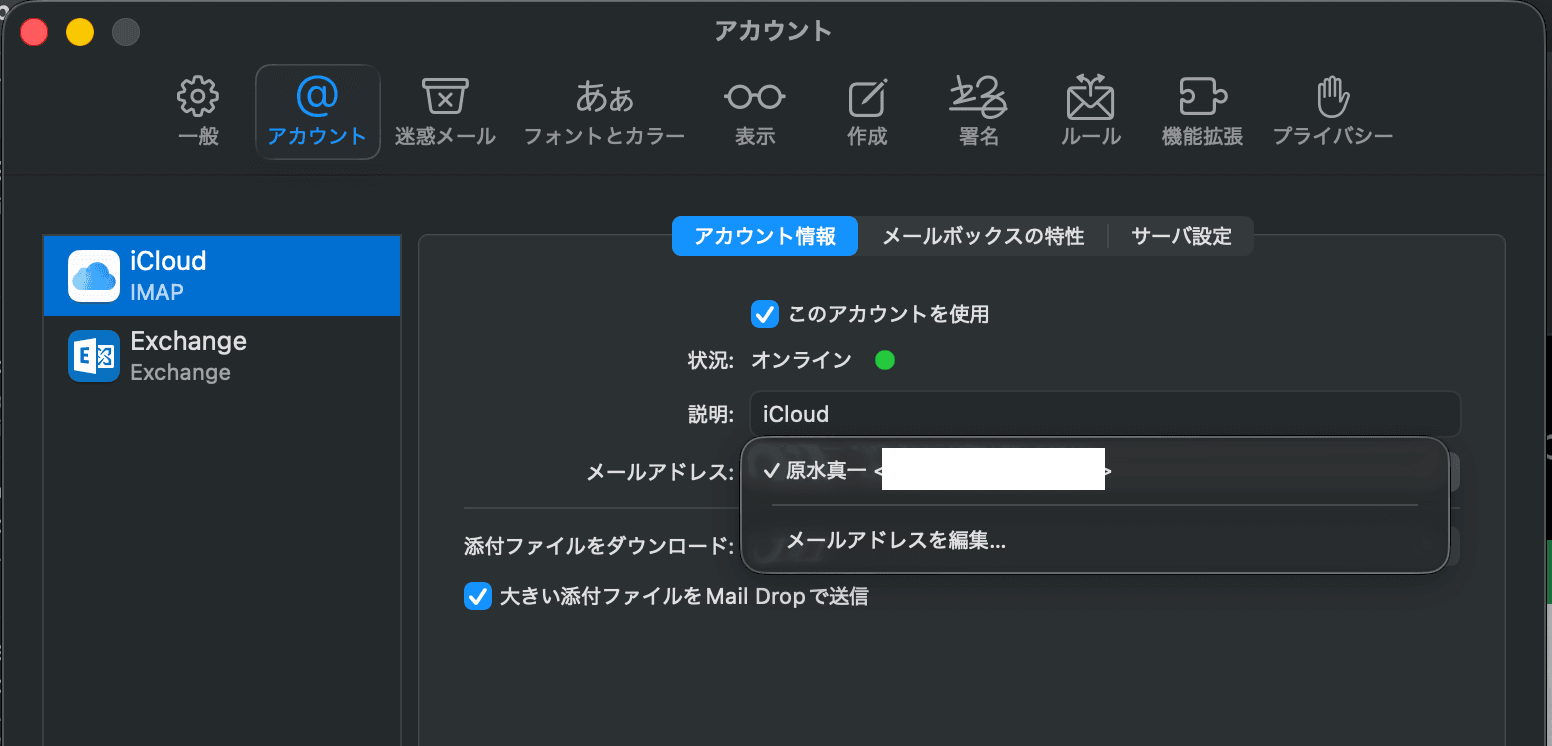
When the email settings open, your email address will be displayed. Clicking it will bring up the menu to edit the email address, where you can add it.
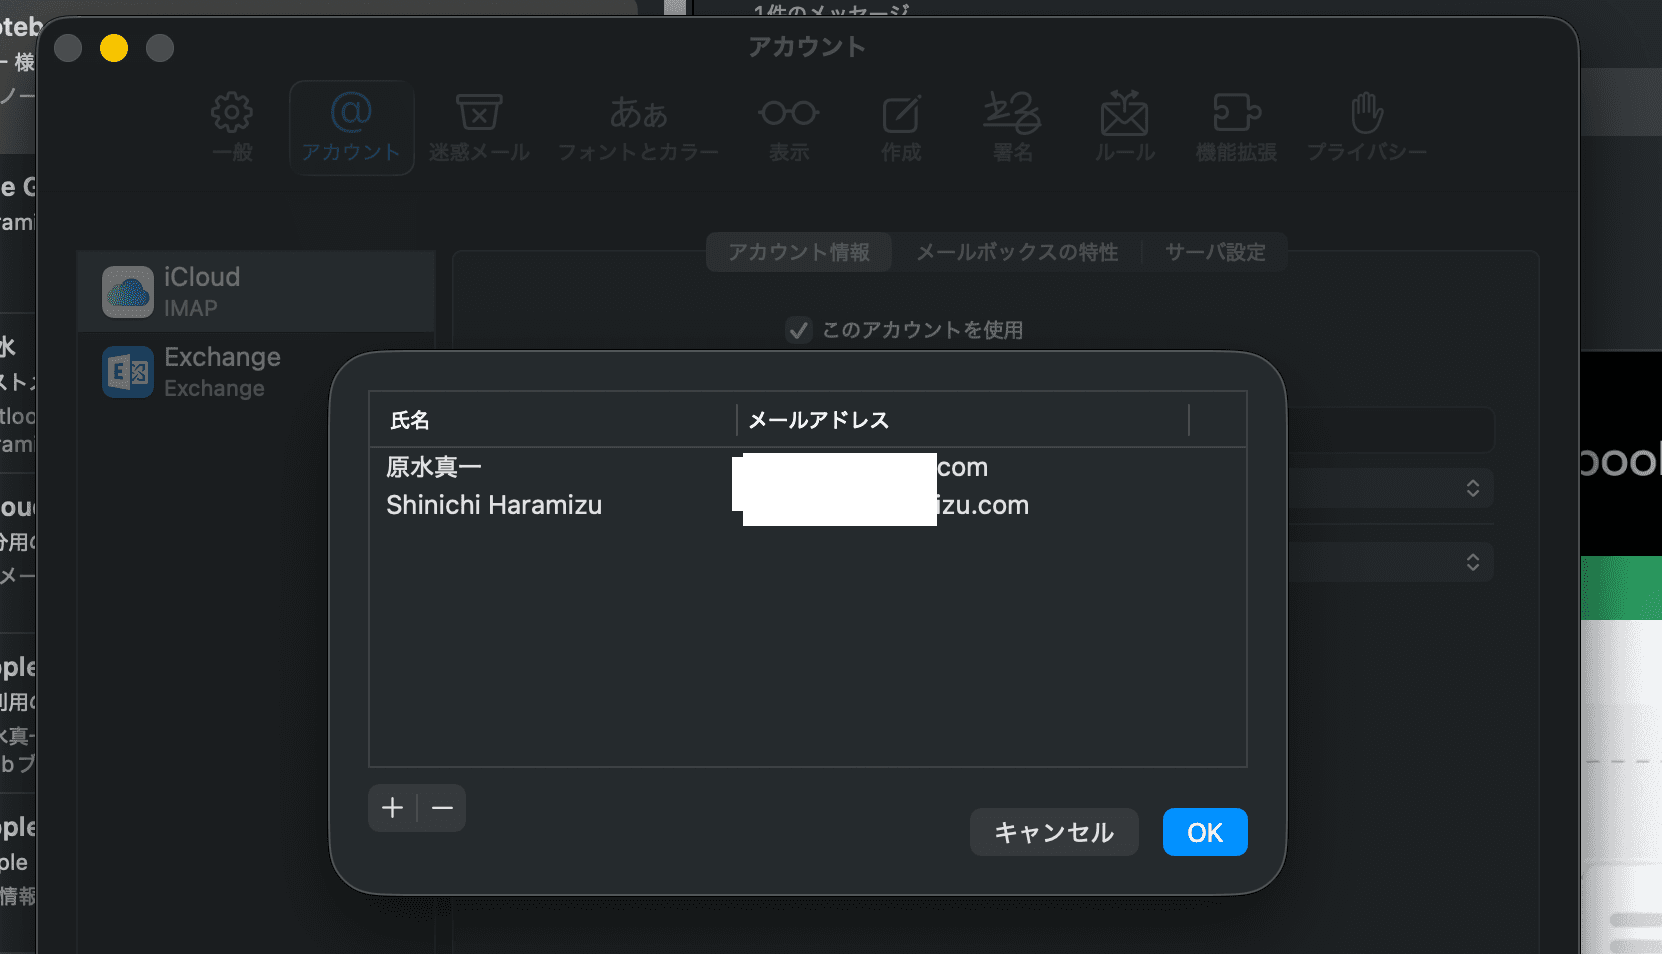
You can set up multiple email addresses. Add any email addresses you have already created here.
You can now switch the From address to compose emails.
Use Outlook ( macOS )
When using your iCloud account with Outlook on macOS, you must generate an app password instead of using your regular account credentials.
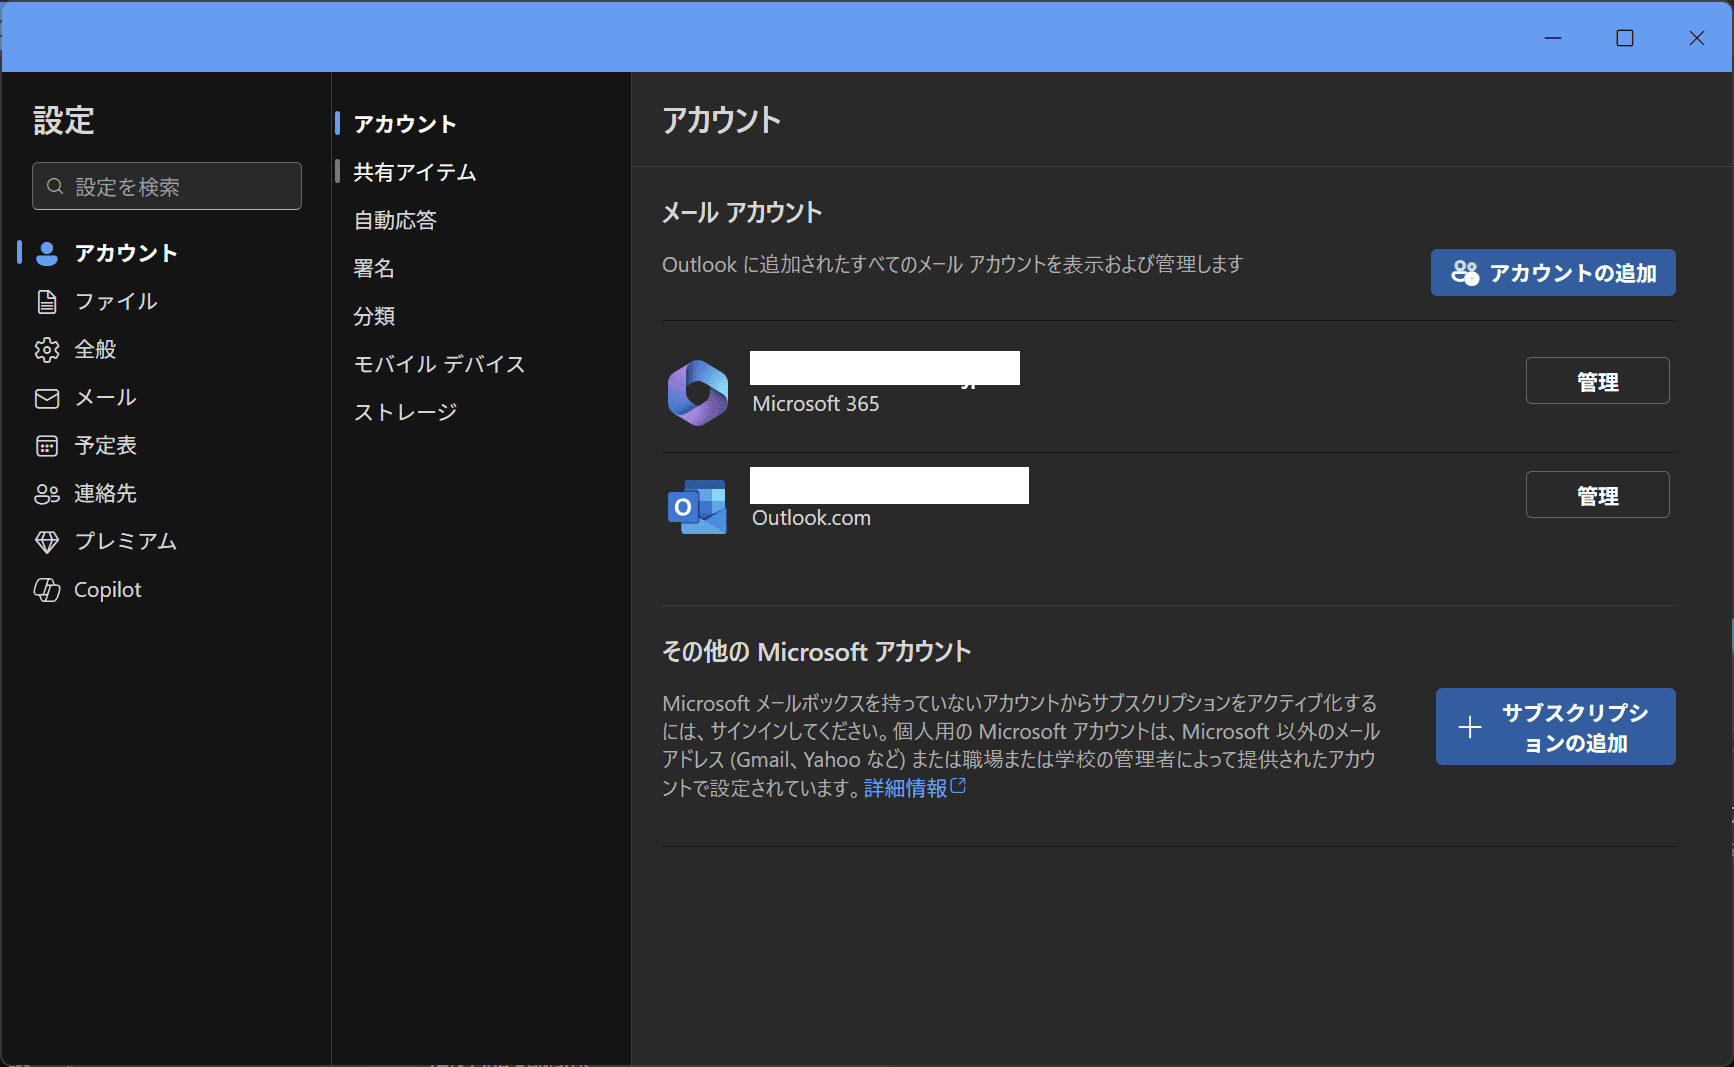
First, launch Outlook, then select Settings > Accounts.
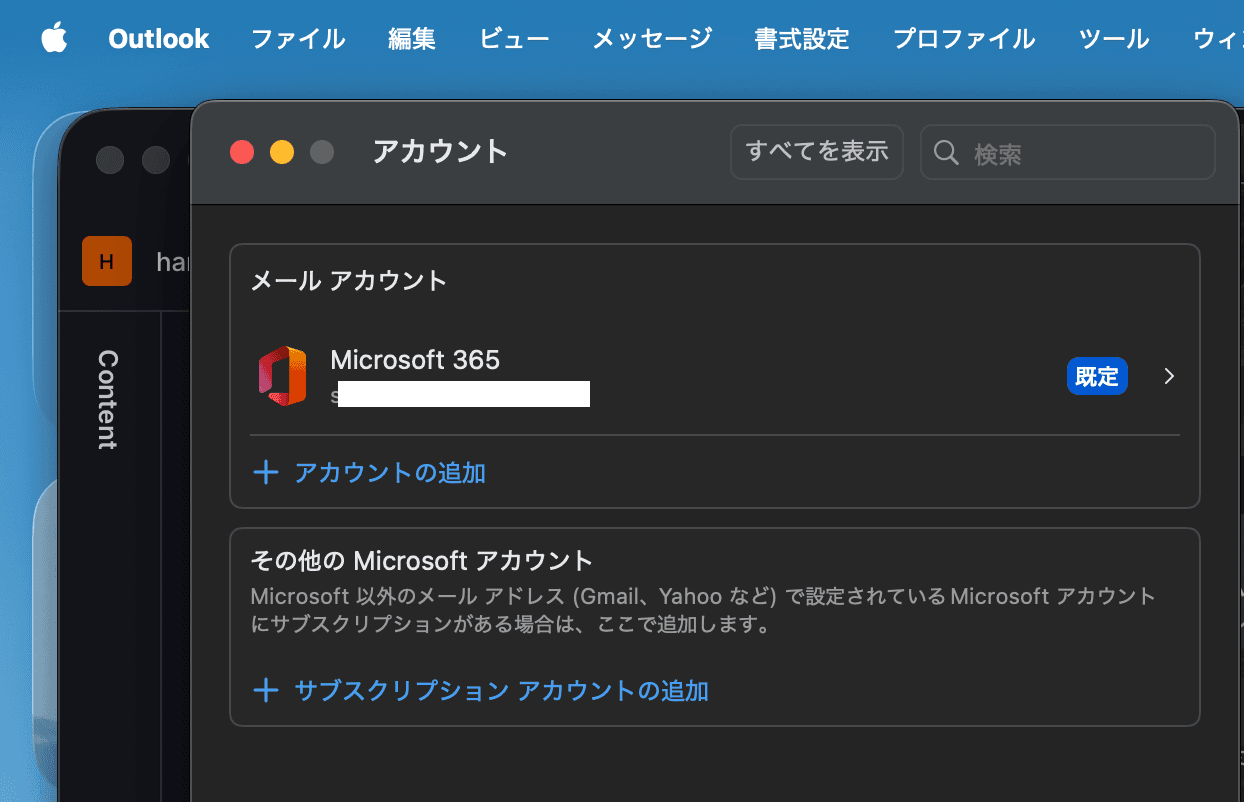
Click Add Account. The screen below will appear. Here, specify your iCloud account. This will be an @icloud.com account.
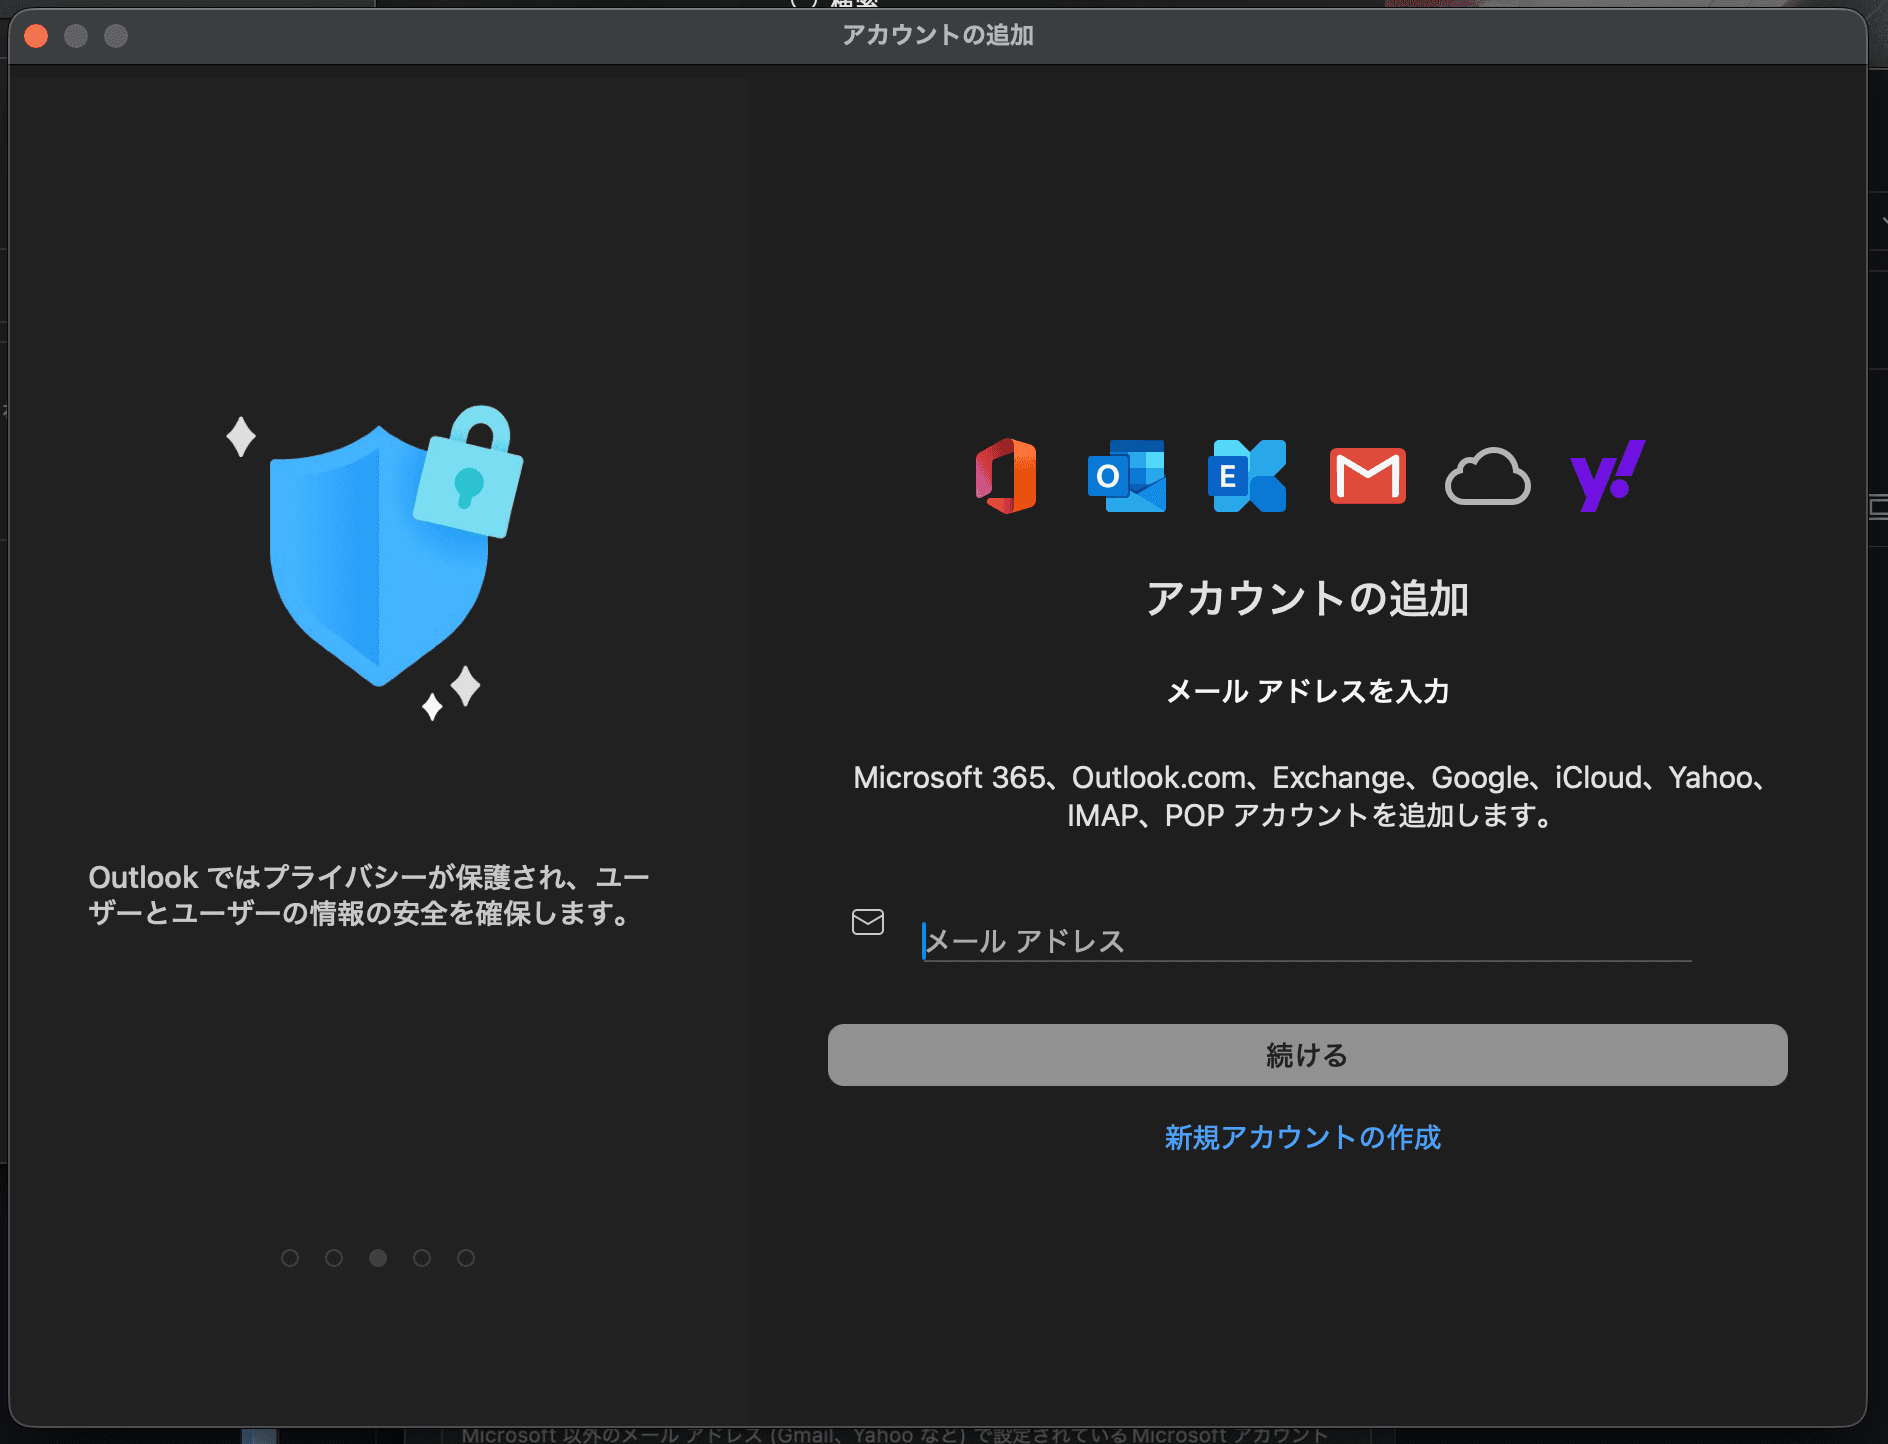
The iCloud connection screen will appear.
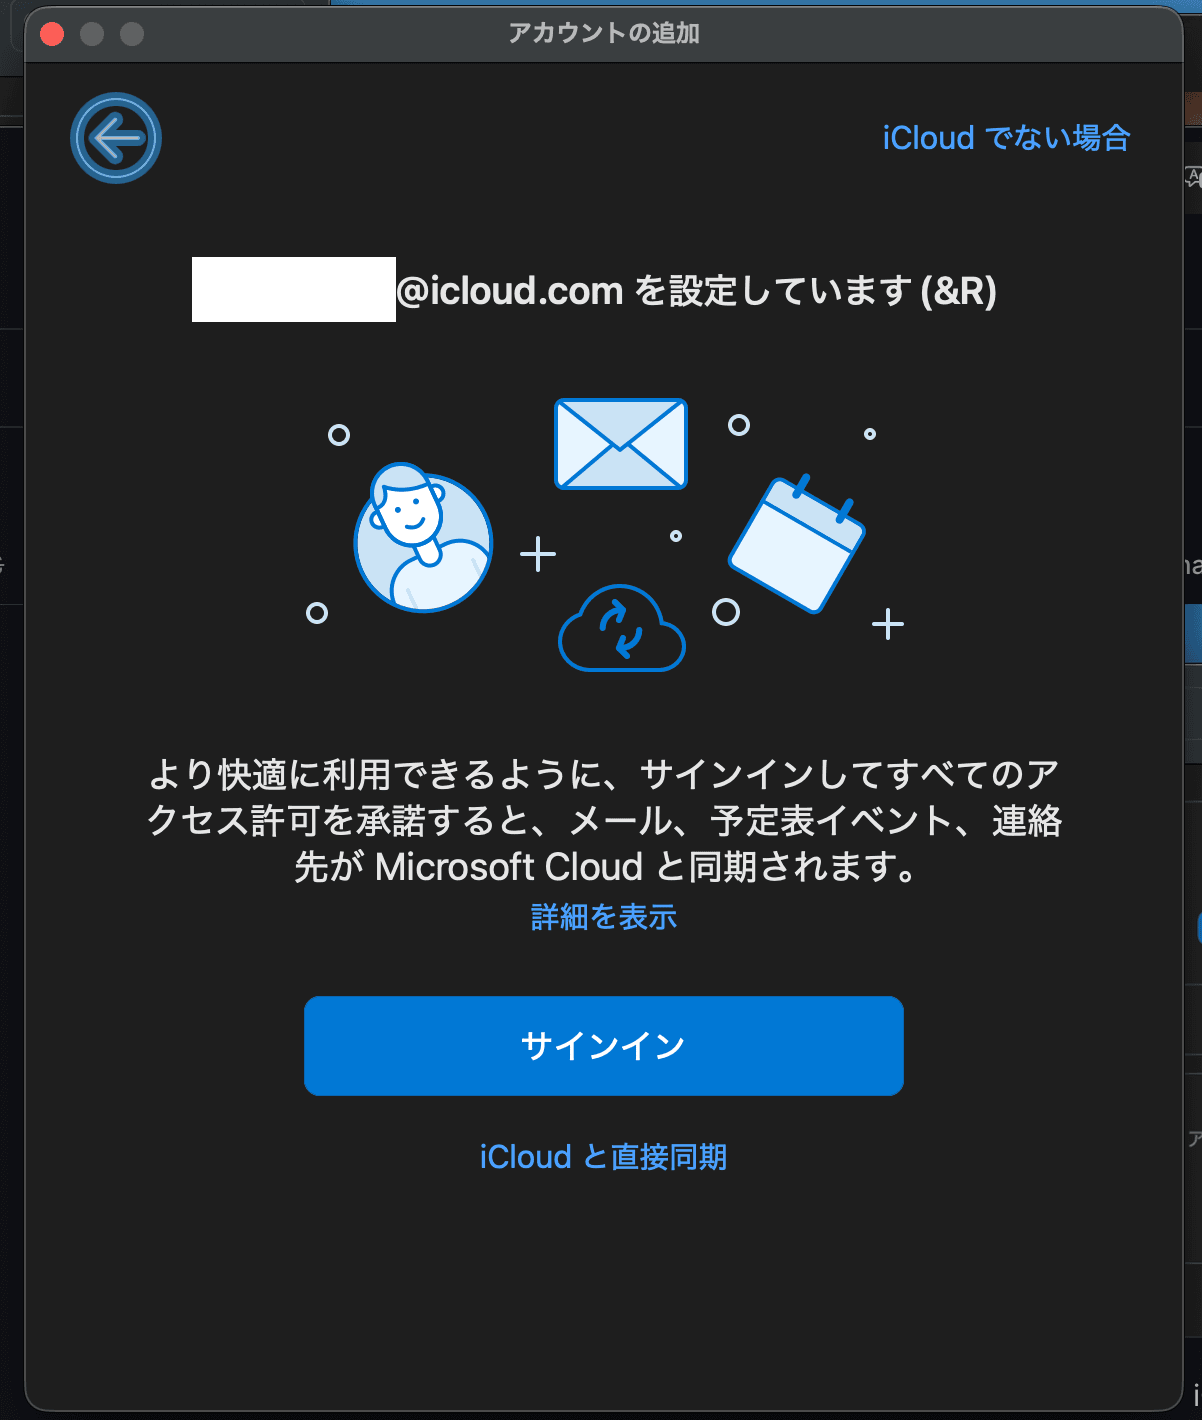
Clicking the sign-in button will take you to the application password setup screen.
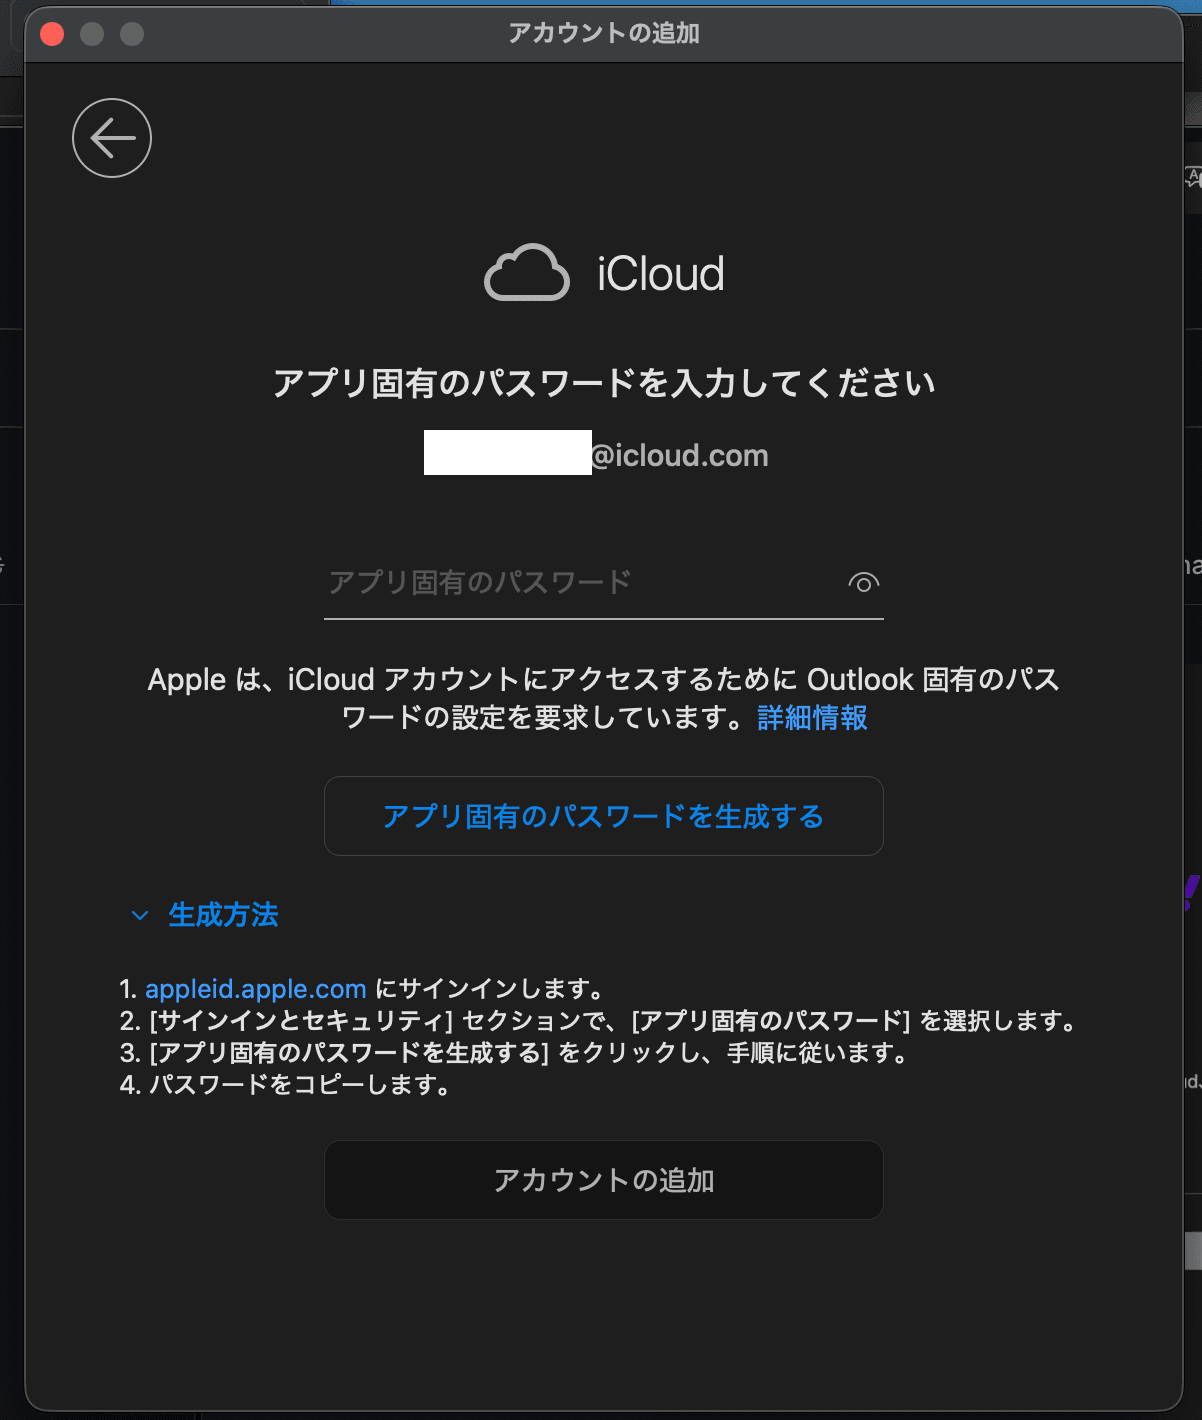
Click "Generate app-specific password" to proceed to the password generation screen.
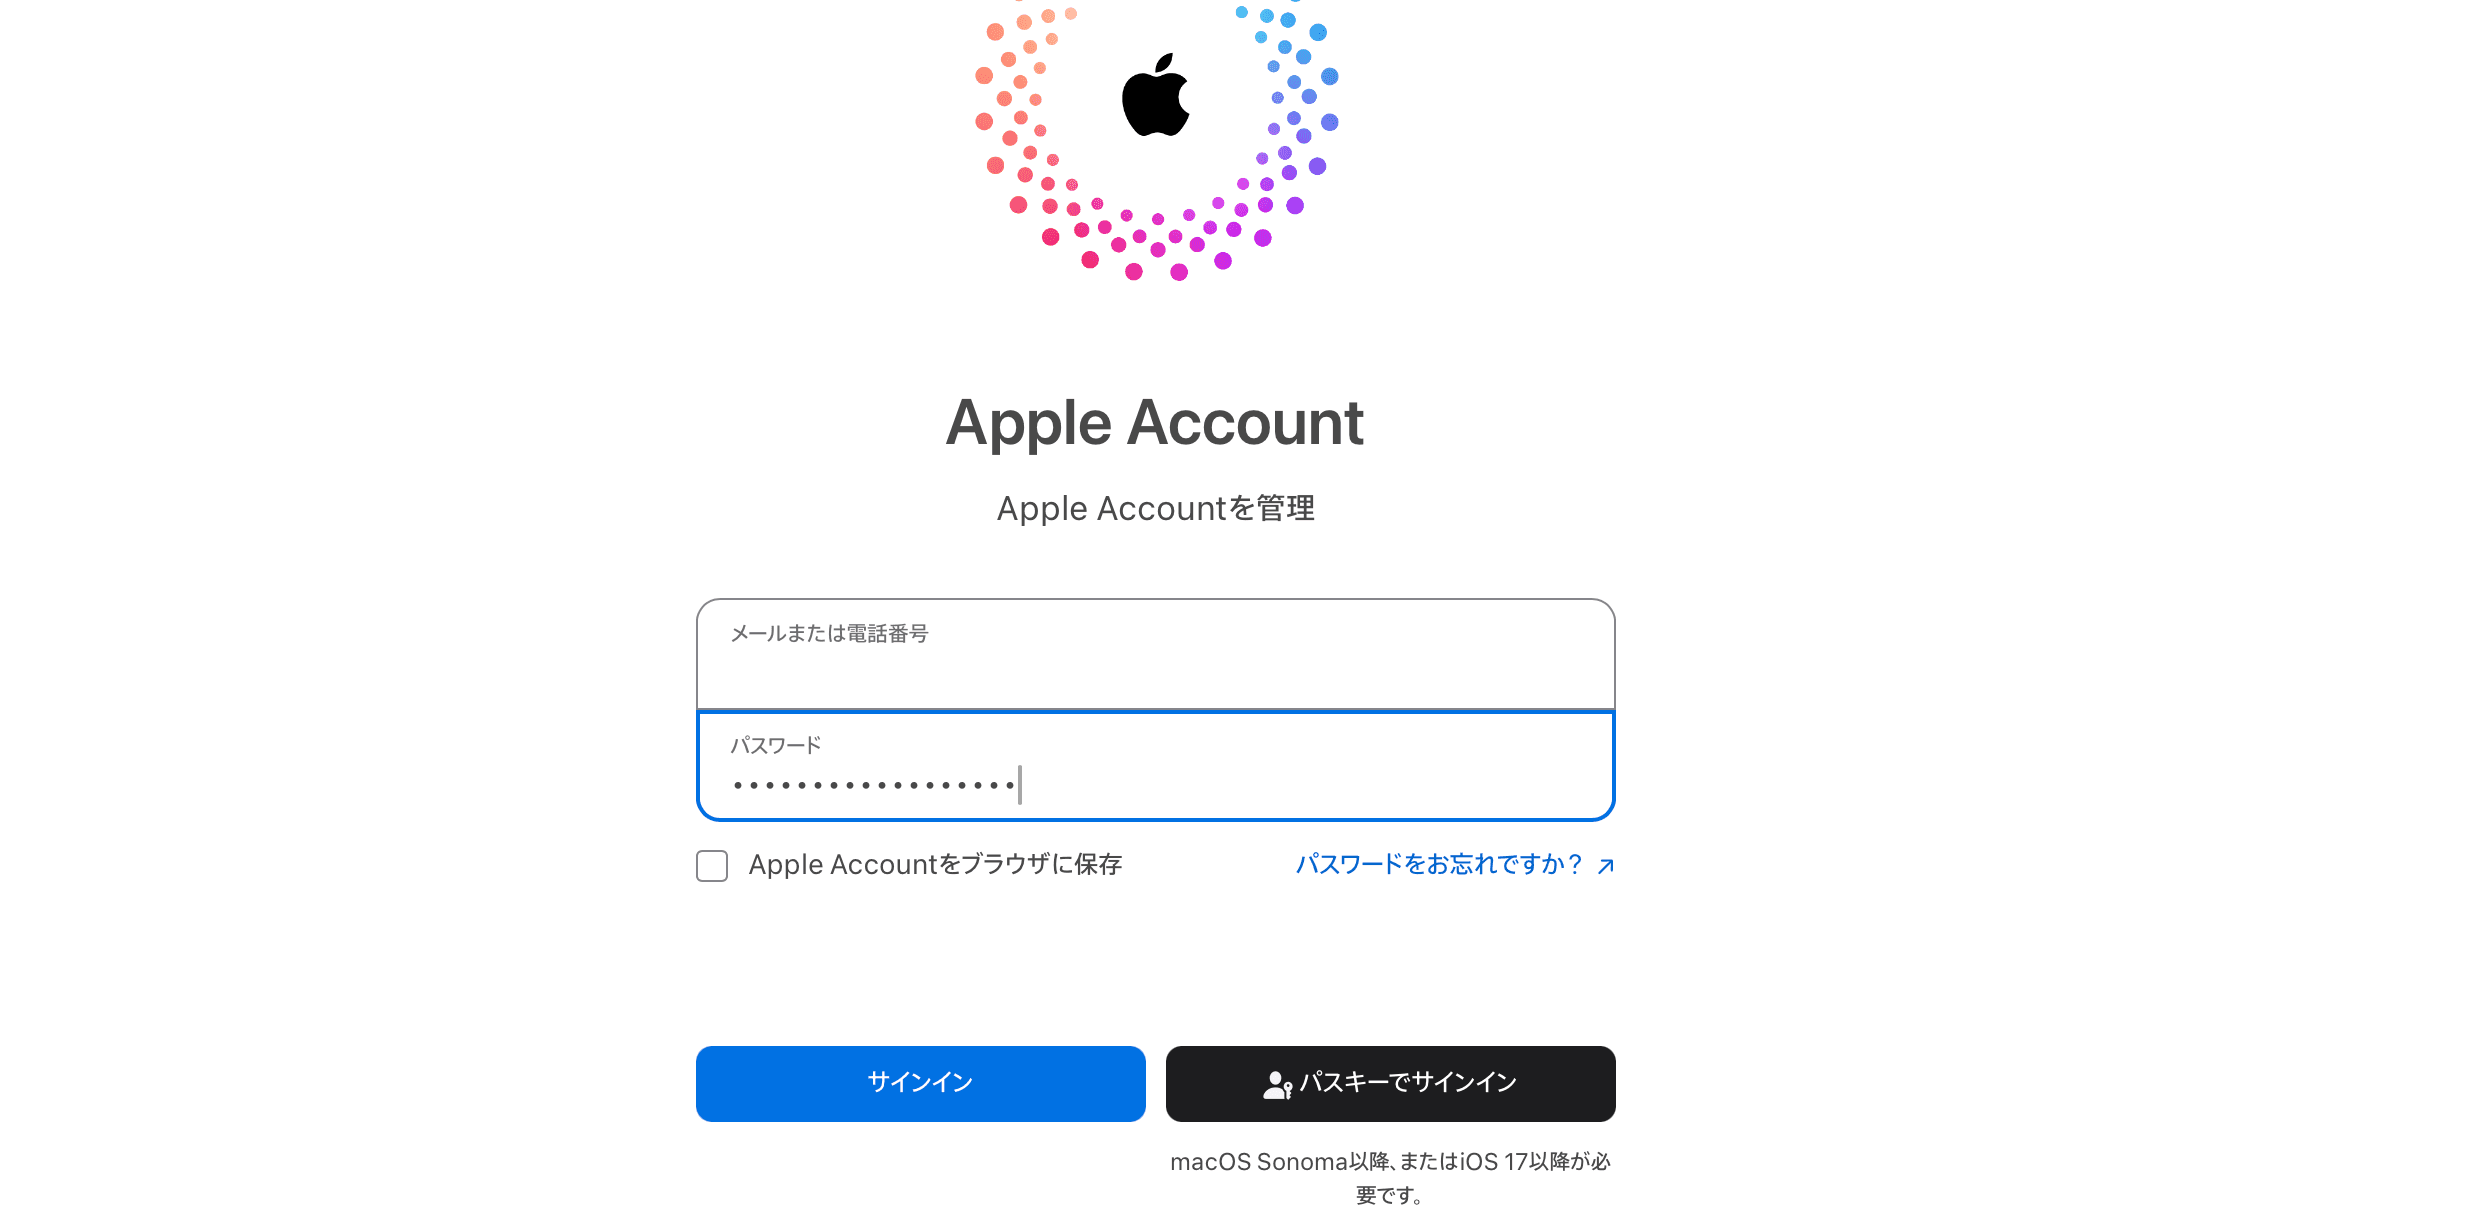
Click the Sign In button. When signing in, please log in by entering your password instead of using a passkey.
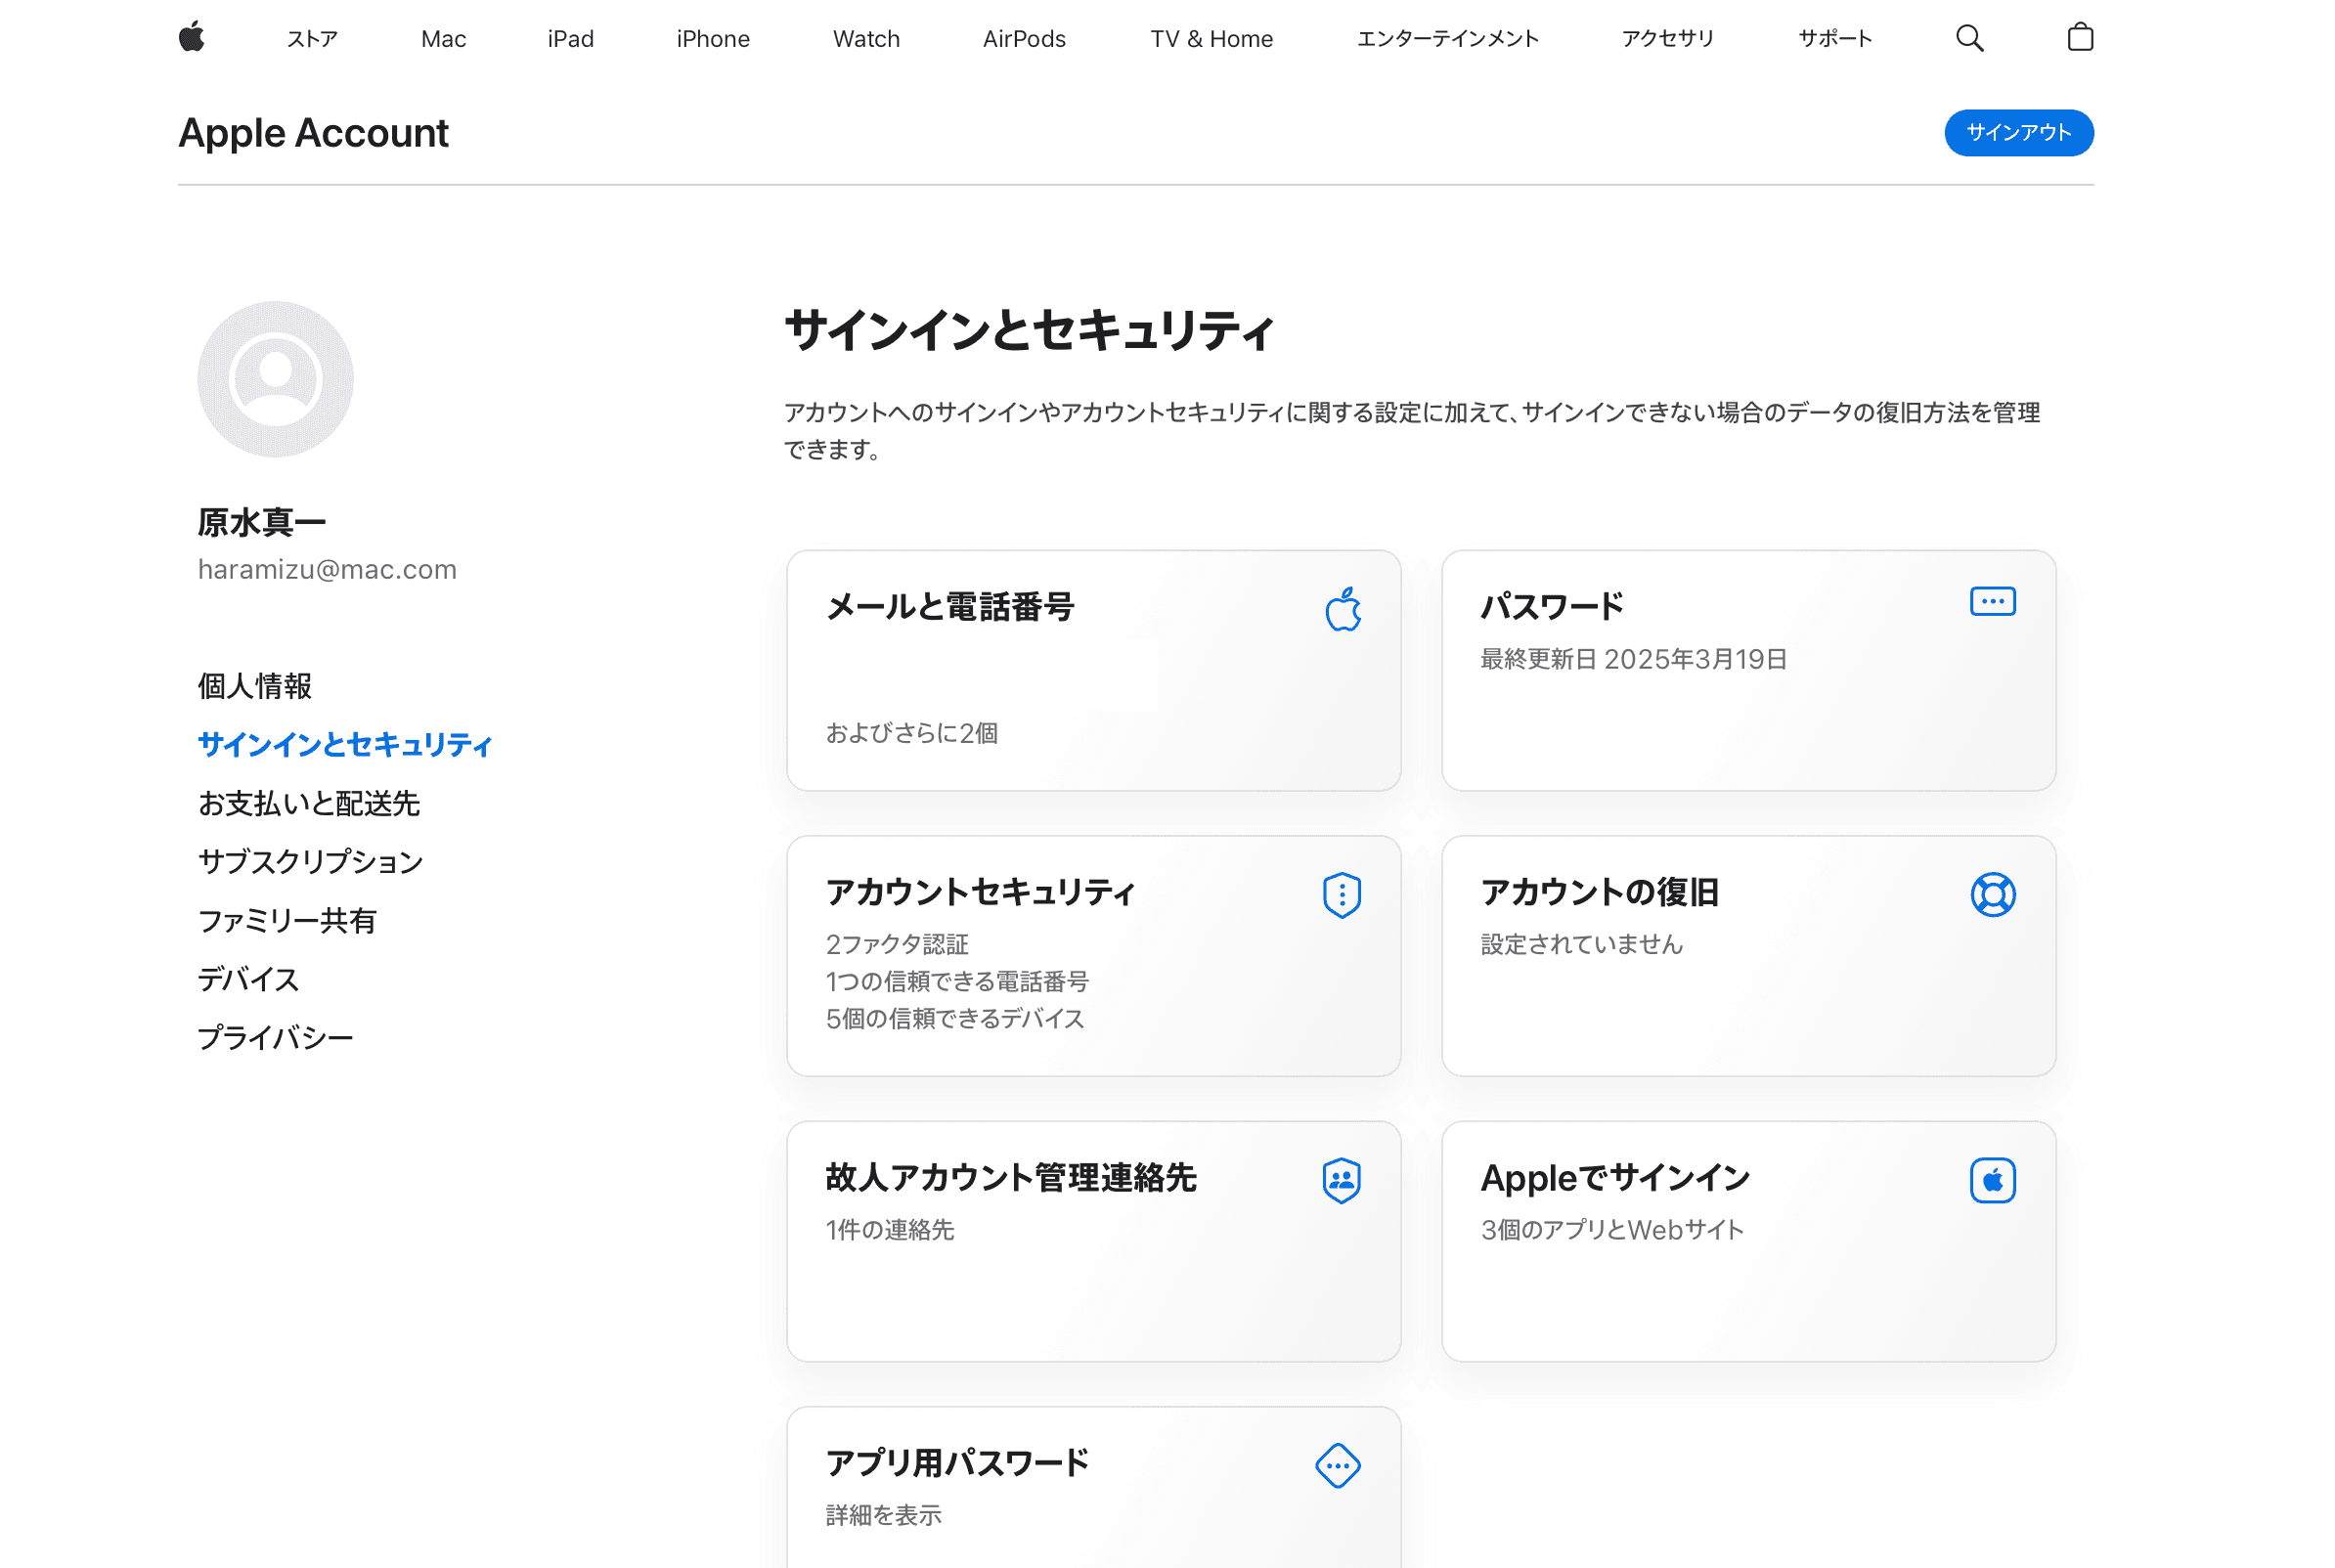
After successfully signing in, you'll find the app password screen near the bottom of the display.
When you click, if it's your first time, no password has been set.
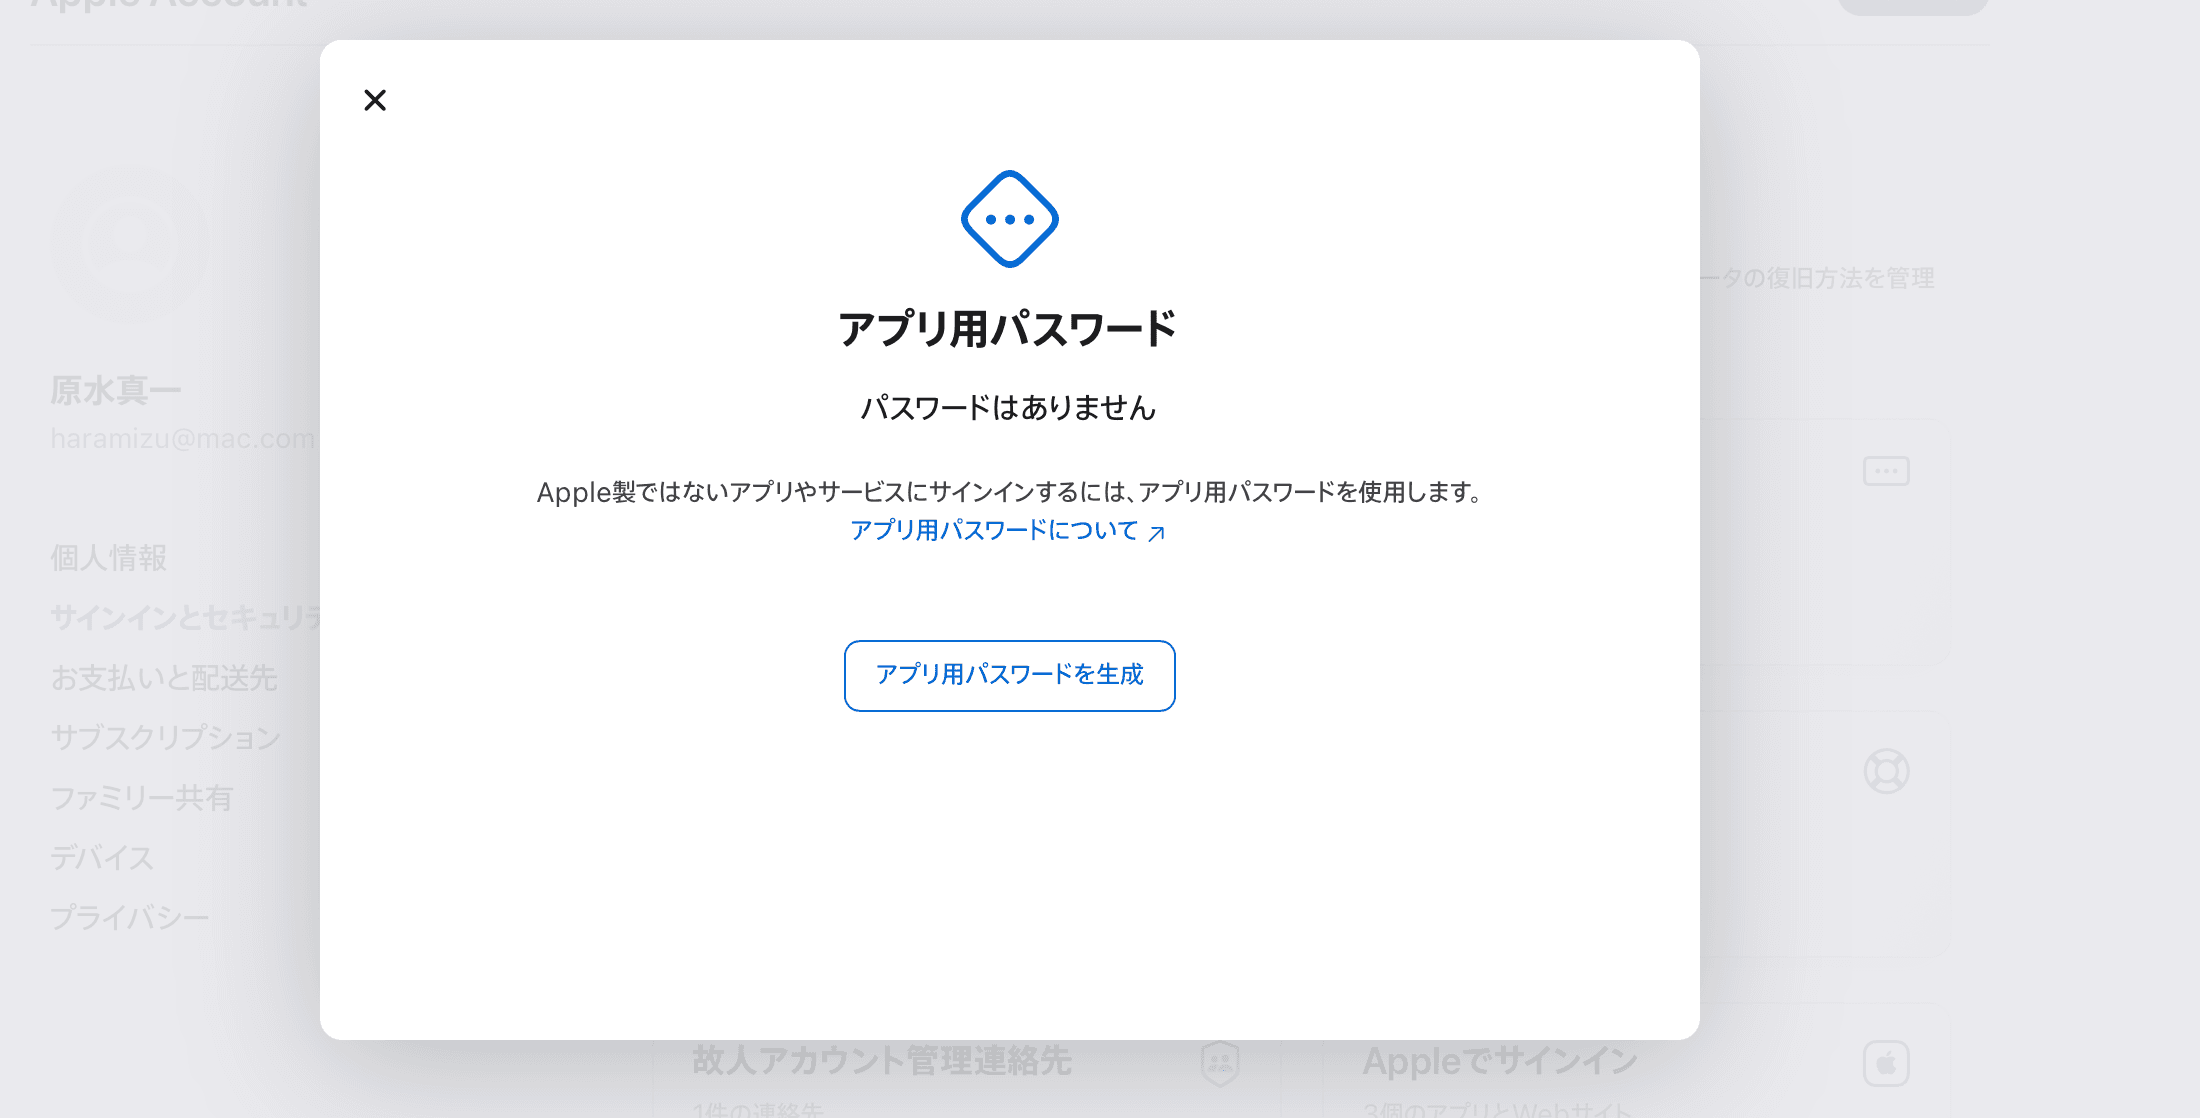
Click the "Generate App Password" button and set a name to manage which device the password will be used on.
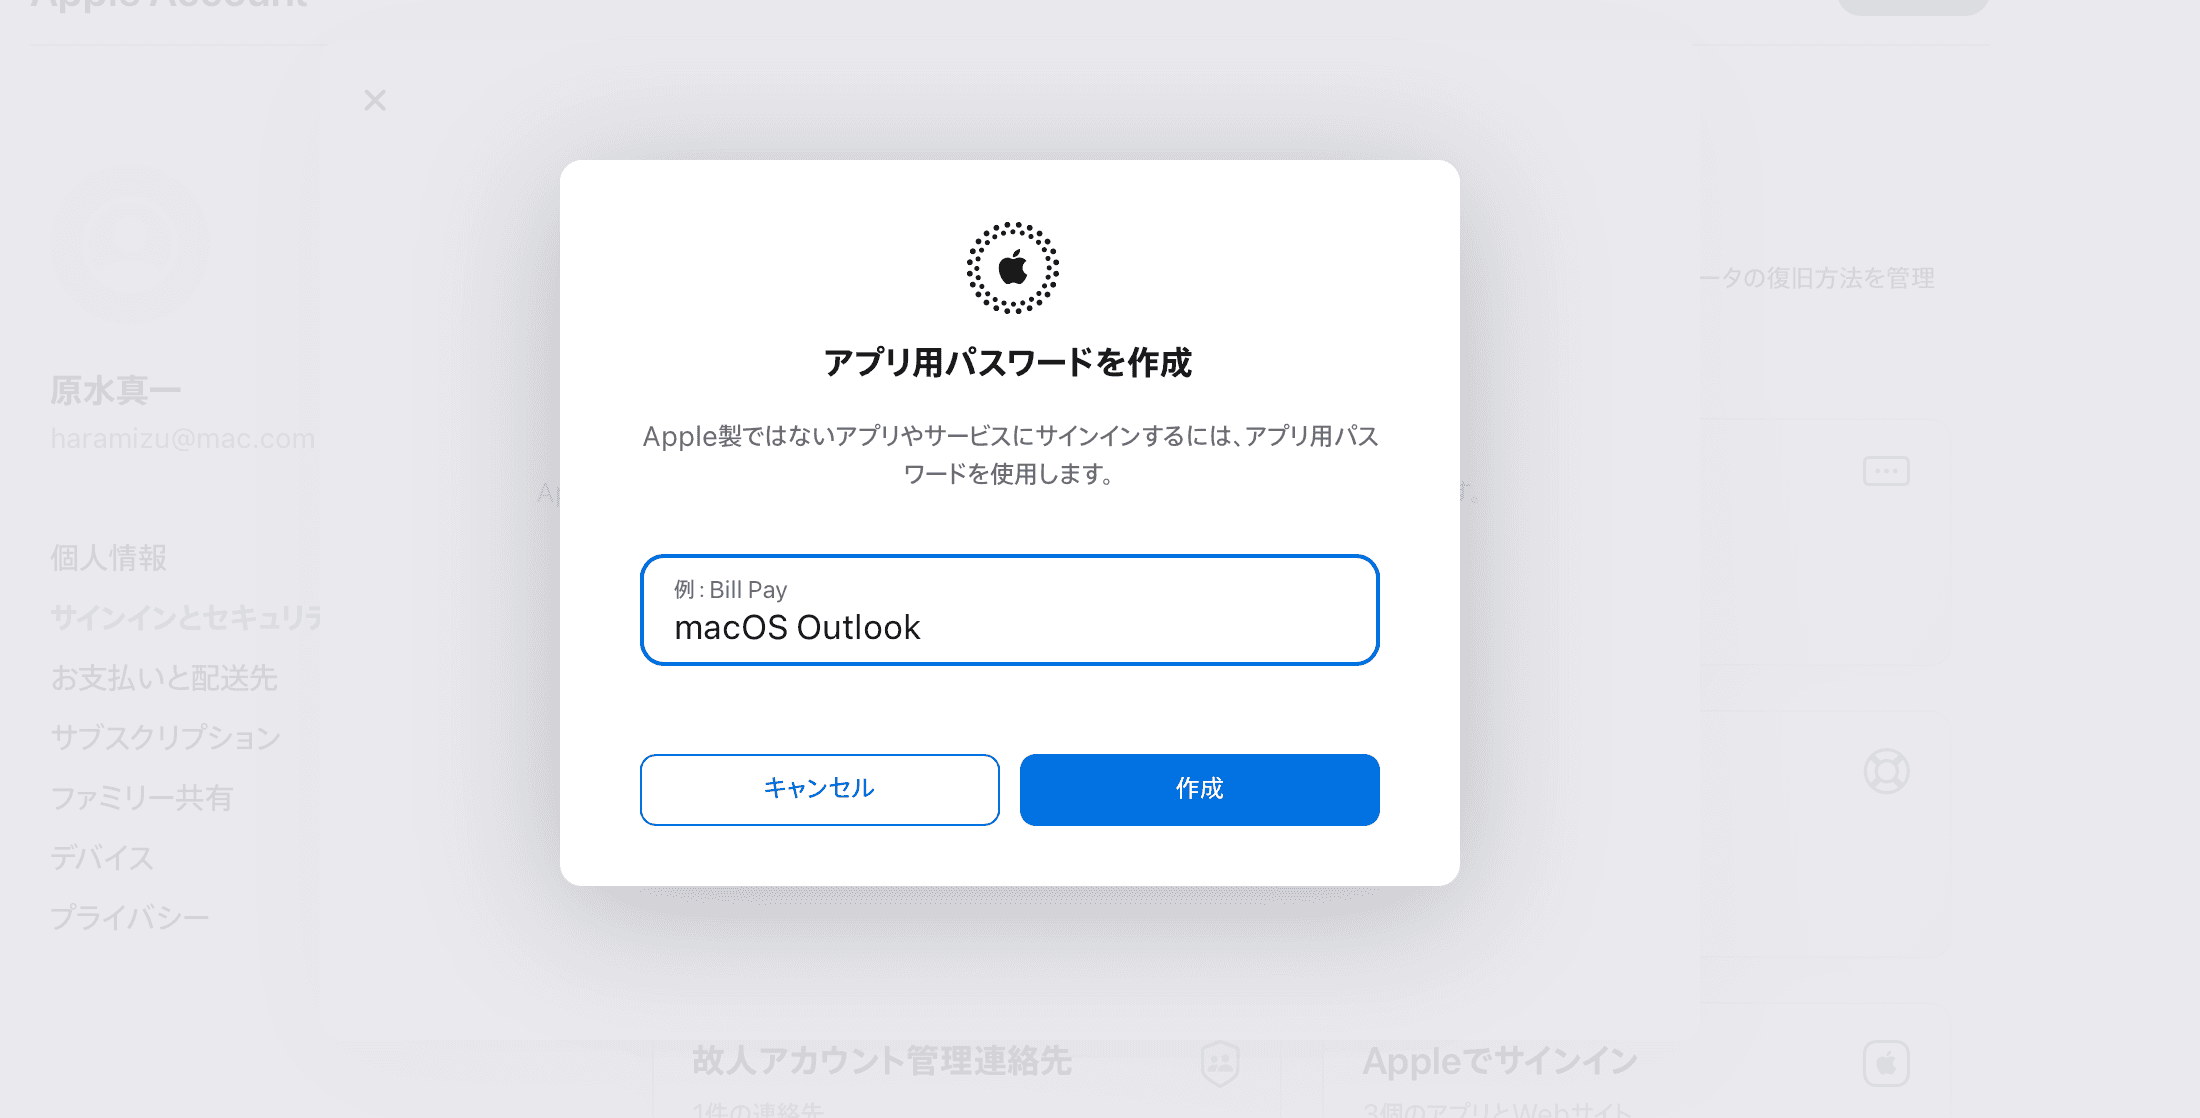
Clicking the Create button will generate a password (the password shown in the screenshot below is invalid for demonstration purposes).
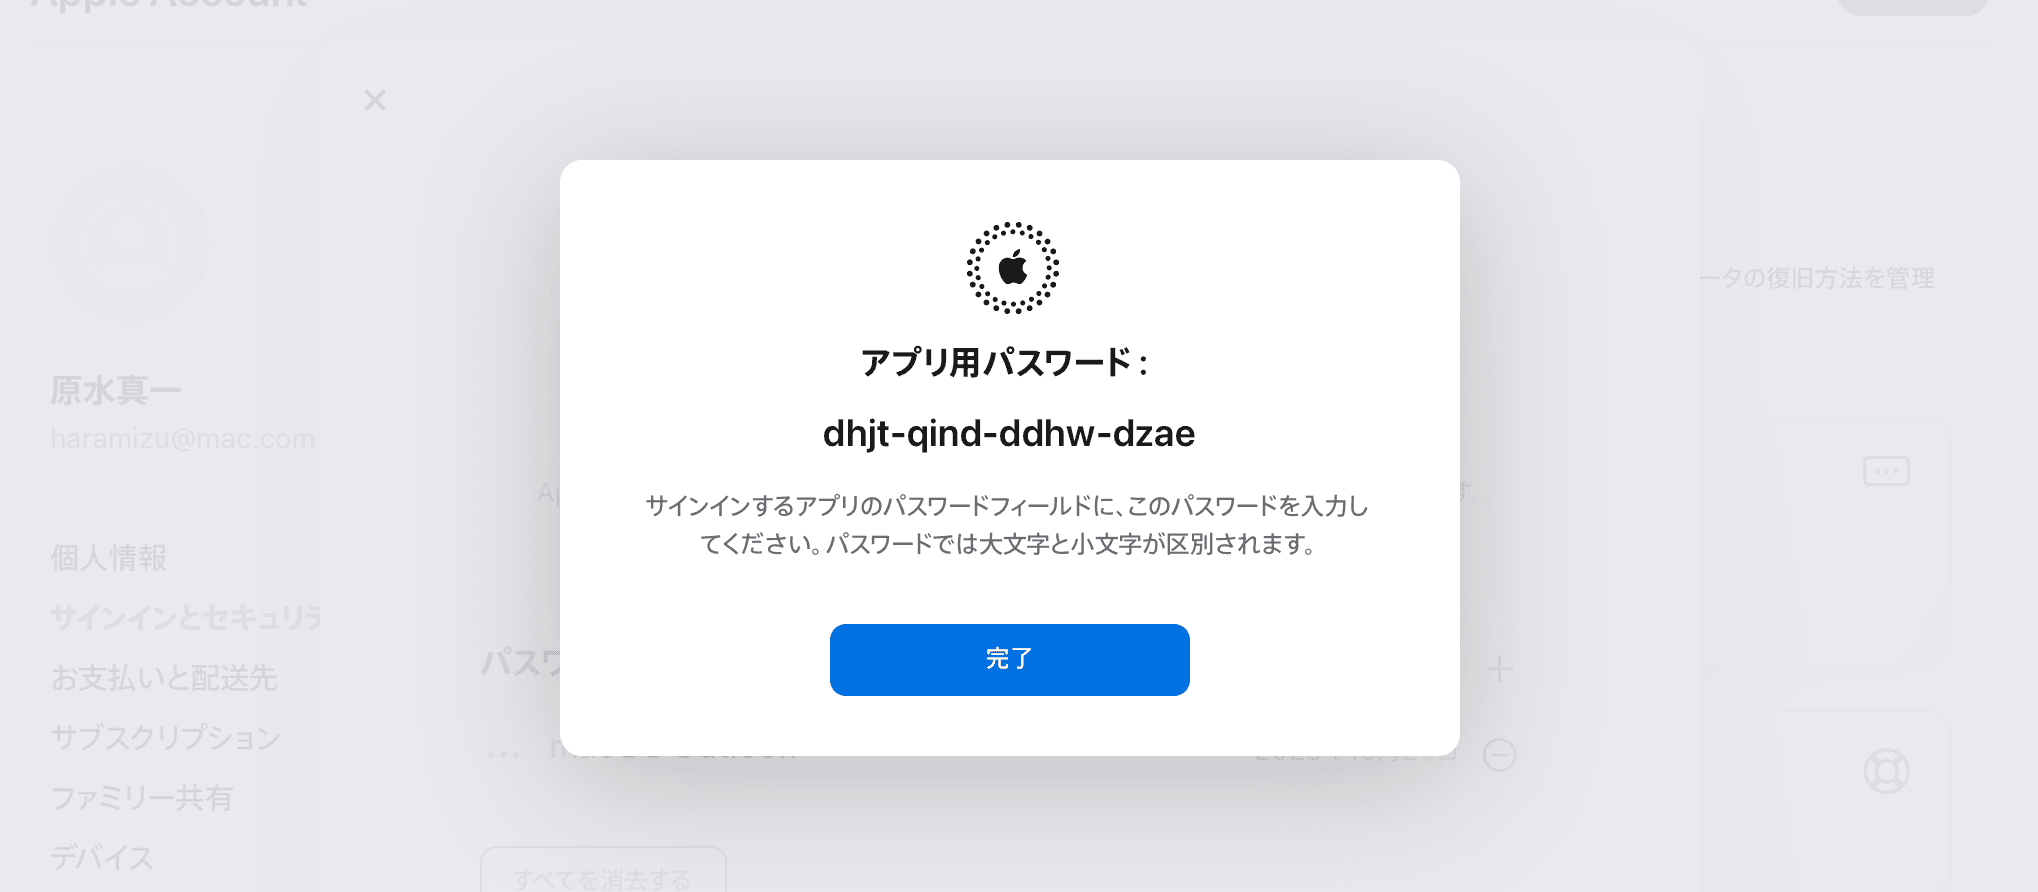
After entering this password in the Outlook screen, the setup will be complete and the following screen will appear.
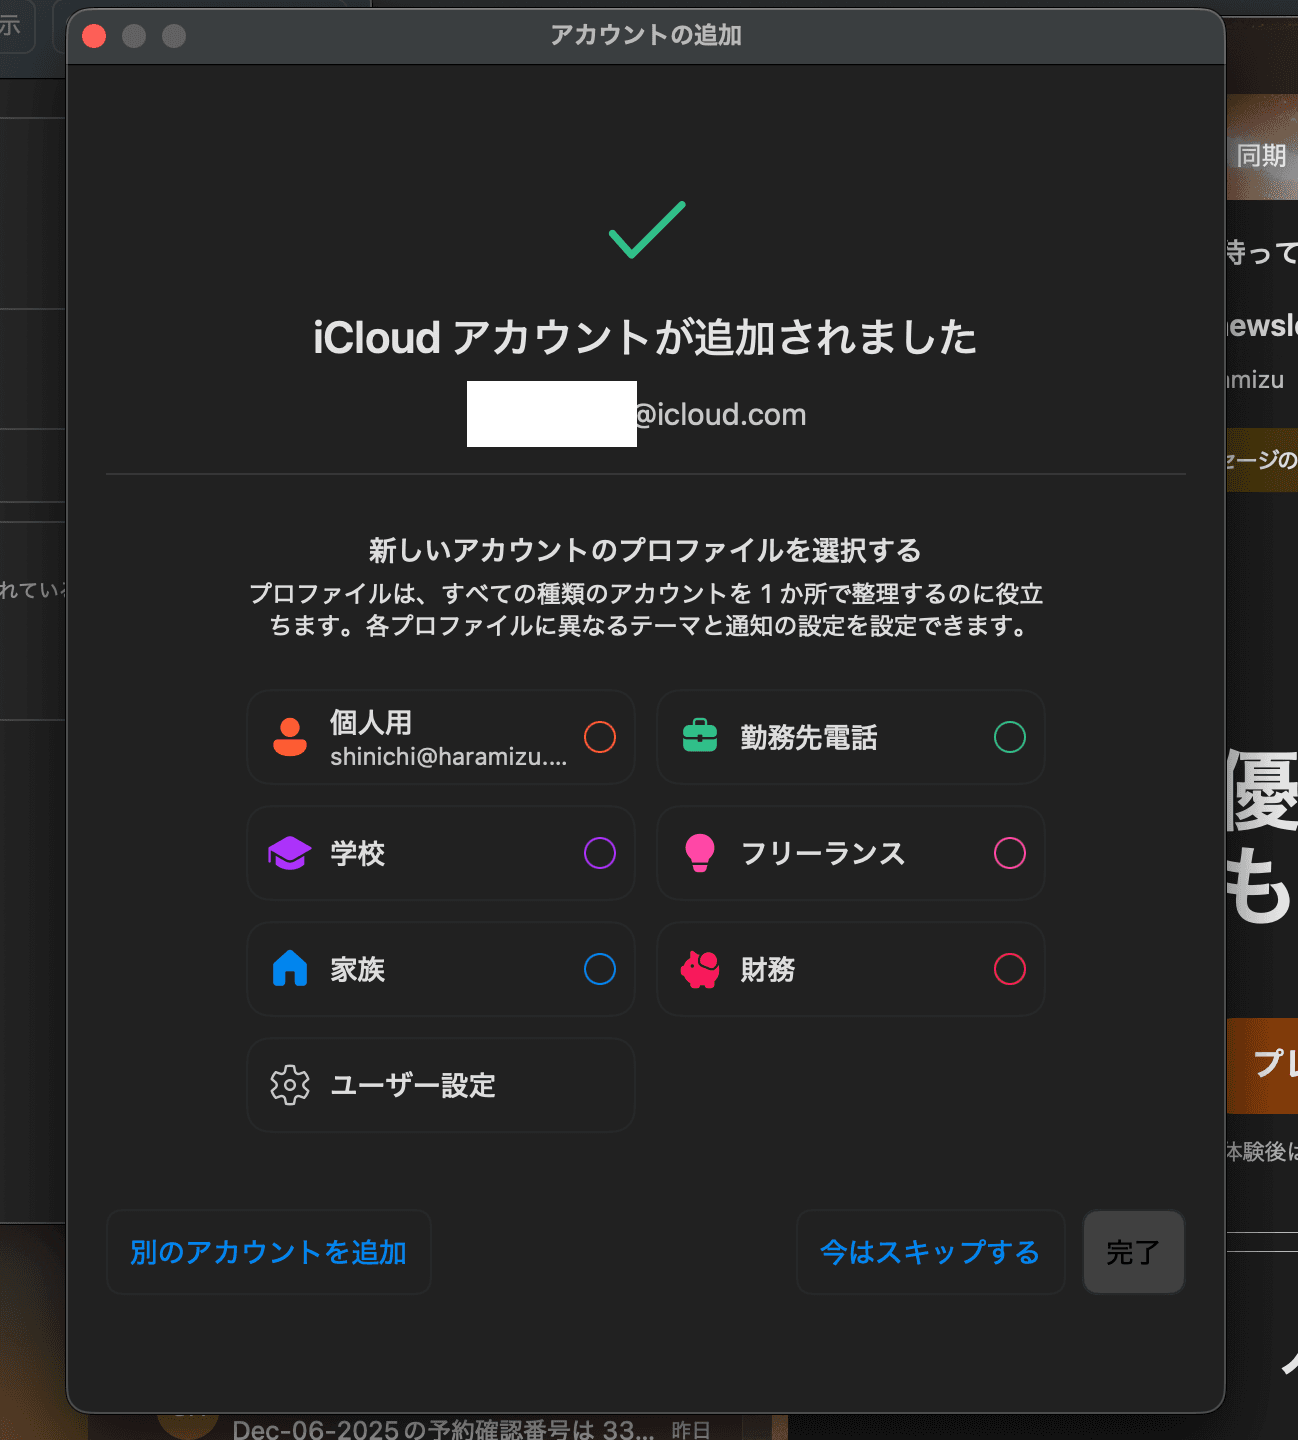
You can now access your account from Outlook.
Using Outlook ( Windows )
When using the Windows version of Outlook, proceed to the Settings screen to add an account.
Specify your iCloud account.
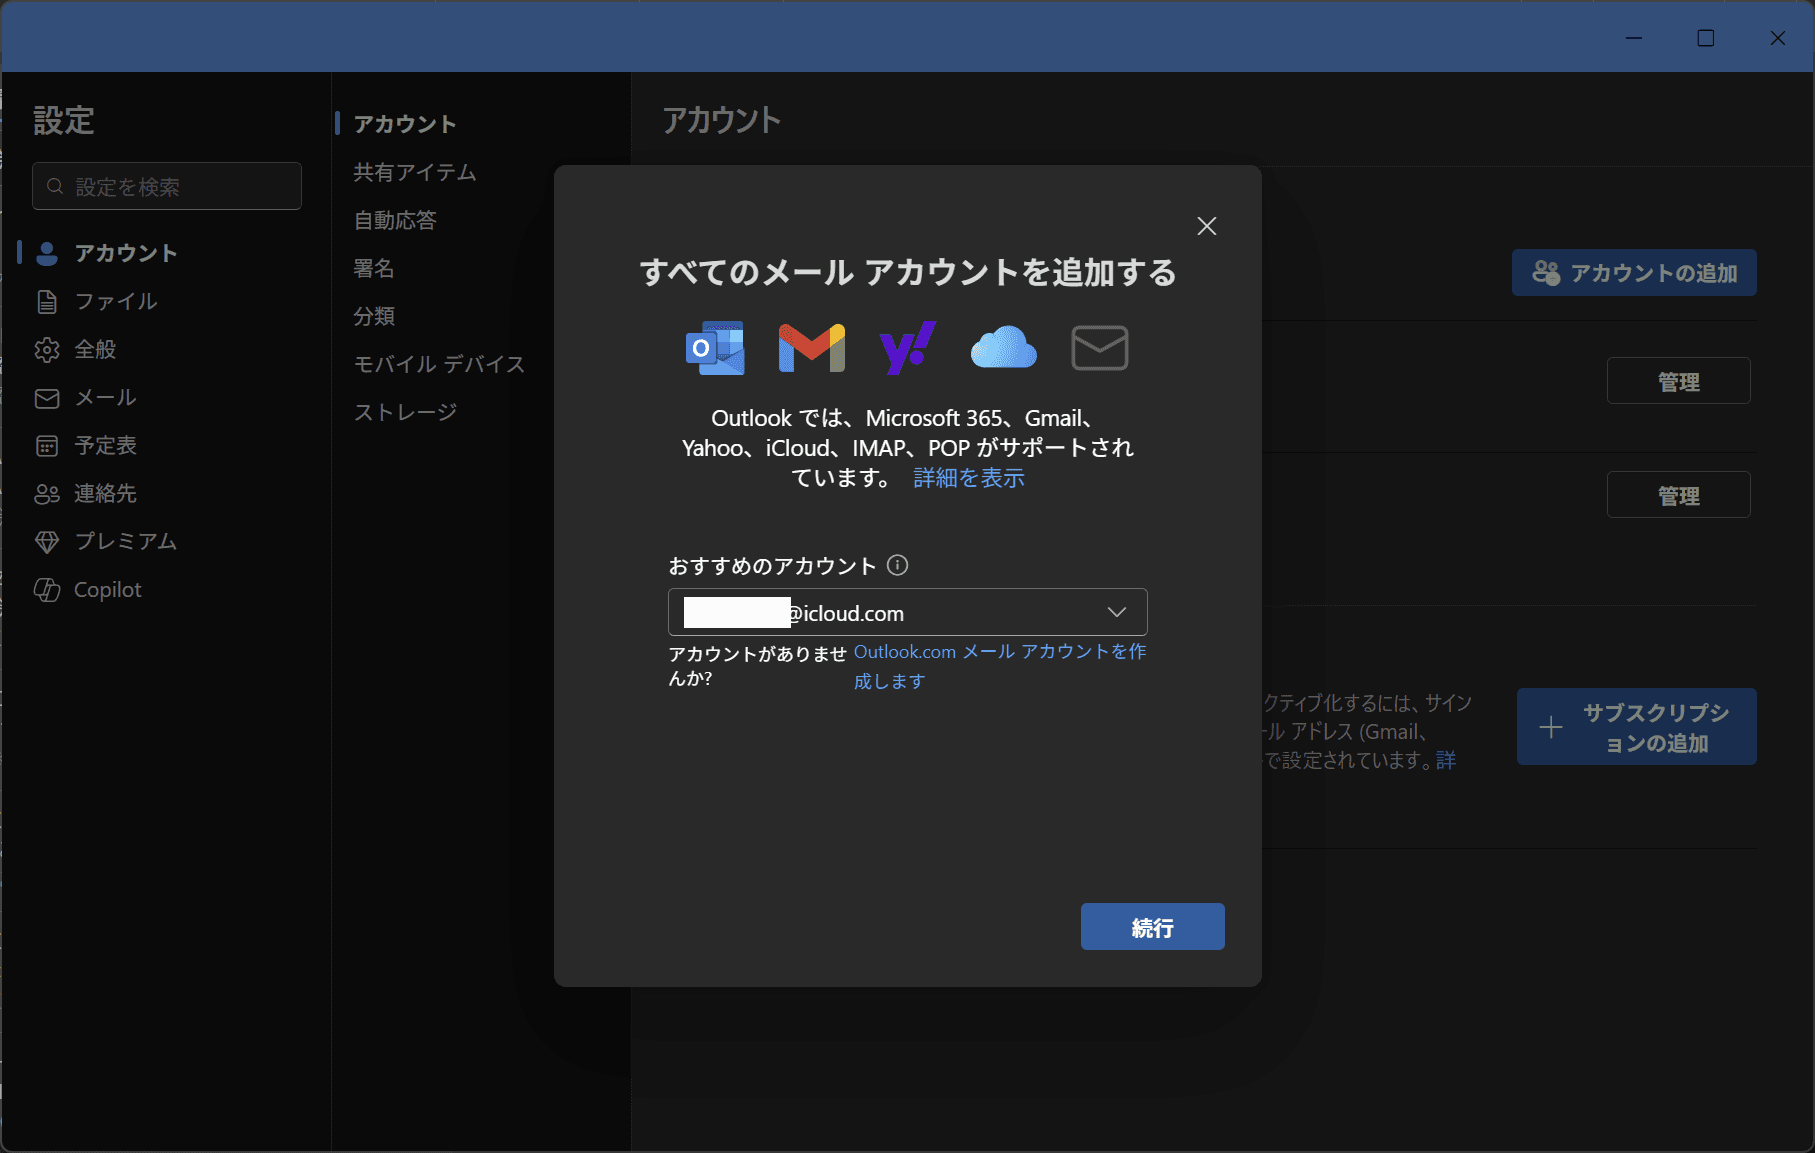
A confirmation screen will appear and click Continue.
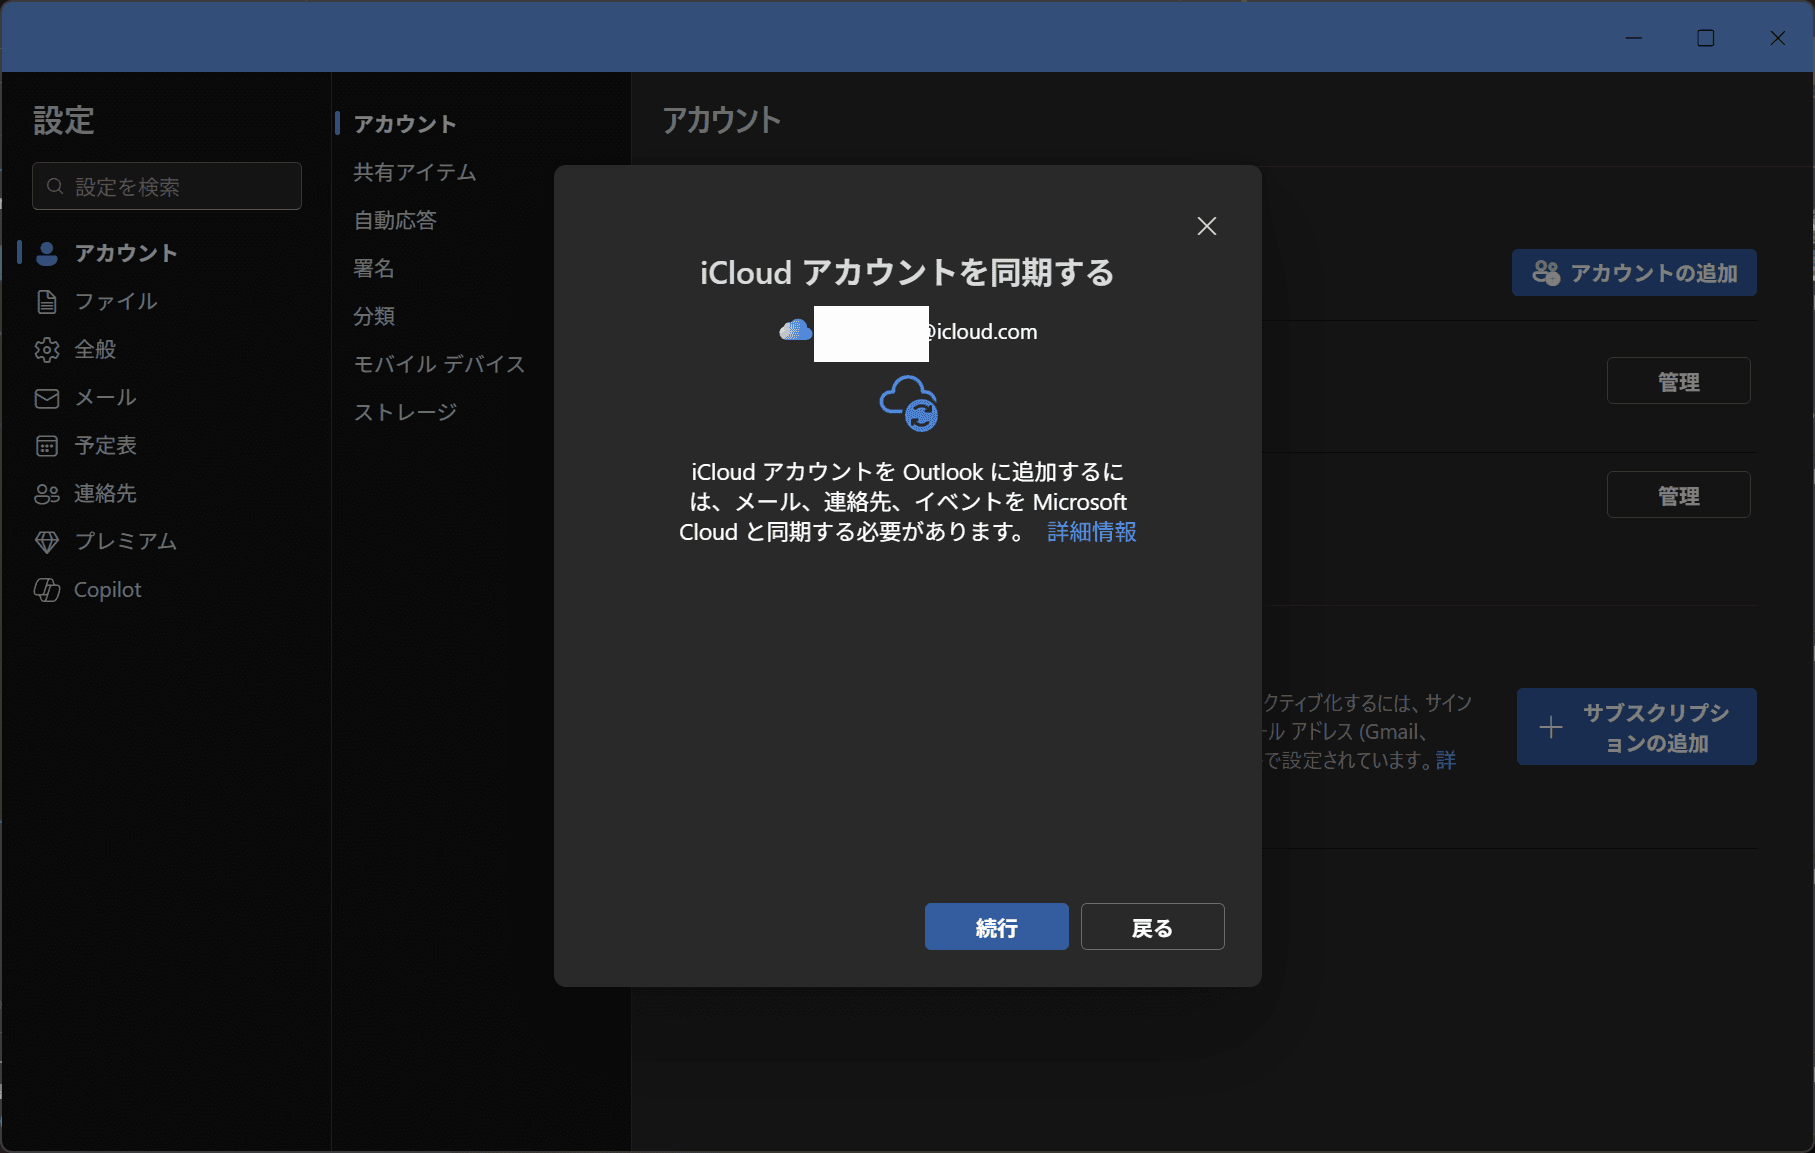
A browser will open to a login screen. Please login here with your password using your iCloud account.
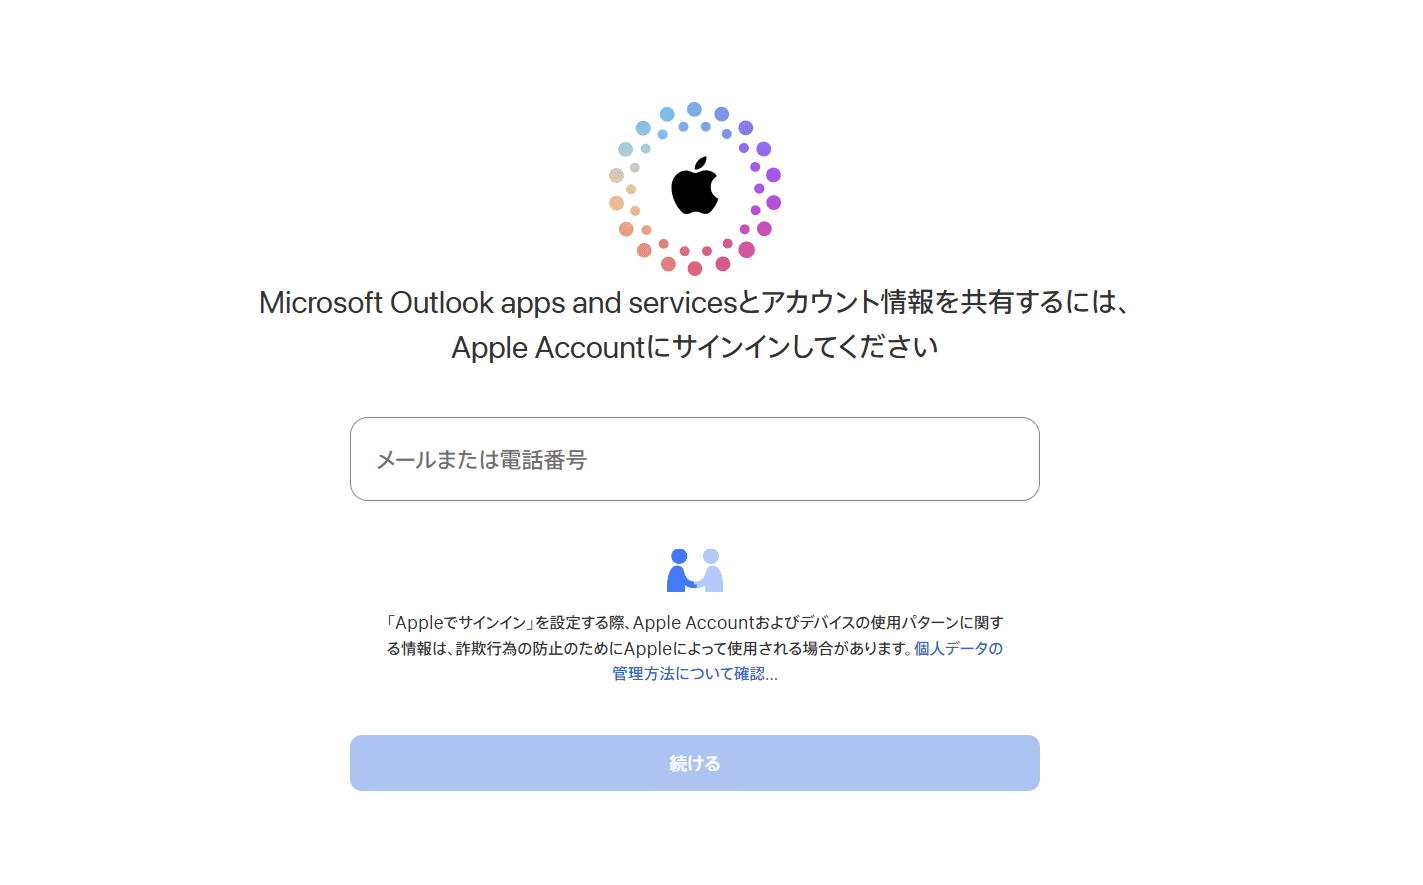
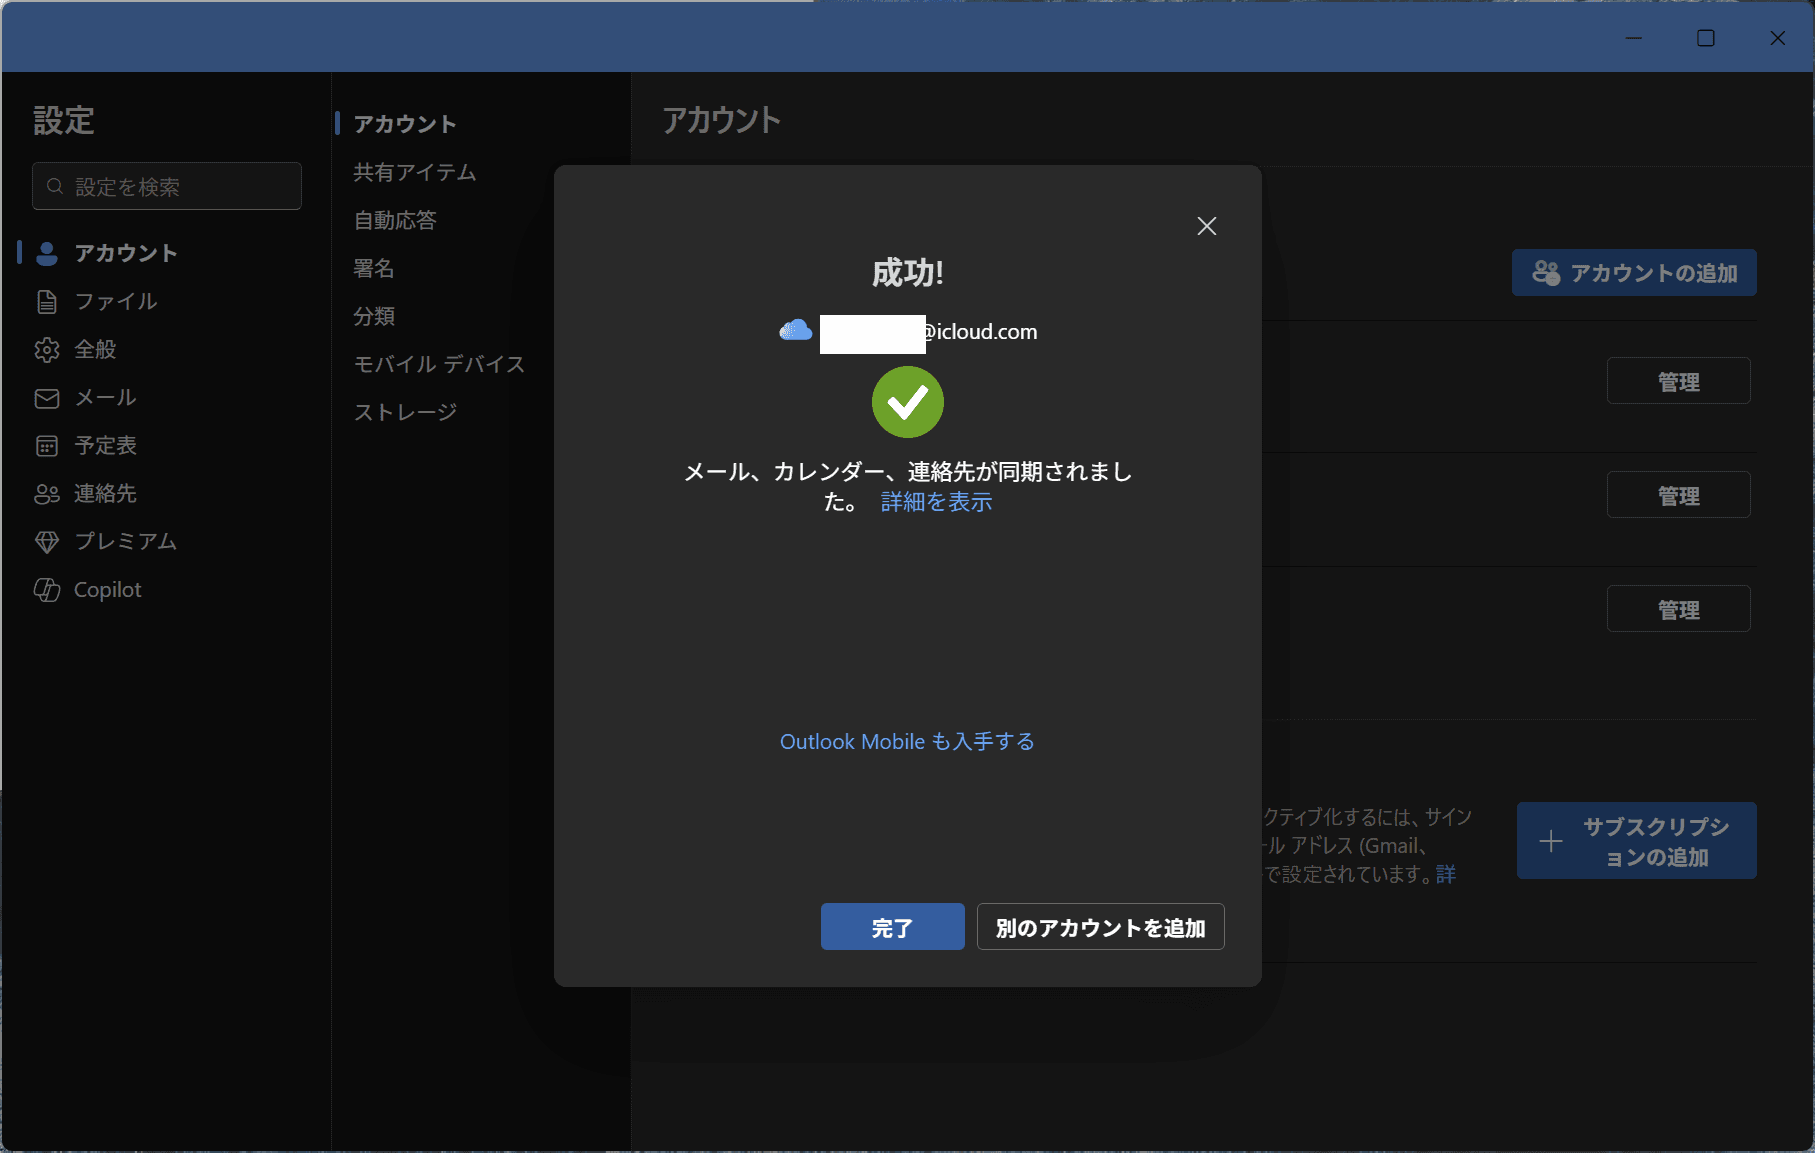
You will be prompted for a passcode, and once set, the screen will return to Outlook, and if the account has been added, the setup is complete.
Summary
This time, I introduced setting up a custom email domain for personal use with iCloud+. I covered linking it with Outlook, but personally, I plan to connect my previous accounts to Outlook too and handle migrating emails, schedules, and contacts directly within Outlook. Since it's a personal account, it's a good opportunity to organize things during the migration.