Cloudinary makes it easy to upload one or more images from a variety of sources, including local devices, URLs, and image searches. For example, you can import photos from within your own computer or smartphone, or even directly by specifying an image URL or external service on the web. This page reviews the basic steps for uploading assets.
Upload your first asset
2025-07-08
Asset upload road
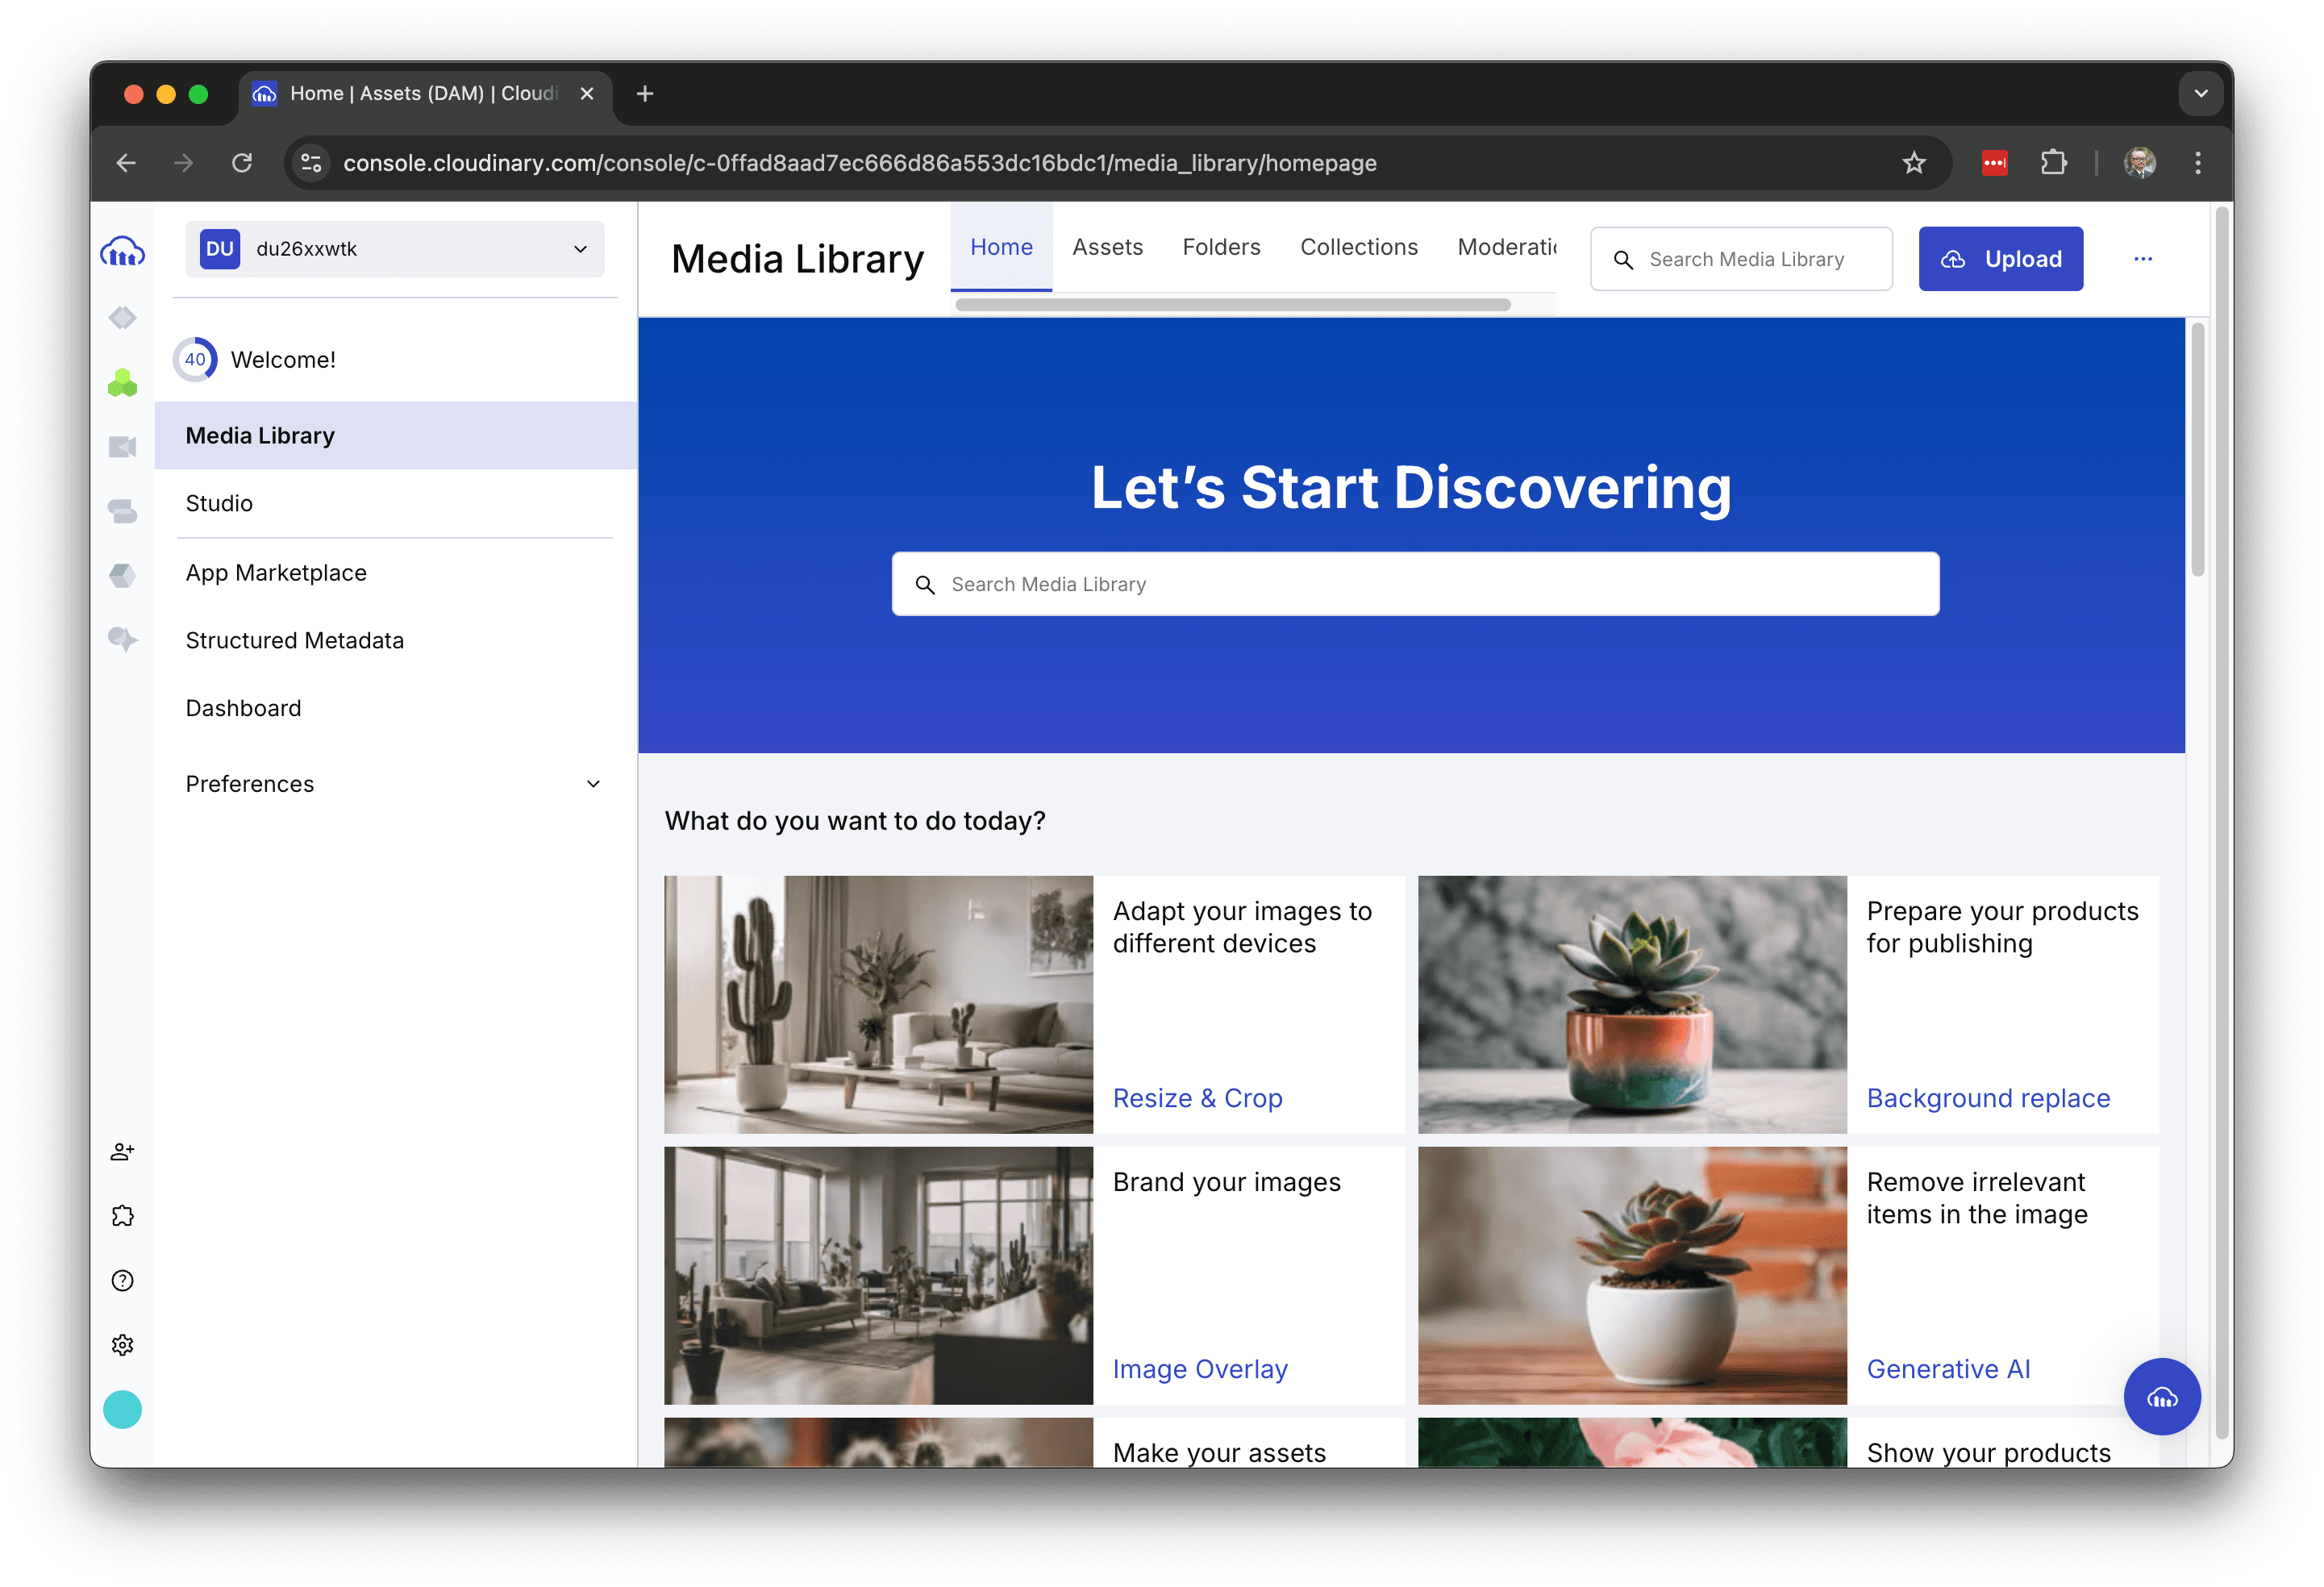
Uploading assets can be performed by clicking on the Upload button in the upper right corner of the Media Library administration page.
Clicking the button displays a dialog box as shown below.
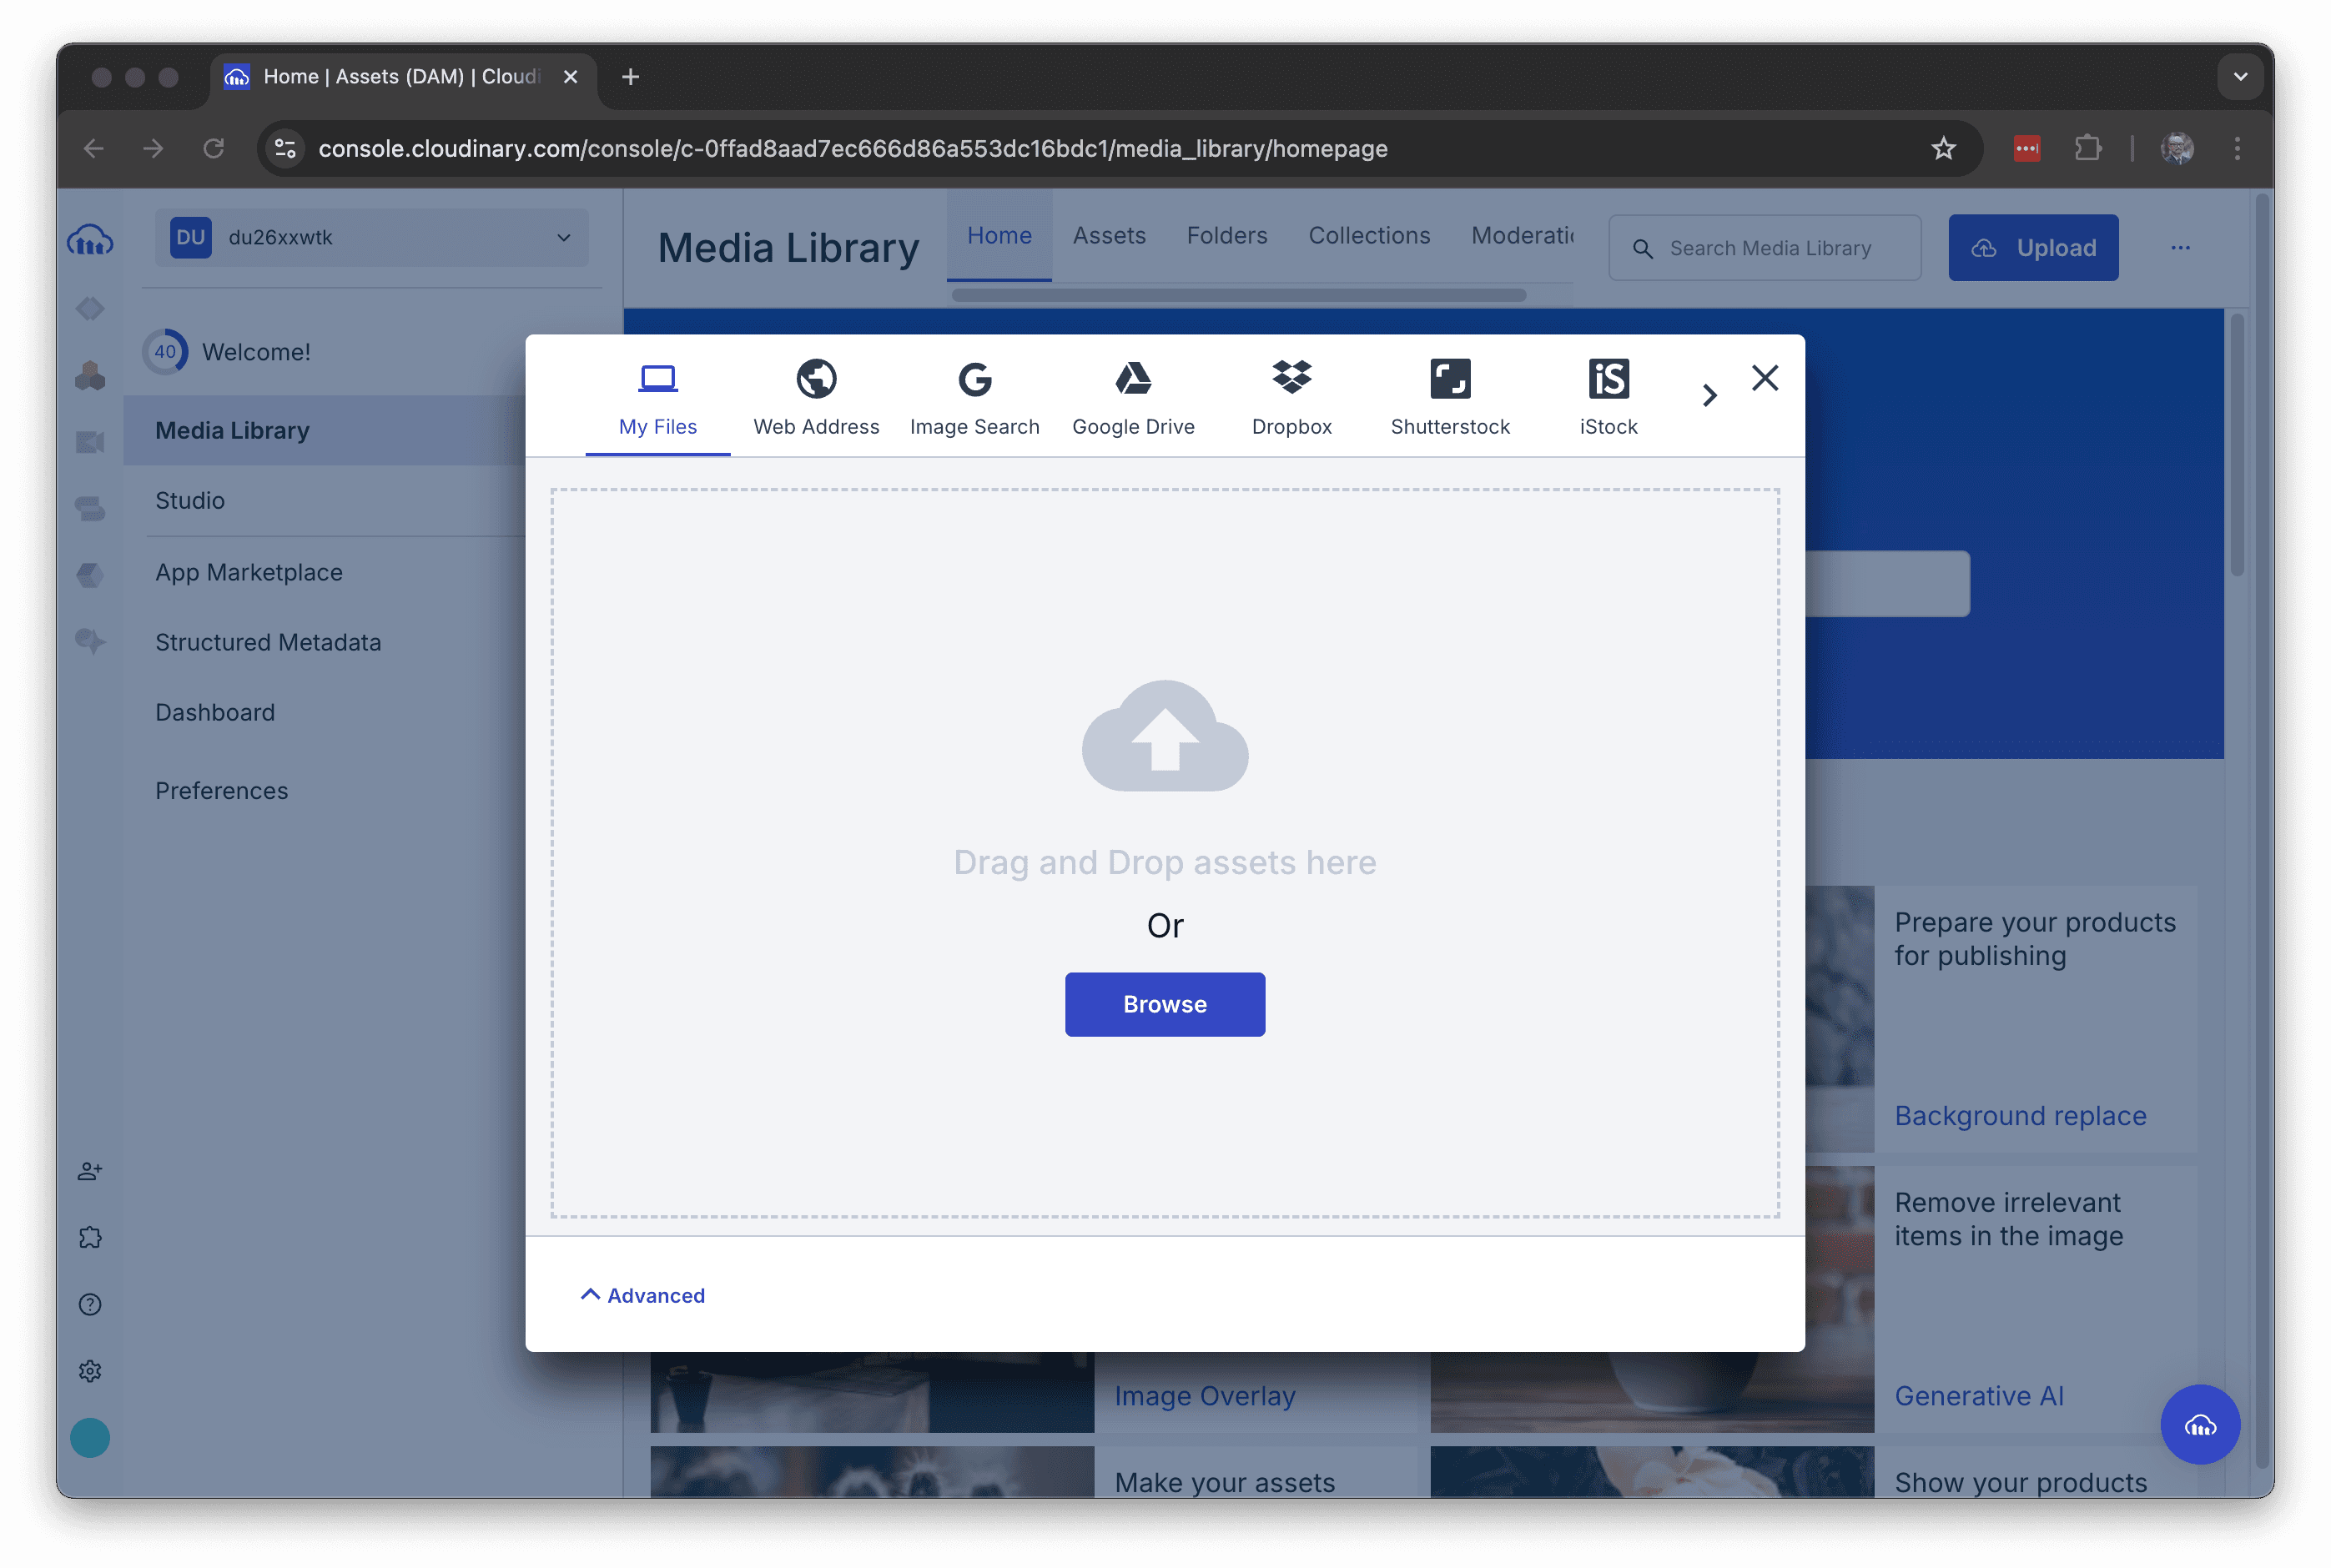
The buttons are listed at the top of the dialog, each of which can be used to upload media in the following ways.
- My Files: Drag & drop file uploads
- Web: Upload images from your website by specifying the URL
- Image Search: You can use Google's image search to specify the images that come up and upload them
- Google Drive: Connect to Google Drive for uploading
- Dropbox: You can upload assets that have been uploaded to Dropbox
- Shutterstock: Log in with your Shutterstock account to upload your assets
- iStock: Log in with your iStock account to upload your assets
- gettyimages: Log in with your Getty Images account to upload your assets
- Unspluash: You can select and upload unsplash material from the image provider site
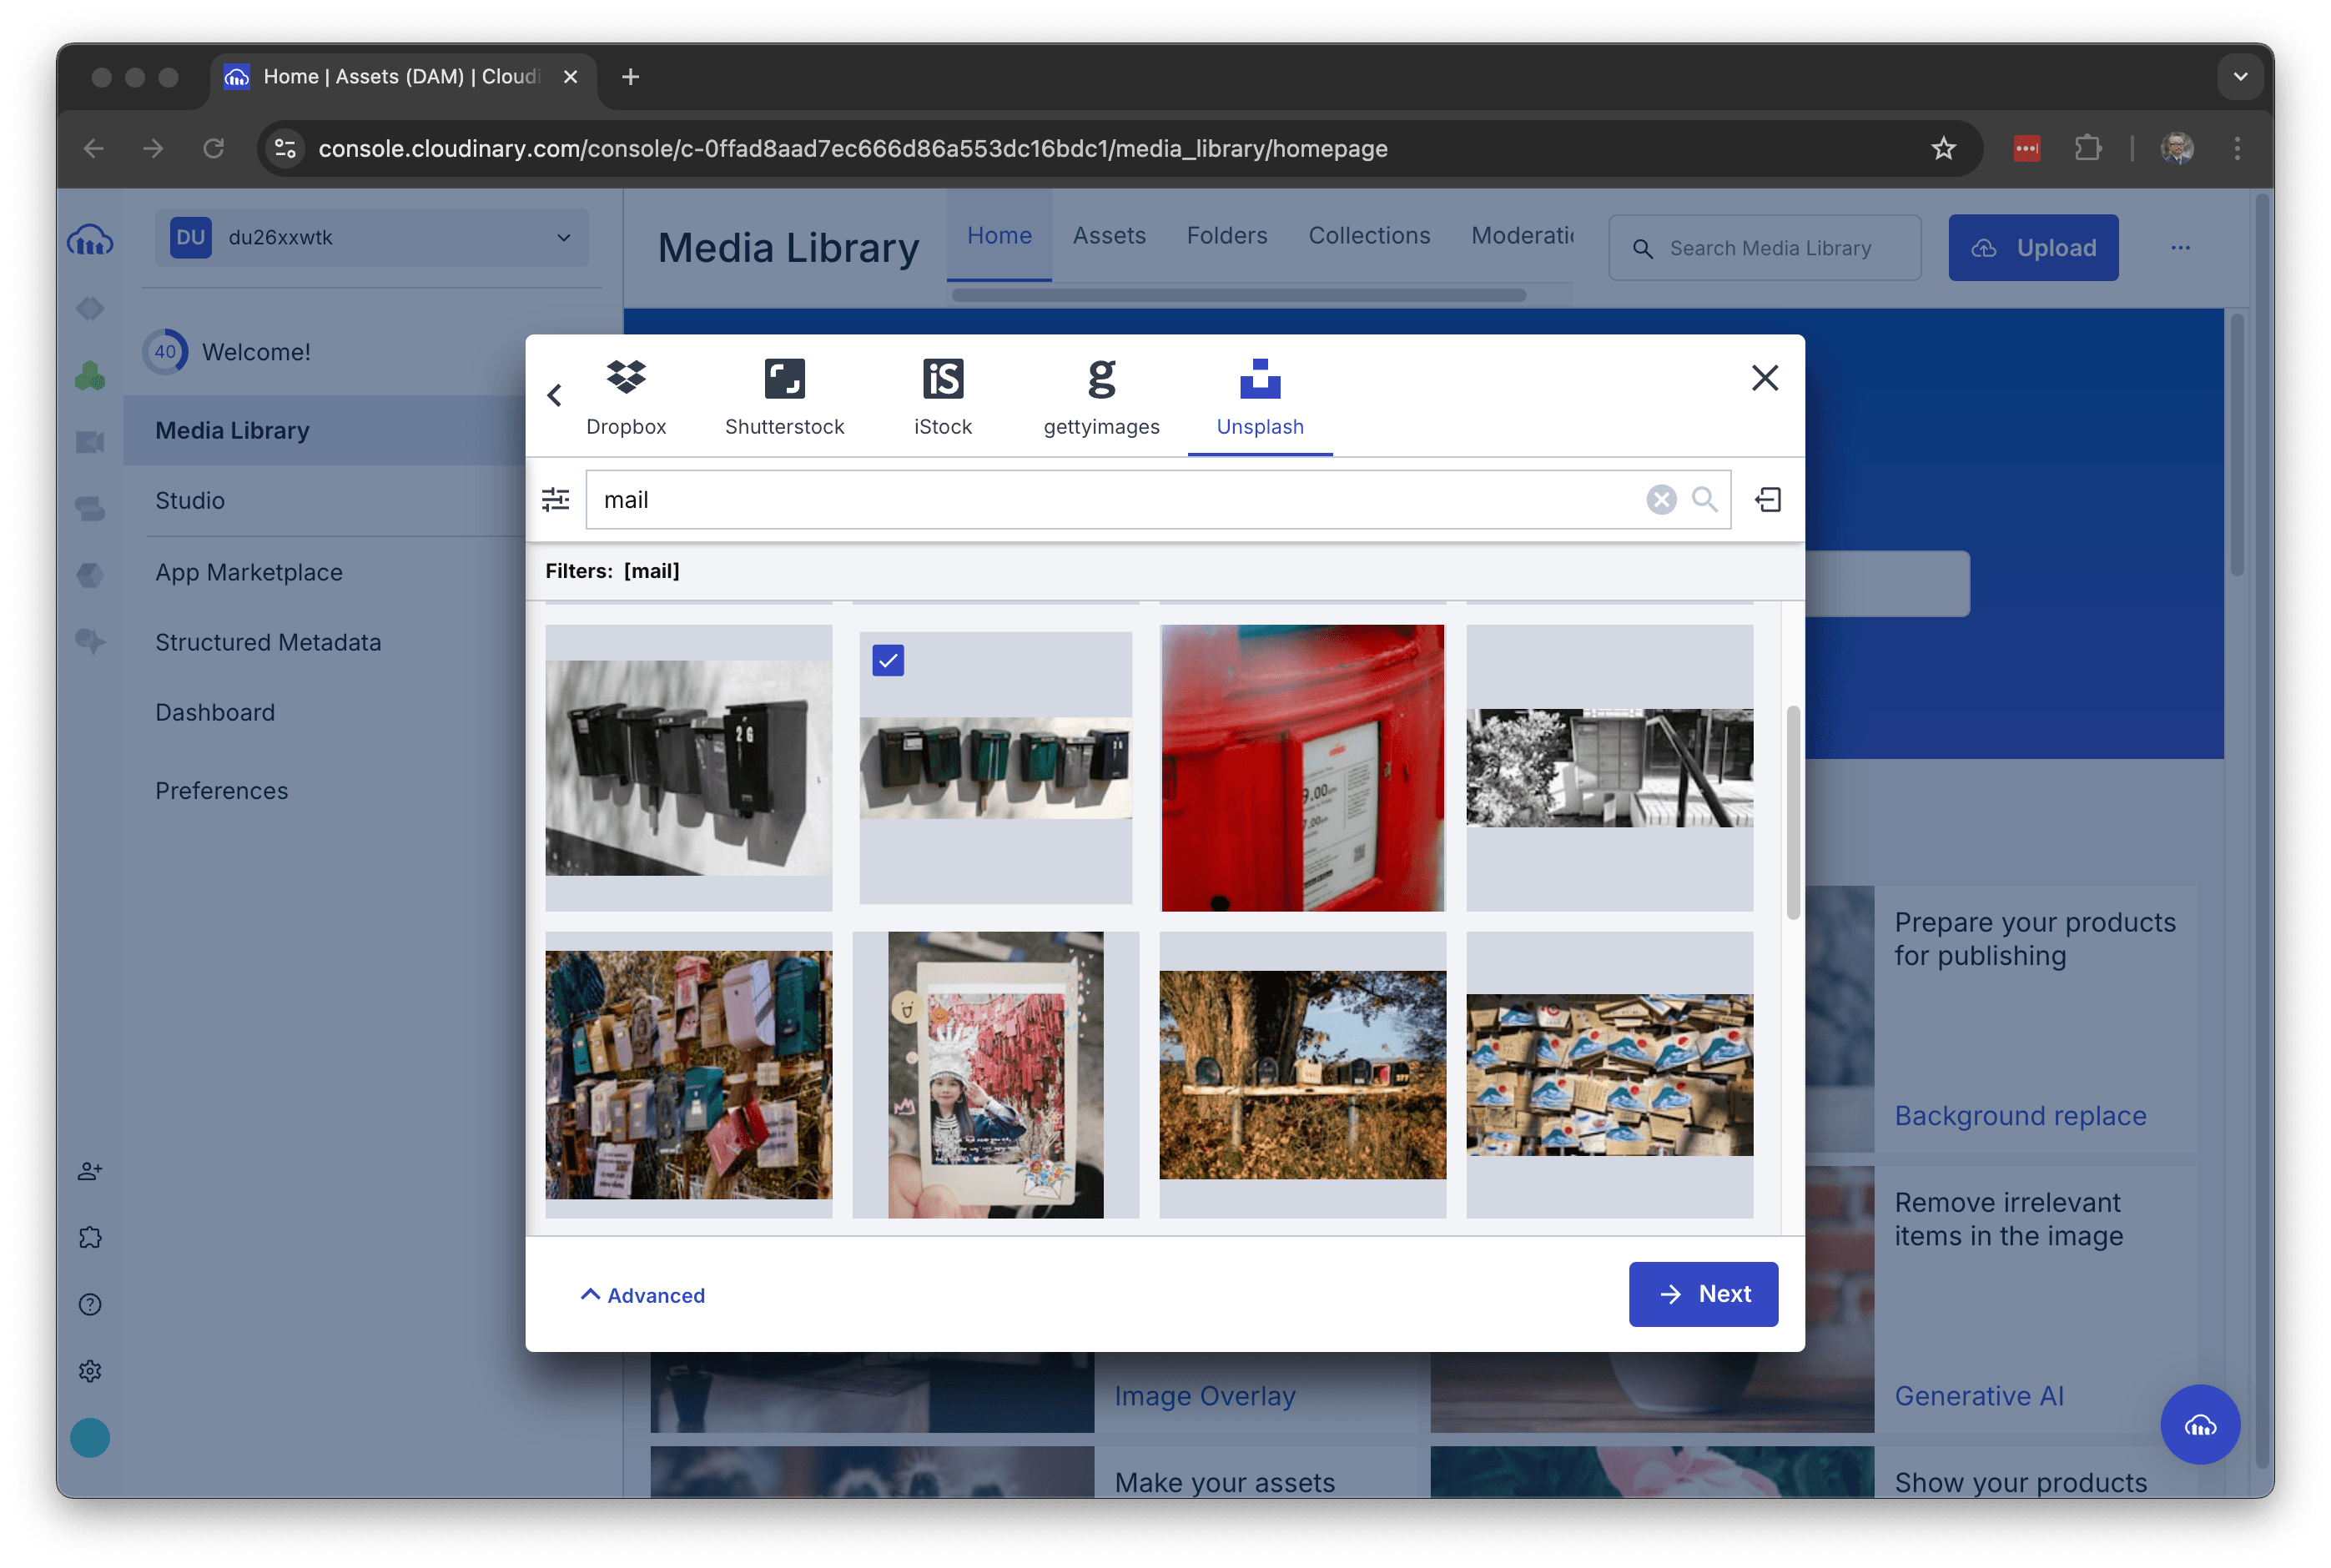
This time we will upload assets from the Unsplash site.
Asset upload of Unsplash
Clicking on the Unsplash icon provided on the far right side of the dialog will take you to the following screen.
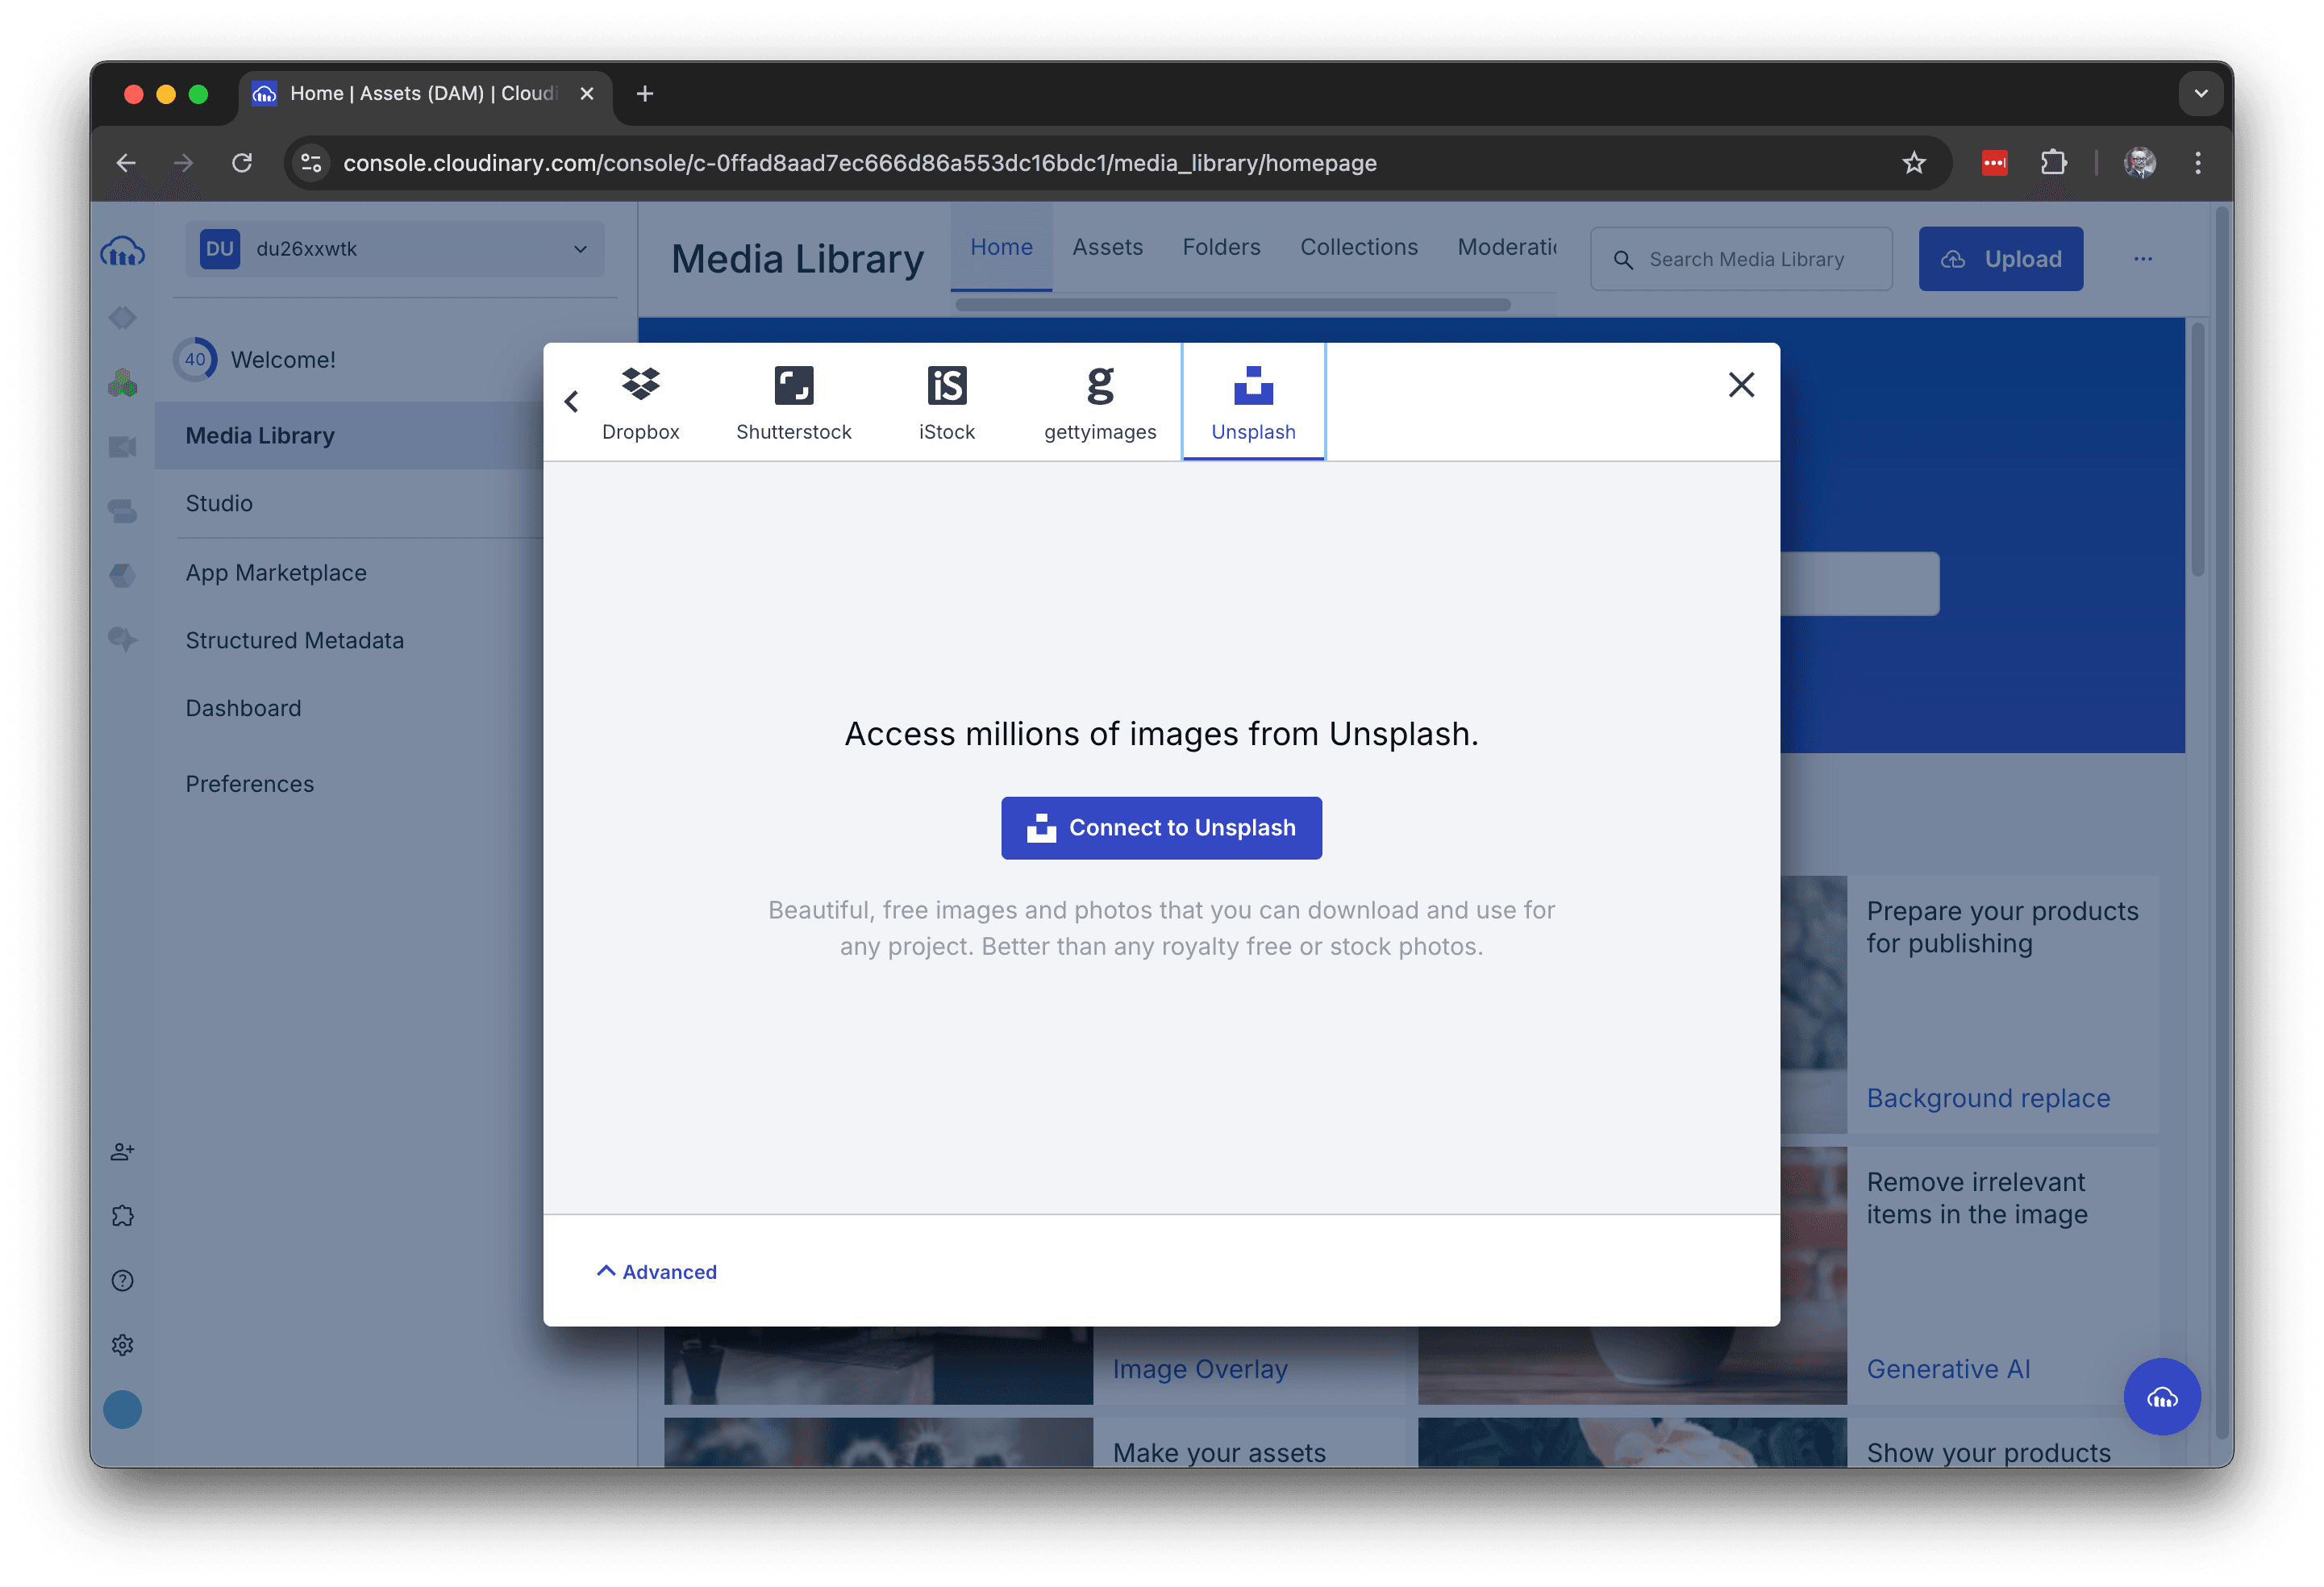
Click on the Connect to Unsplash button shown on the screen above. The screen will switch to show the assets provided by Unsplash.
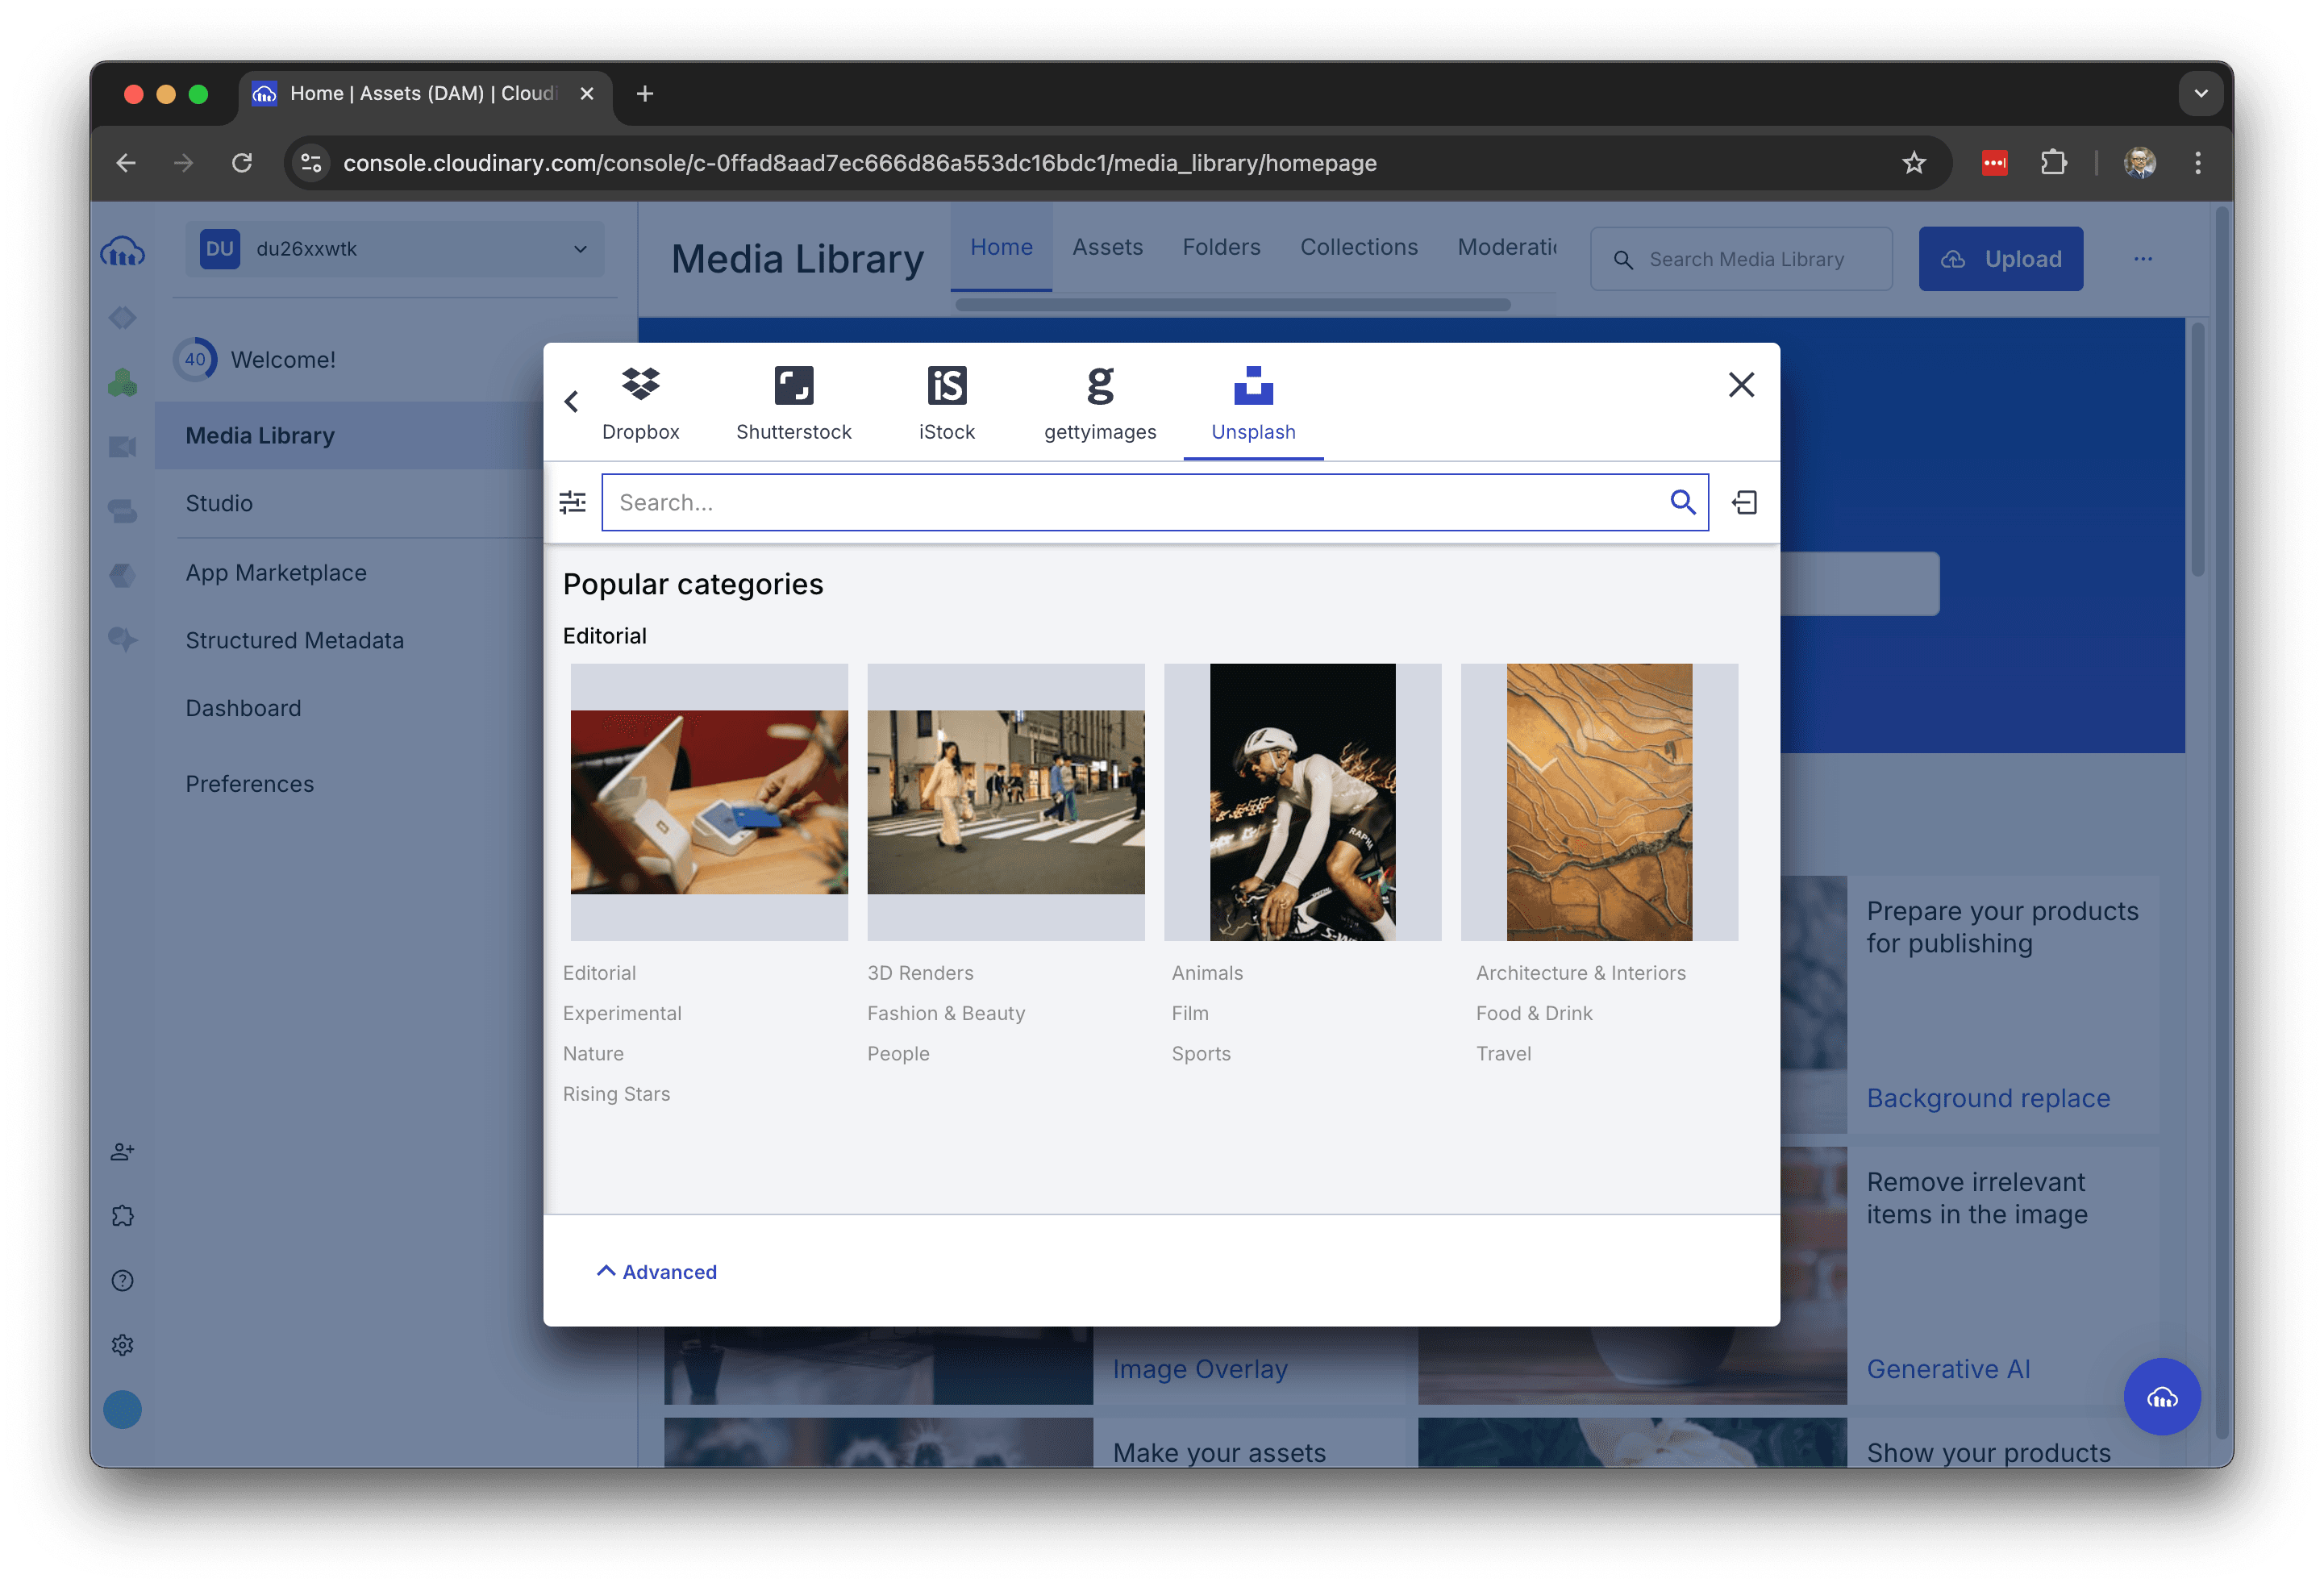
Now search for mail and click on the resulting image.
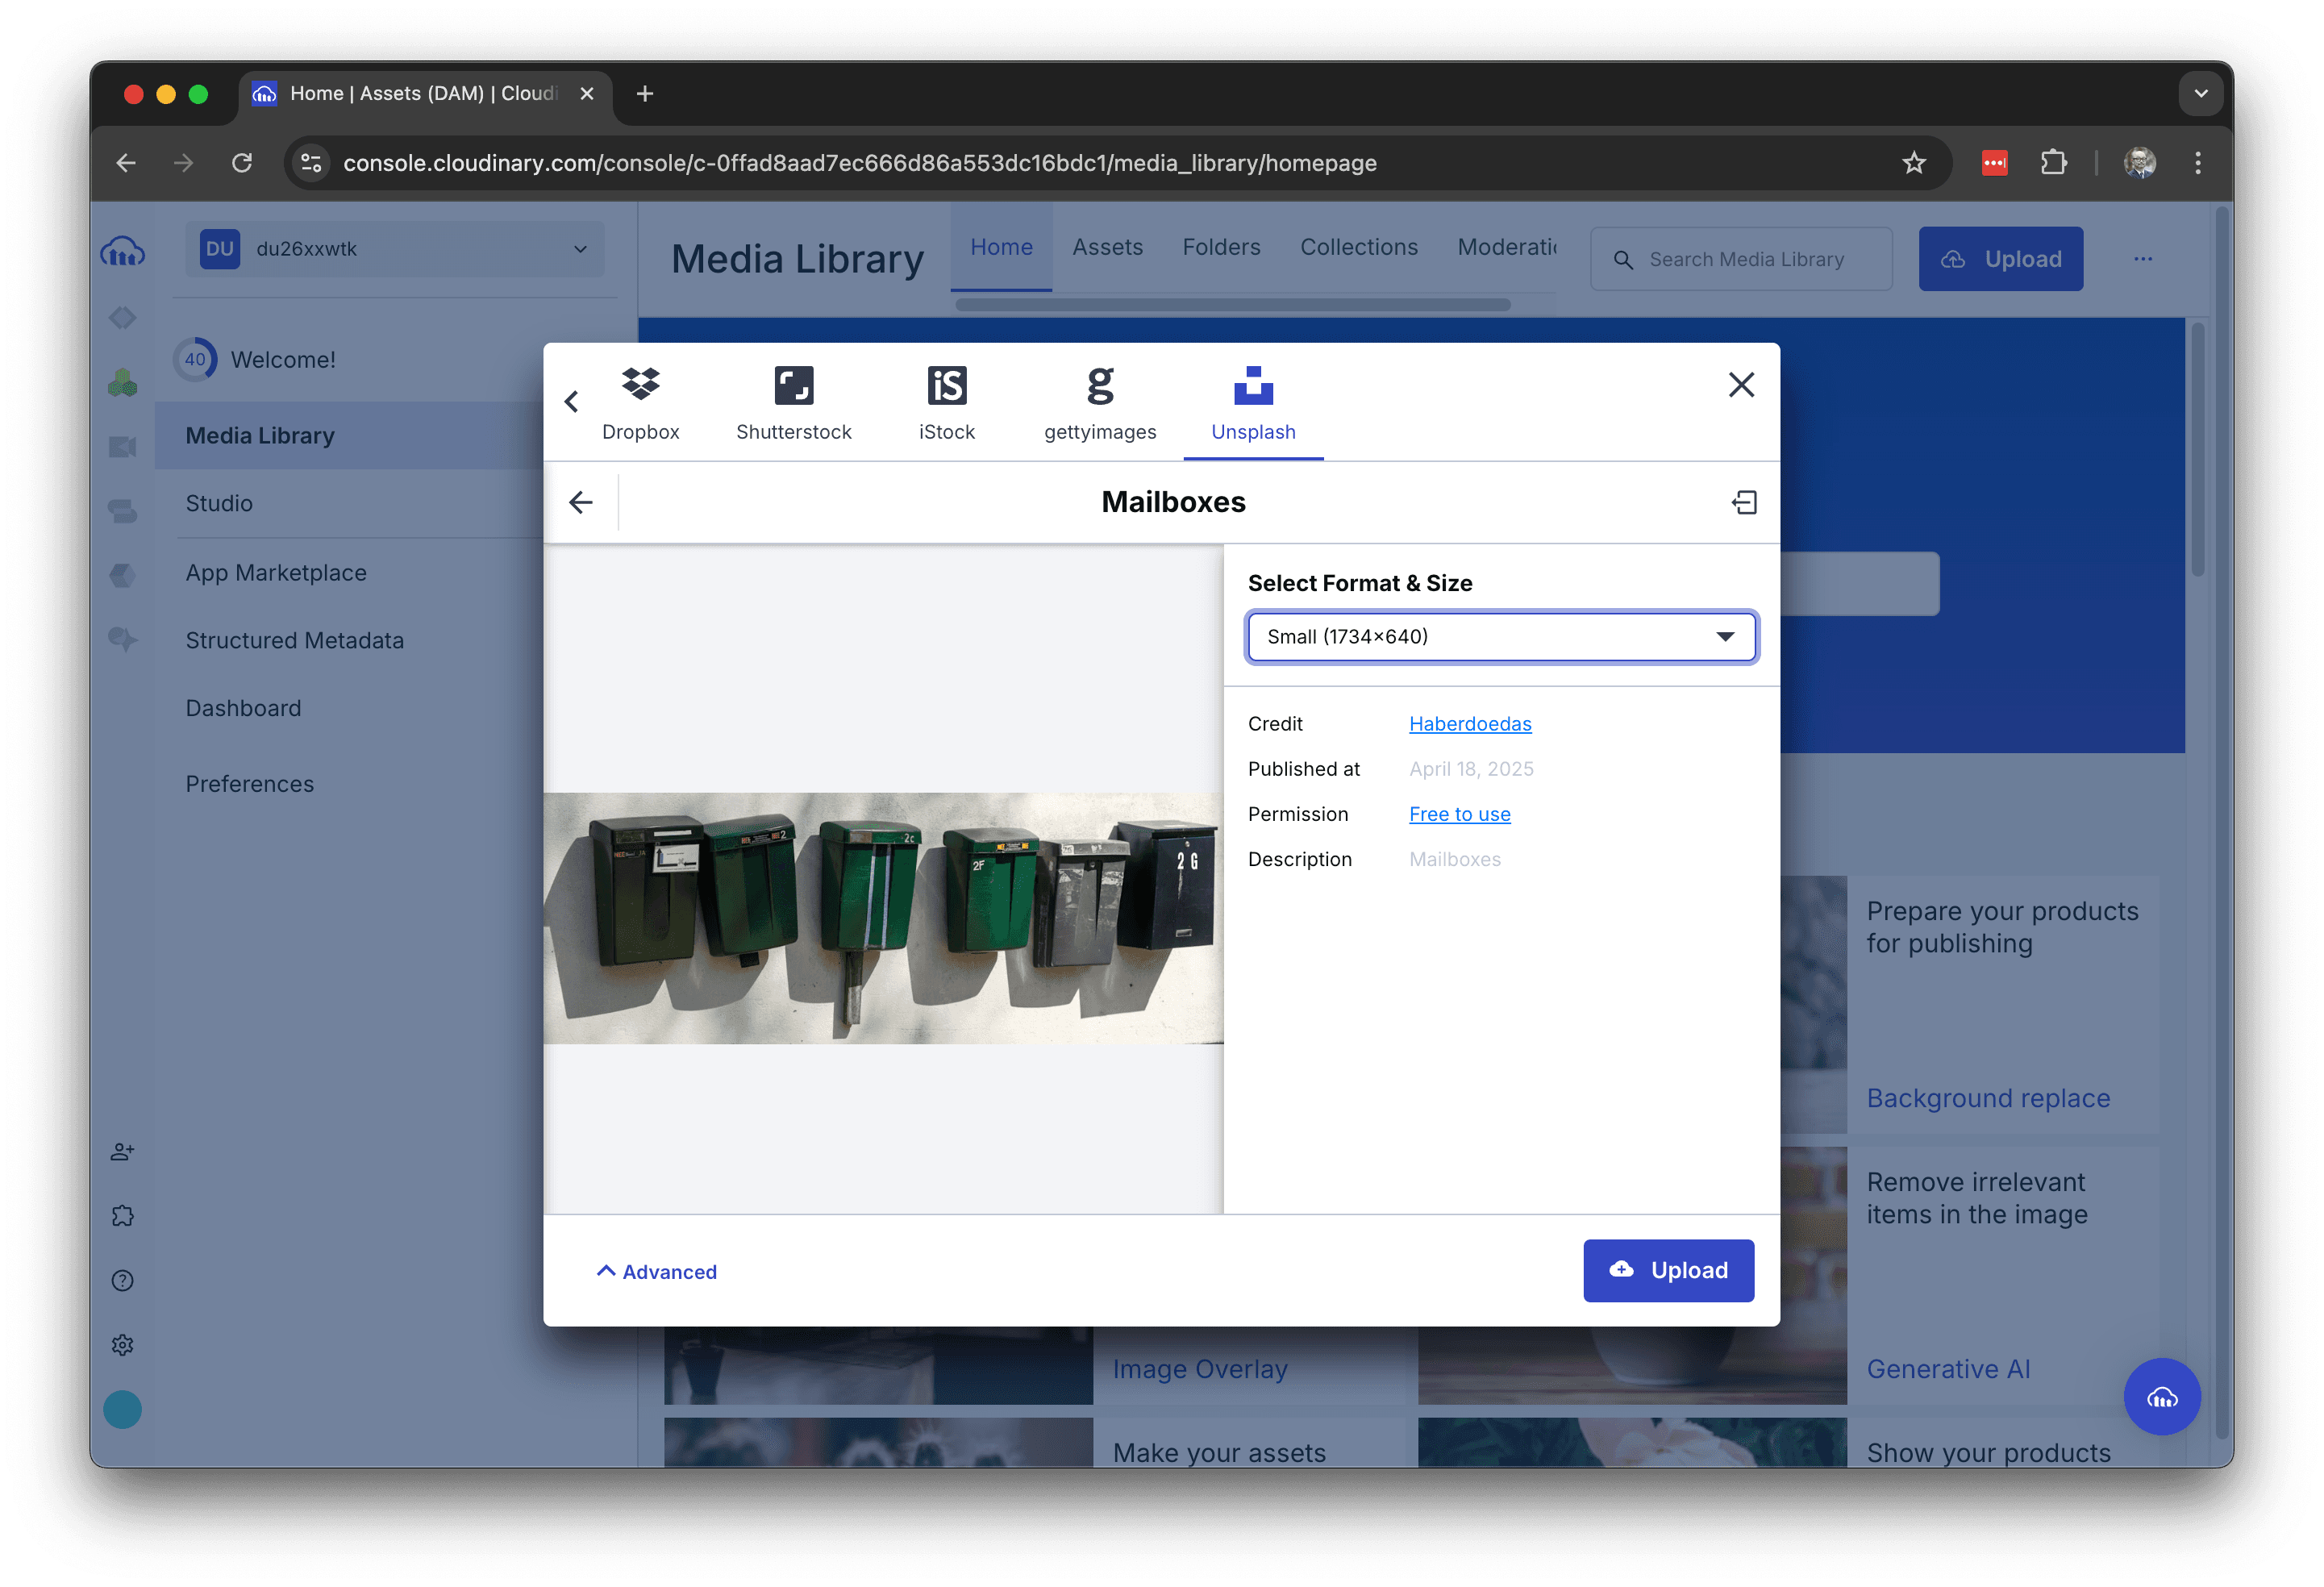
Clicking the Next button will display information about the image to be uploaded. The following screen shows that the image has already been sized.
Clicking on the "Upload" button will proceed the uploading process, and information about the tags will be displayed.
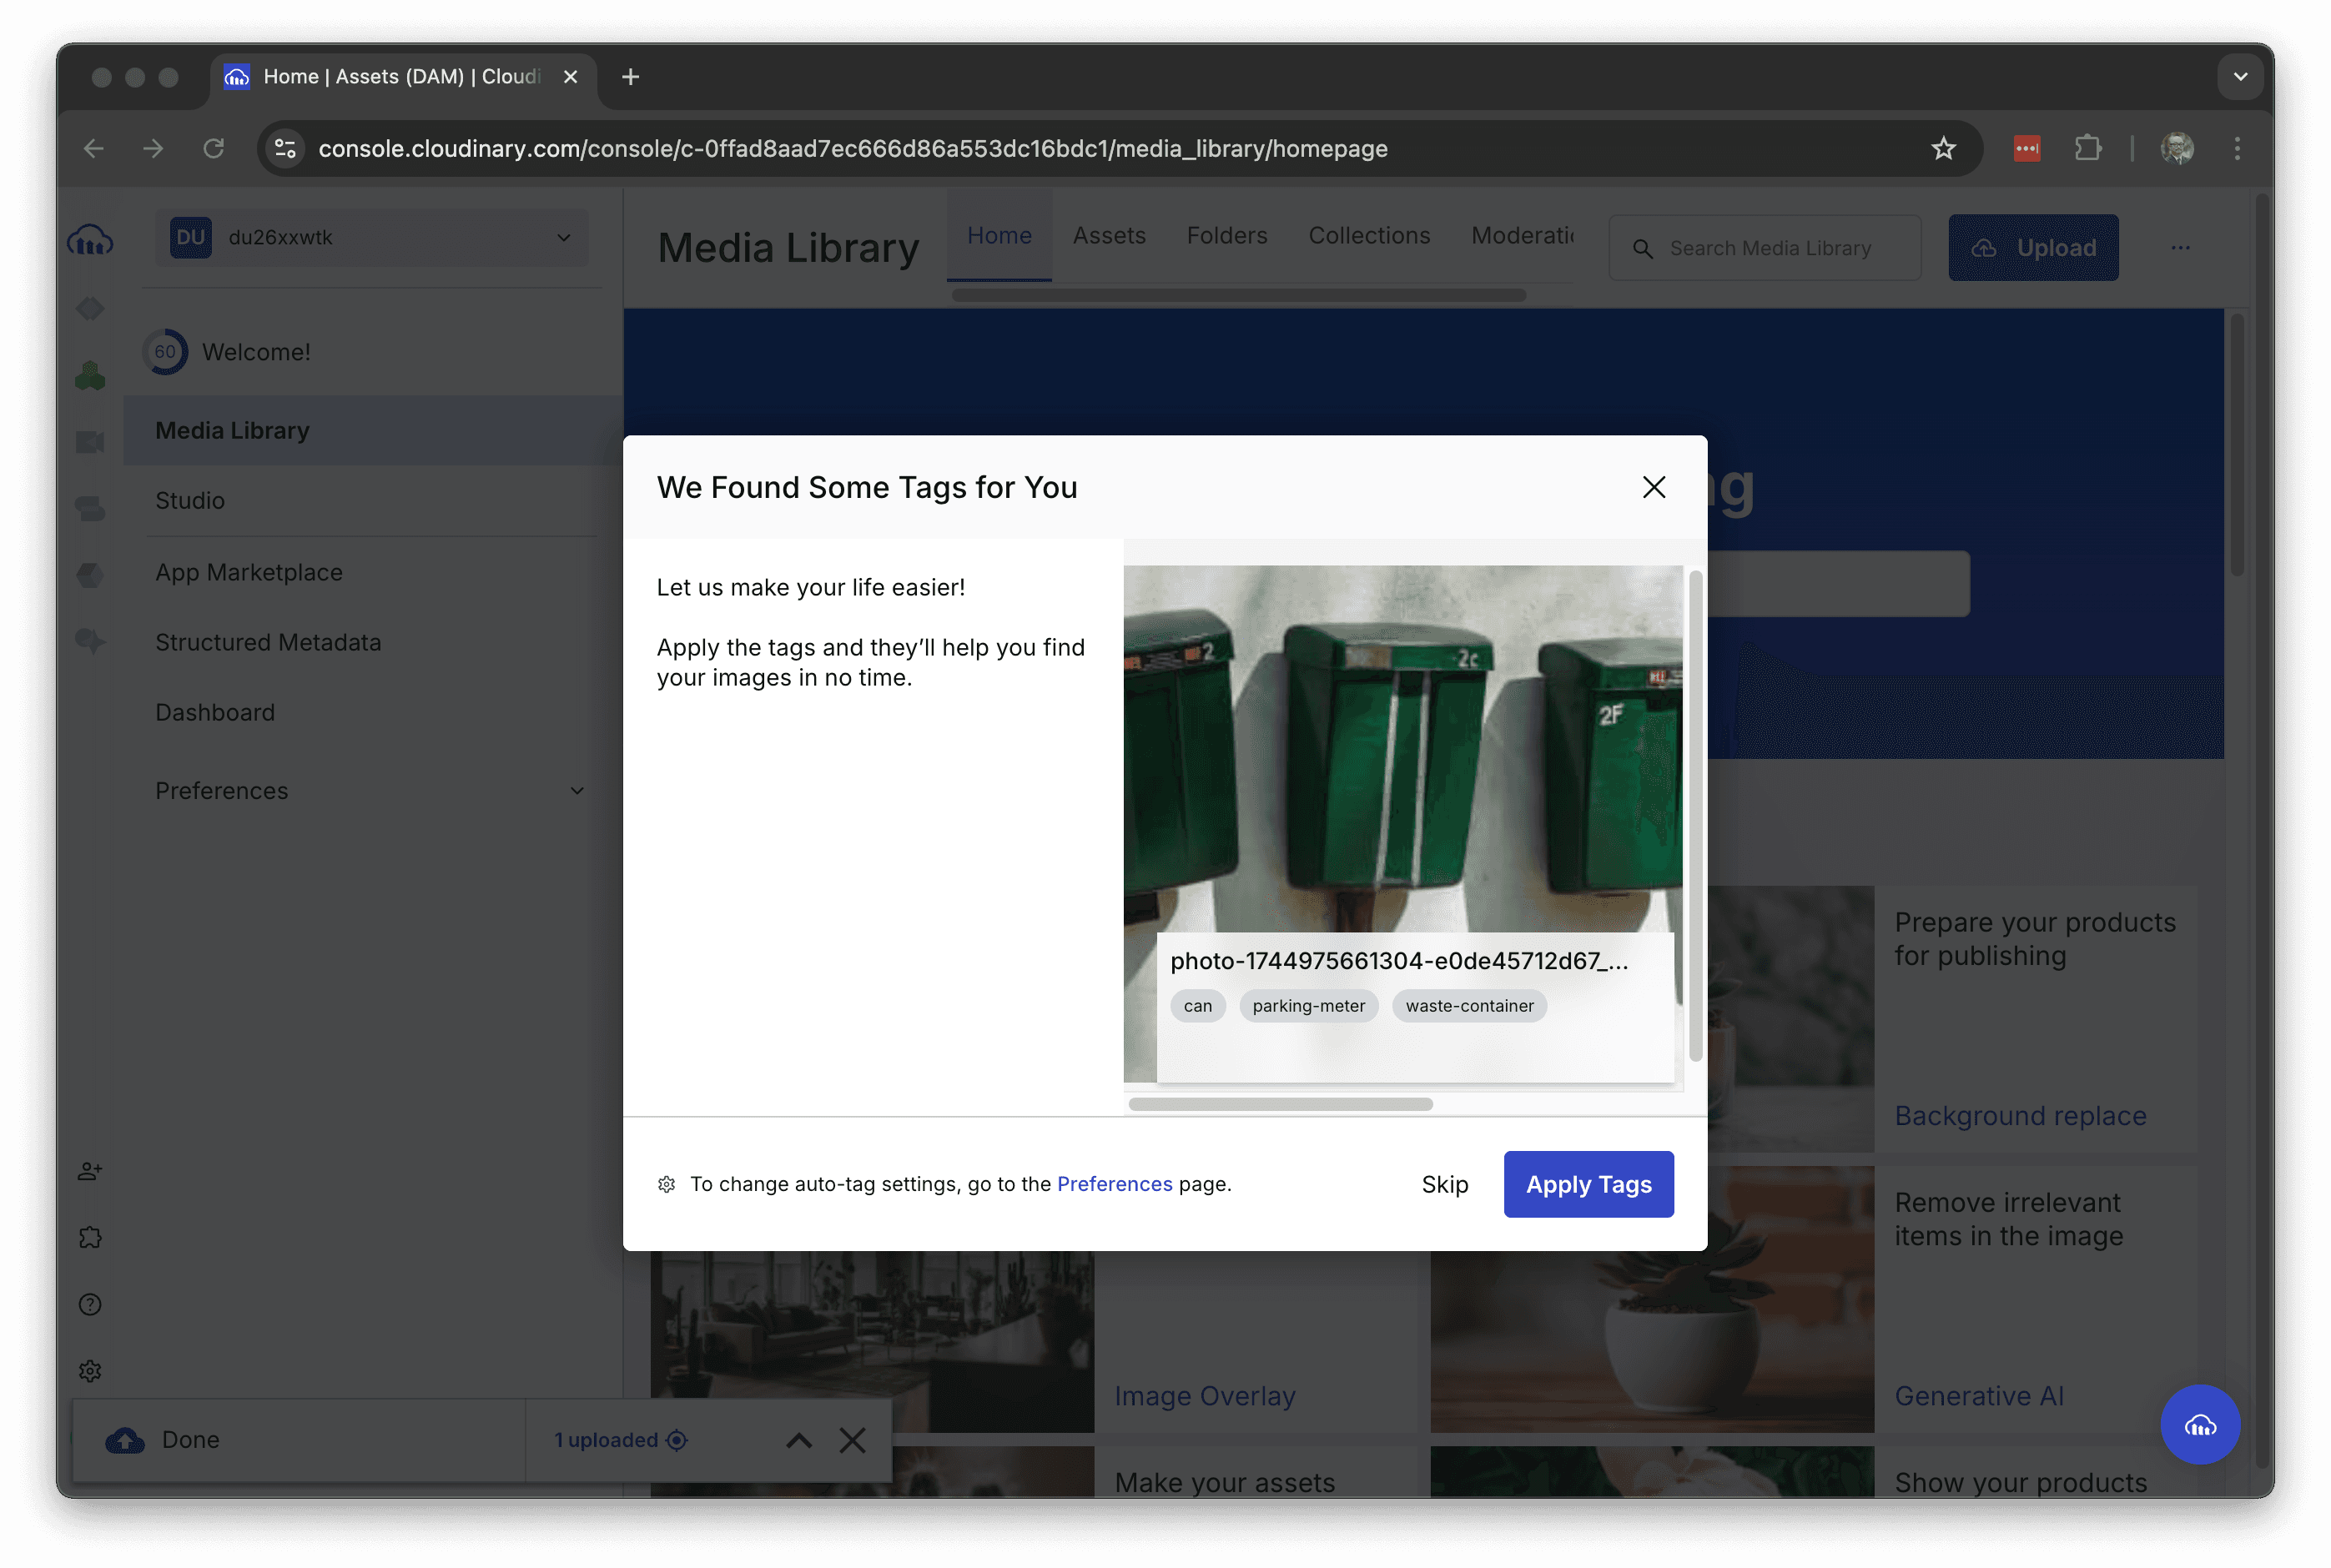
This time, click on the Apply Tags button to tag and upload the file.
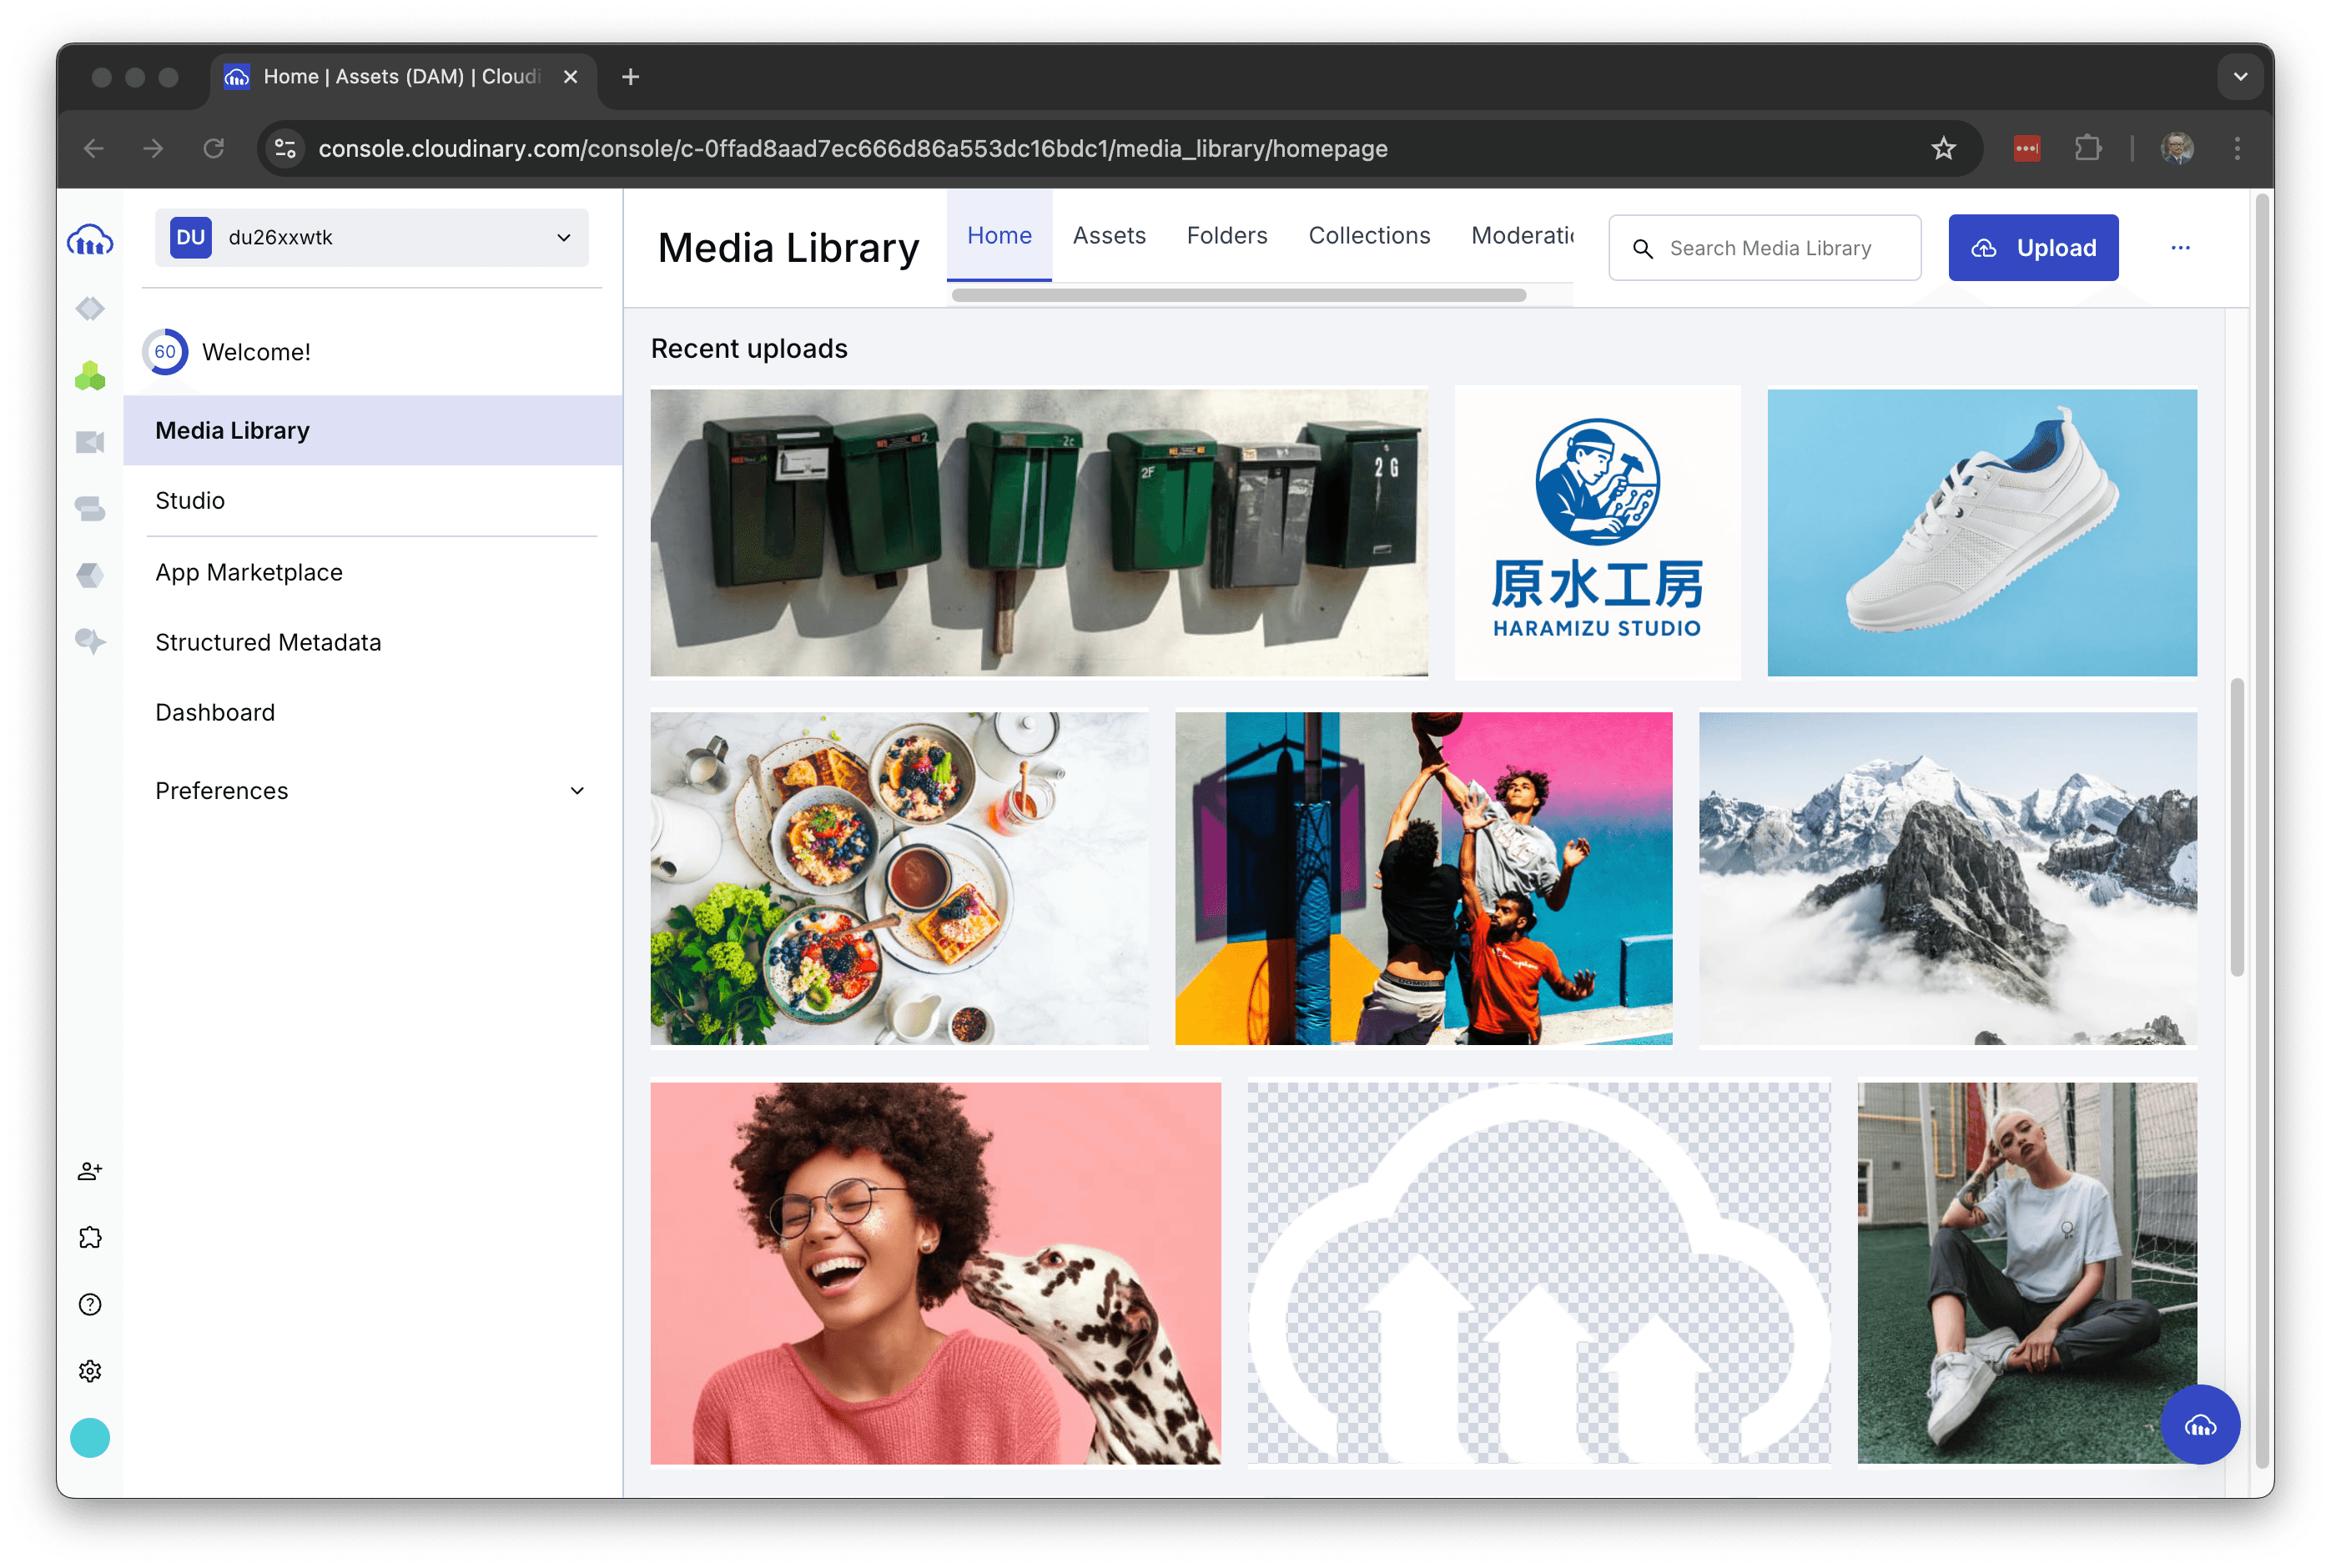
Check Asset
Confirm uploaded assets. You can see the assets you have uploaded as the most recent files in the media library.
Open the asset and check the Metadata section to see that the tags are also set.
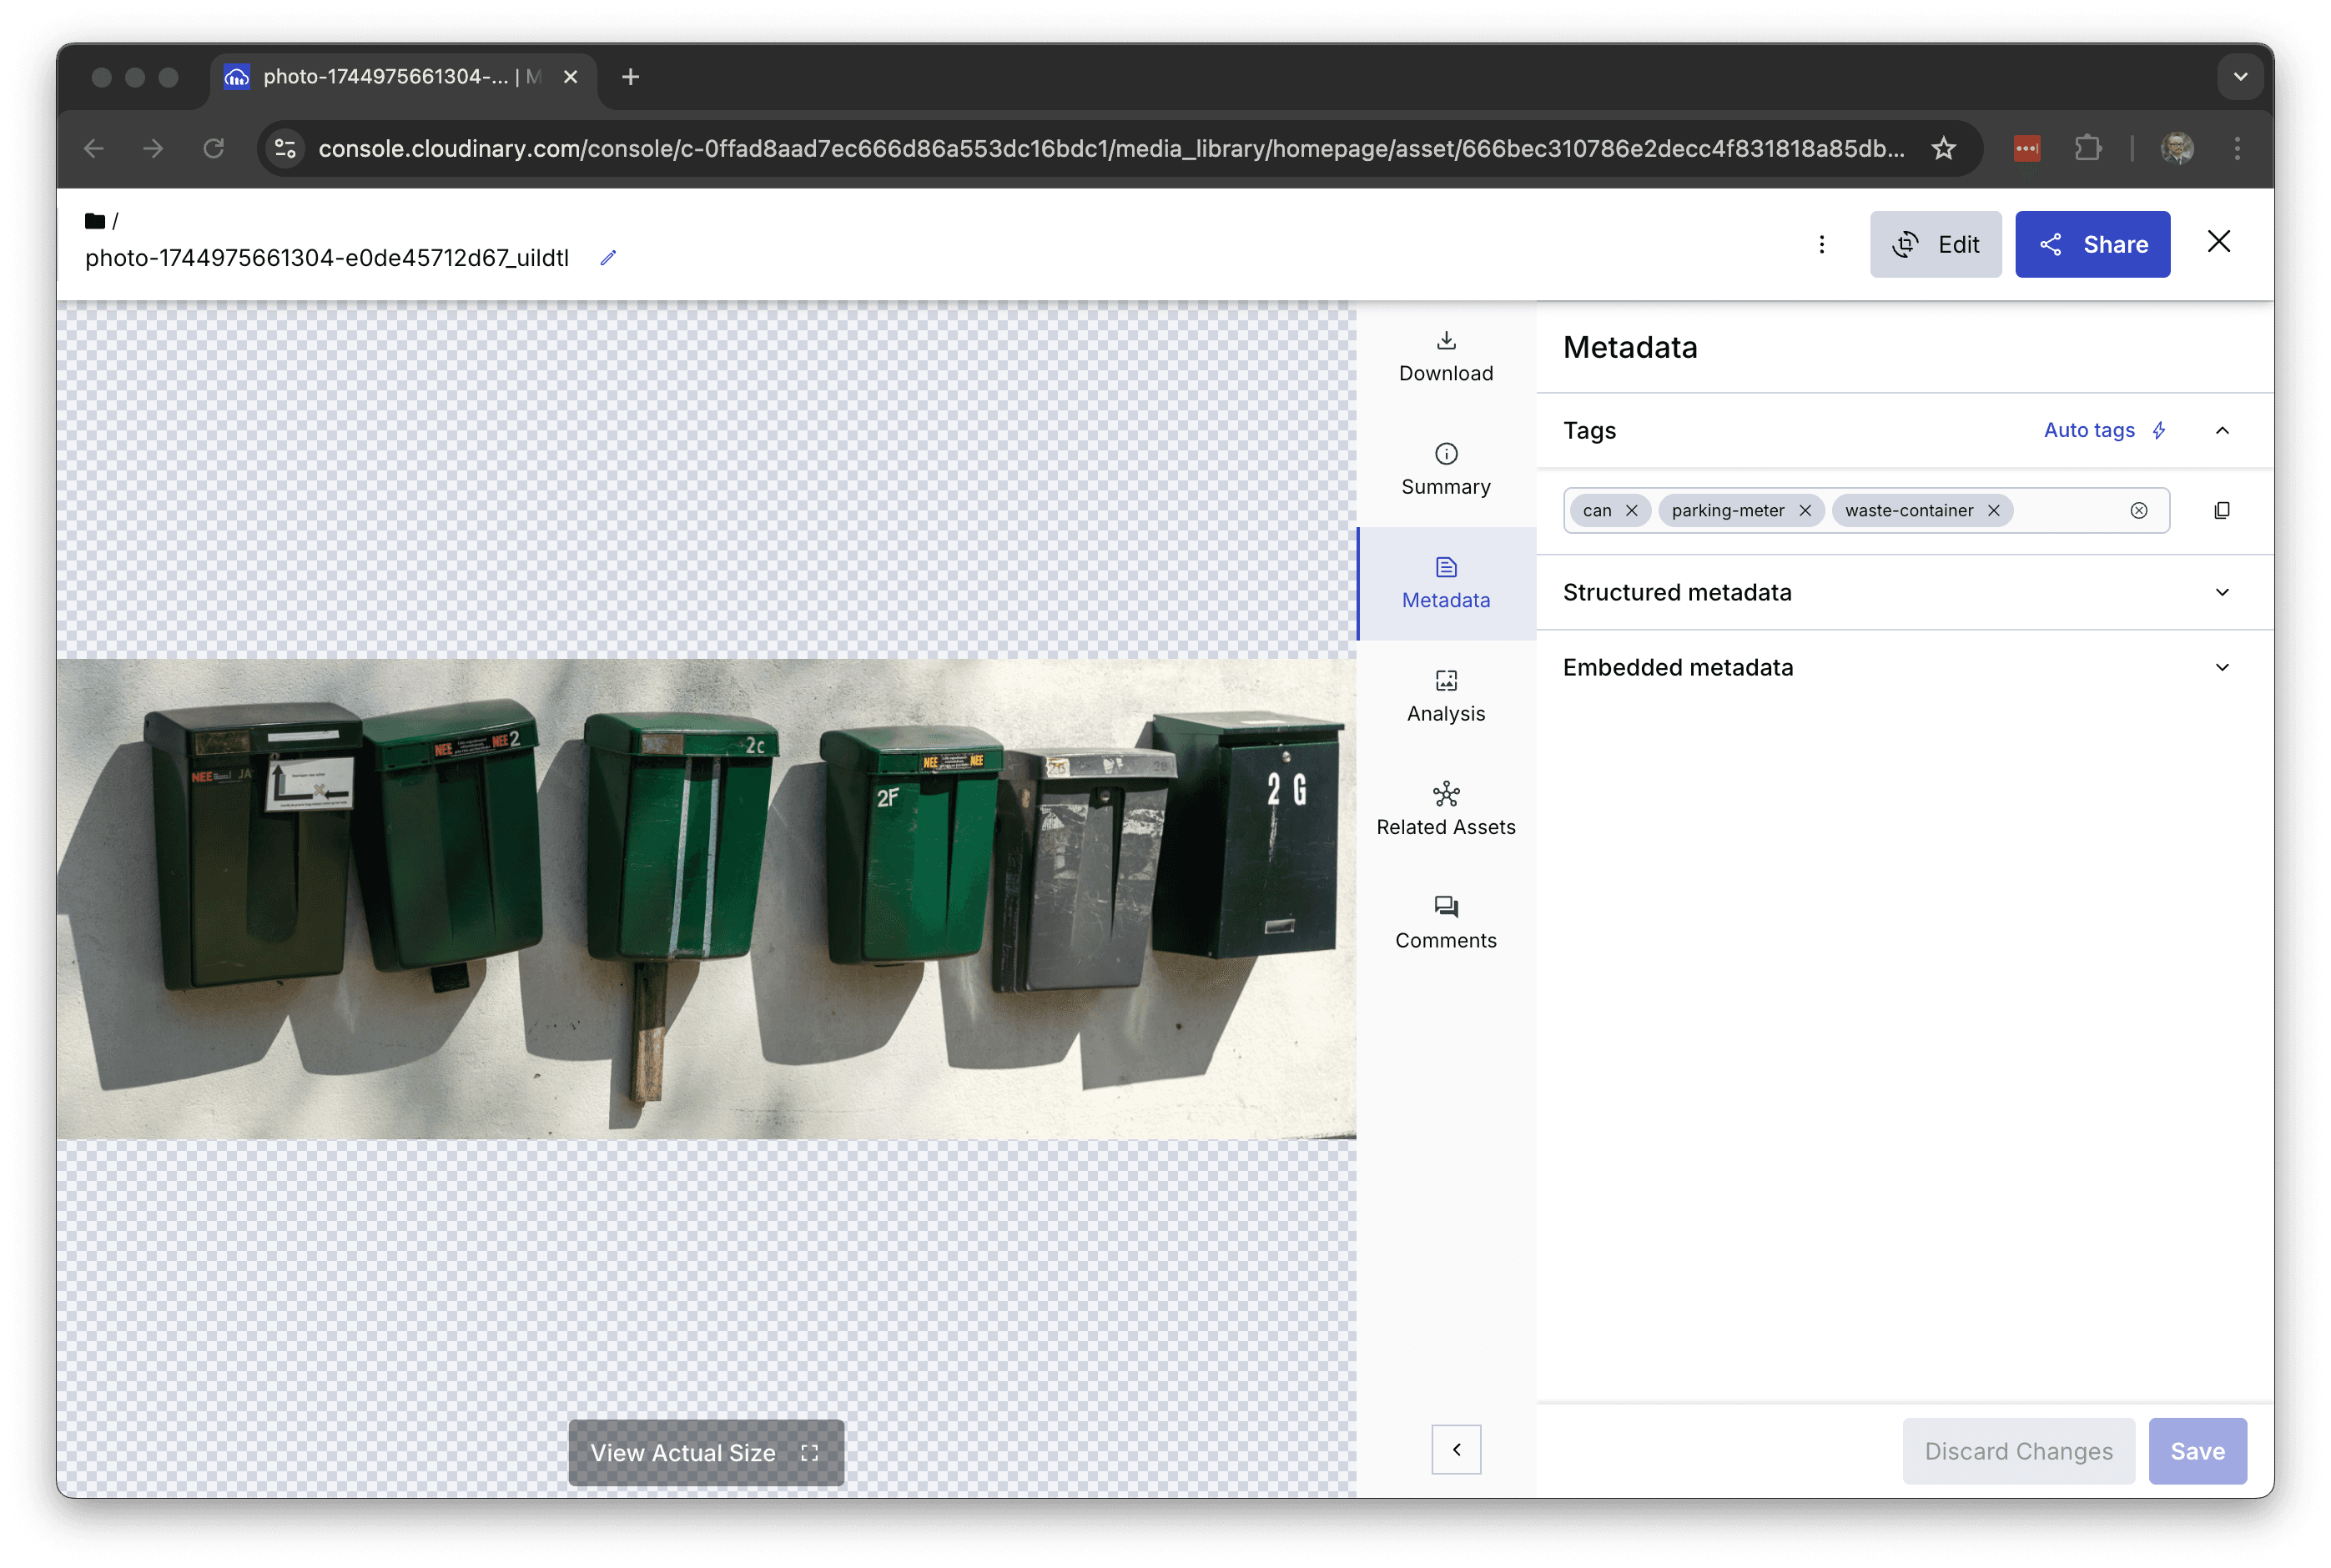
The asset upload is now complete.
Next Steps
We were able to verify that several steps are provided for uploading assets. It is not just drag & drop, but also the integration with various cloud services has been added by default.
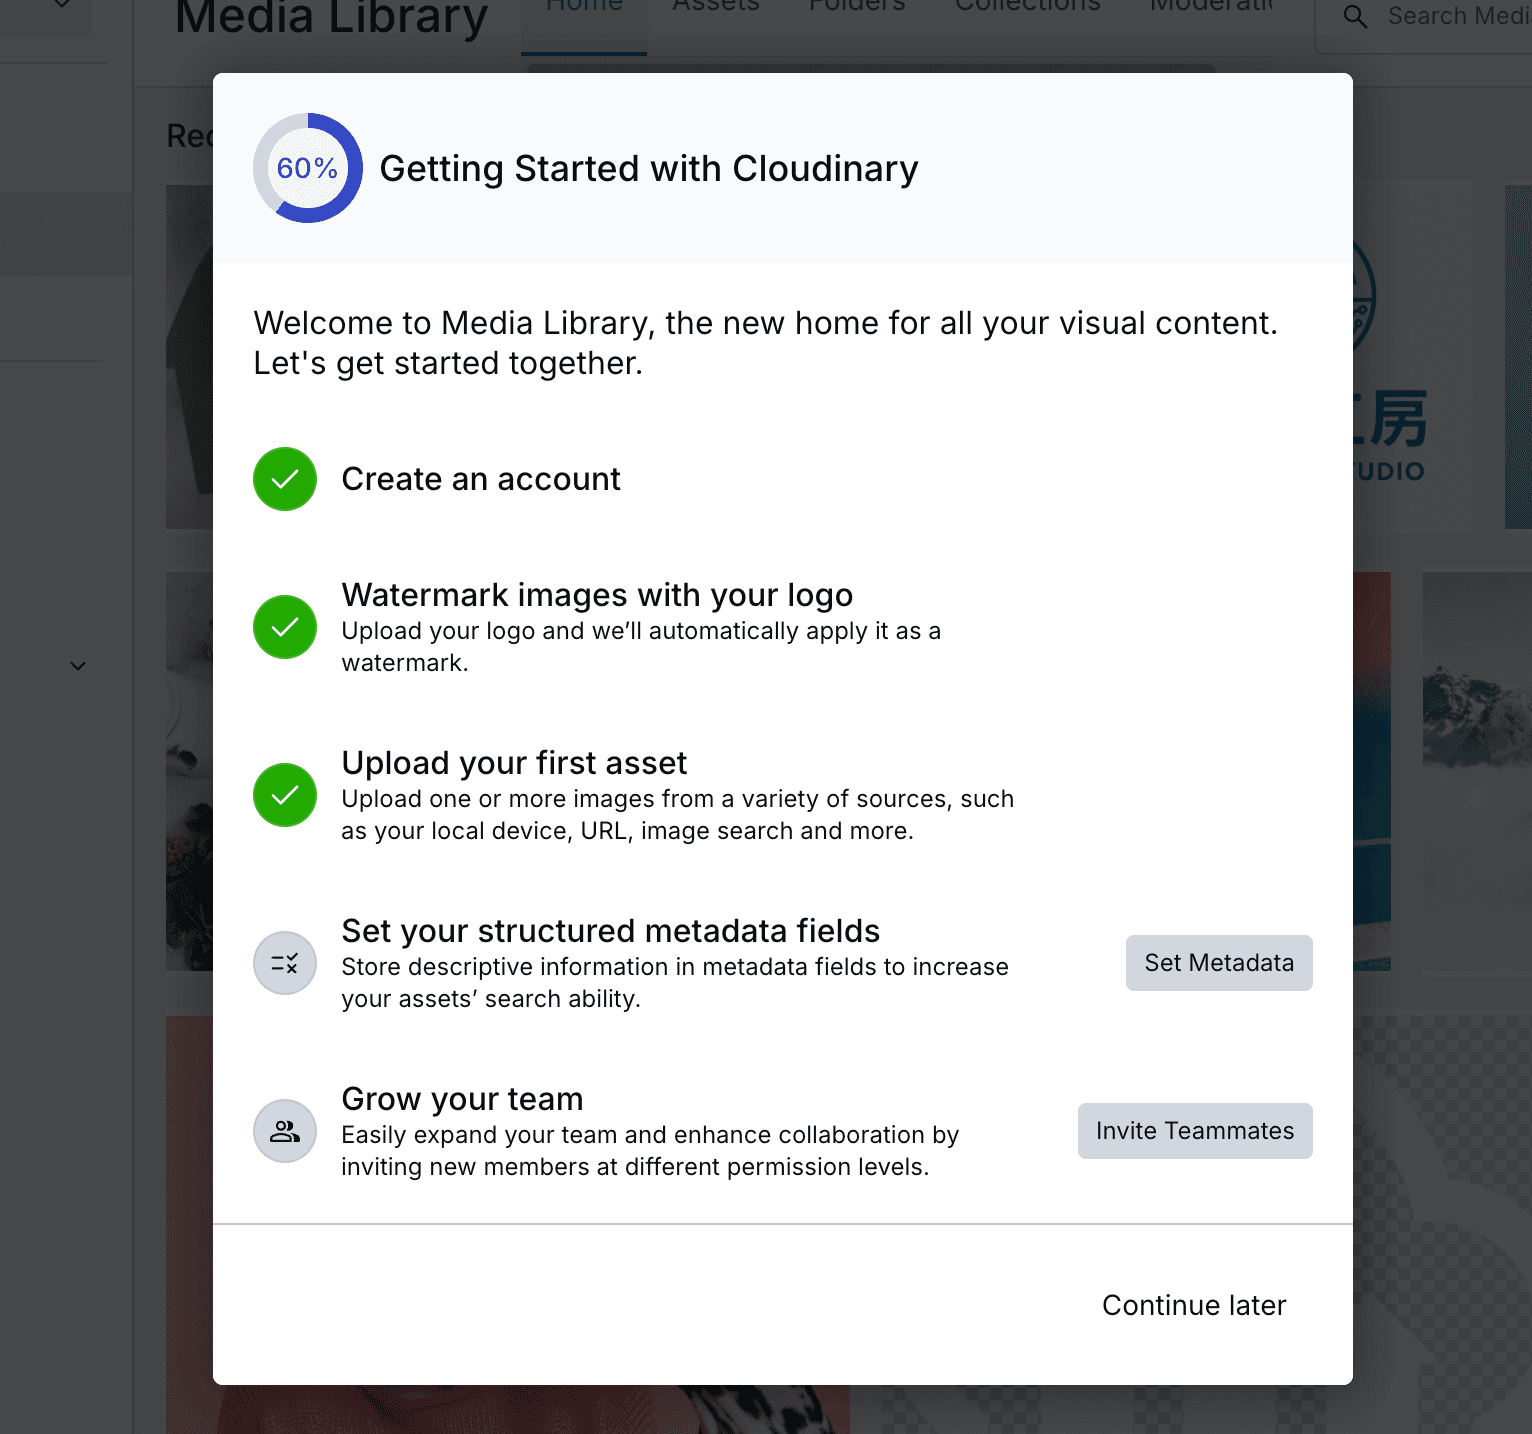
You are now 60% of the way through the Getting Started process.
Next, we will review the metadata definitions.