The first step is to upload the logo and add the settings to set the watermark for the image. By learning this step, you will understand the behavior regarding the conversion such that the same process is performed each time with respect to the image.
Watermarked logo image
2025-07-08
Watermarked logo image
As a first step, you will see a section titled Watermark images with your logo. Click on the Apply Watermark button.
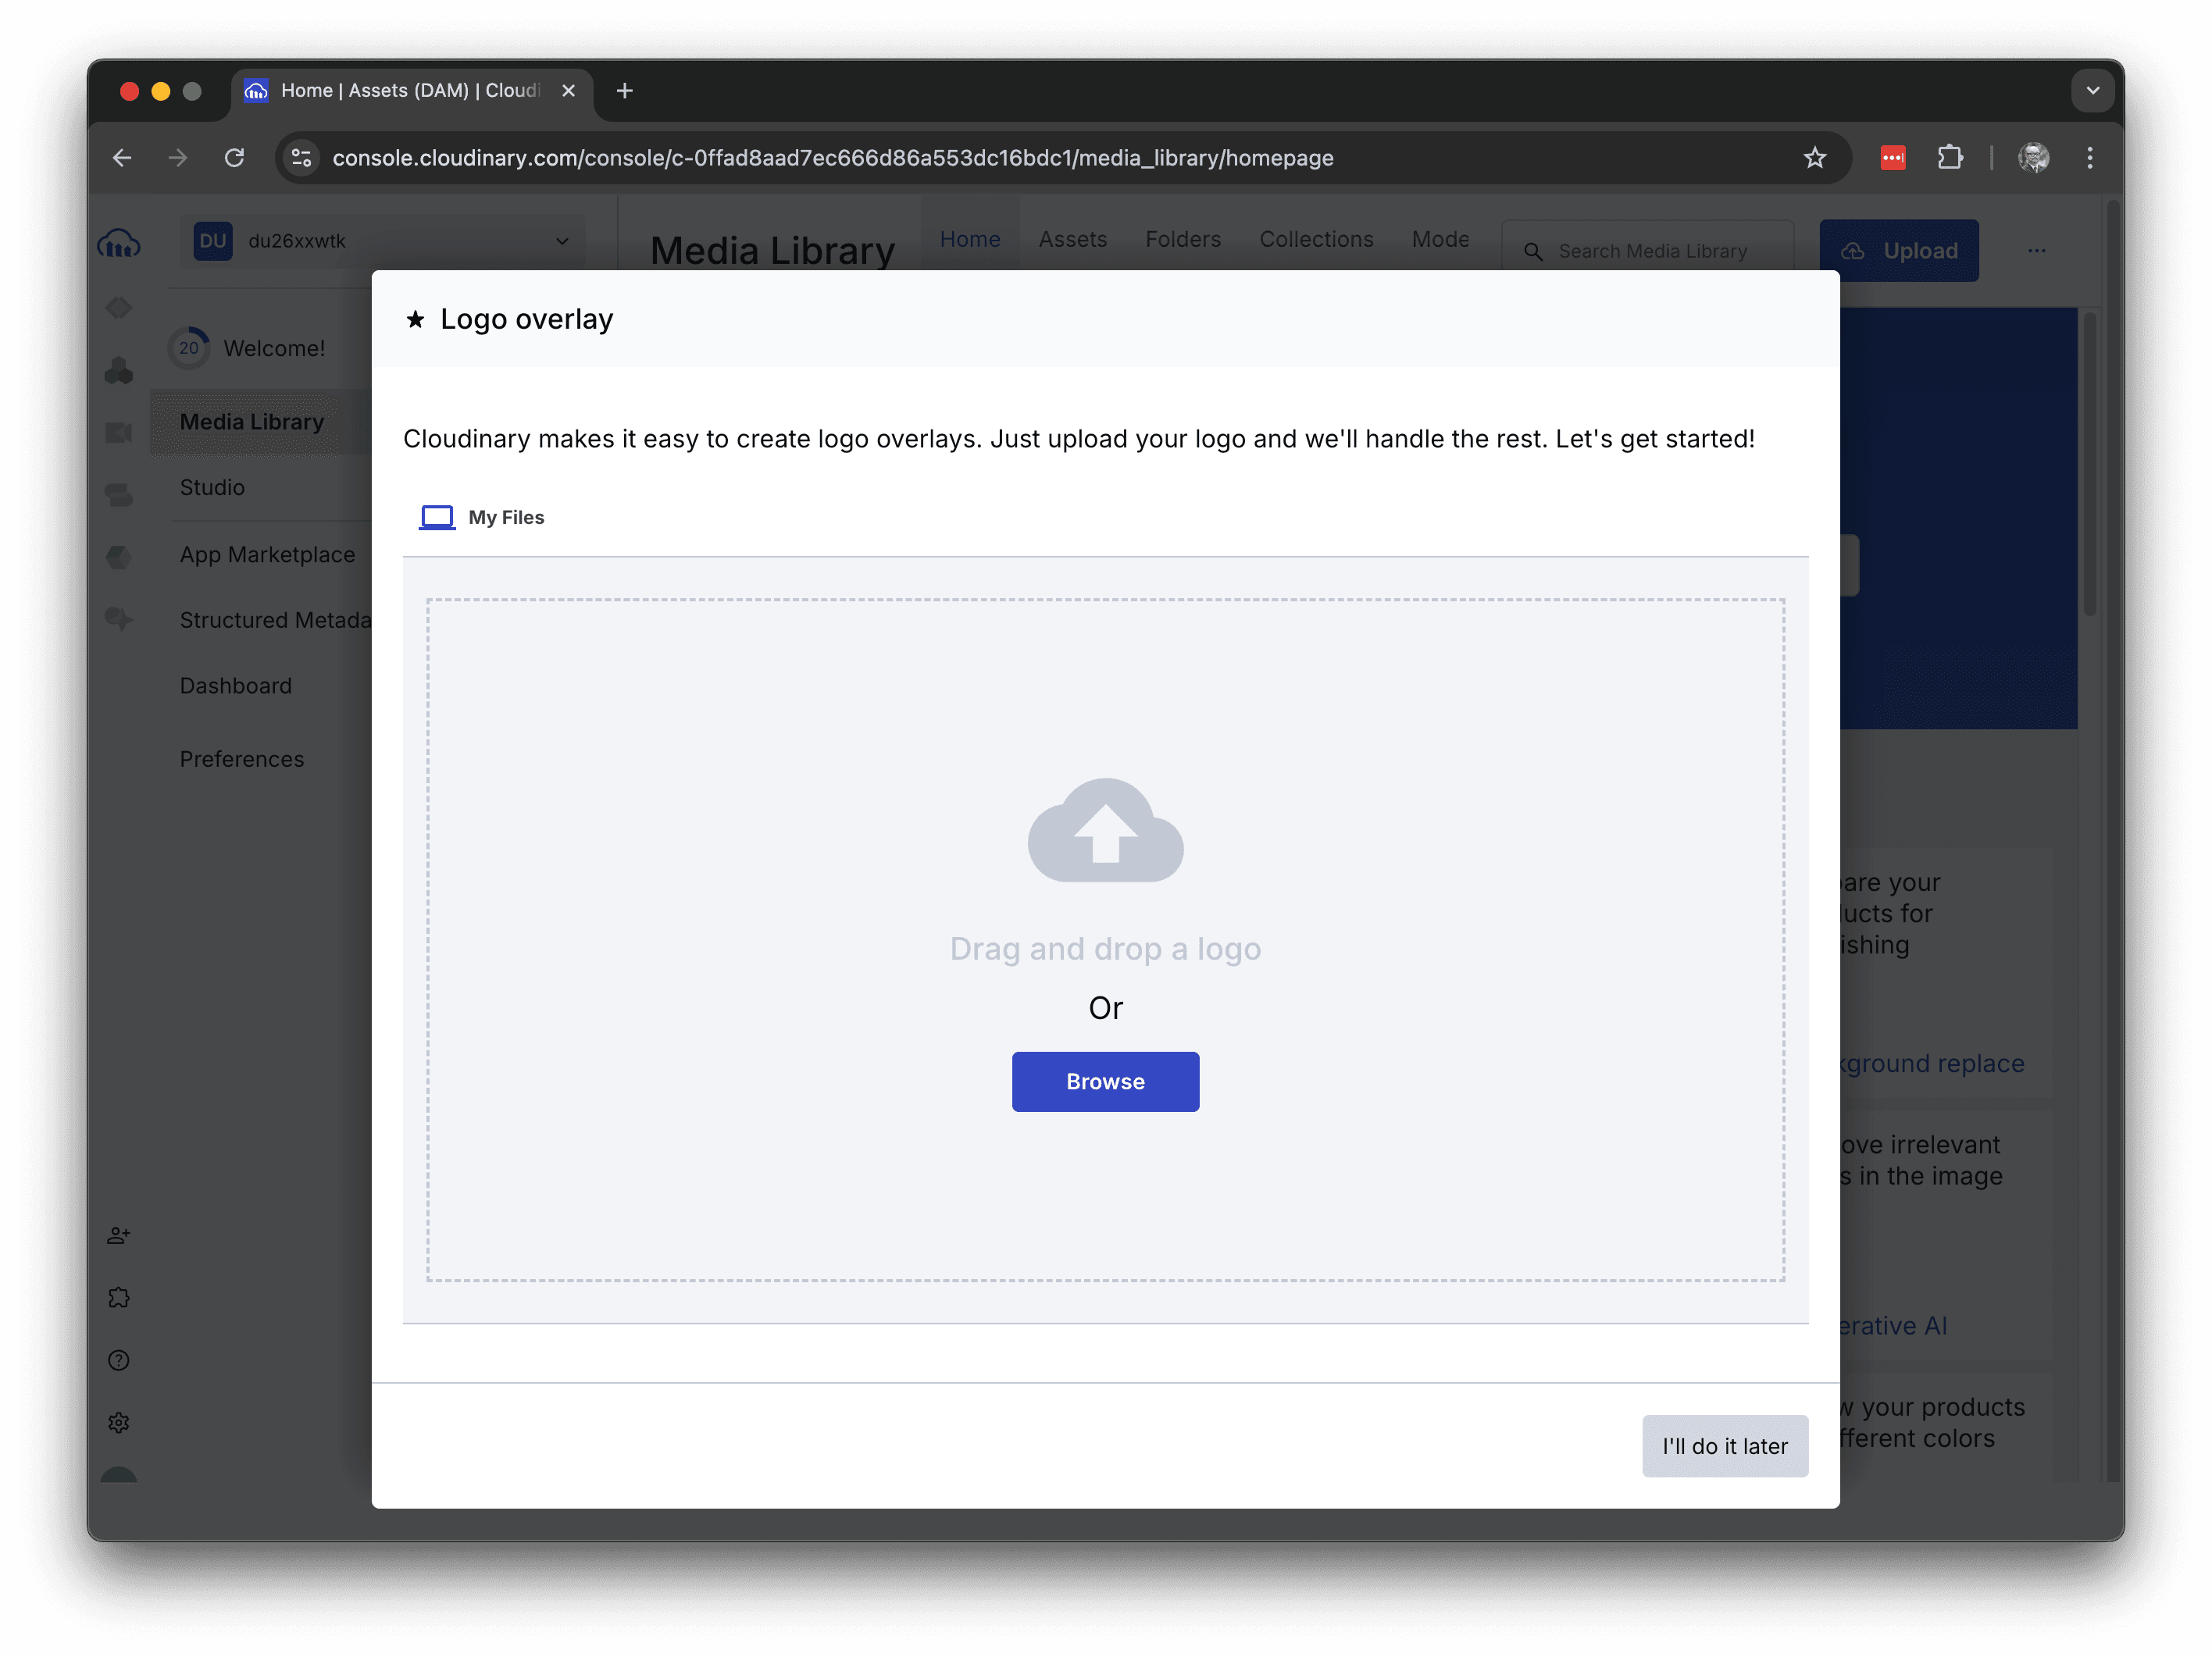
Upload the actual logo file as an asset. This is a sample screen displaying the uploaded logo.

Thus, by uploading a logo file, it is possible to put a watermark on the image.What are the settings regarding this watermarked image? First, check the data of the uploaded logo asset.

Two key points are as follows
- Uploaded under the ID of HaramizuLogo_gdw5nt in the My Brand folder
- For Public ID, the above combination, My Brand/HaramizuLogo_gdw5nt is set.
Select the second Programmable Media menu from the top on the left side of the administration page and choose Manage Transformations. Here you will find the rules for transformations called My Logo. The actual URL looks like this
The T_My Logo section above is the rule for logo conversion. The actual details will be shown in the following screen.
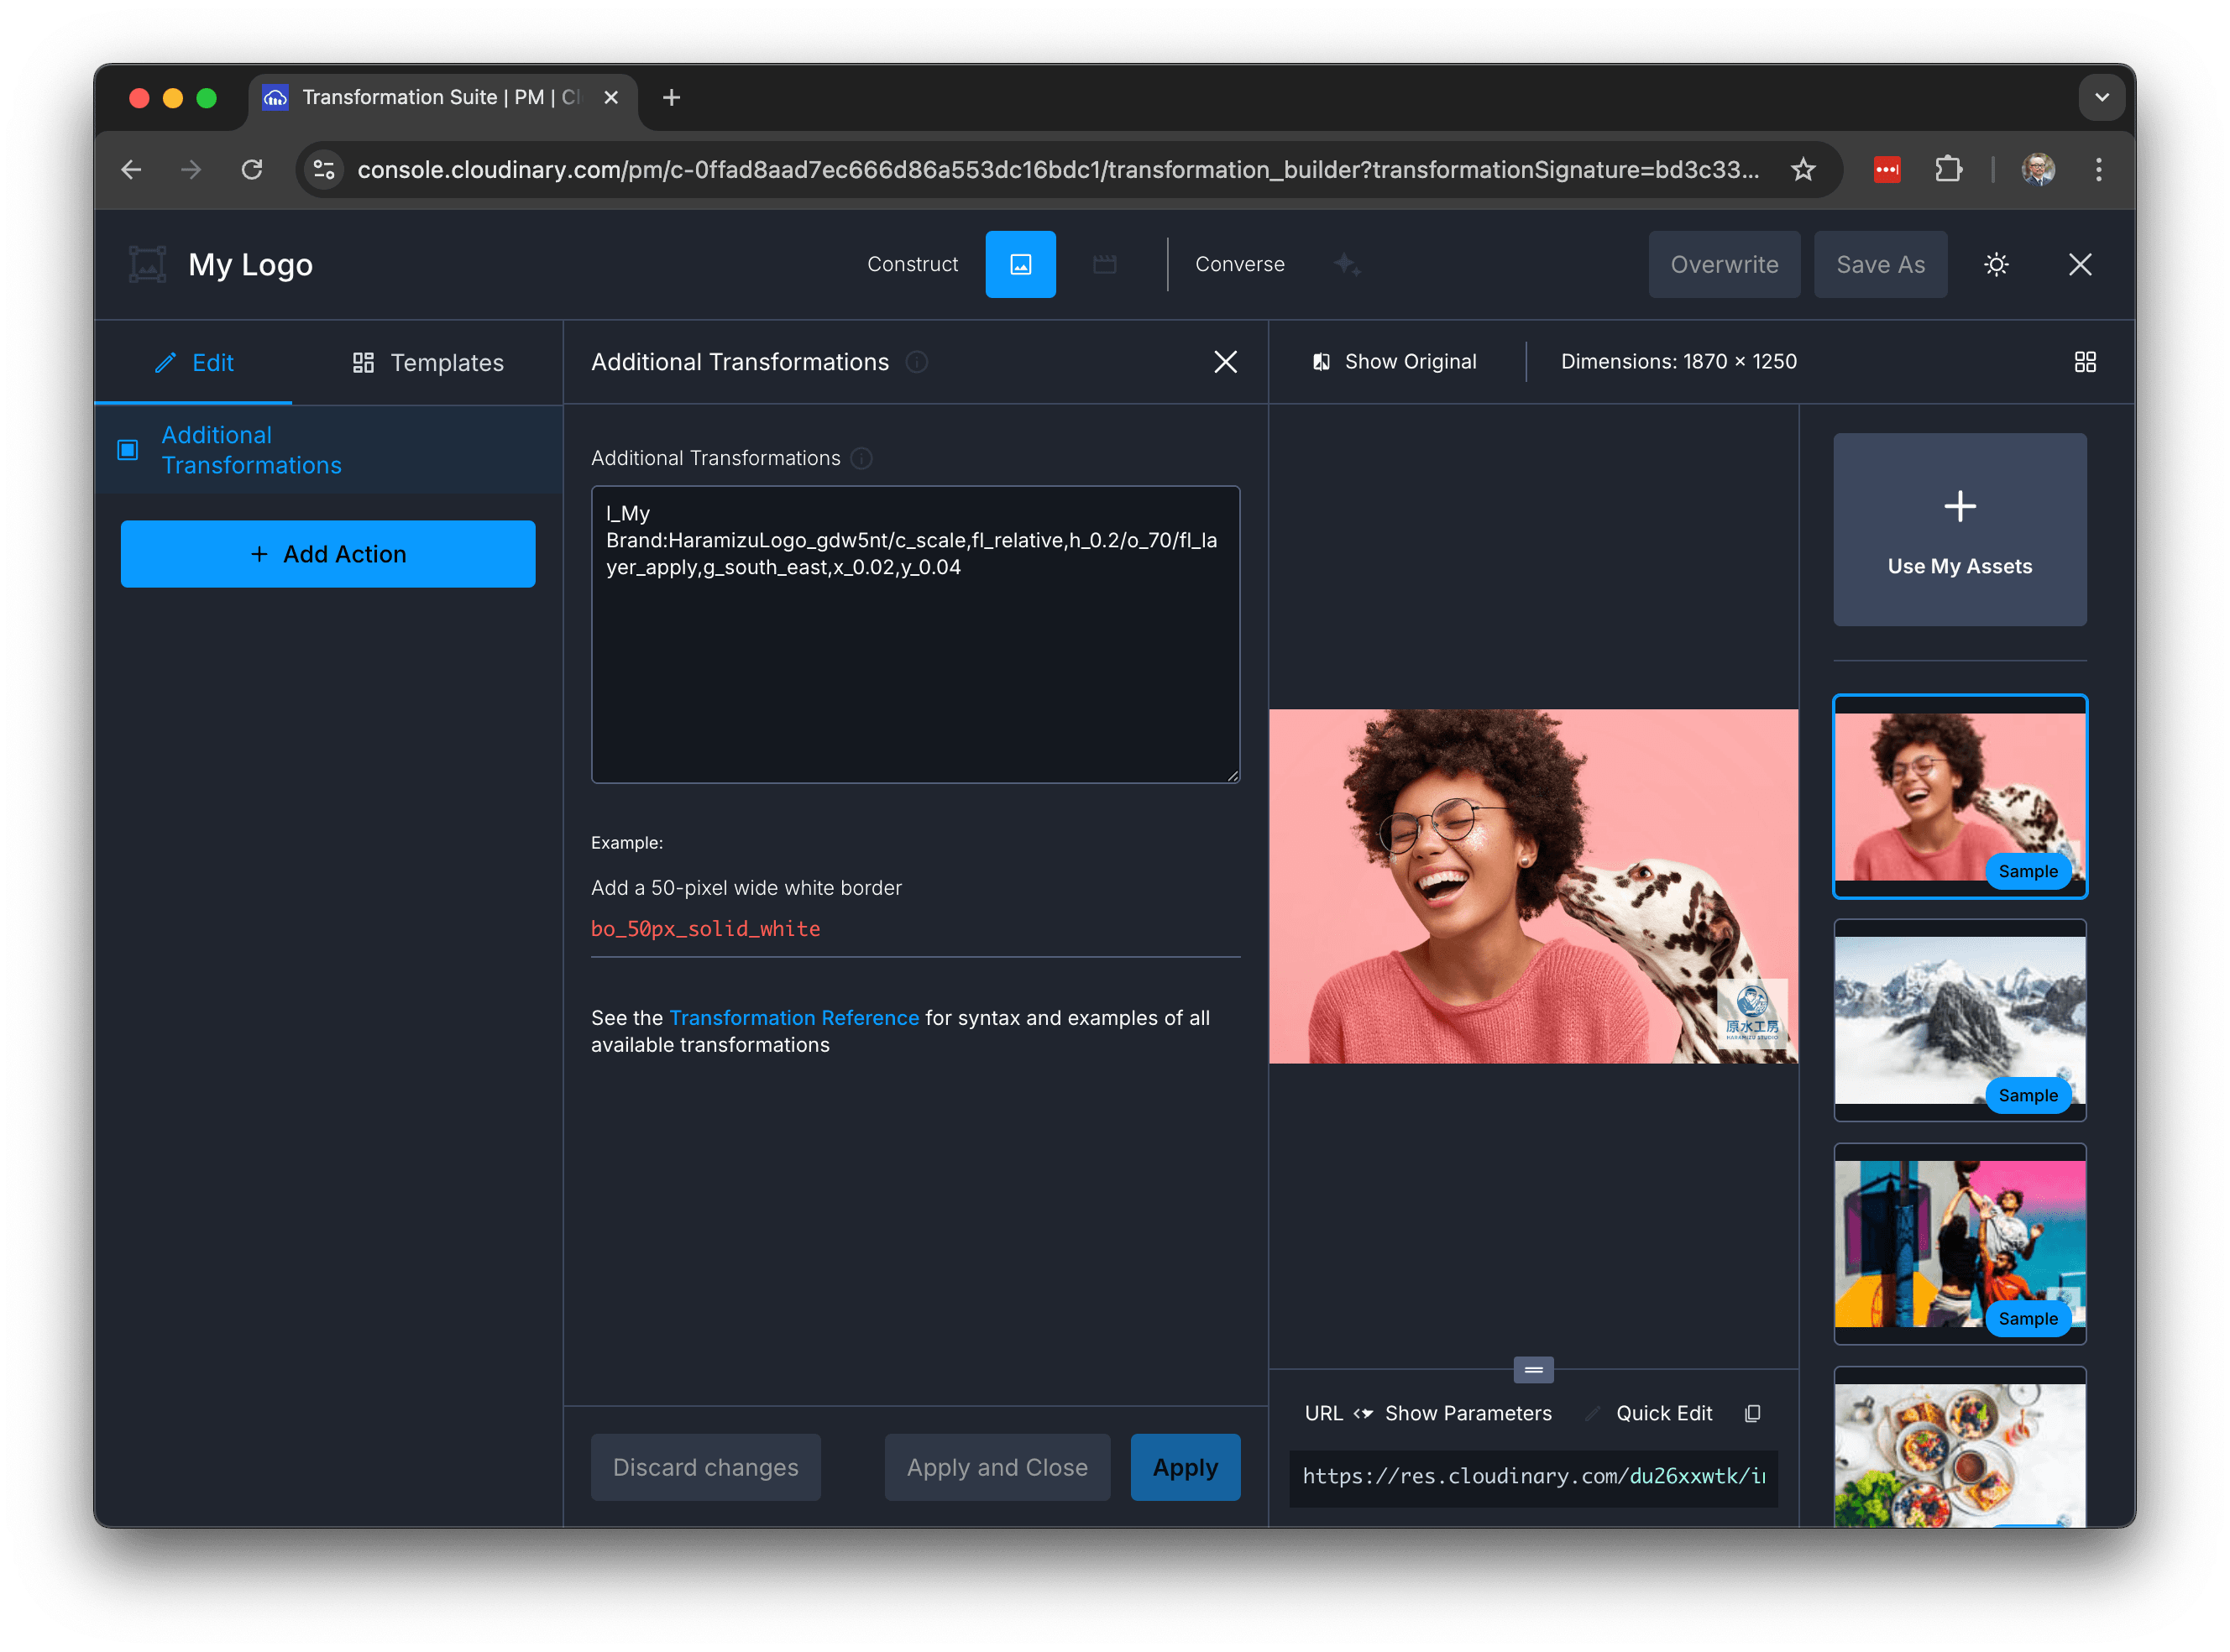
The Additional Transformations section provides parameters for adding the actual watermark.
text
The following is the form specified in this Transformation.
- When calling the transformation named My Logo, you can call it t_My Logo
- As for the actual operation, the above code is executed
- The part starting with "L" means layer, which is an operation that overlays the base image on top of the base image.
- Specify the image uploaded by My Brand:HaramizuLogo_gdw5nt
- c_scale resize
- fl_relative Relative size of the original image
- h_0.2 Height is set to 20% of the original image.
- o_70 Specify transparency at 70%.
- fl_layer_apply Apply the above settings as layers
- g_south_east Lower right (southeast)
- x_0.02, y_0.04 Slightly offset from bottom right to left (2% in x direction) and up (4% in y direction)
This will take the form of adding the logo you just uploaded as a watermark in the lower right corner. To verify the above behavior, open the sample asset.
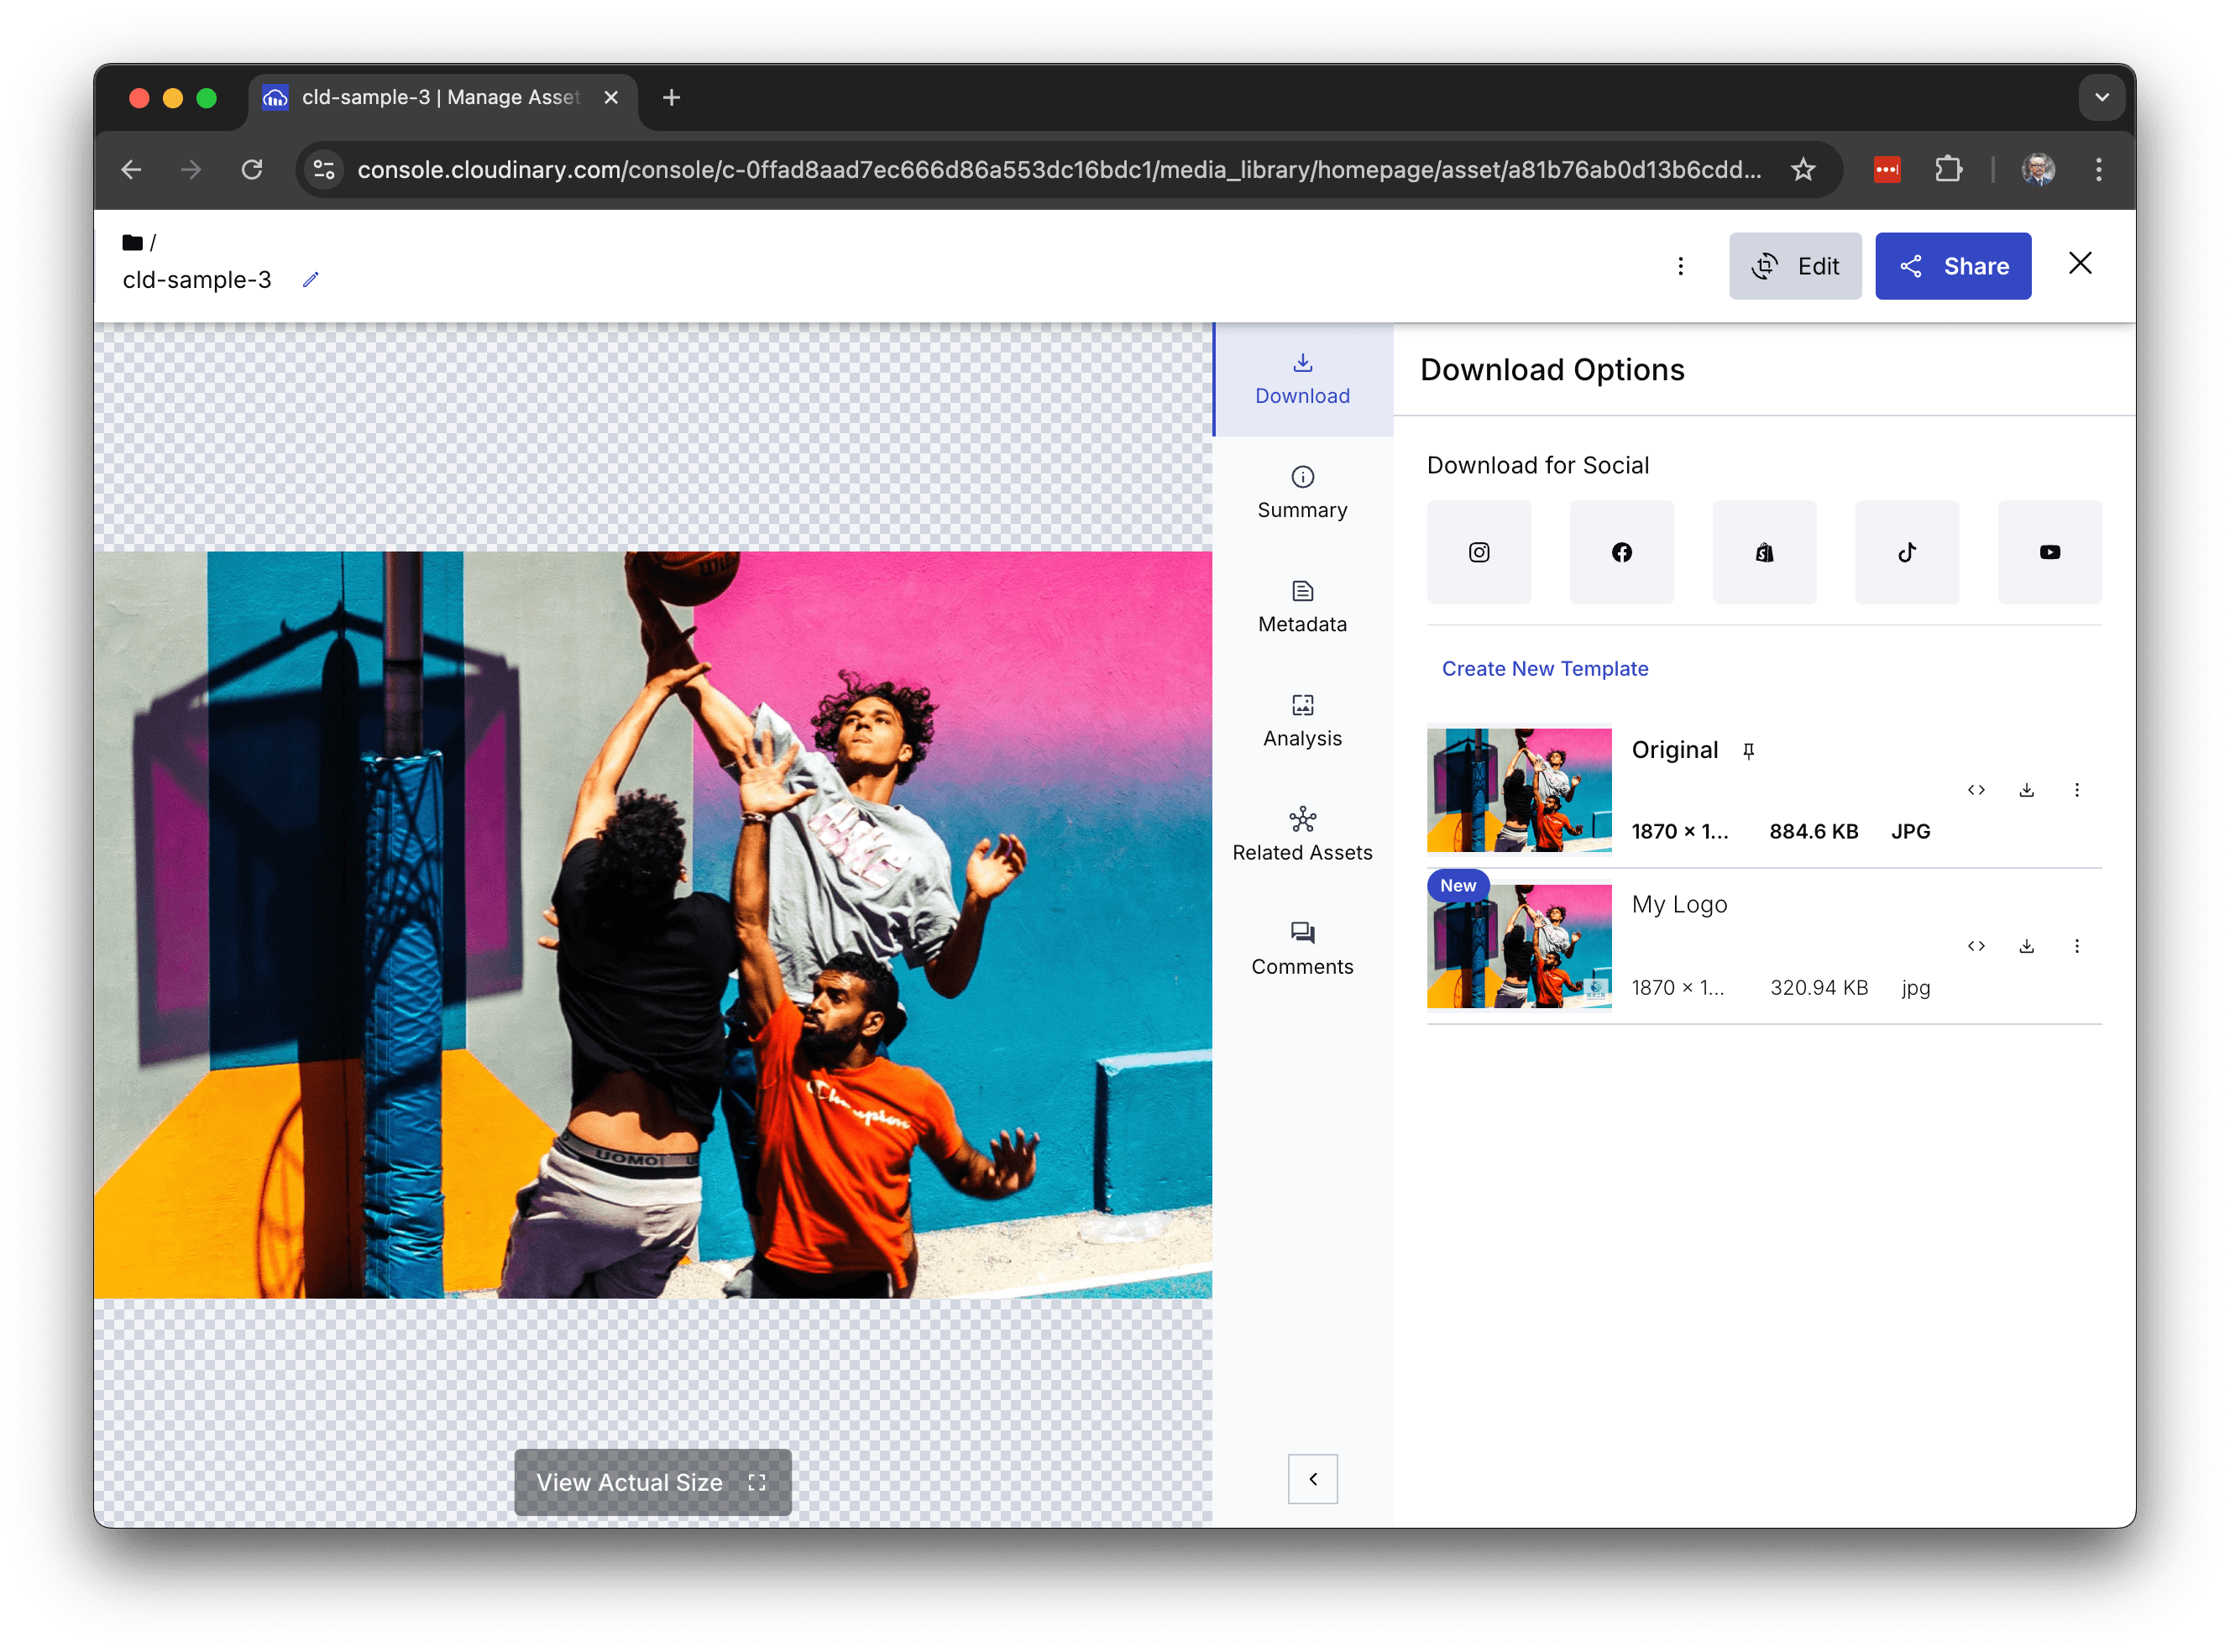
When the Download Options screen is open, you will see the converted data named My Logo created on the right side. Click on the image on the right.

We have confirmed that the logo has been added to the lower right corner of the image.
Next Steps
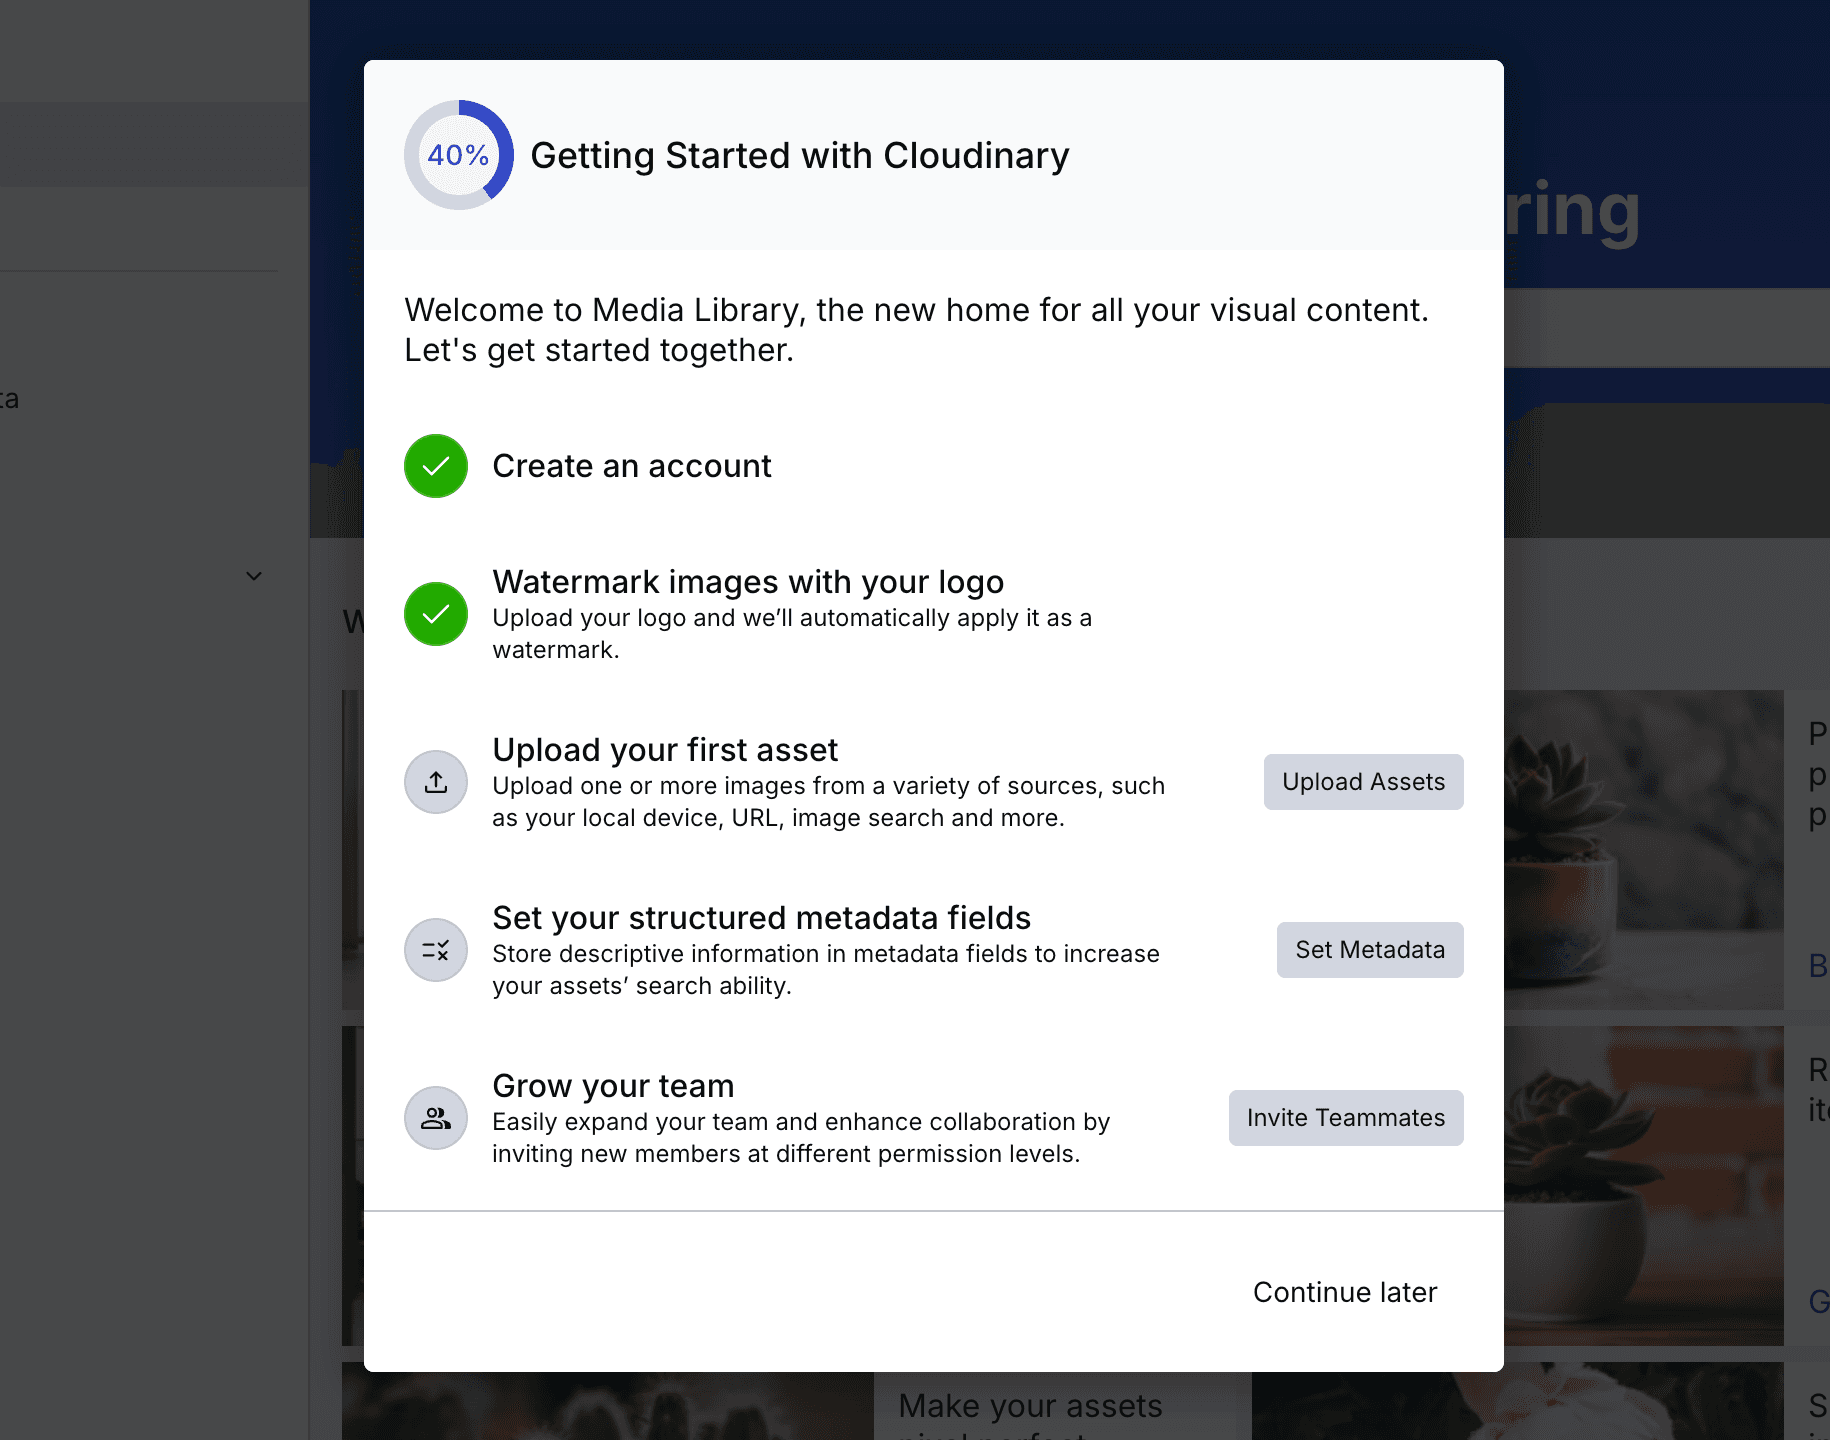
The watermark could easily be added to an image registered in the DAM. The above settings also allow for the superimposition of a different logo or image.This completes the second Getting Started step and brings the progress to 40%.
The next step is to upload new assets.