This time, we'll go through the steps to set up dual-boot on a Windows 11 Pro machine so that Ubuntu boots up.
Dual‑booting Windows 11 Pro and Ubuntu Desktop
2025-12-30|2025-12-31
Preparing the Environment
This time, we'll be installing Ubuntu on a notebook PC with the following specifications.
- Intel Core i3 1315U
- Intel UHD Graphics
- Memory 32GB
- SSD 512GB
- Windows 11 Pro
The machine purchased this.
- TENKU Note Pro ( only in Japan )
With 32GB of memory, it's more than sufficient. The 13th-generation CPU provides solid specs, capable of running Windows 11 Pro stably. However, the purpose here is to verify whether installing Ubuntu will allow me to accomplish everything I want to do, so I'll proceed with the installation.
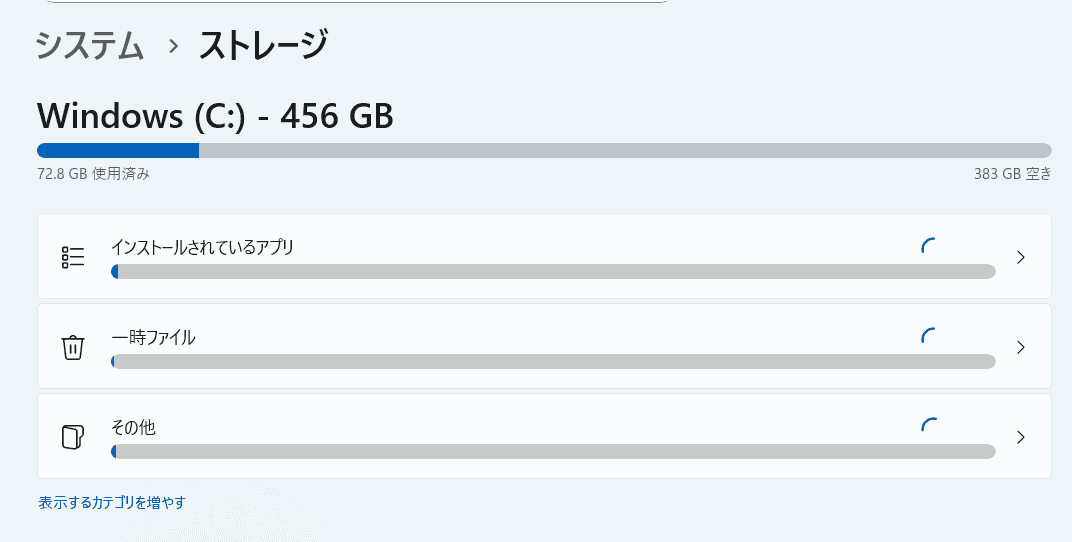
Check the disk status
The disk is listed as 512GB, but since the recovery disk area for Windows 11 Pro and other sections are allocated separately, the disk is recognized as having the following capacity.
Previously, you would have needed to prepare a disk area for Ubuntu to use within the Windows environment. However, since Ubuntu's installer now handles this, we can proceed to the next verification point.
Verifying BitLocker
Two common pitfalls when dual-booting Windows with other OSes are BitLocker and Secure Boot. Regarding the first, BitLocker, it is disabled on the machine I purchased this time.
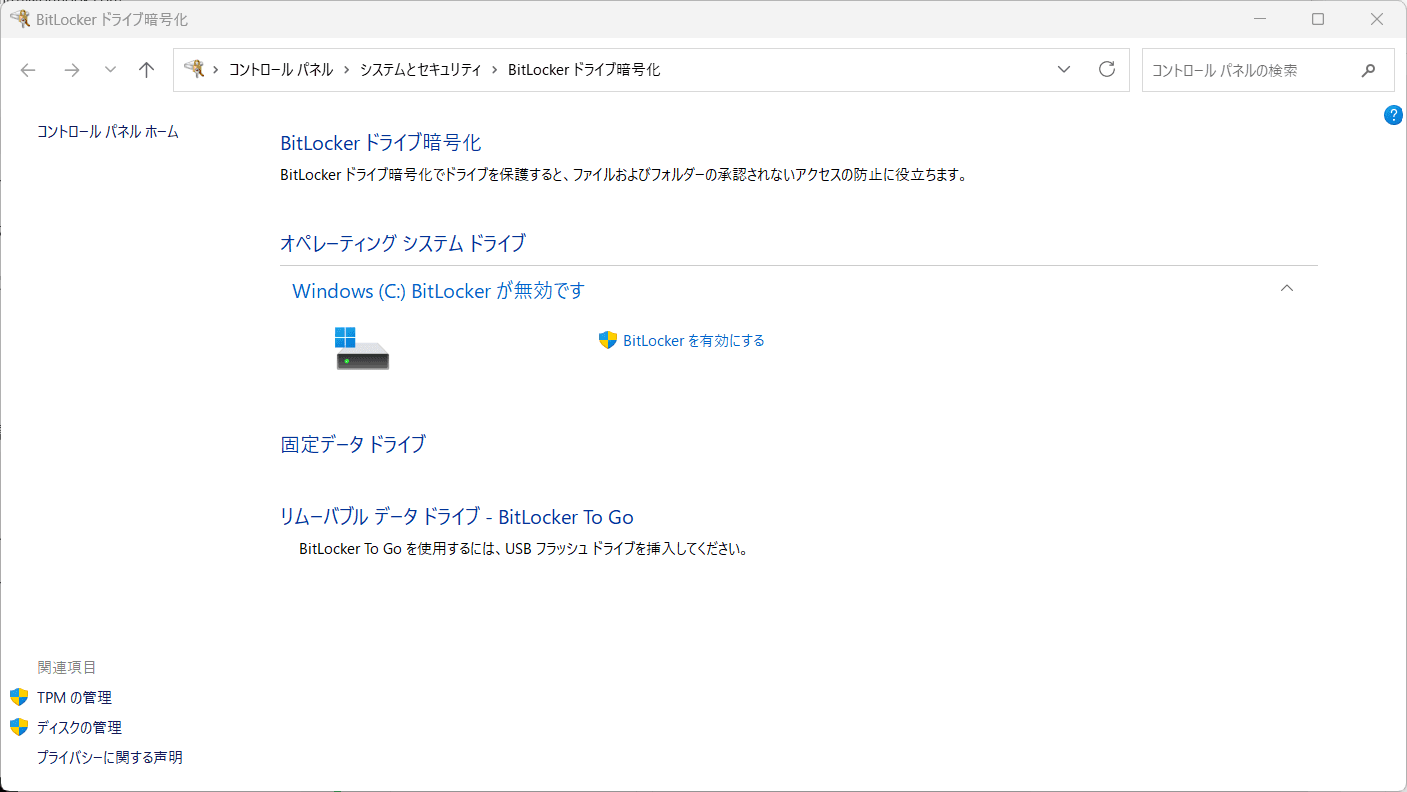
Therefore, we were able to omit the steps to disable BitLocker.
Creating Installation Media
Next, you need to create the installation media. This time, we'll use a USB flash drive (TYPE C compatible) as the bootable media, boot from it, and proceed with the installation.
Download ISO file
I tried to install Ubuntu using an image (24.04 LTS) I had previously used on another machine, but unfortunately, it couldn't detect the machine's WiFi. So this time, I'll download the 25.10 version from the website.

Download USB Tools
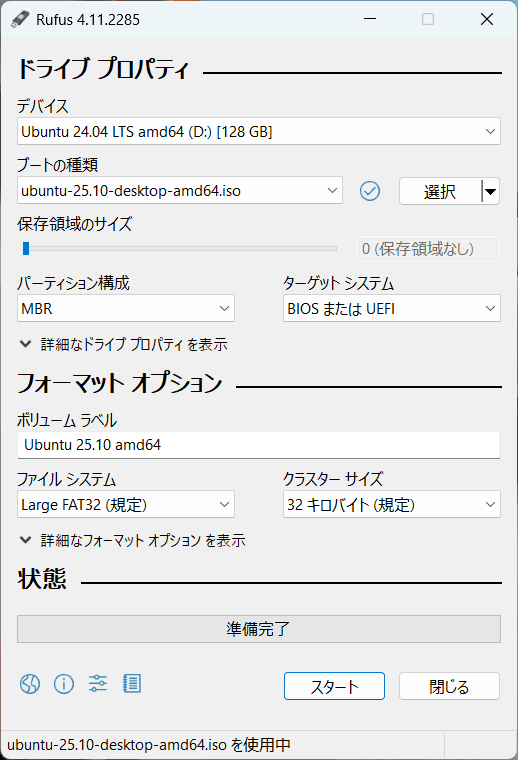
We will use Rufus as the tool to write the ISO file downloaded above to a USB drive.
Creating a USB Flash Drive
After downloading and installing the ISO file and tools, launch the tool. With the USB drive inserted, select the ISO file to create a bootable Ubuntu image on the USB drive.
That completes the preparations.
Ubuntu Installation
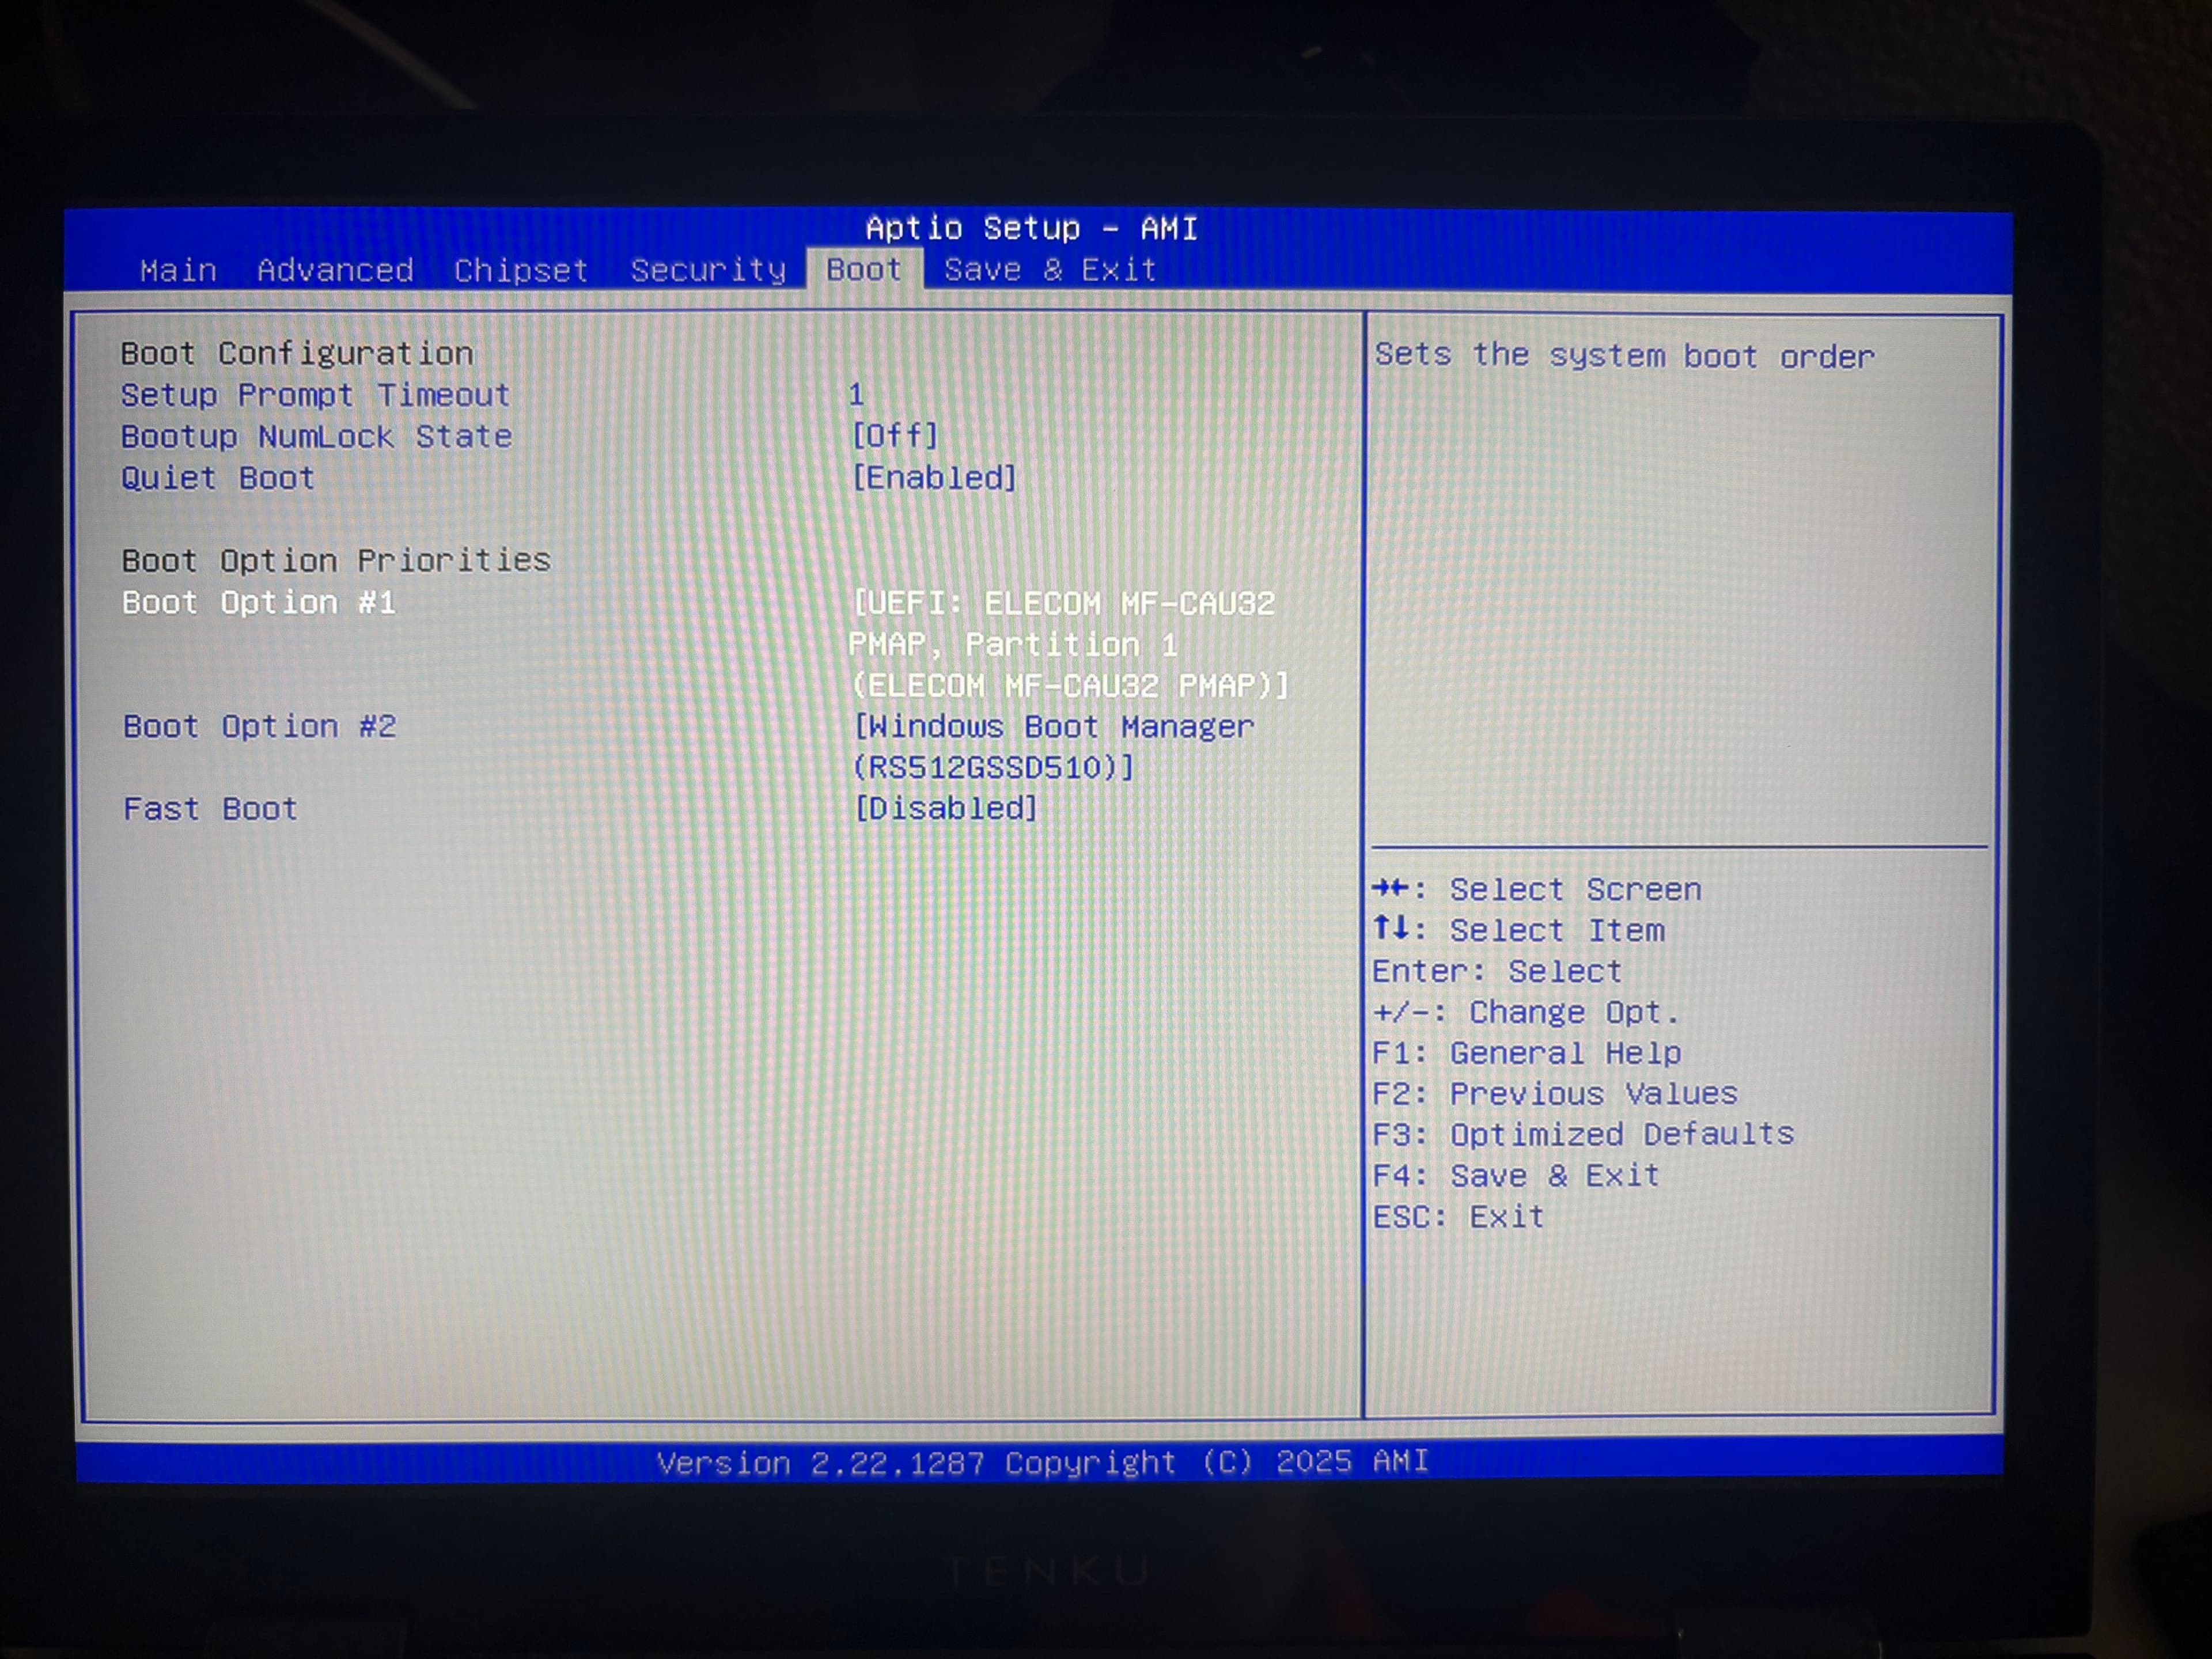
Once you've created a bootable Ubuntu USB drive, use it to boot your PC. For this PC, hold down the ESC key to display the BIOS screen. The key varies by manufacturer, so please check your PC's help documentation.
The following screen is configured to boot from the USB drive as the highest priority. Saving this setting and restarting will launch the installer.
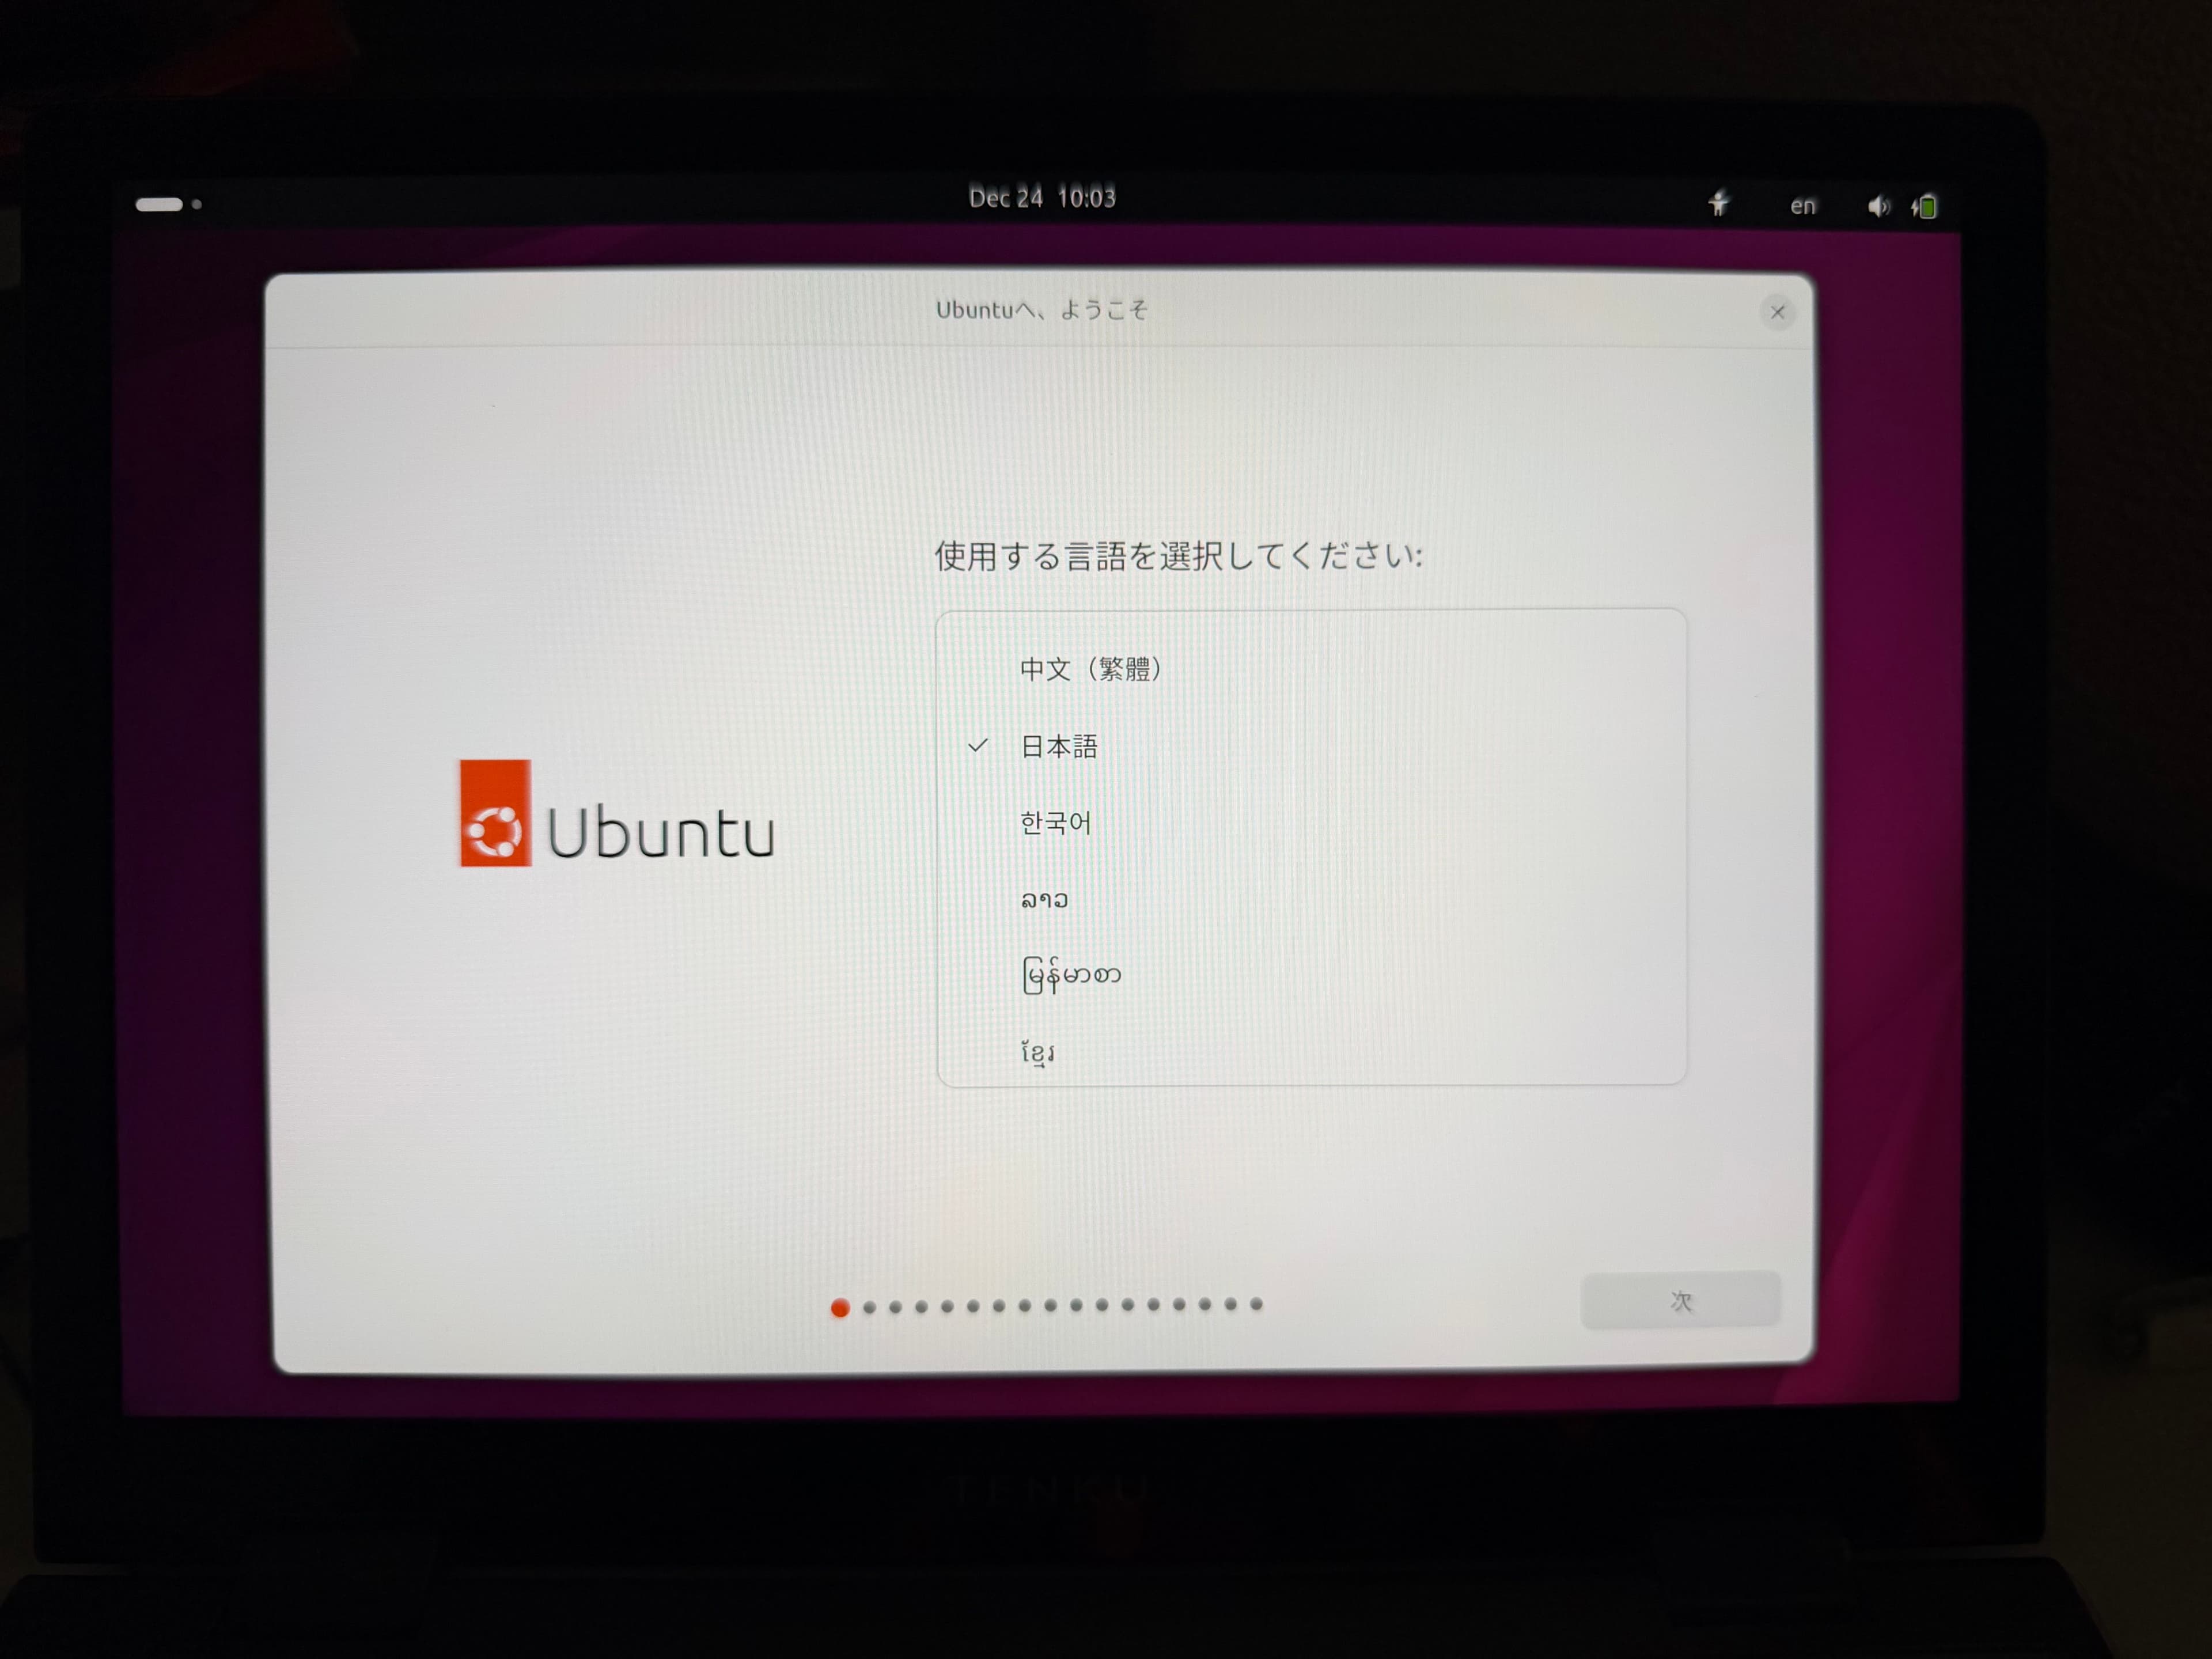
After a moment, the Ubuntu installation screen will open. This time, select Japanese. Please select your preferred language as needed and proceed.
Next, the screen for connecting to WiFi will appear. Actually, on my local machine running Ubuntu 24.04, this screen didn't appear, so I switched to the 25.10 image to confirm WiFi could be selected before proceeding.

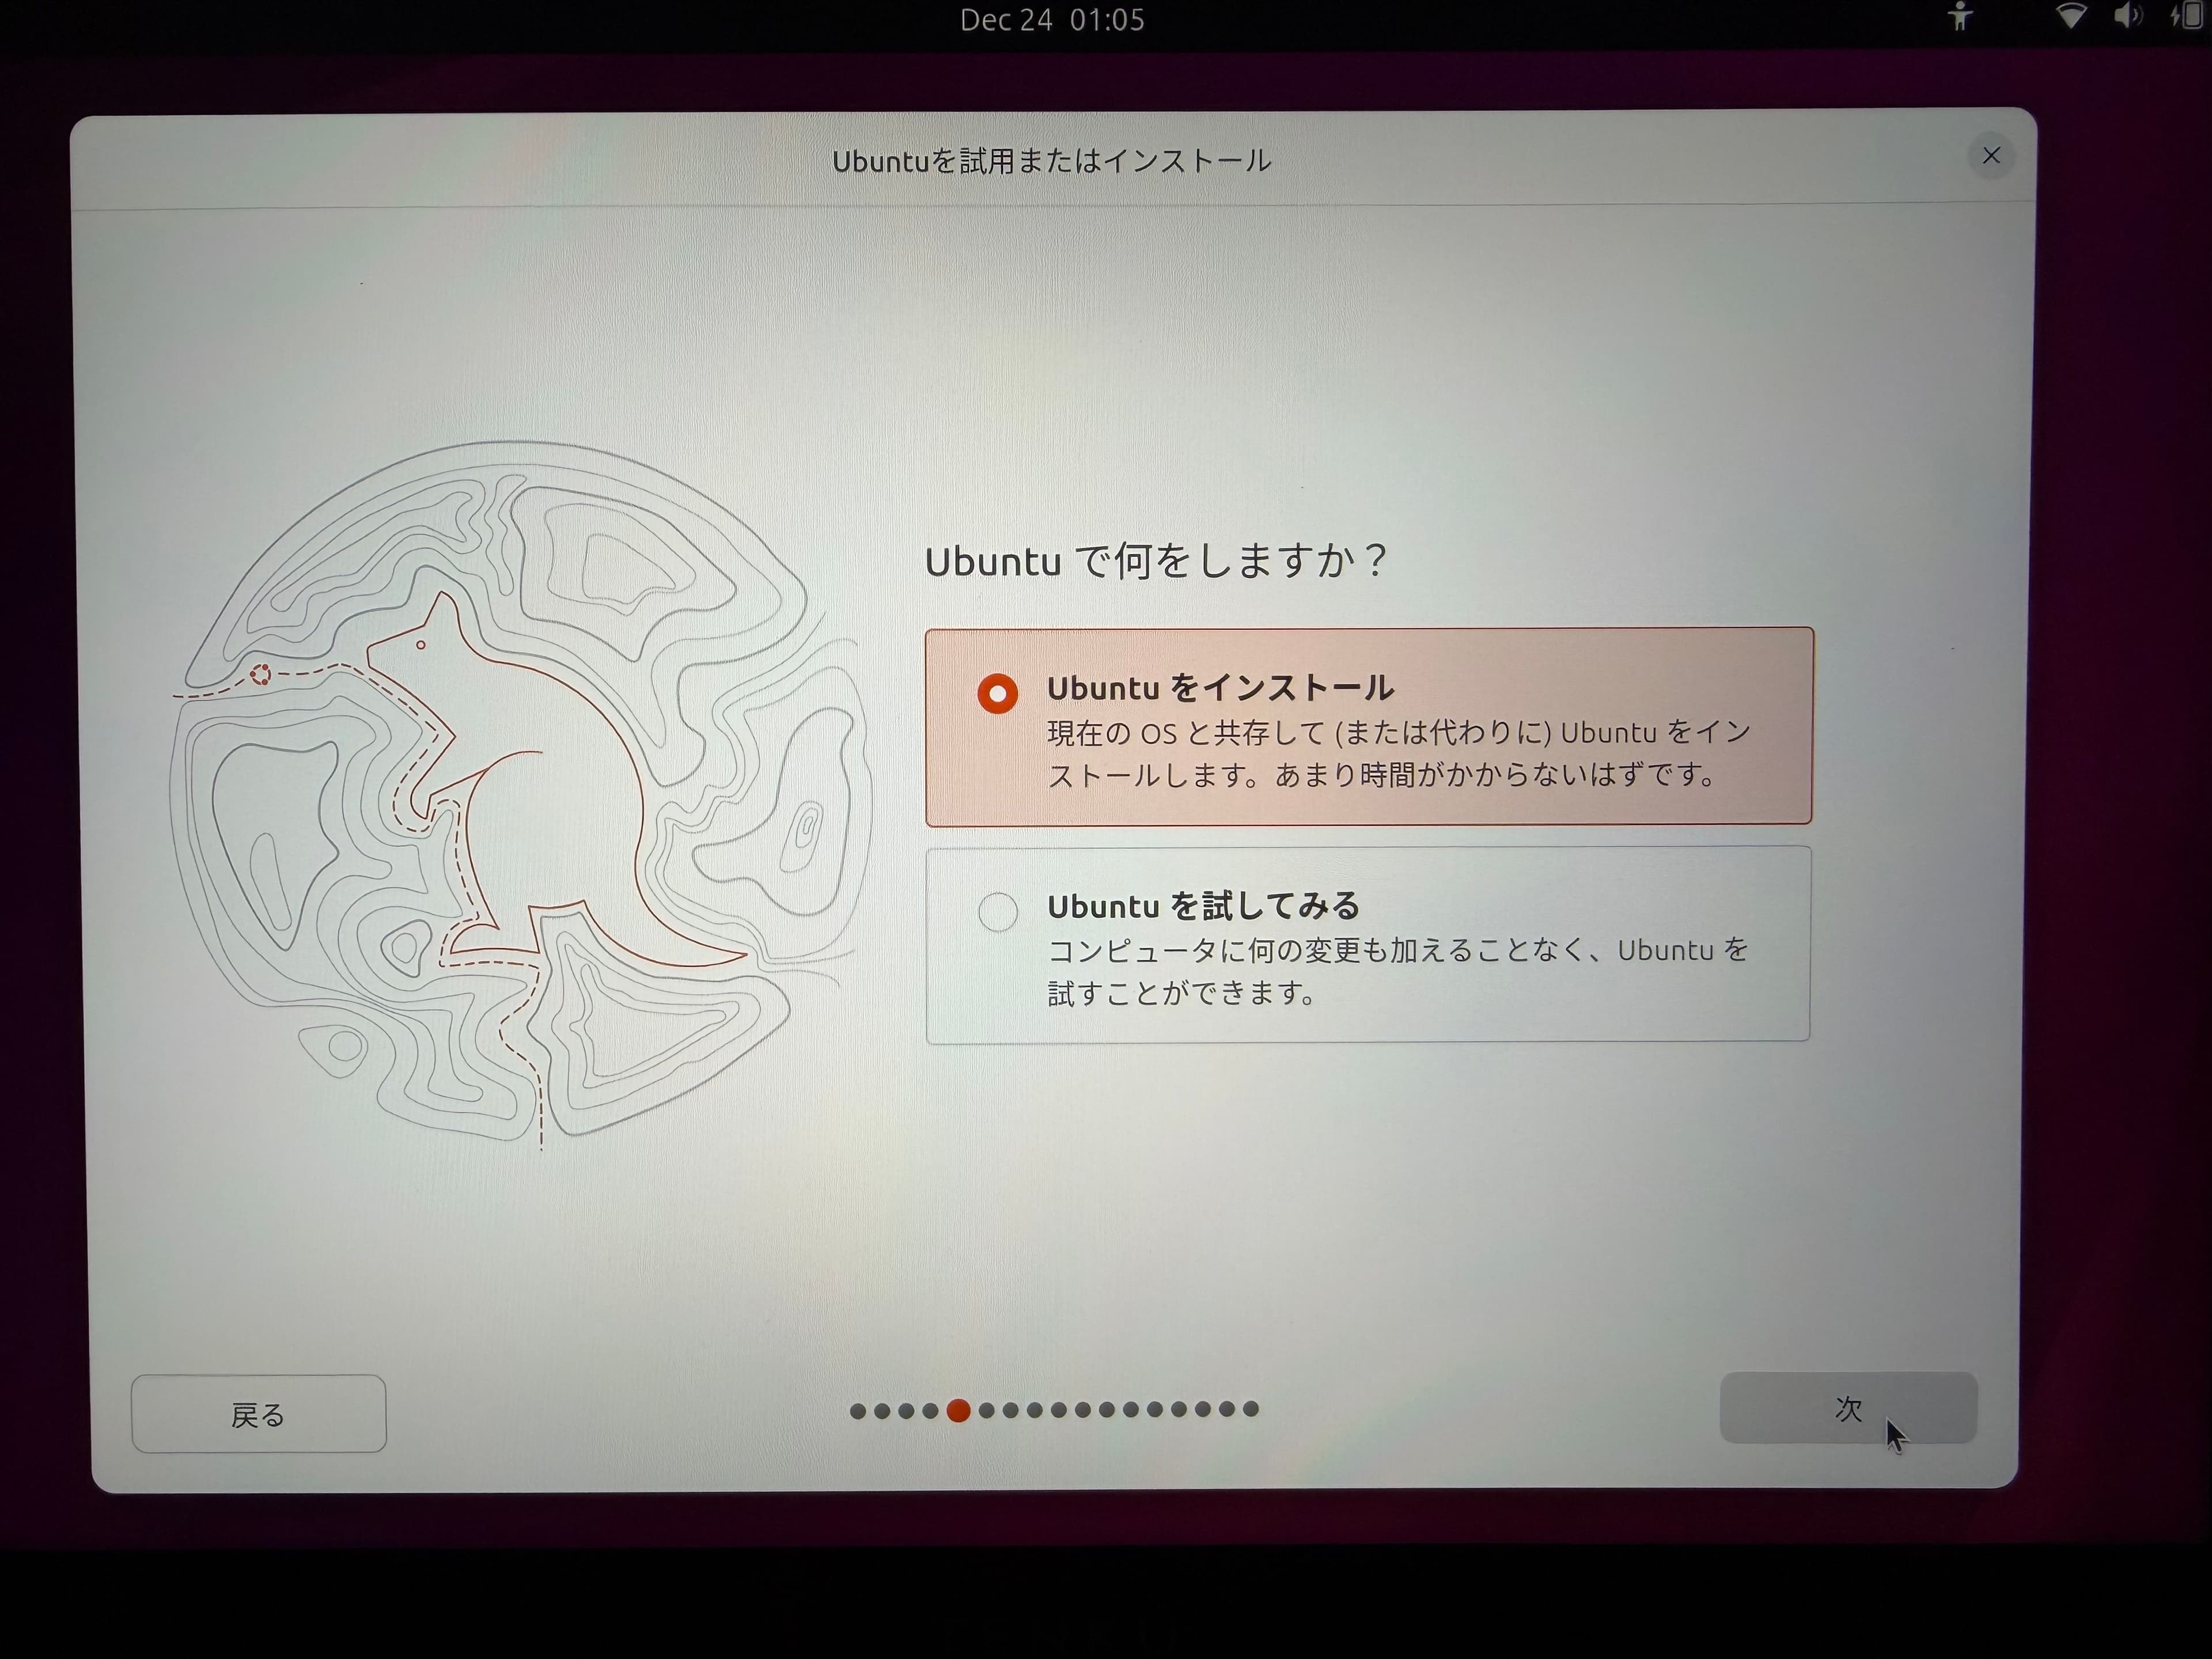
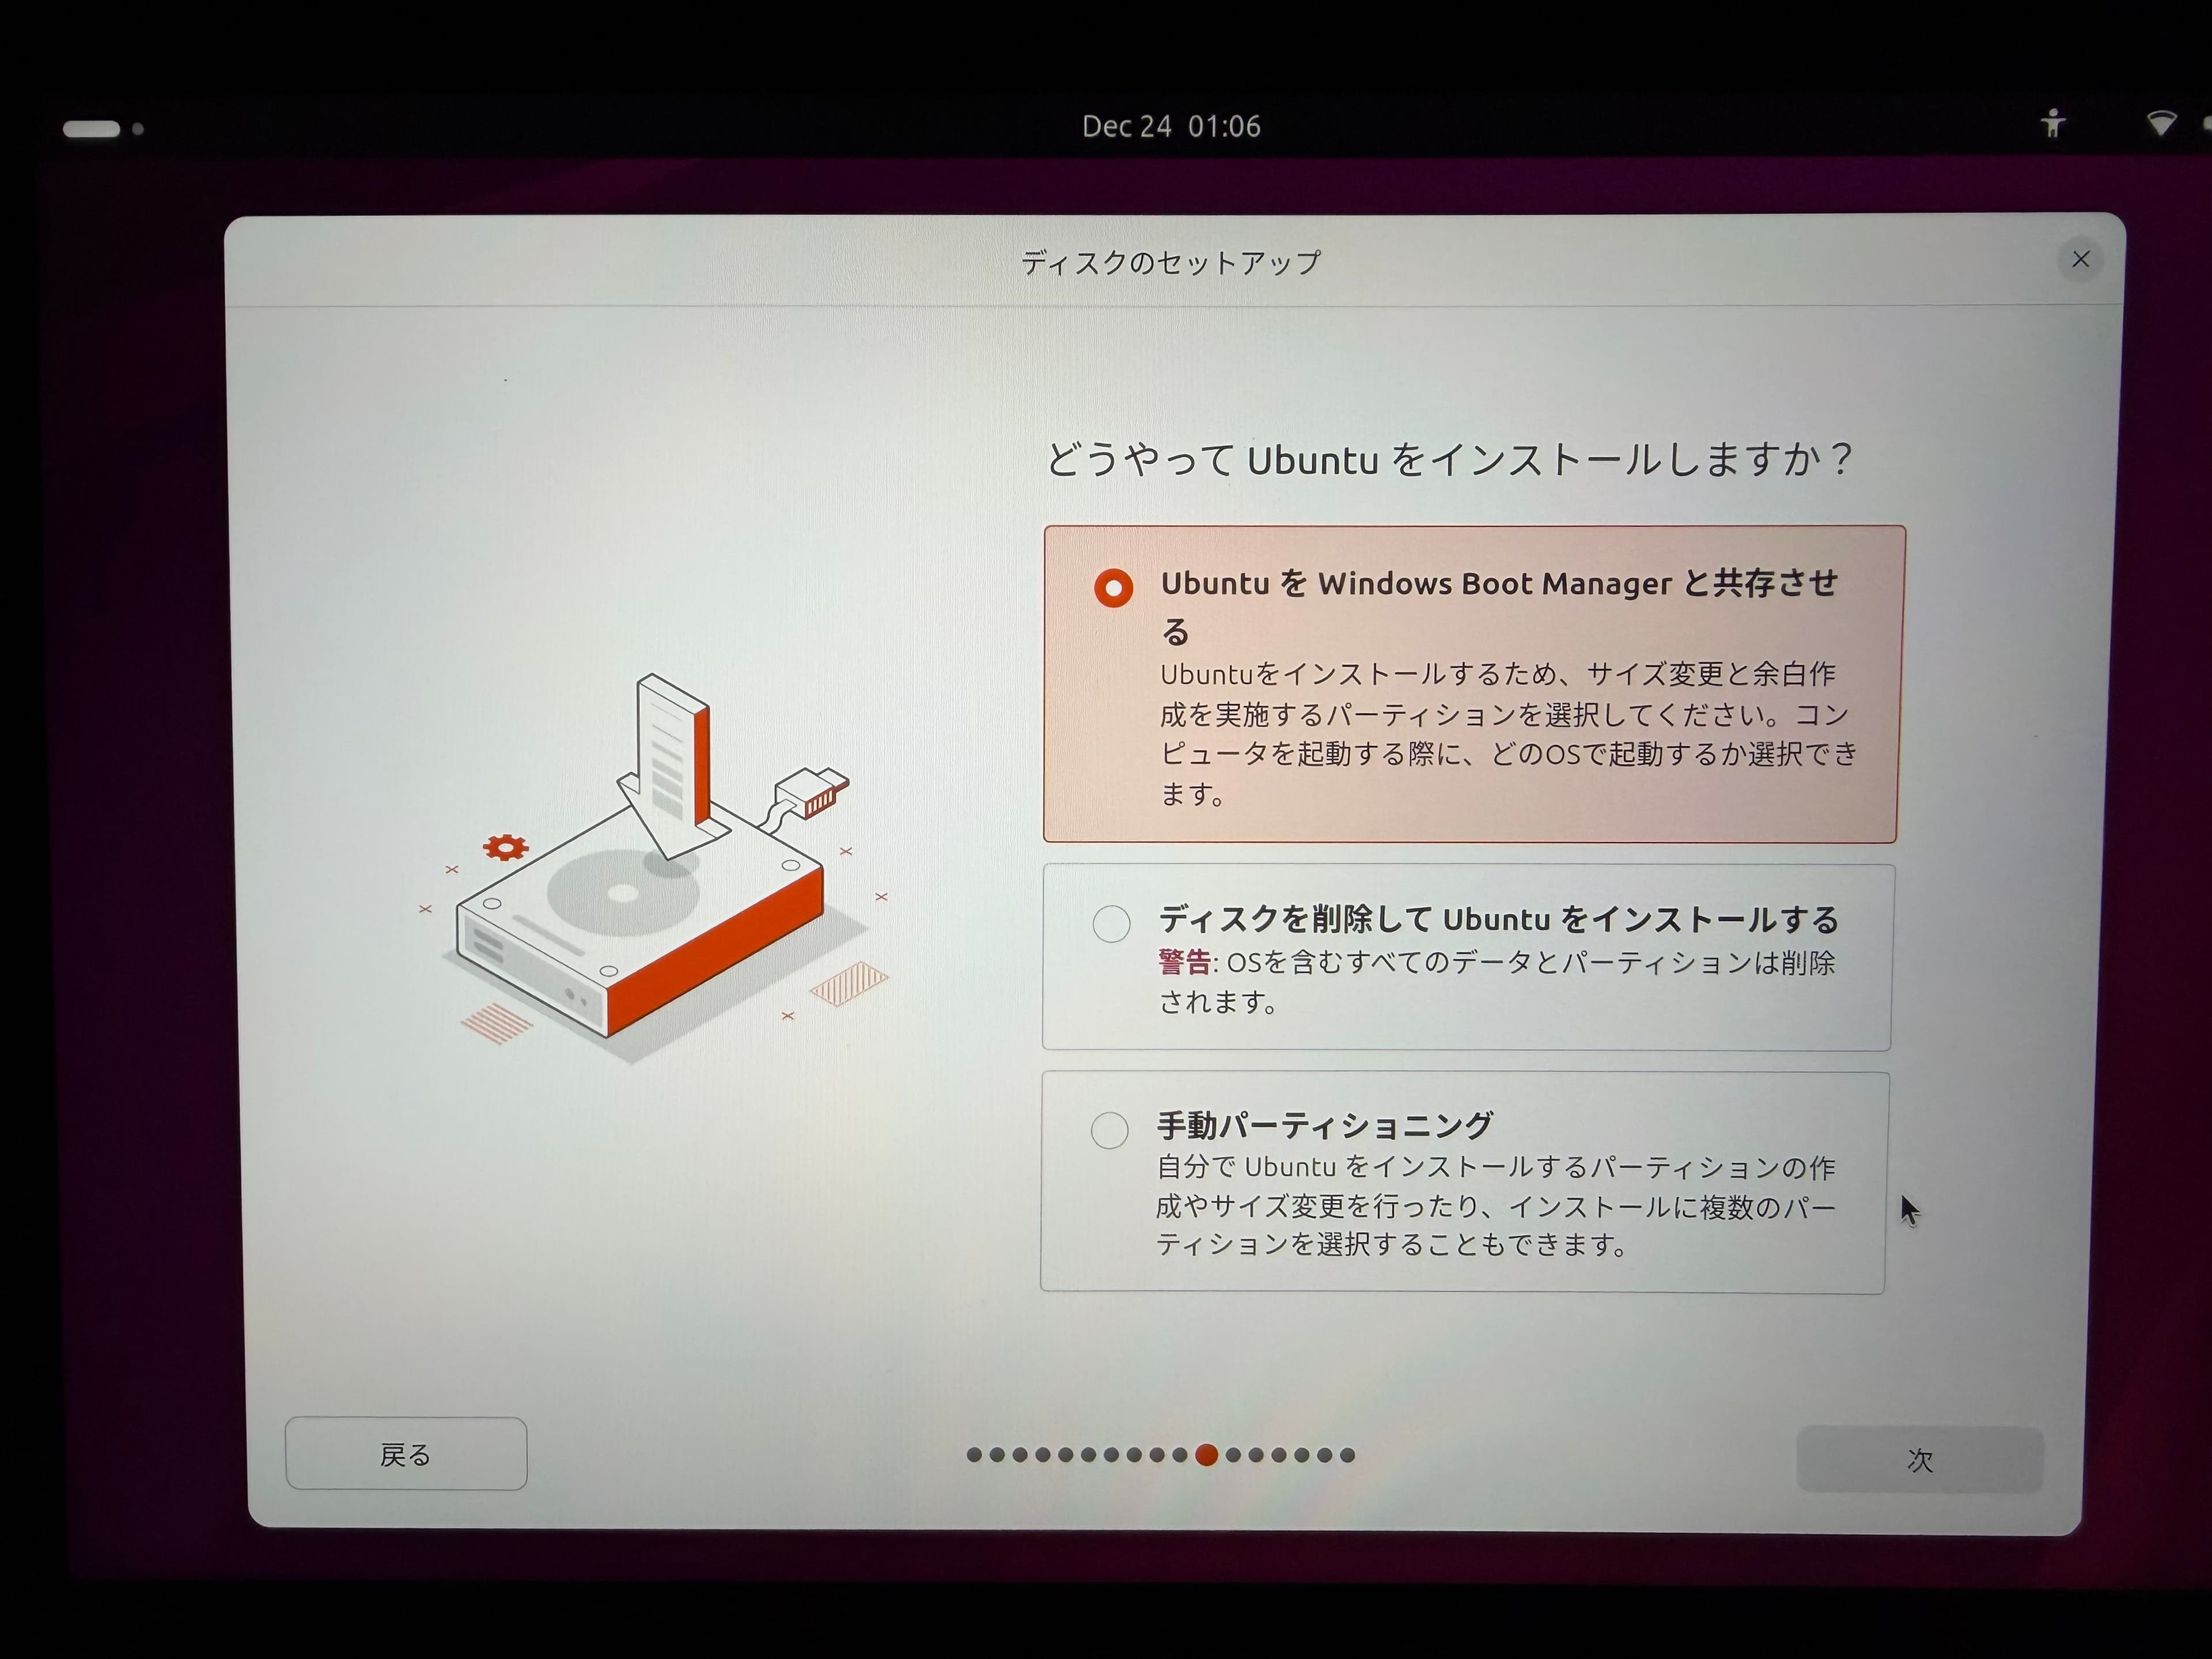
To install Ubuntu, select the top option. If you want to test it before installing, select the bottom option.
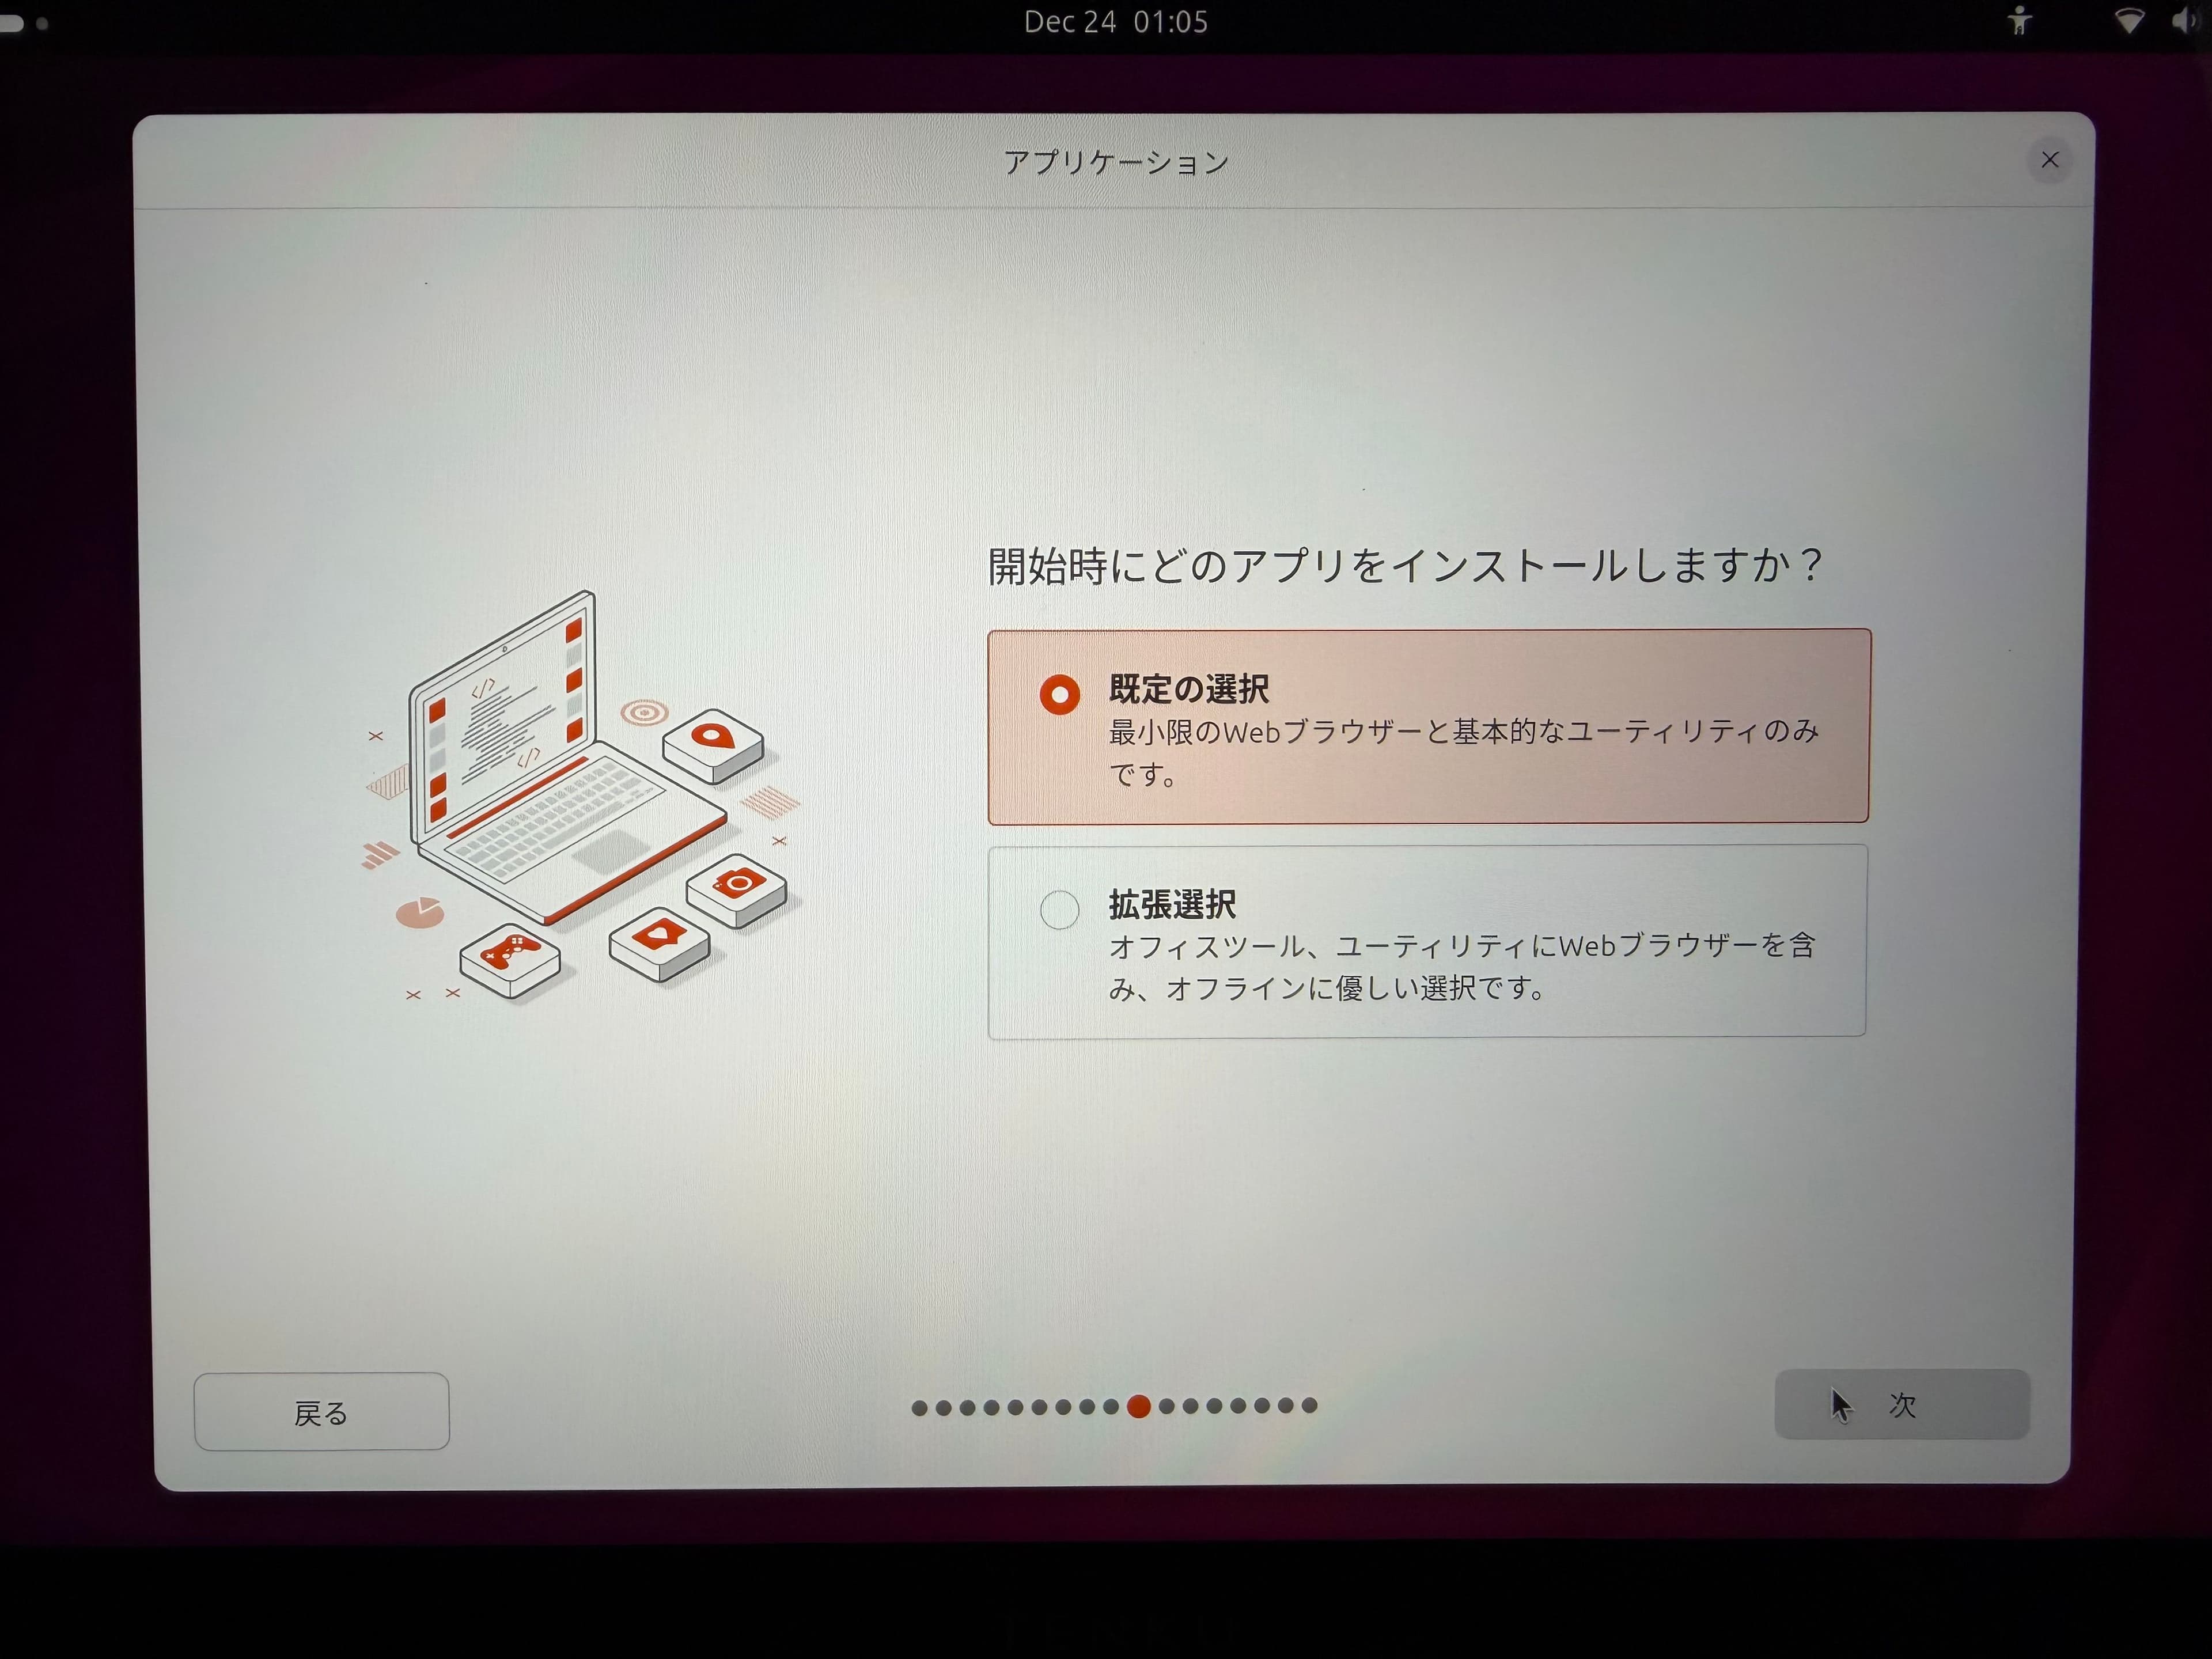
Next, you can select the installation mode. Here, since we want to keep it to the minimum tools, we'll proceed by selecting the default option.
This machine is based on Windows 11 Pro, and since I have no intention of removing it, I will choose to coexist. This allows me to select whether to boot into Ubuntu or Windows 11 Pro when starting the PC.
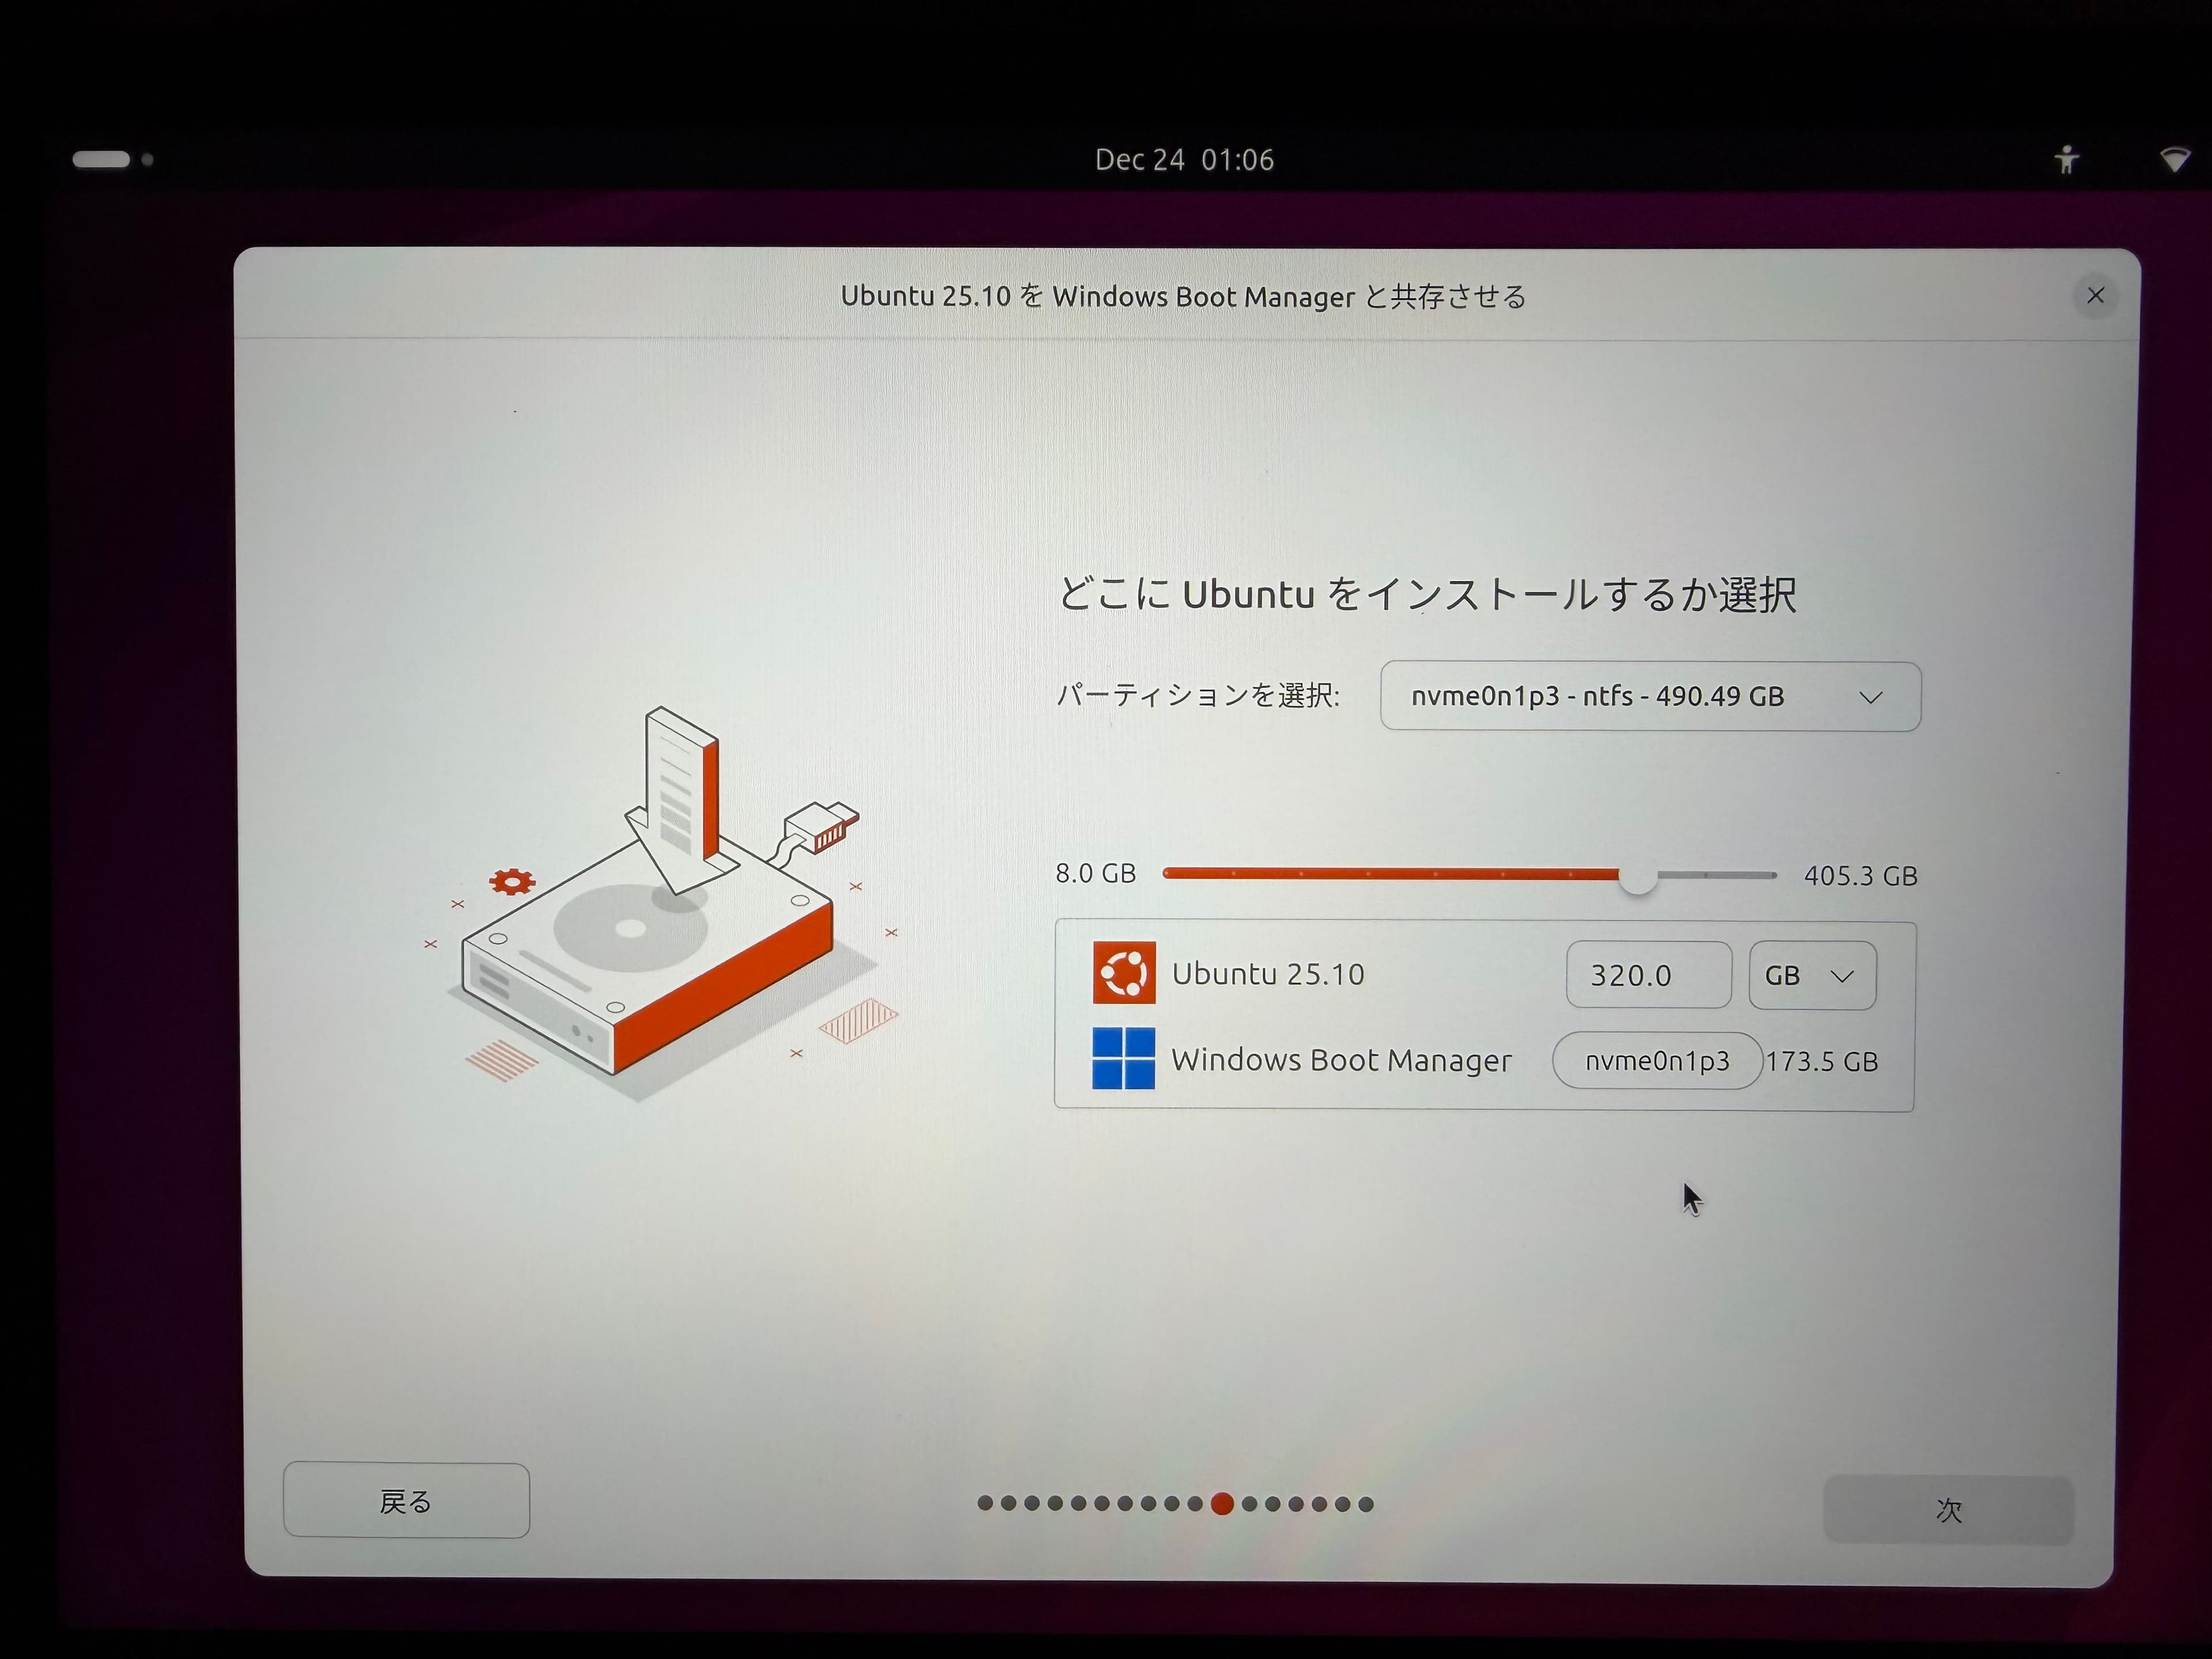
Next, select the disk space to use. Since I don't expect to use much space for the Windows 11 Pro environment, I decided to allocate more storage to Ubuntu this time. Previously, this setting had to be done on the Windows side, which was a bit of a hassle. Now, being able to do it directly in Ubuntu's interface like this is a huge help.
Next, set up your user account and password. We recommend selecting the option to require a password when logging in.

After a short while, the Ubuntu installation will complete. When it's time to reboot, you will be prompted to remove the USB drive. Select "Reboot Now" and remove the USB drive at the indicated time.
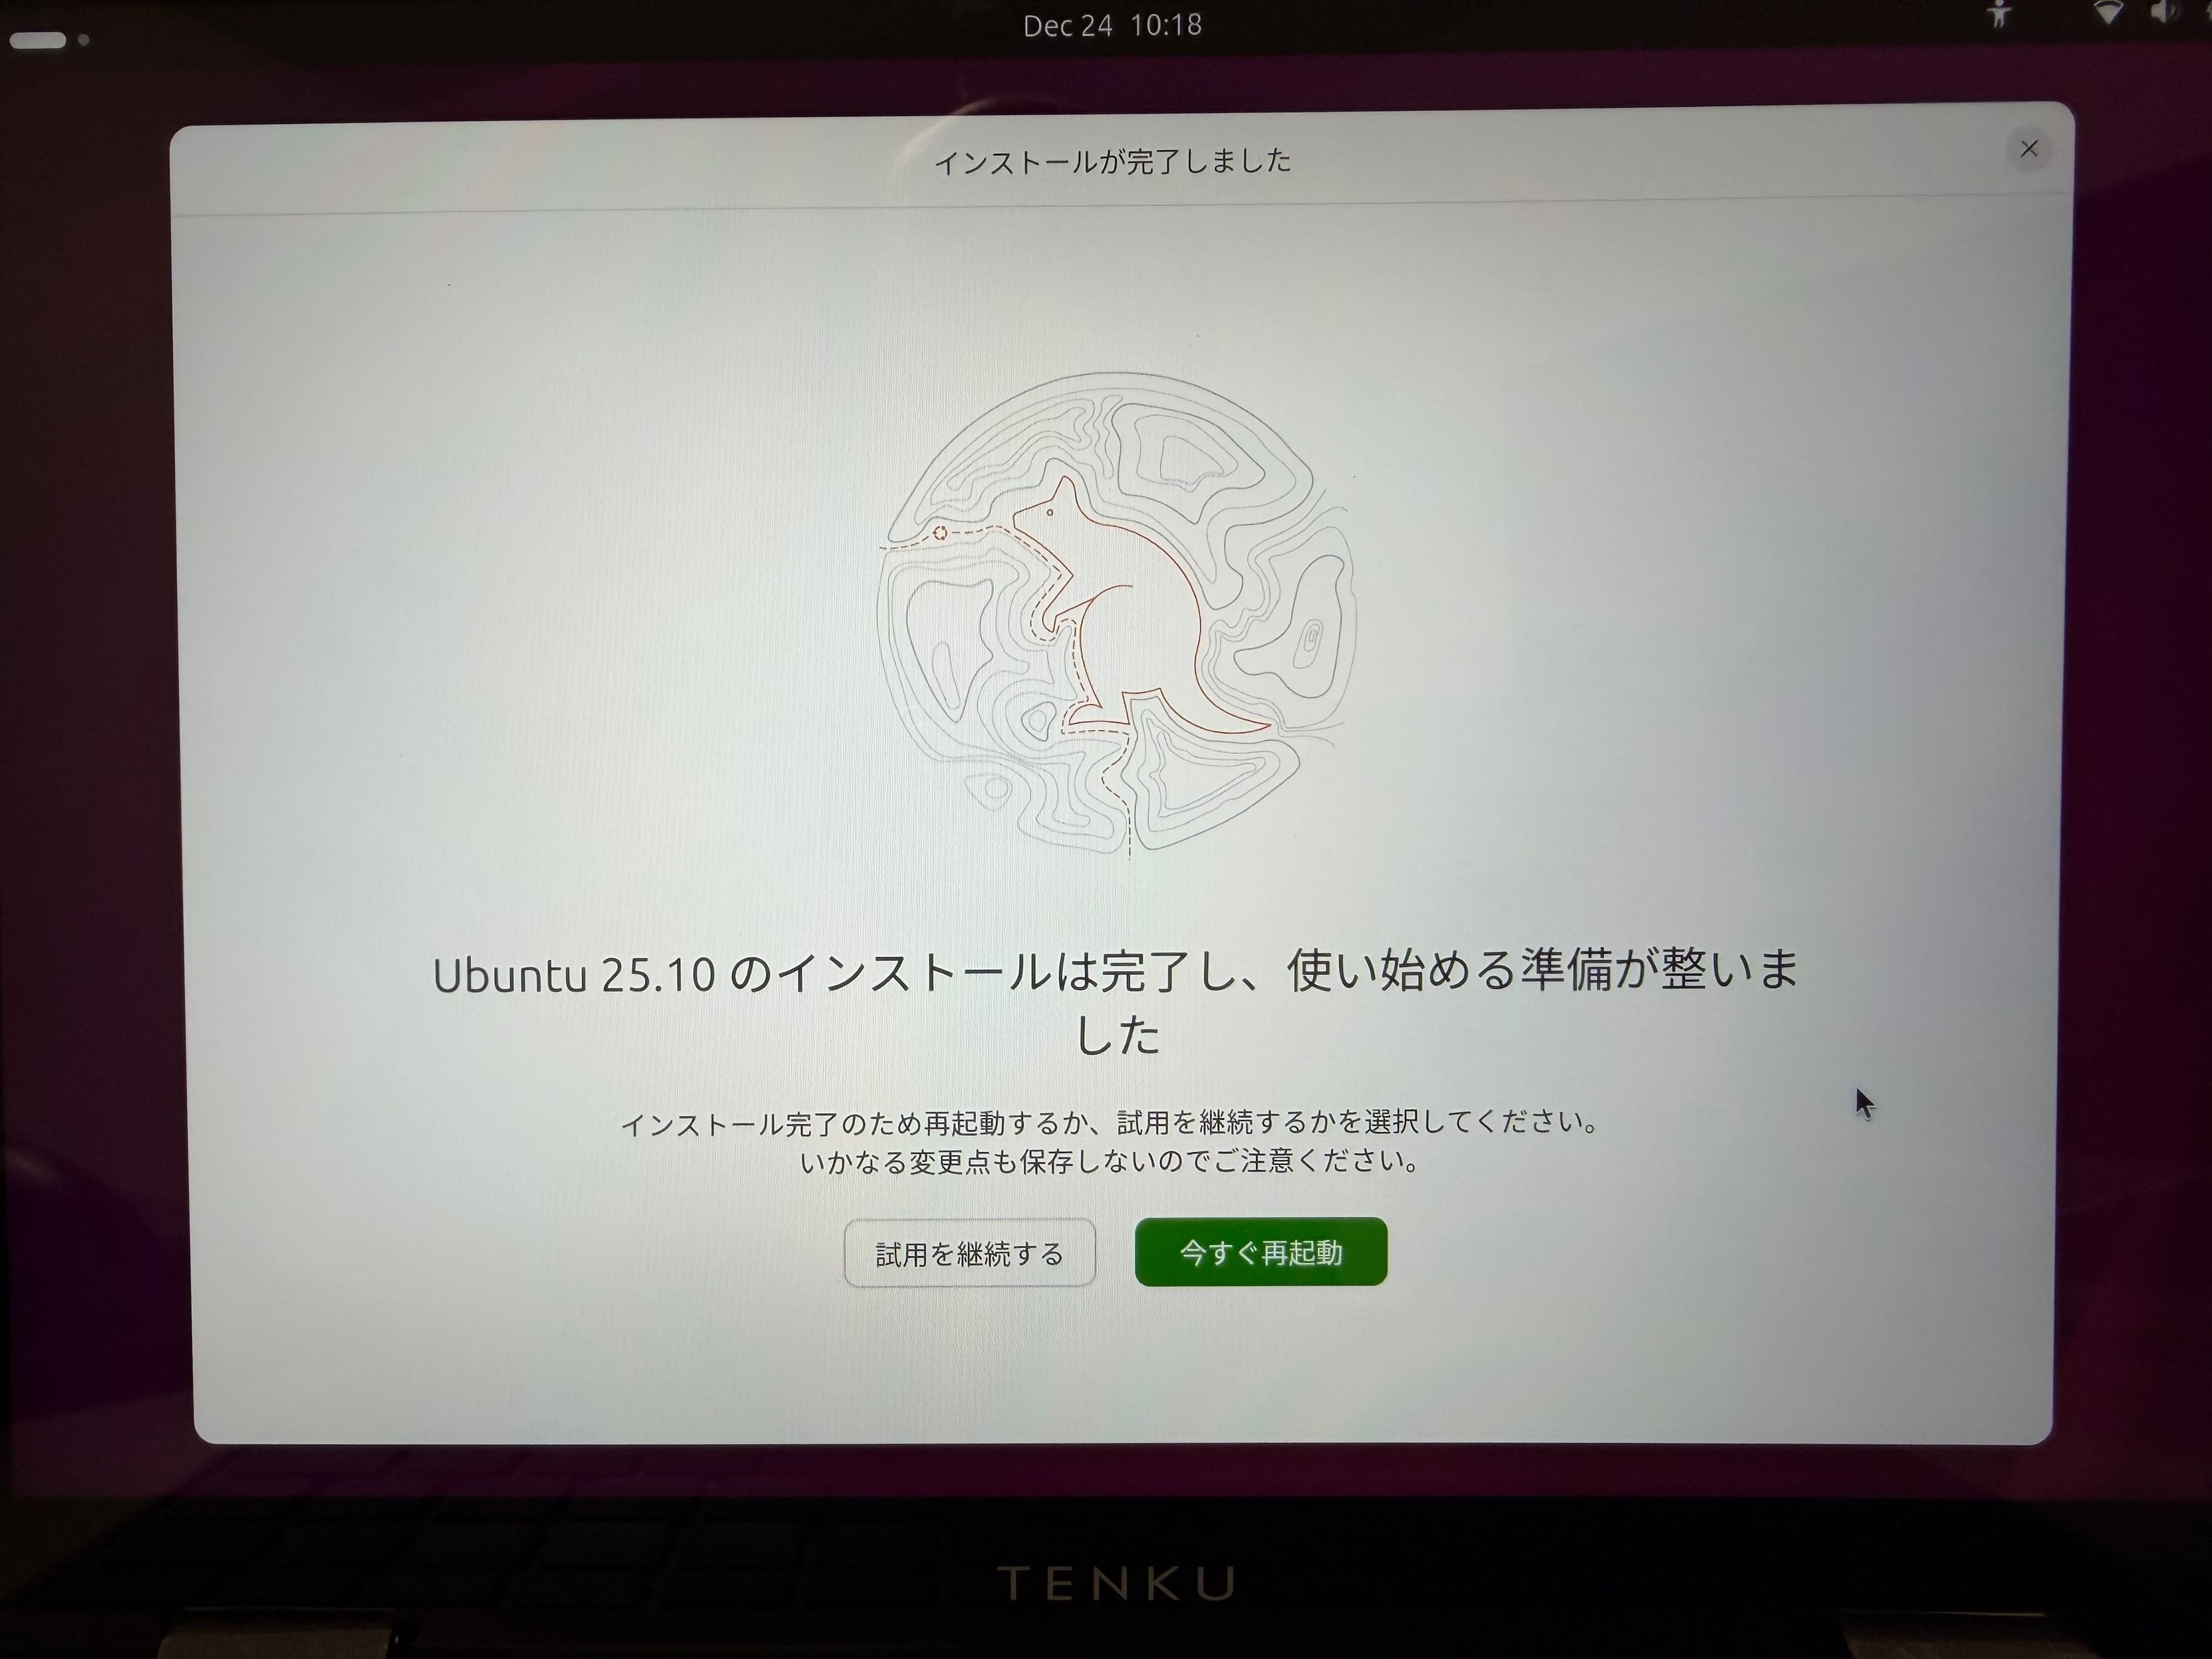
In this environment, a screen appears allowing you to choose between Ubuntu and Windows. Selecting Ubuntu will boot it up. Next, let's proceed to change Ubuntu's settings.
Ubuntu Configuration
Perform the update
After the OS installation completes and boots up, the welcome screen appears. Also, since updates are available this time, a pop-up regarding updates is displayed.
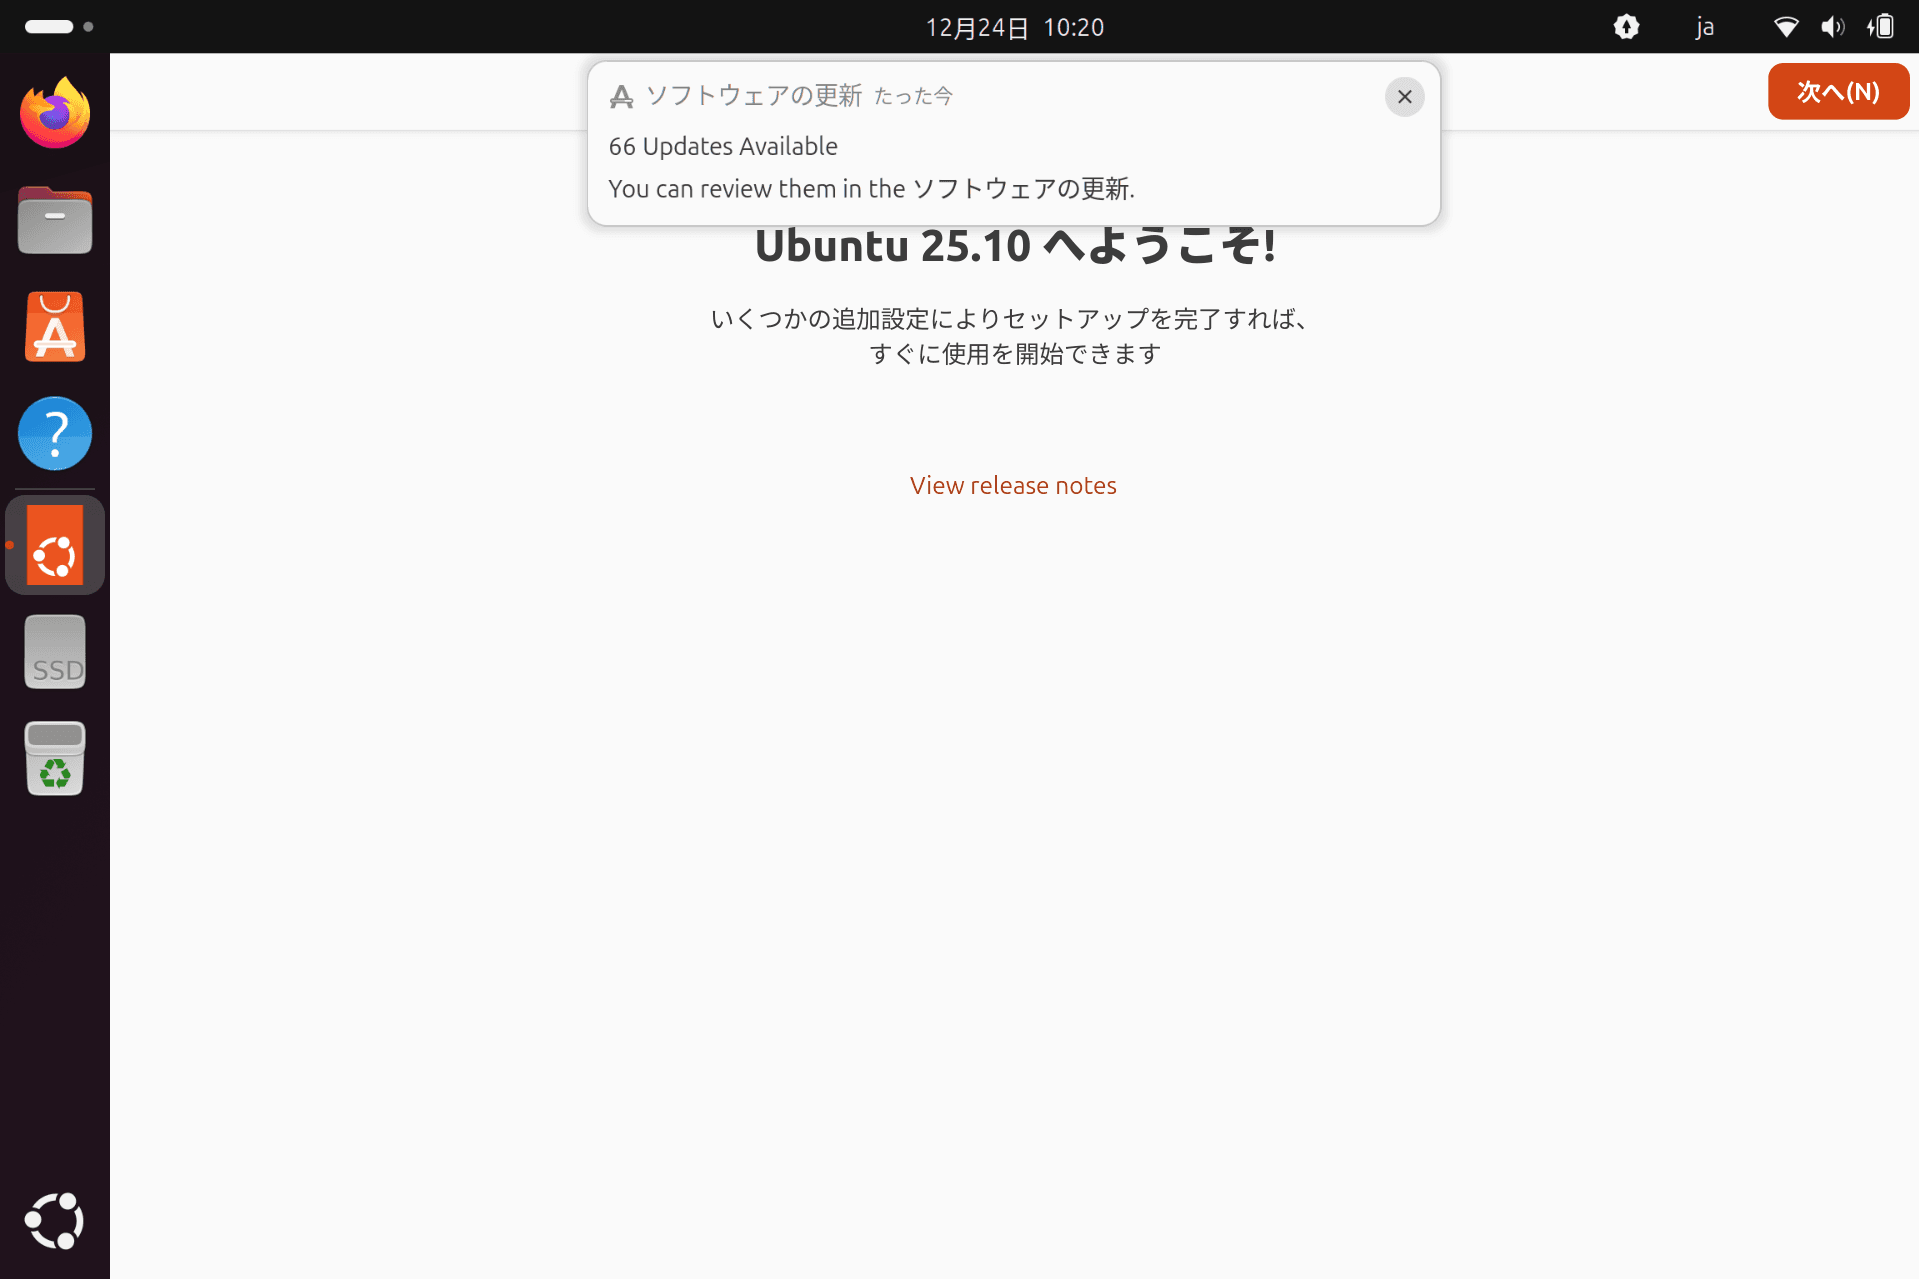
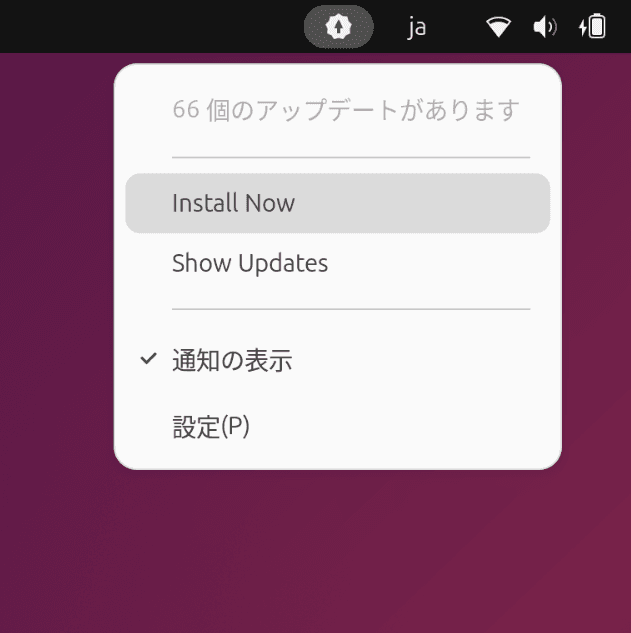
To perform an update, click the update icon displayed in the menu bar above. The following menu will appear.
This time, we'll proceed with the update by selecting Install Now.
A warning about the update will appear. Since no software that might be affected is currently installed, select Install Now.

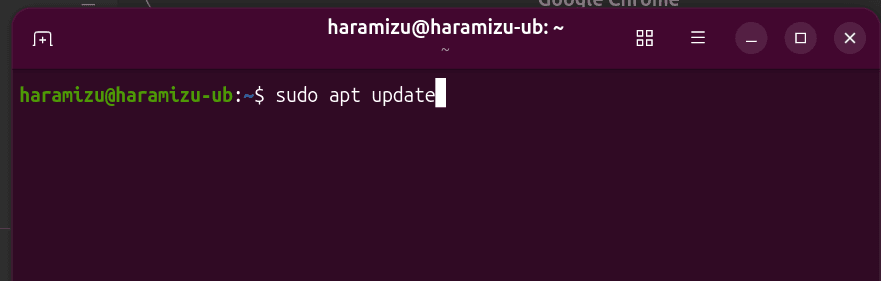
After installation, you will be prompted to restart, and your Ubuntu environment will be updated. Next, run the following command to update the package status as well.
sh
This completes all update-related tasks.
Installing Google Chrome
In the past, you could install it using the apt command, but now you need to download the package from Google's site and install it. First, please access the Google Chrome website.
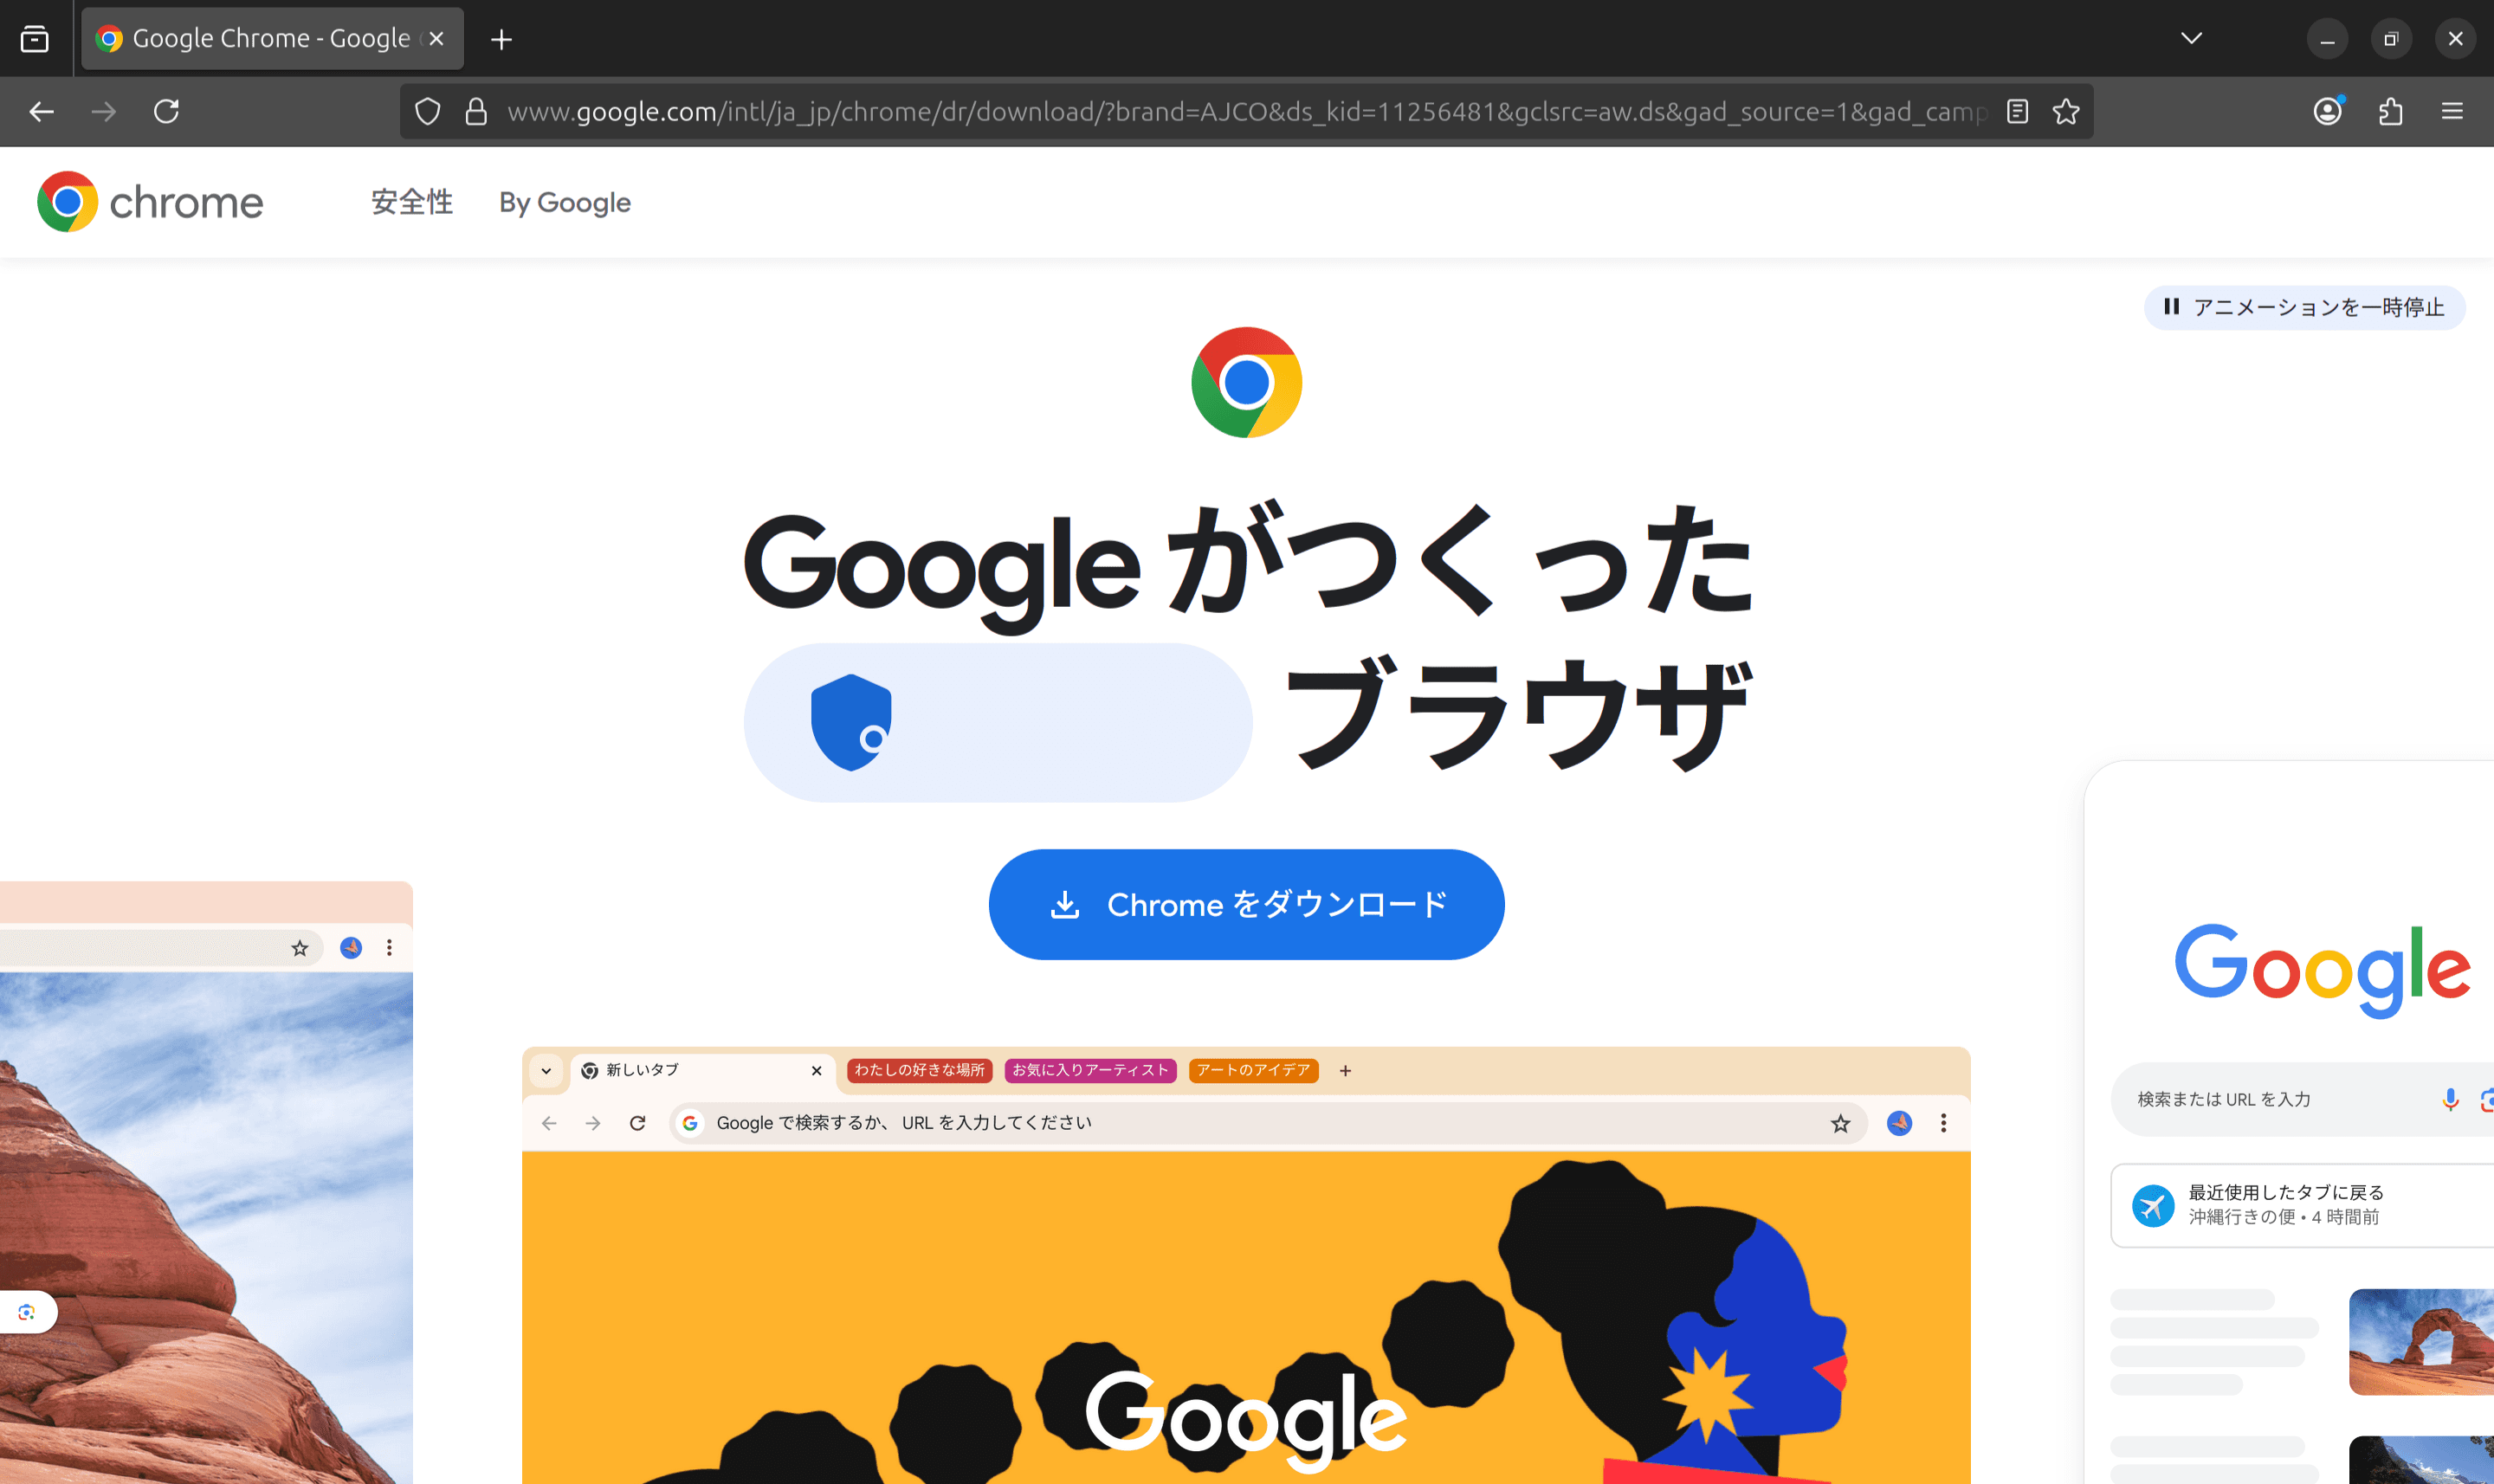
When you click the Chrome download button, the site recognizes the OS you're using and displays the Chrome for Linux download screen. For use on Ubuntu, select the first option and download the package.

Once the download is complete, the deb file will be available for use. Open this file to proceed with the installation.

After installation, the package management screen will appear. Since this package is not distributed through the store, the following warning will be displayed. If you originally downloaded it from Google's official site, you can proceed by clicking Install.

A confirmation dialog will appear for your reference. Click the Install button to proceed with the installation.

After a moment, the Chrome icon will appear.

Installing Visual Studio Code
Next, install Visual Studio Code. Visual Studio Code can be installed from the App Center.
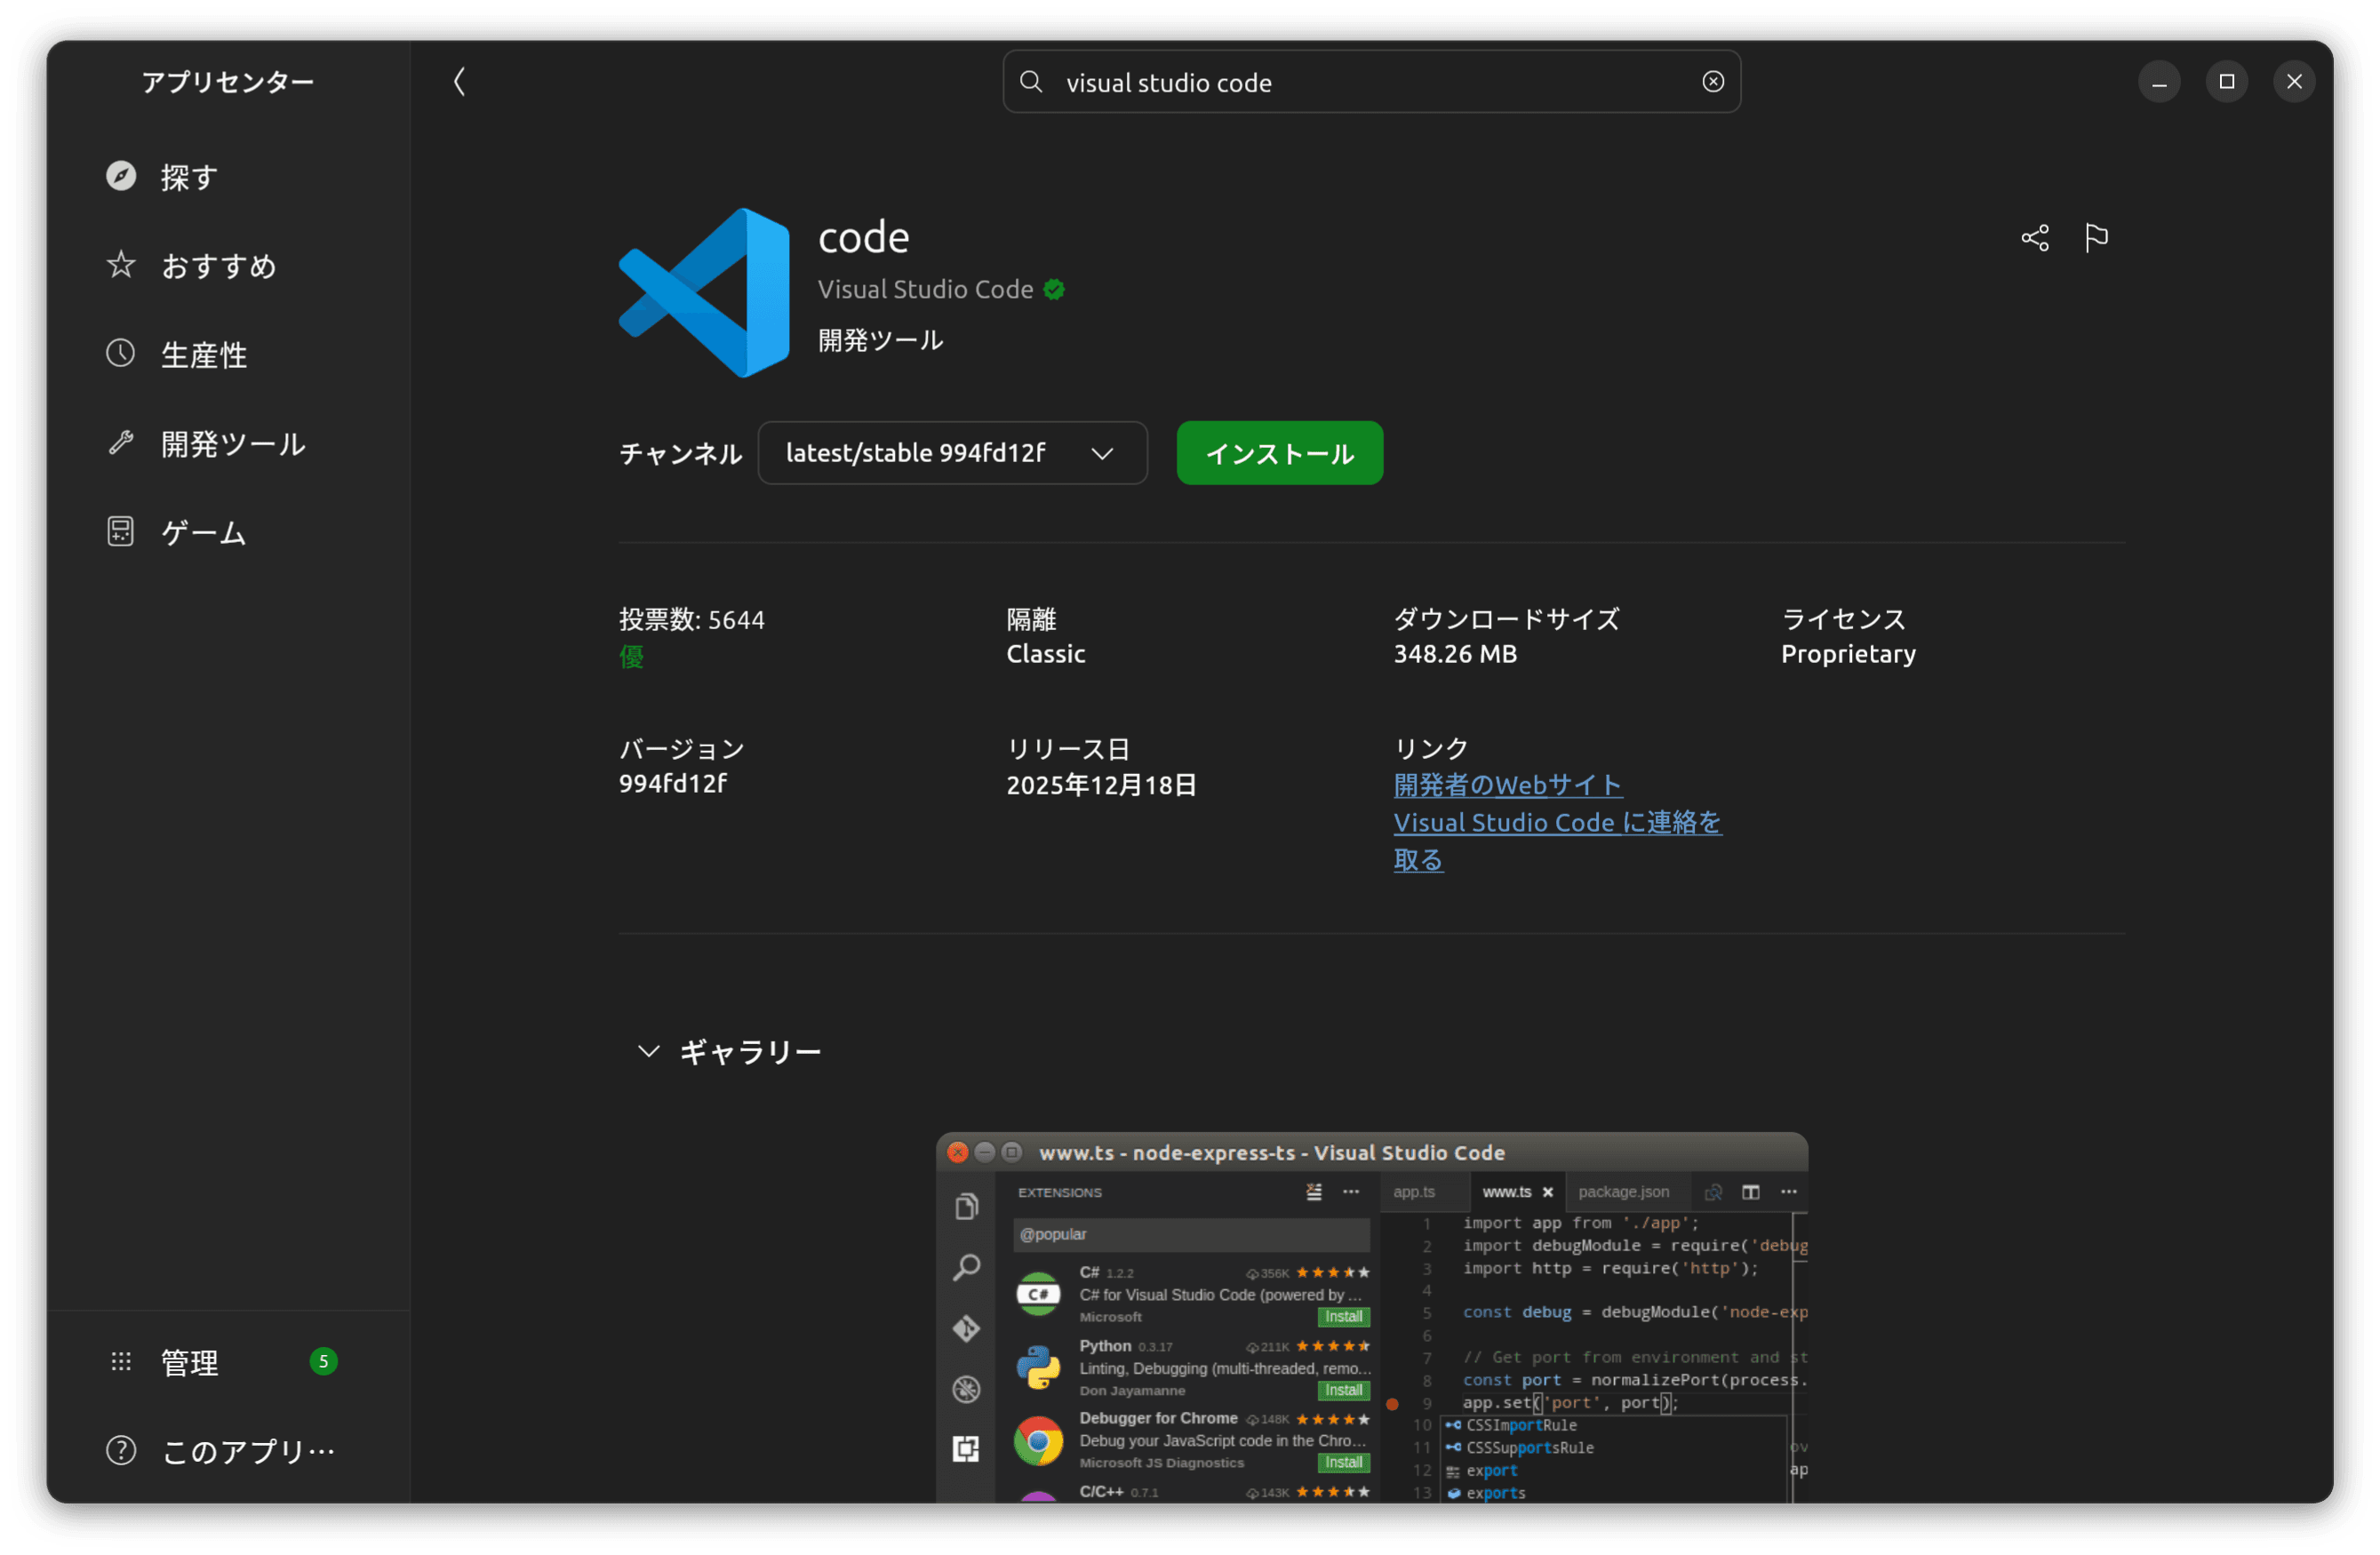
Once installation is complete, Visual Studio Code will launch as shown below. Essentially, it functions the same as it does on Windows or macOS.

Installing the necessary tools
I've installed all the necessary apps, so now I'll add the command-line tools for Visual Studio Code. First, I'll install Git.
sh
Next, to set up the Node.js environment, we'll install n. First, to install n, we'll install curl.
sh
Next, install n. Here, we will use the script introduced on the site https://github.com/mklement0/n-install/ for the installation.
sh
Once the installation is complete, run the following command using the n command to install Node.js and npm:
sh
This completes the setup process.
Summary
Visual Studio Code has launched successfully on my machine, and I now have a complete environment for creating web-related applications. Personally, I use Apple iCloud's password manager service, so the browser extension not working is an issue. However, since I'm not planning to use various services this time, it's now usable without any problems.
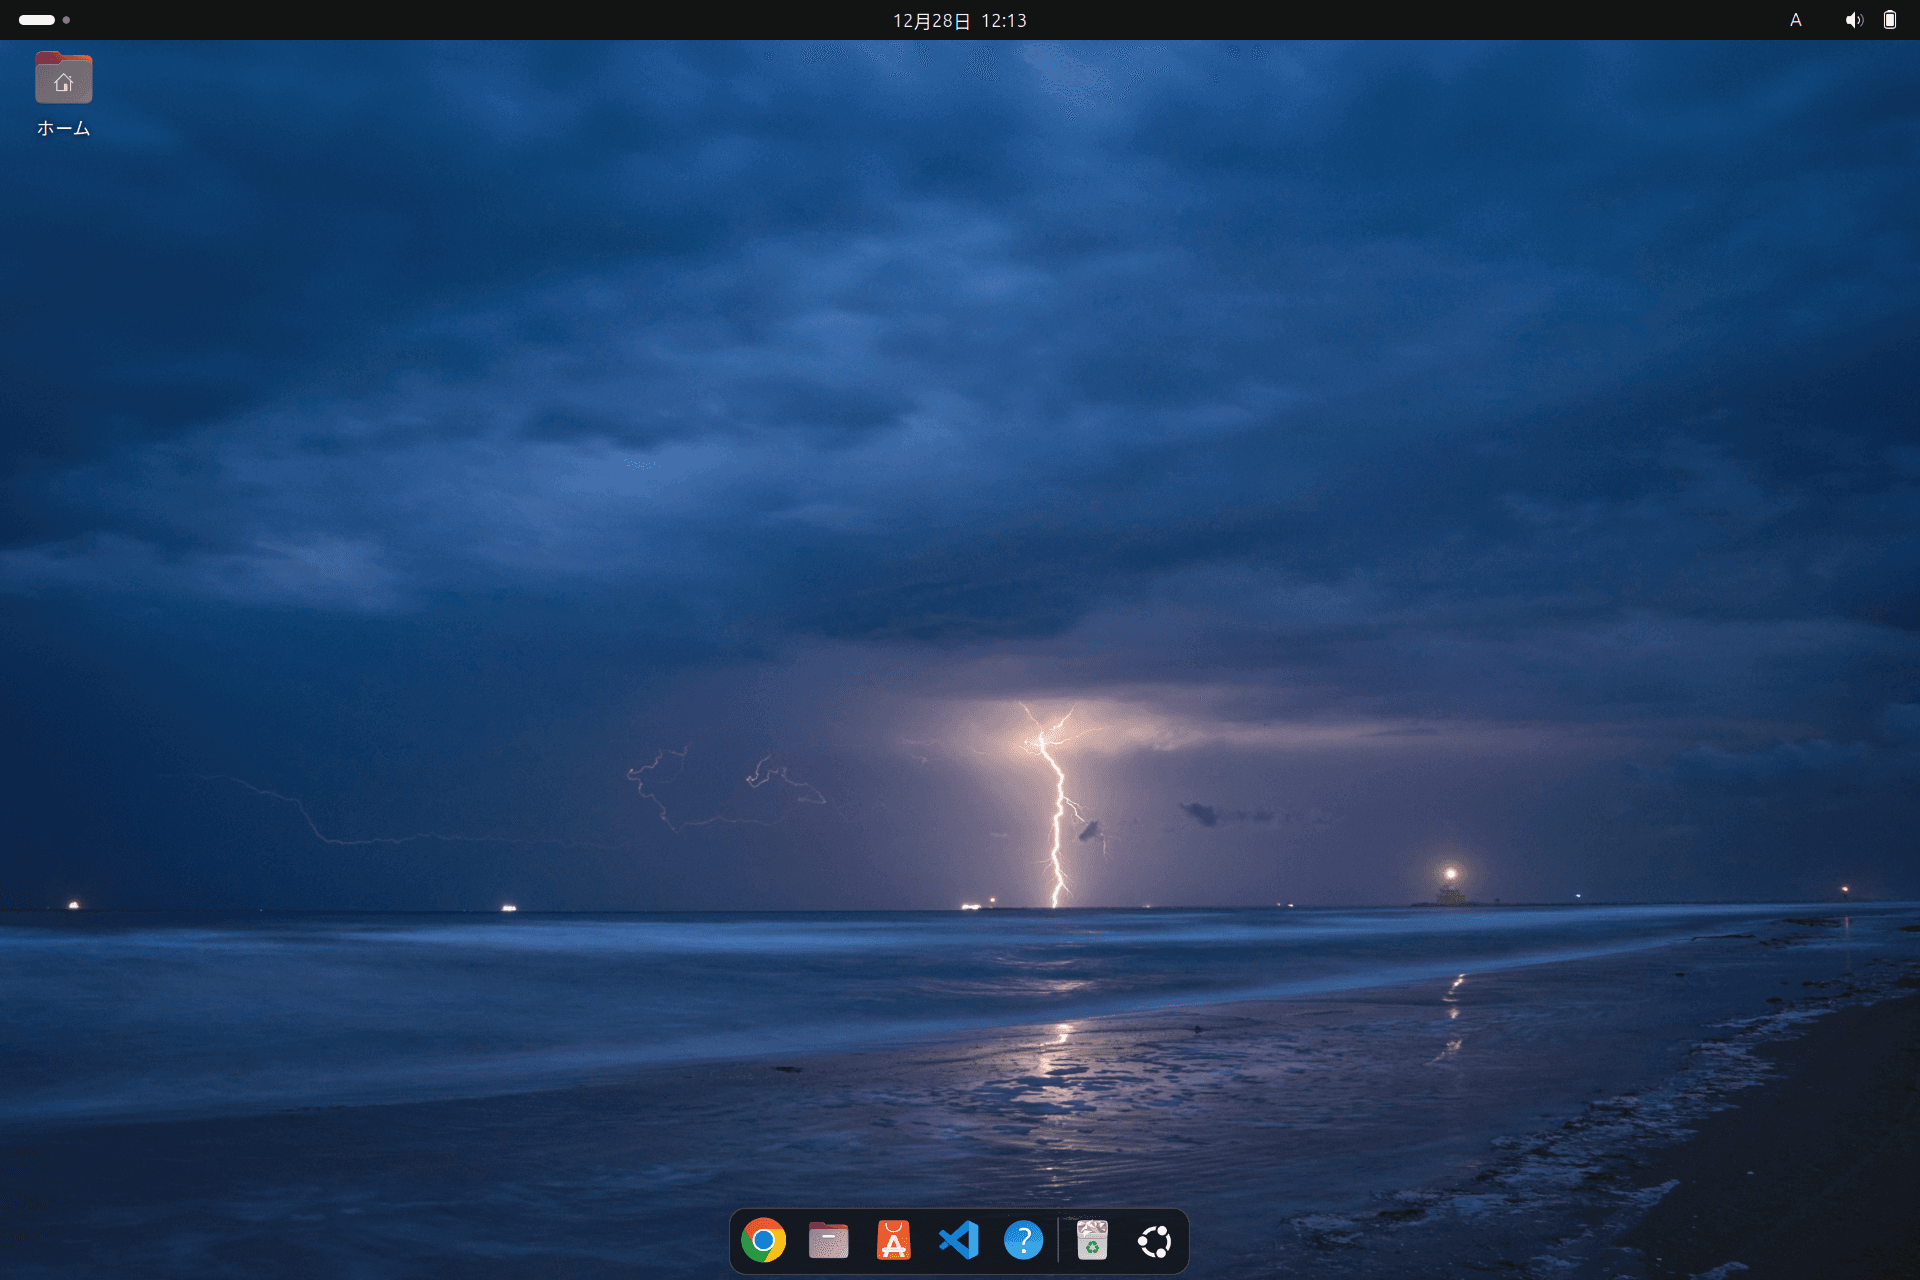
Below is the current Ubuntu desktop environment.