When running a website, it is essential to utilize various tools. Applying these tools often requires adding meta data or JavaScript to the site. While it is possible to manage this using a CMS, using a versatile tool like Google Tag Manager allows for more flexible and efficient operations.
GTM (Google Tag Manager)
2024-12-02
This document outlines the steps to apply Google Tag Manager to a Next.js project.
Next.js Pages Router
Here, we introduce a sample using the Next.js Page Router. For the latest information, please refer to the Next.js official site.
Let’s create a sample project.
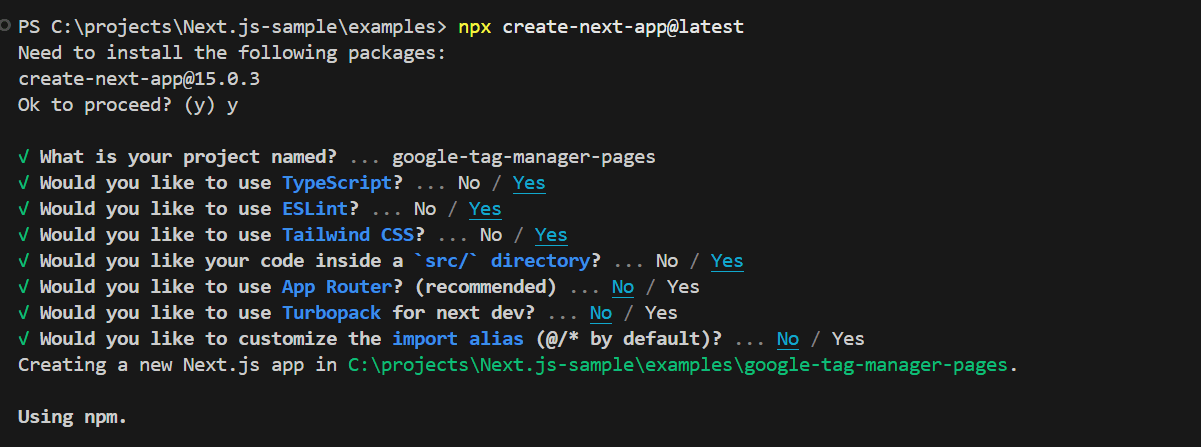
- Create a Next.js project.
sh
- Answer the prompts to create a Pages Router project as shown below.
- Next, install the package @next/third-parties@latest.
sh
- Add code to /pages/_app.tsx to make it available globally.
/pages/_app.tsx
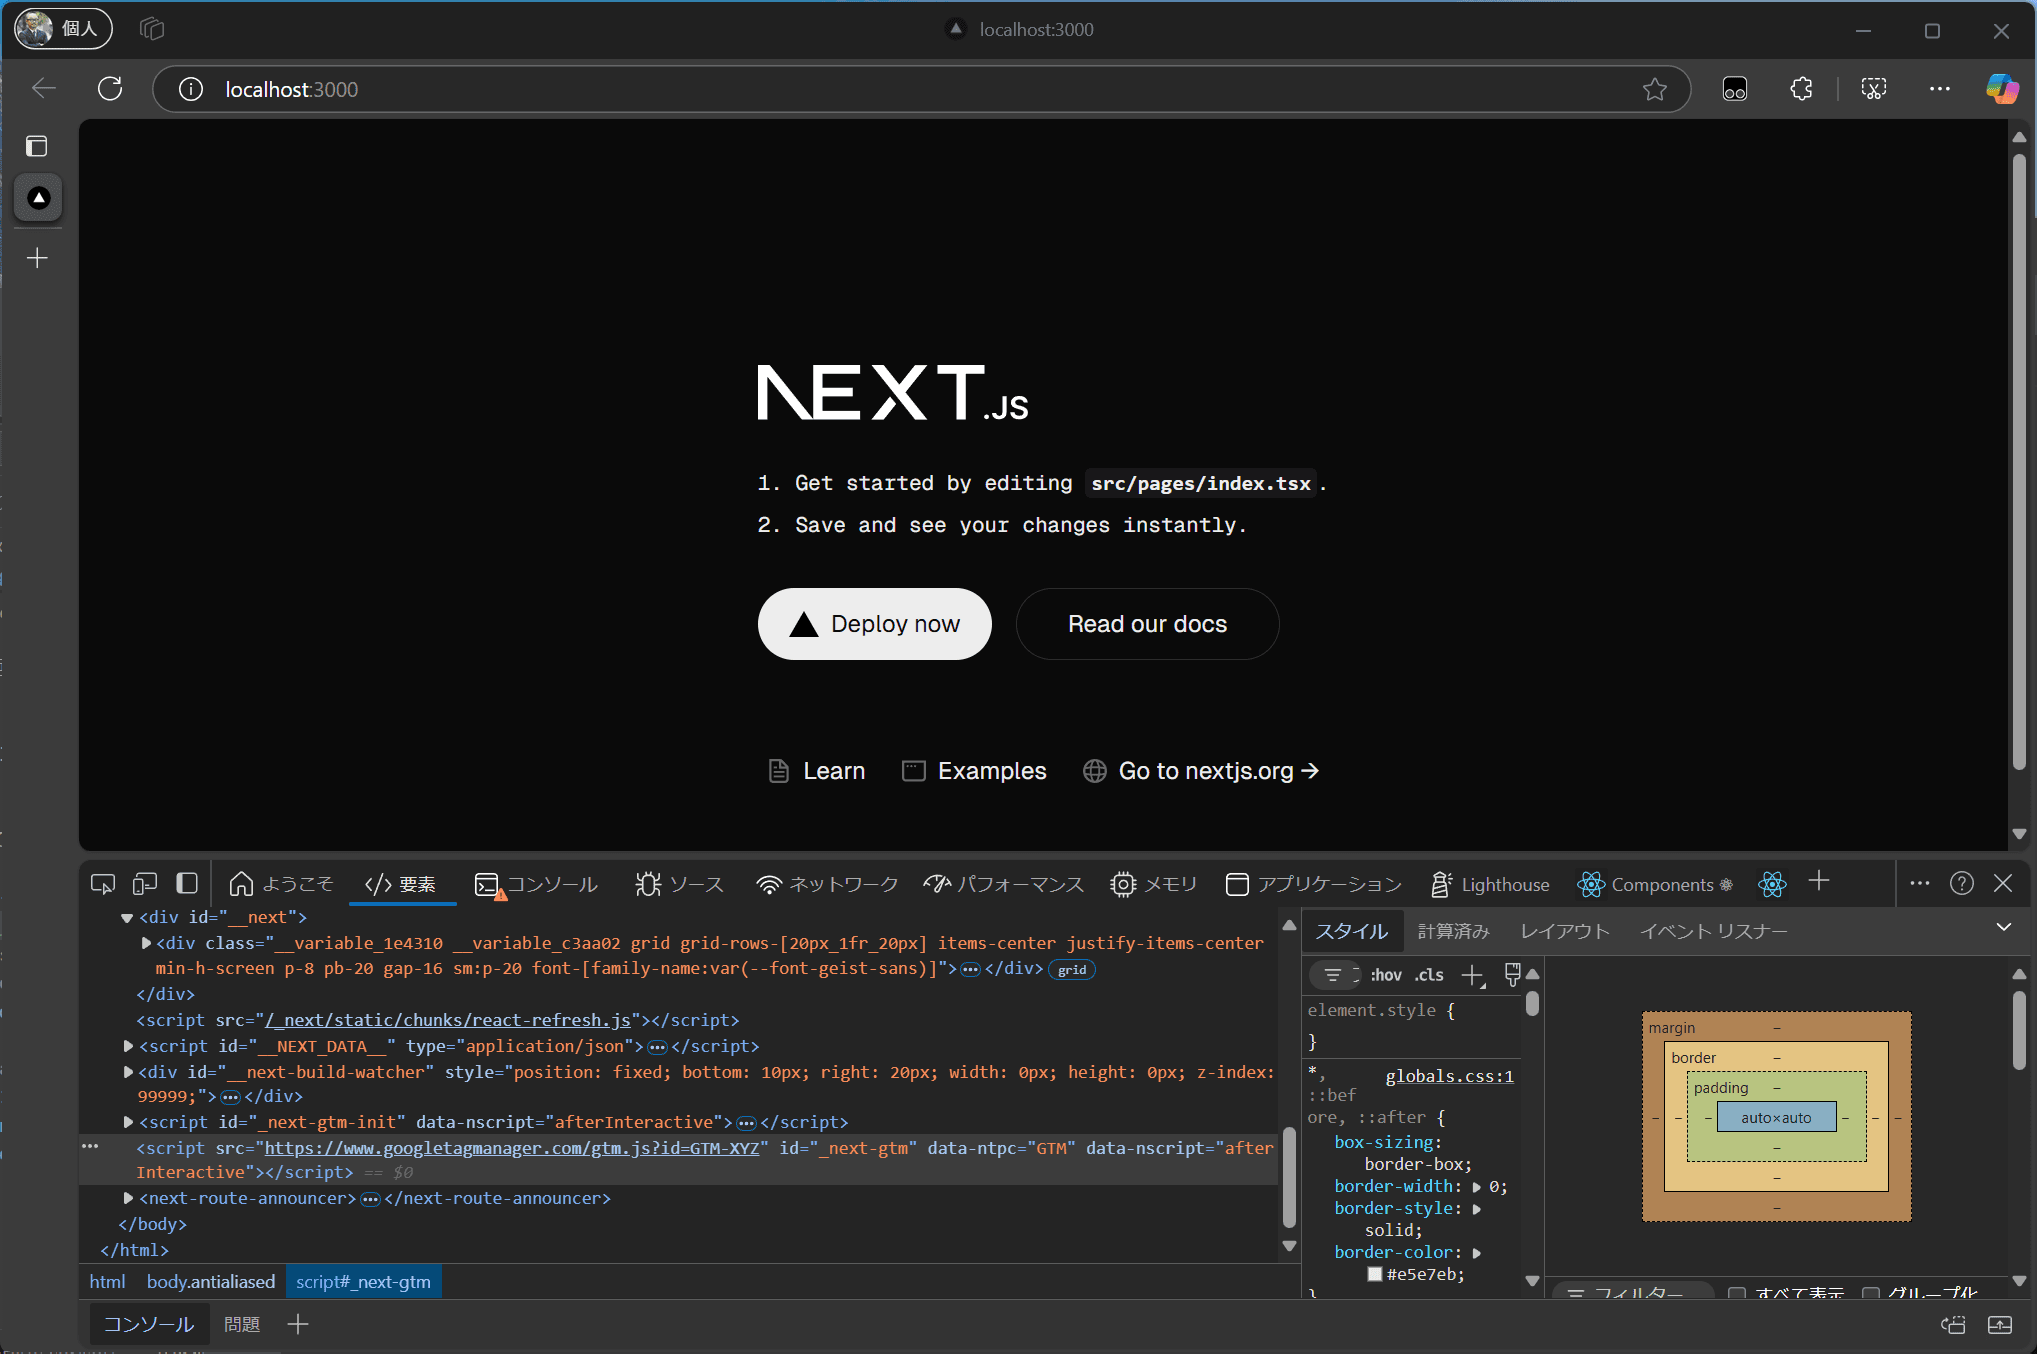
- When you start the project, you can confirm that the Google Tag Manager code has been added.
- To manage the GTM key using environment variables, create a .env.local file and write the following:
.env.local
- To load the key written in .env.local, modify the following file:
/pages/_app.tsx
The sample code introduced above can be referenced from the following repository.
Next.js App Router
Here, we introduce a sample using the Next.js App Router. For the latest information, please refer to the Next.js official site.
Let’s create a sample project.
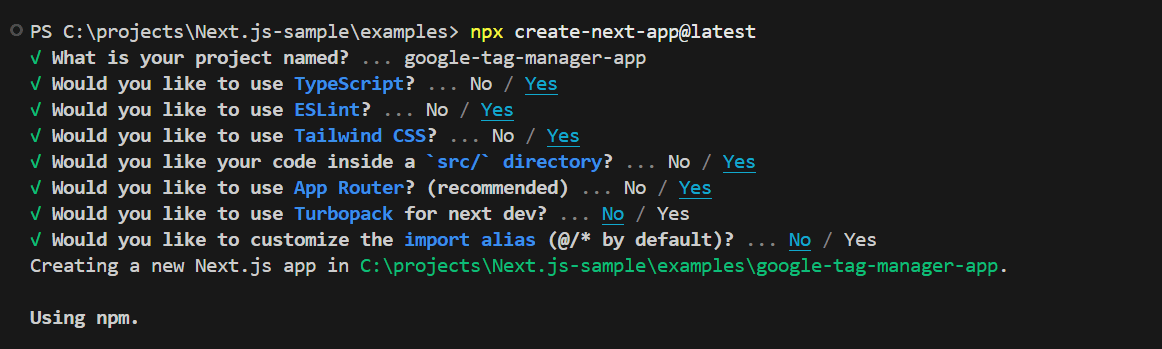
- Create a Next.js project.
sh
- Answer the prompts to create a Pages Router project as shown below.
- Next, install the package @next/third-parties@latest.
sh
- Add code to /app/layout.tsx to make it available globally.
/app/layout.tsx
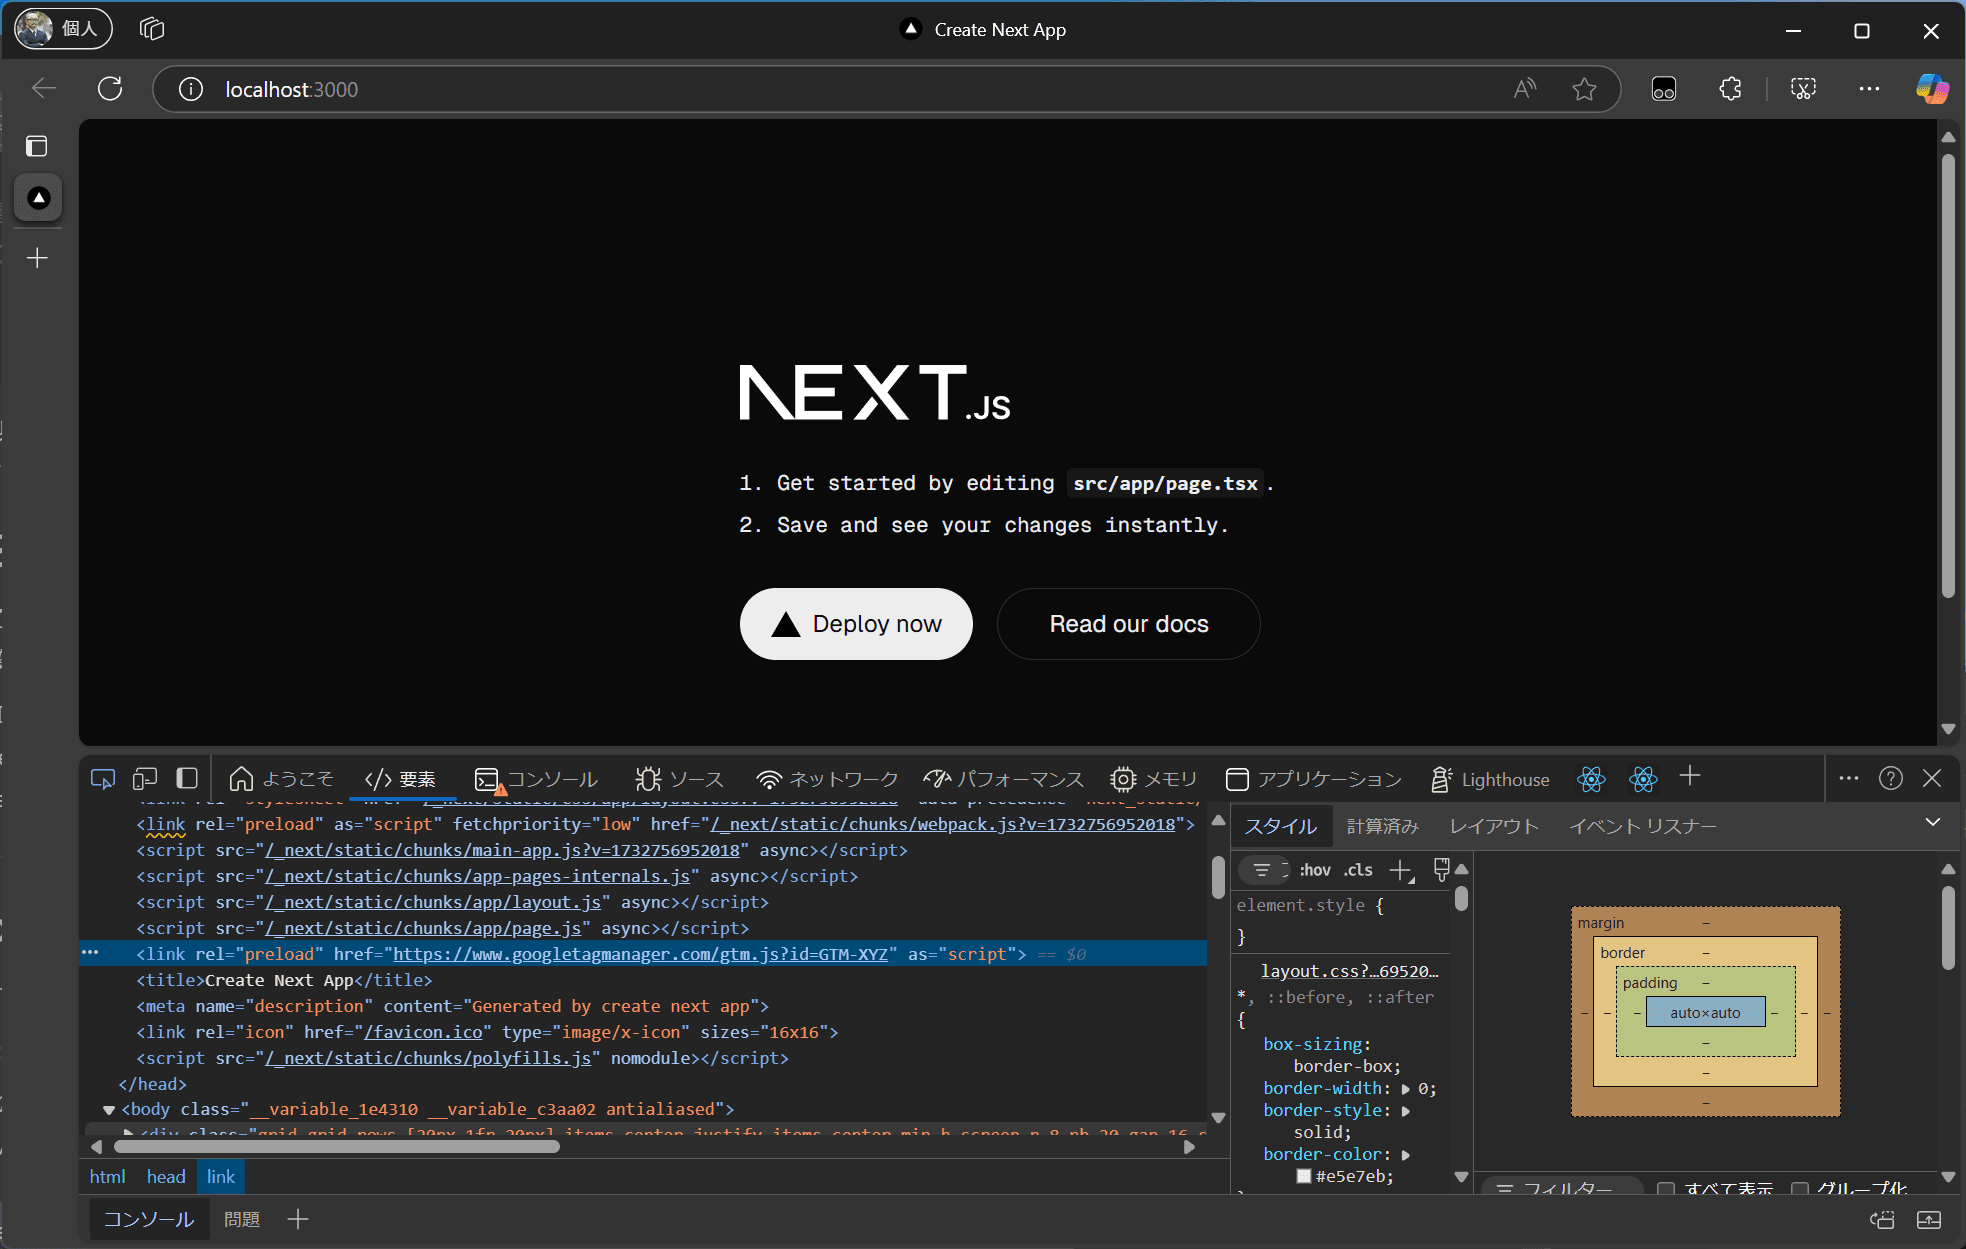
- When you start the project, you can confirm that the Google Tag Manager code has been added.
- To manage the GTM key using environment variables, create a .env.local file and write the following:
.env.local
- To load the key written in .env.local, modify the following file:
/app/layout.tsx
The sample code introduced above can be referenced from the following repository.
Other Implementations
Previously, I introduced the implementation of GTM in Next.js using a package called react-gtm-module.
There are other packages available for integrating GTM, but the steps provided by Next.js are the simplest, so I will omit the details of other implementations.
Summary
The implementation of Google Tag Manager is already provided in the official Next.js documentation. Please refer to the official steps in addition to this document.