Google released a React library for Google Maps Platform on May 21, 2024.
Google Maps Library
2024-12-02|2025-07-14
By using this react-google-maps, it becomes easy to use Google Maps on your website. This time, we will check how to use this library with Next.js.
Get Google Maps API key
To use Google Maps, you need to obtain an API key. Basically, you need to subscribe to a paid plan to use the Google Maps API key, but you can use it for free up to $200 per month. This amount is sufficient for verification and testing.
As a prerequisite for obtaining an API key, you need to already have a Google Cloud developer account. After ensuring you can access the developer site, proceed with the following steps.
Access the following site with administrator privileges.
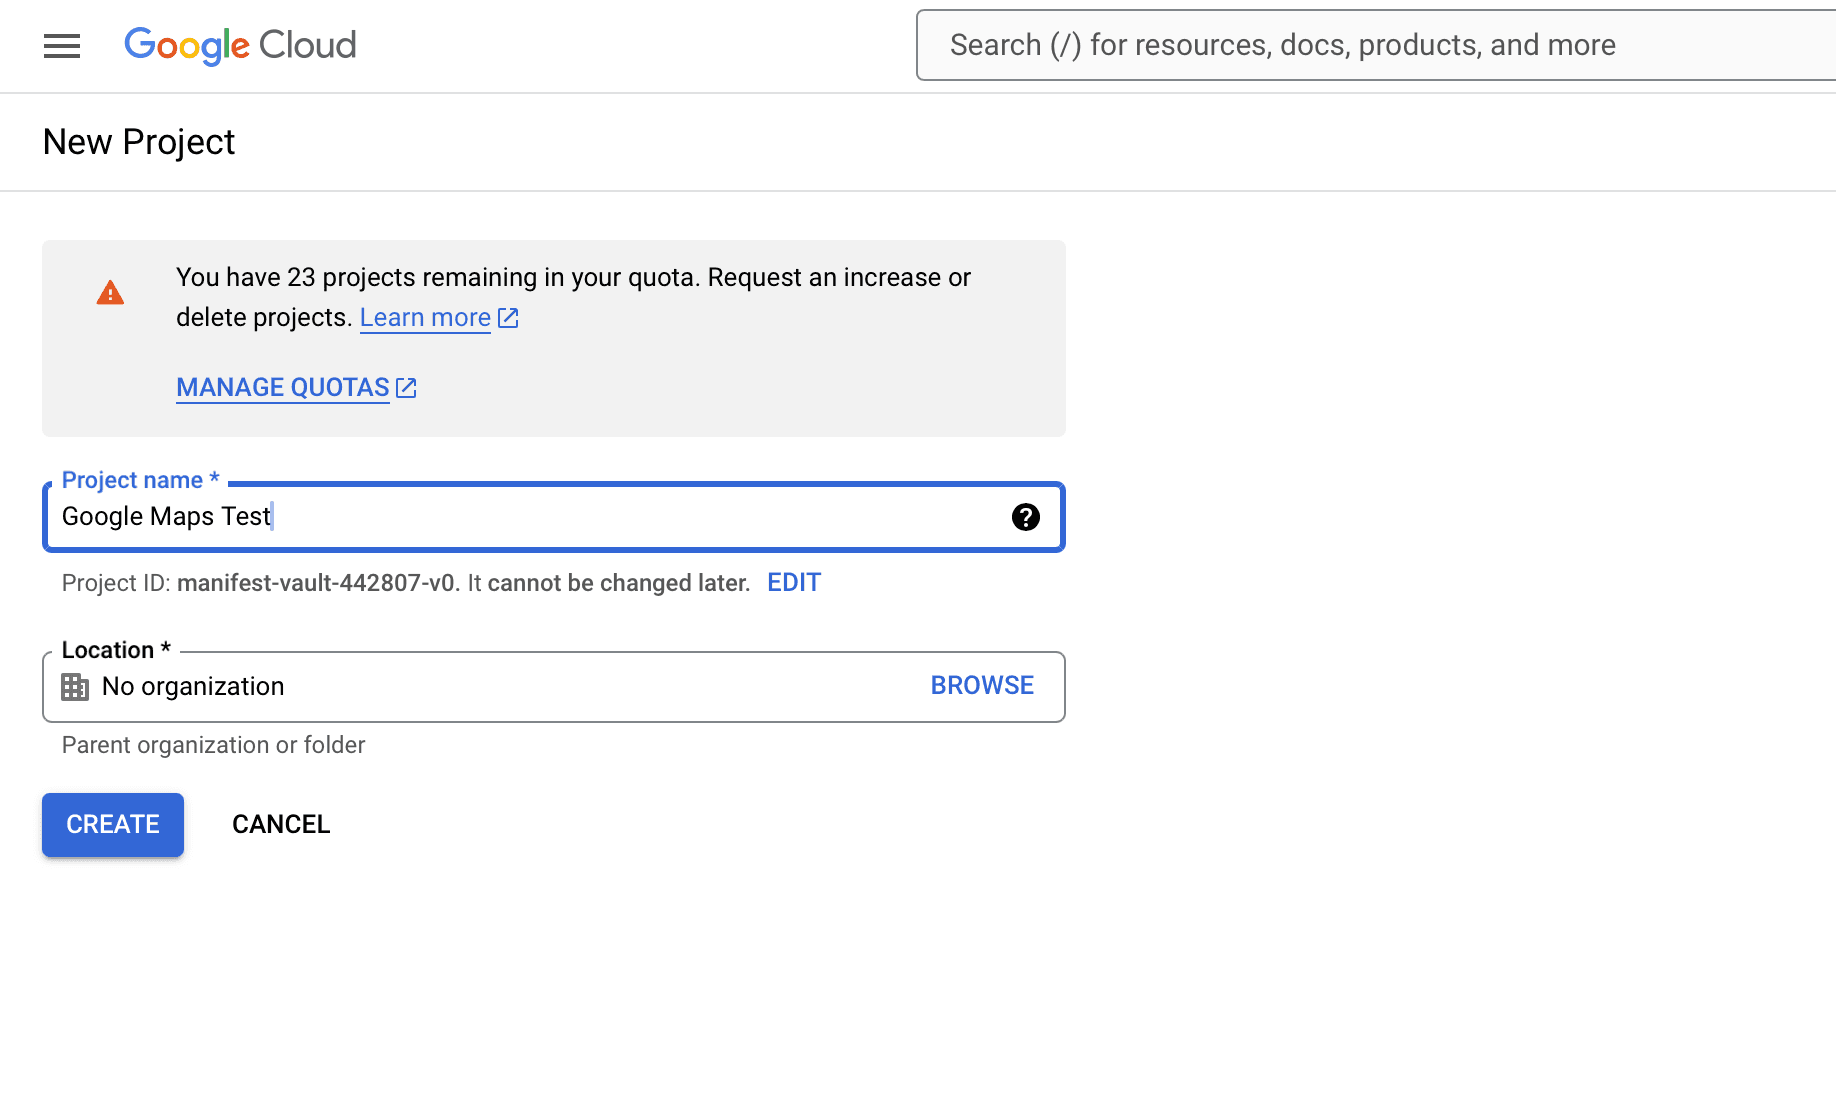
Create a new project.
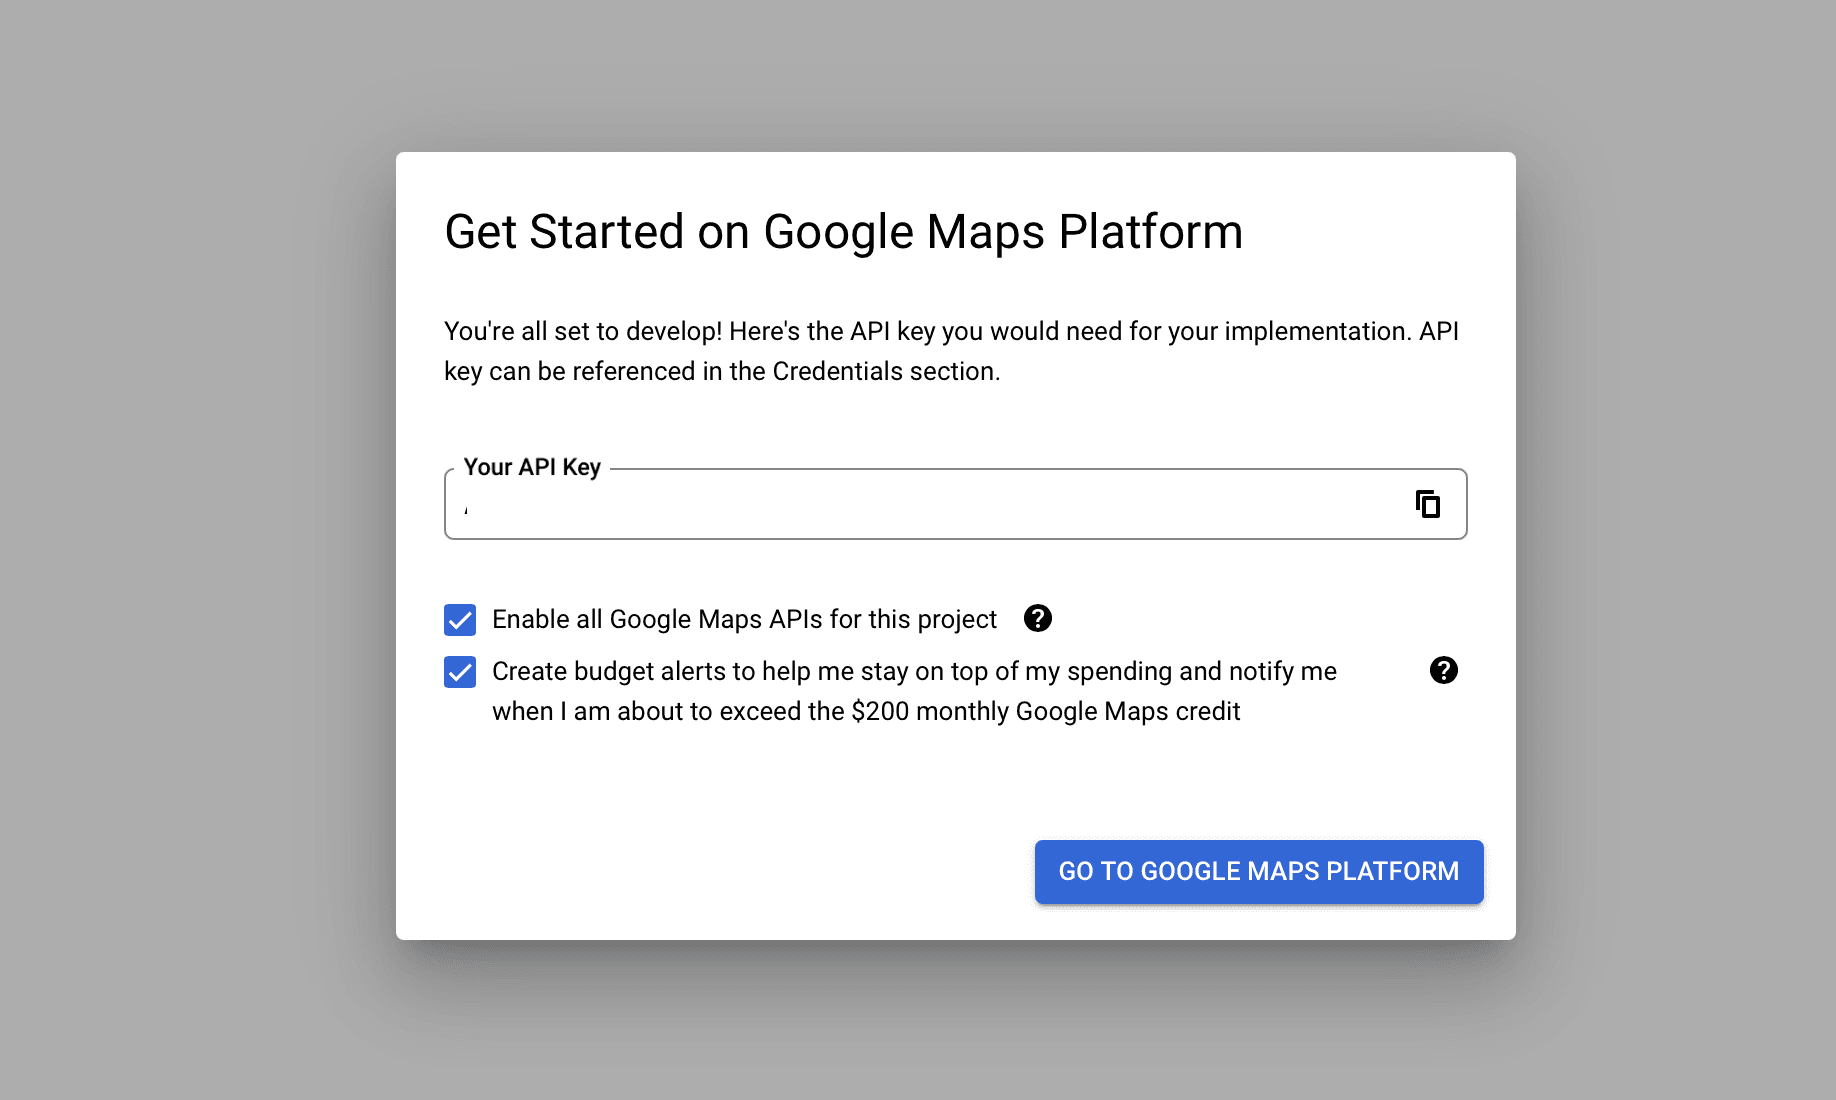
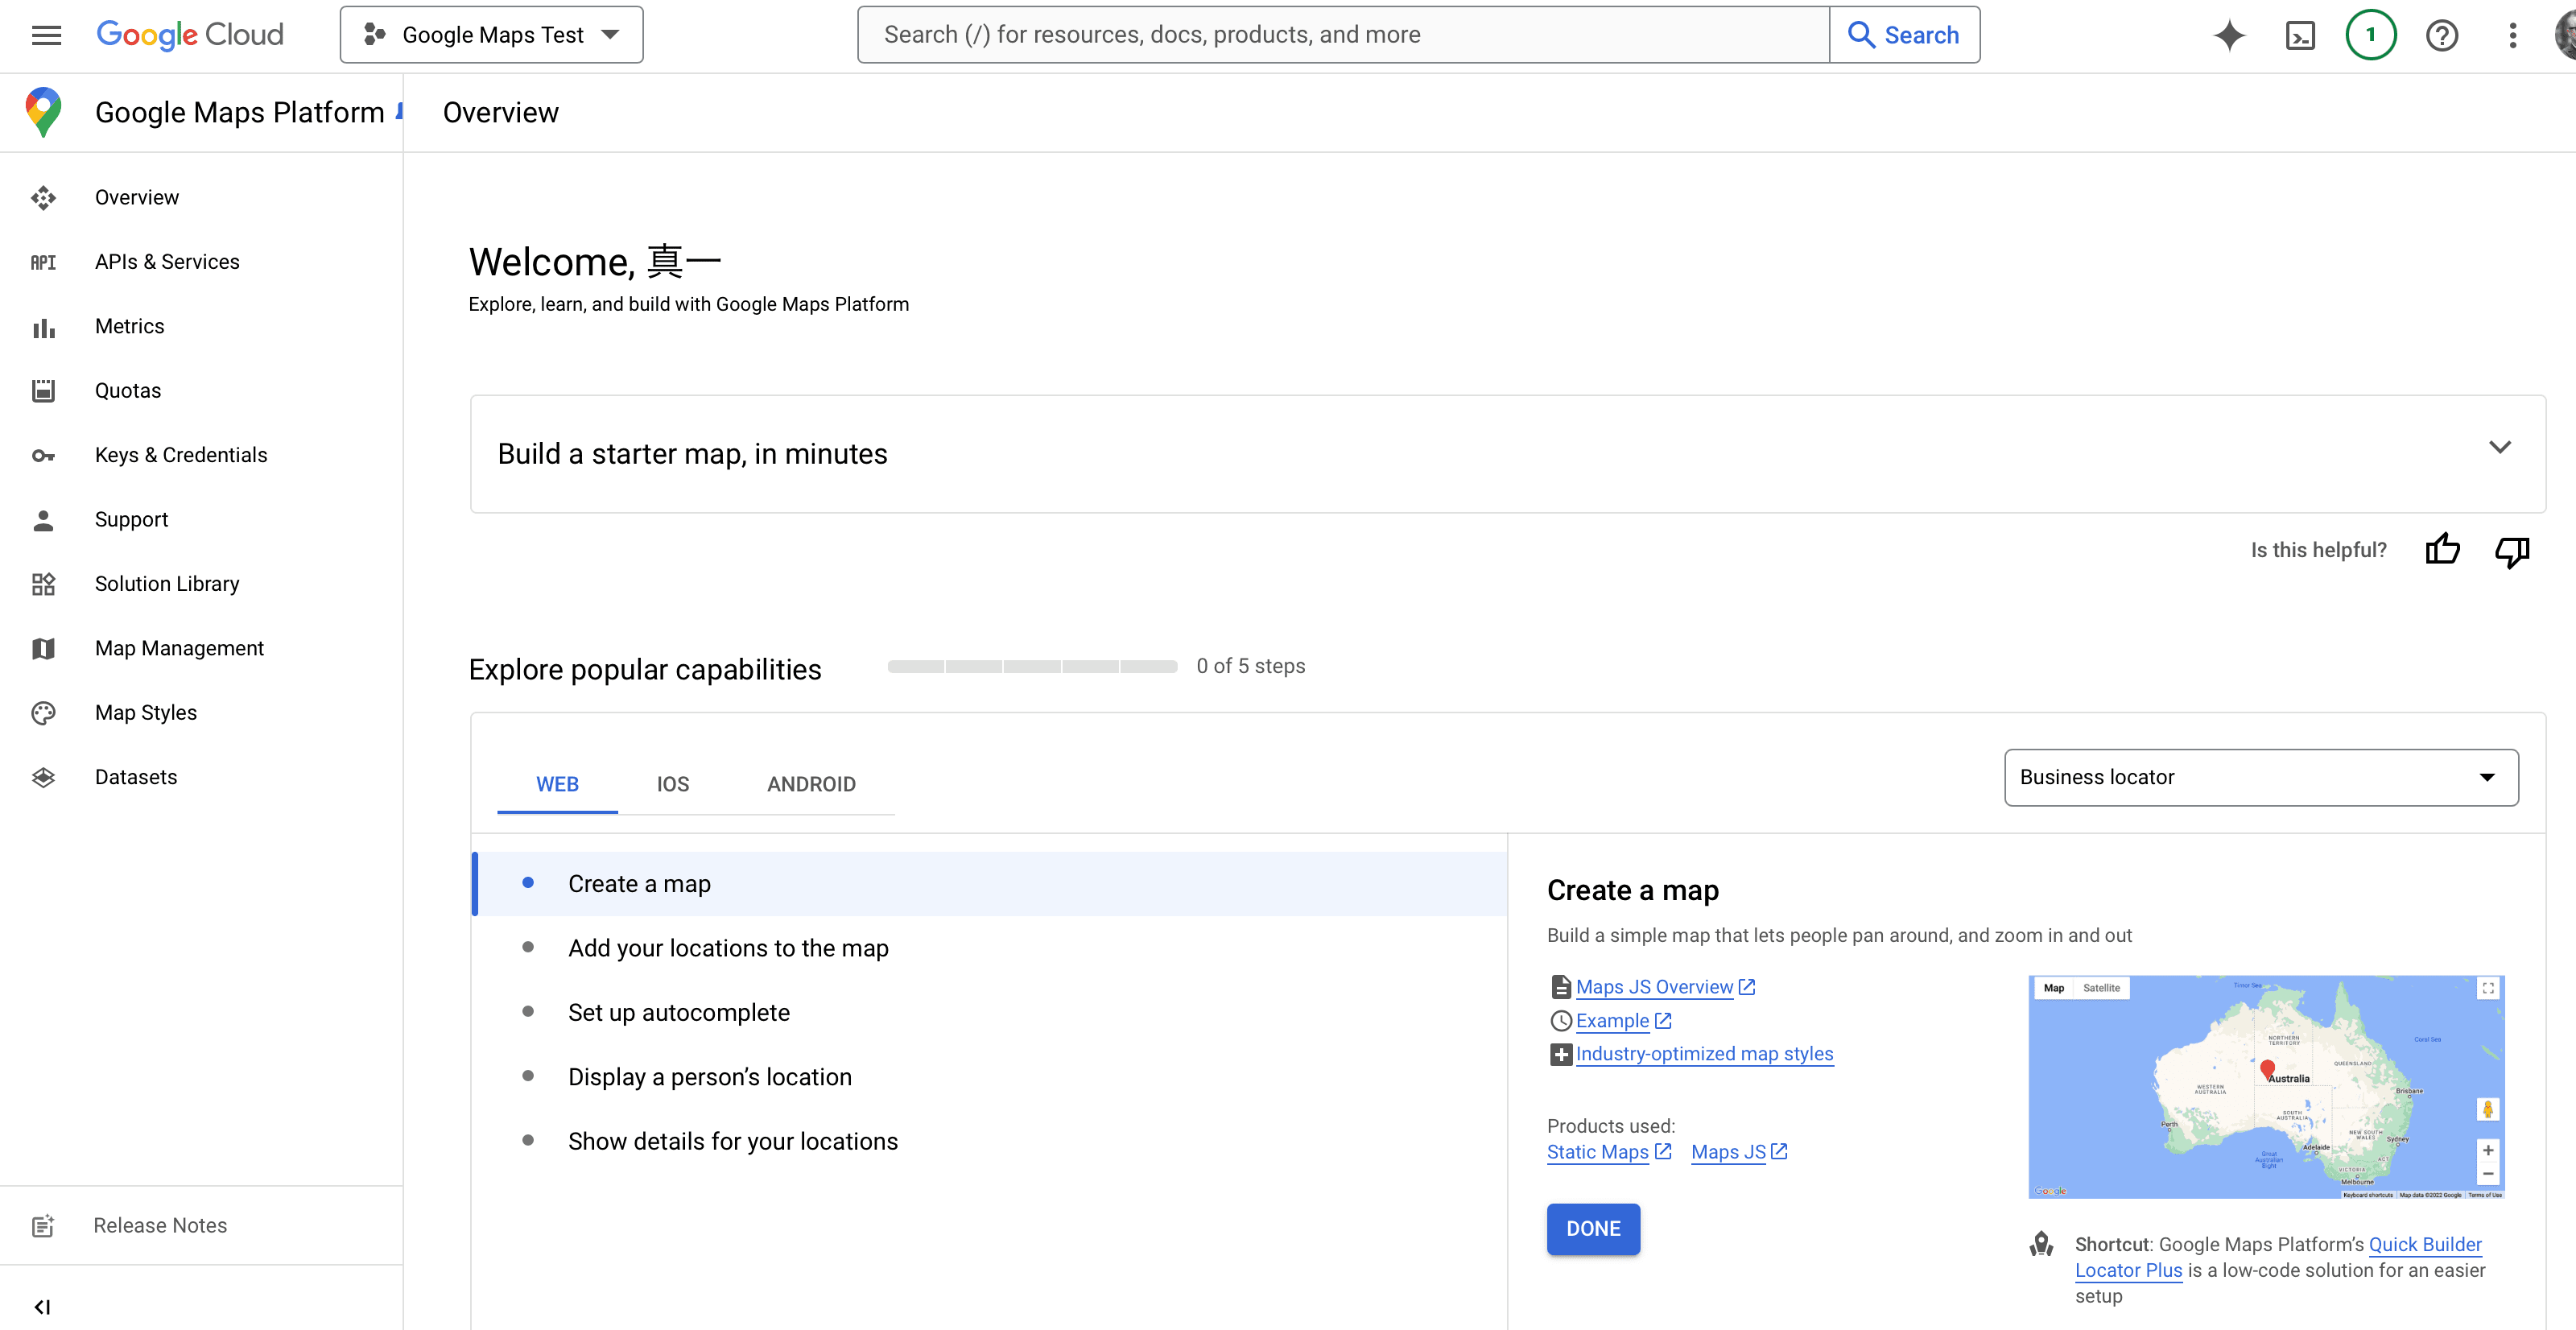
Switch to the created project, and the API key will be displayed as shown below. We will use this key this time.
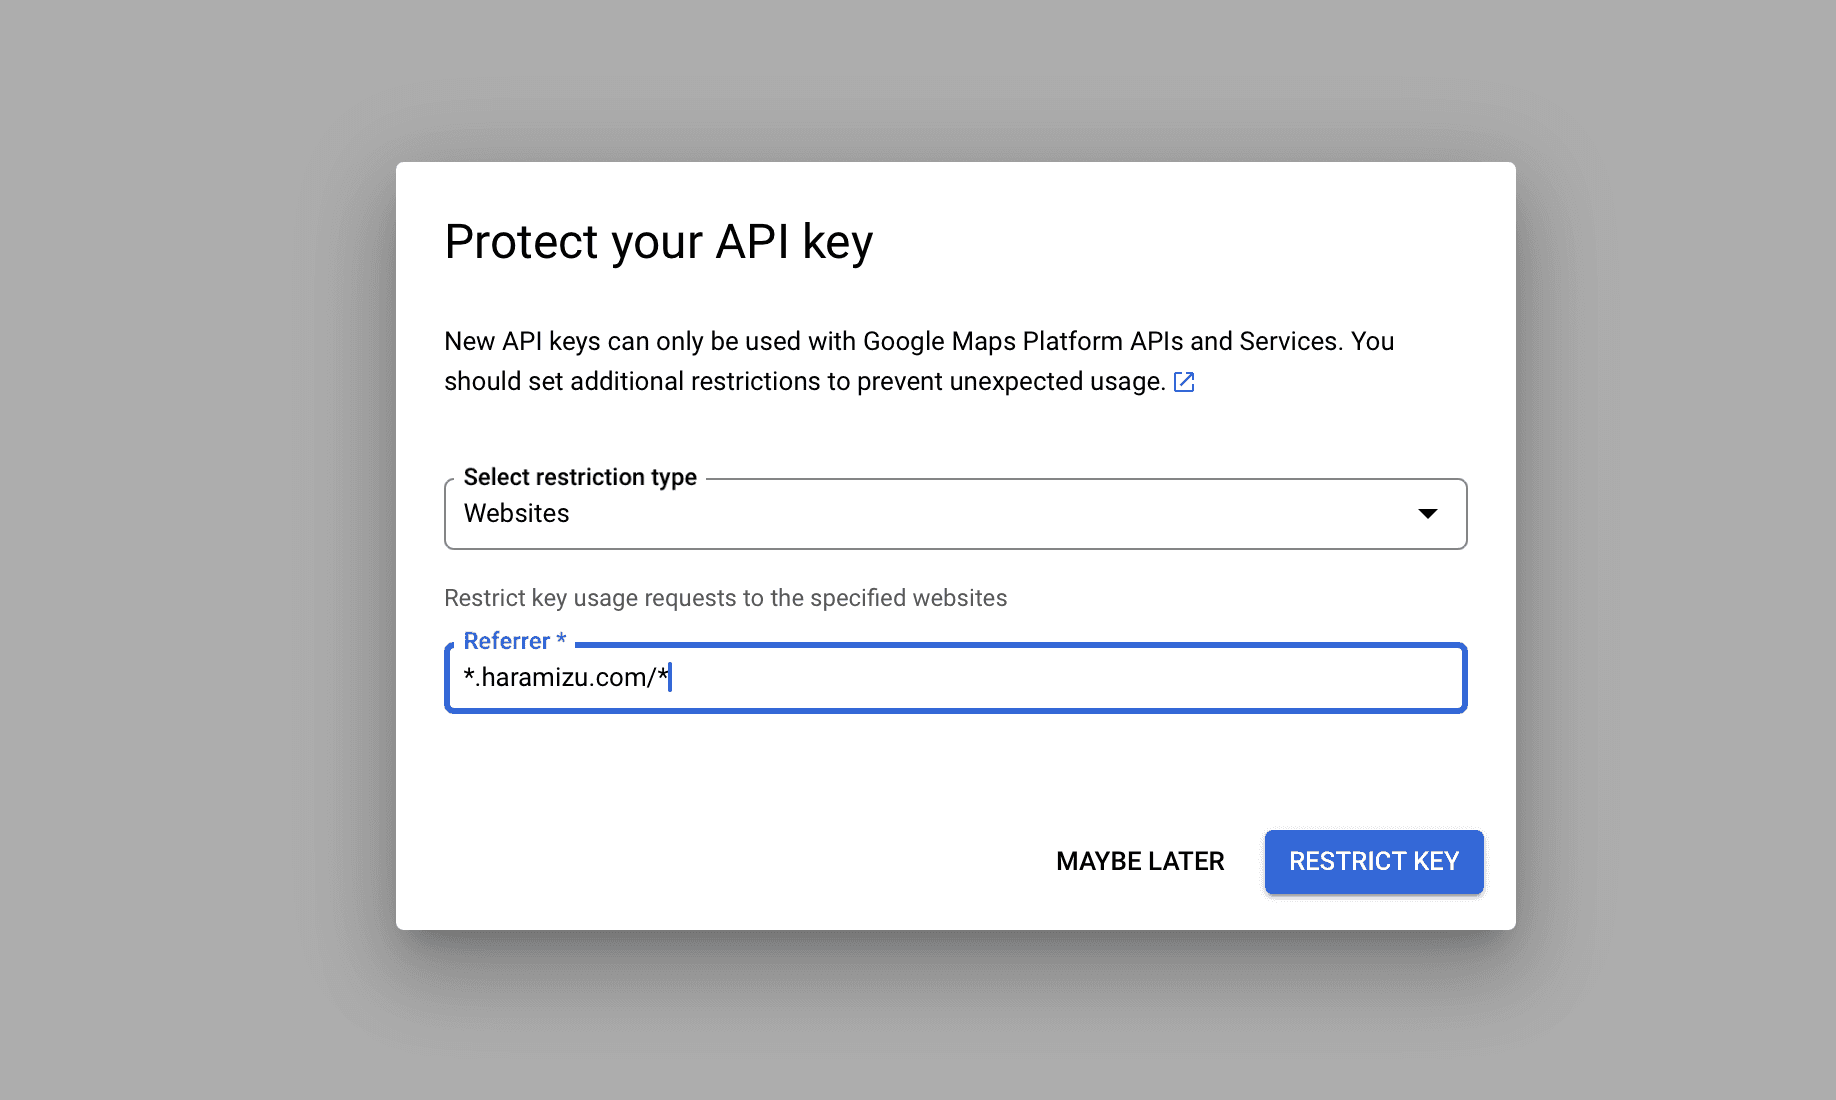
Next, a dialog will be displayed to confirm the purpose of using this API key. Select Website this time, and for the Referrer, target your own domain.
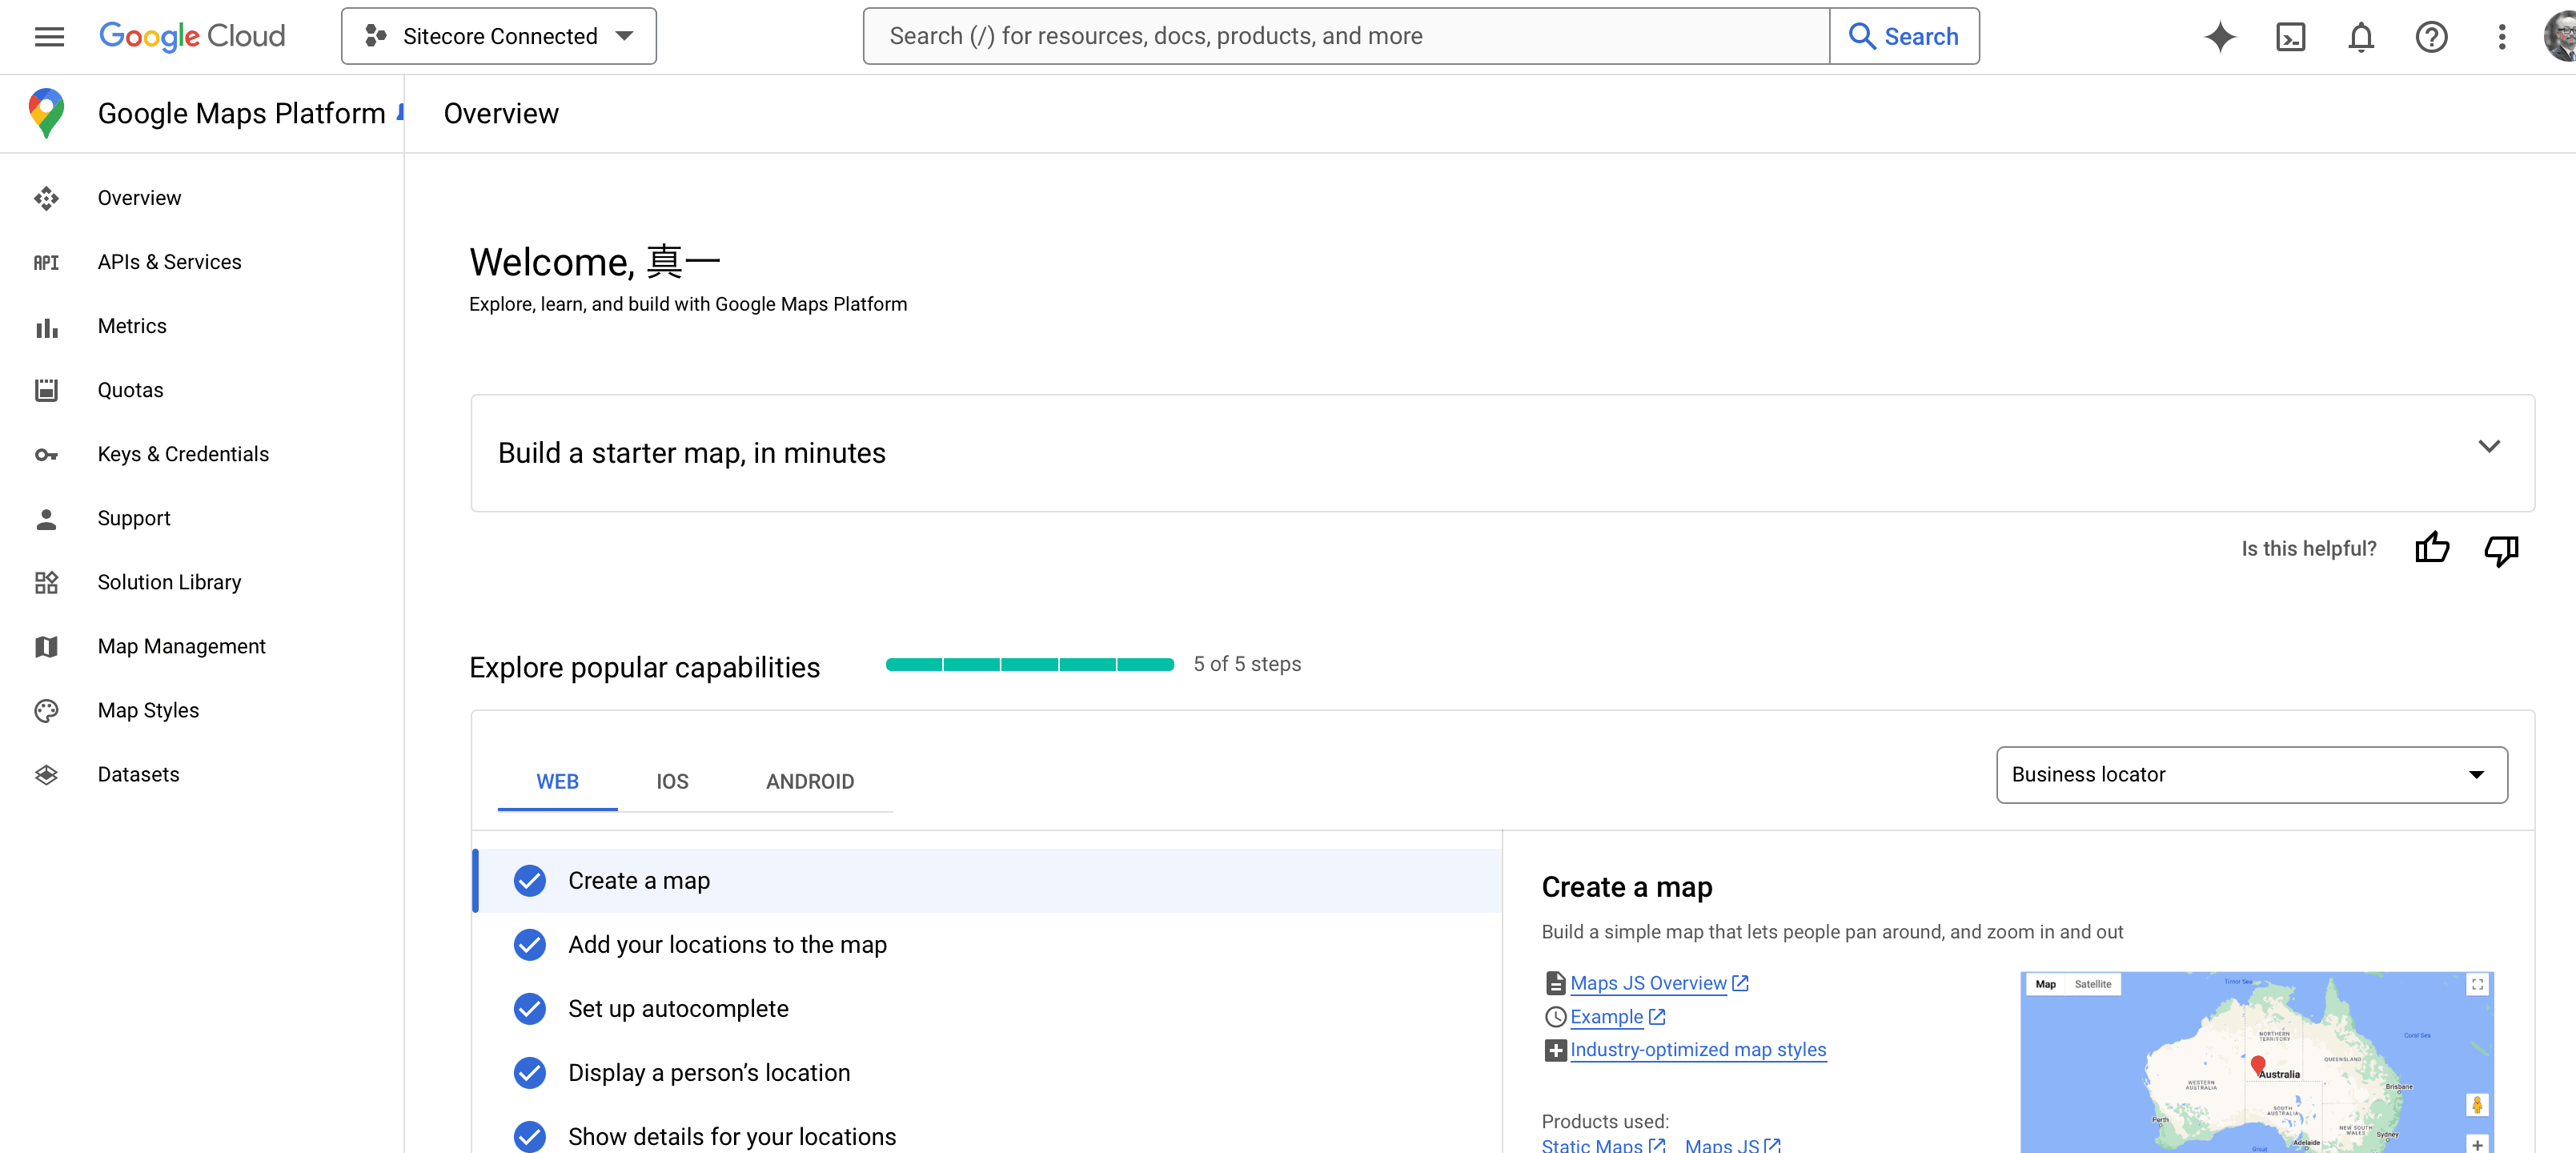
The screen will change, but click Skip now in the upper right corner to skip the remaining steps. The screen will change as follows.
You can obtain the key again by clicking the Keys & Credentials menu on the left side of this screen.
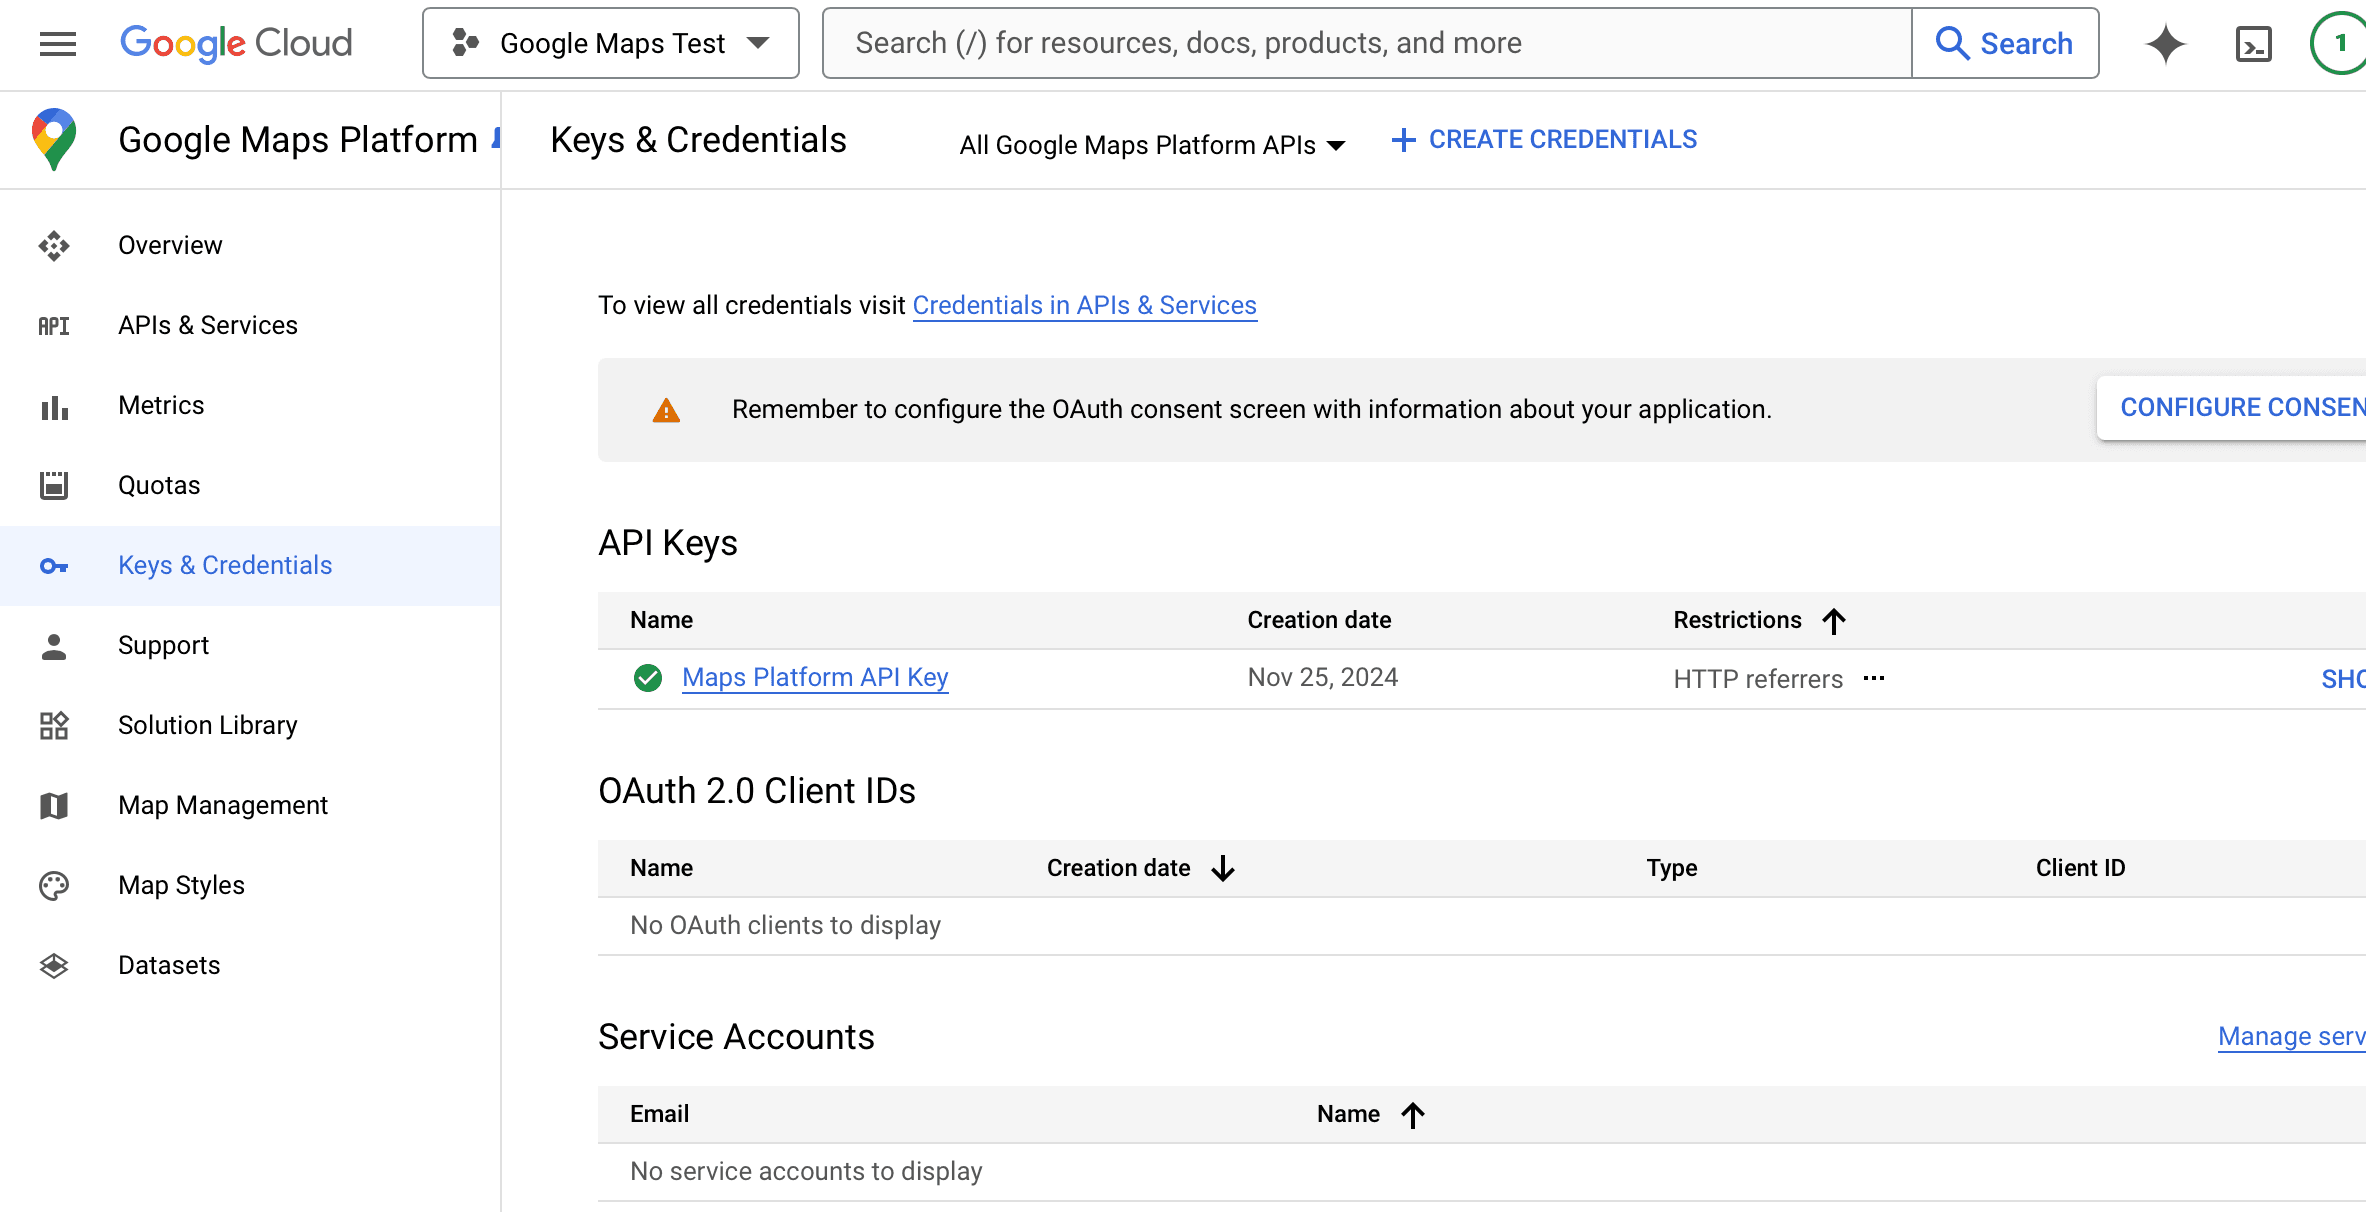
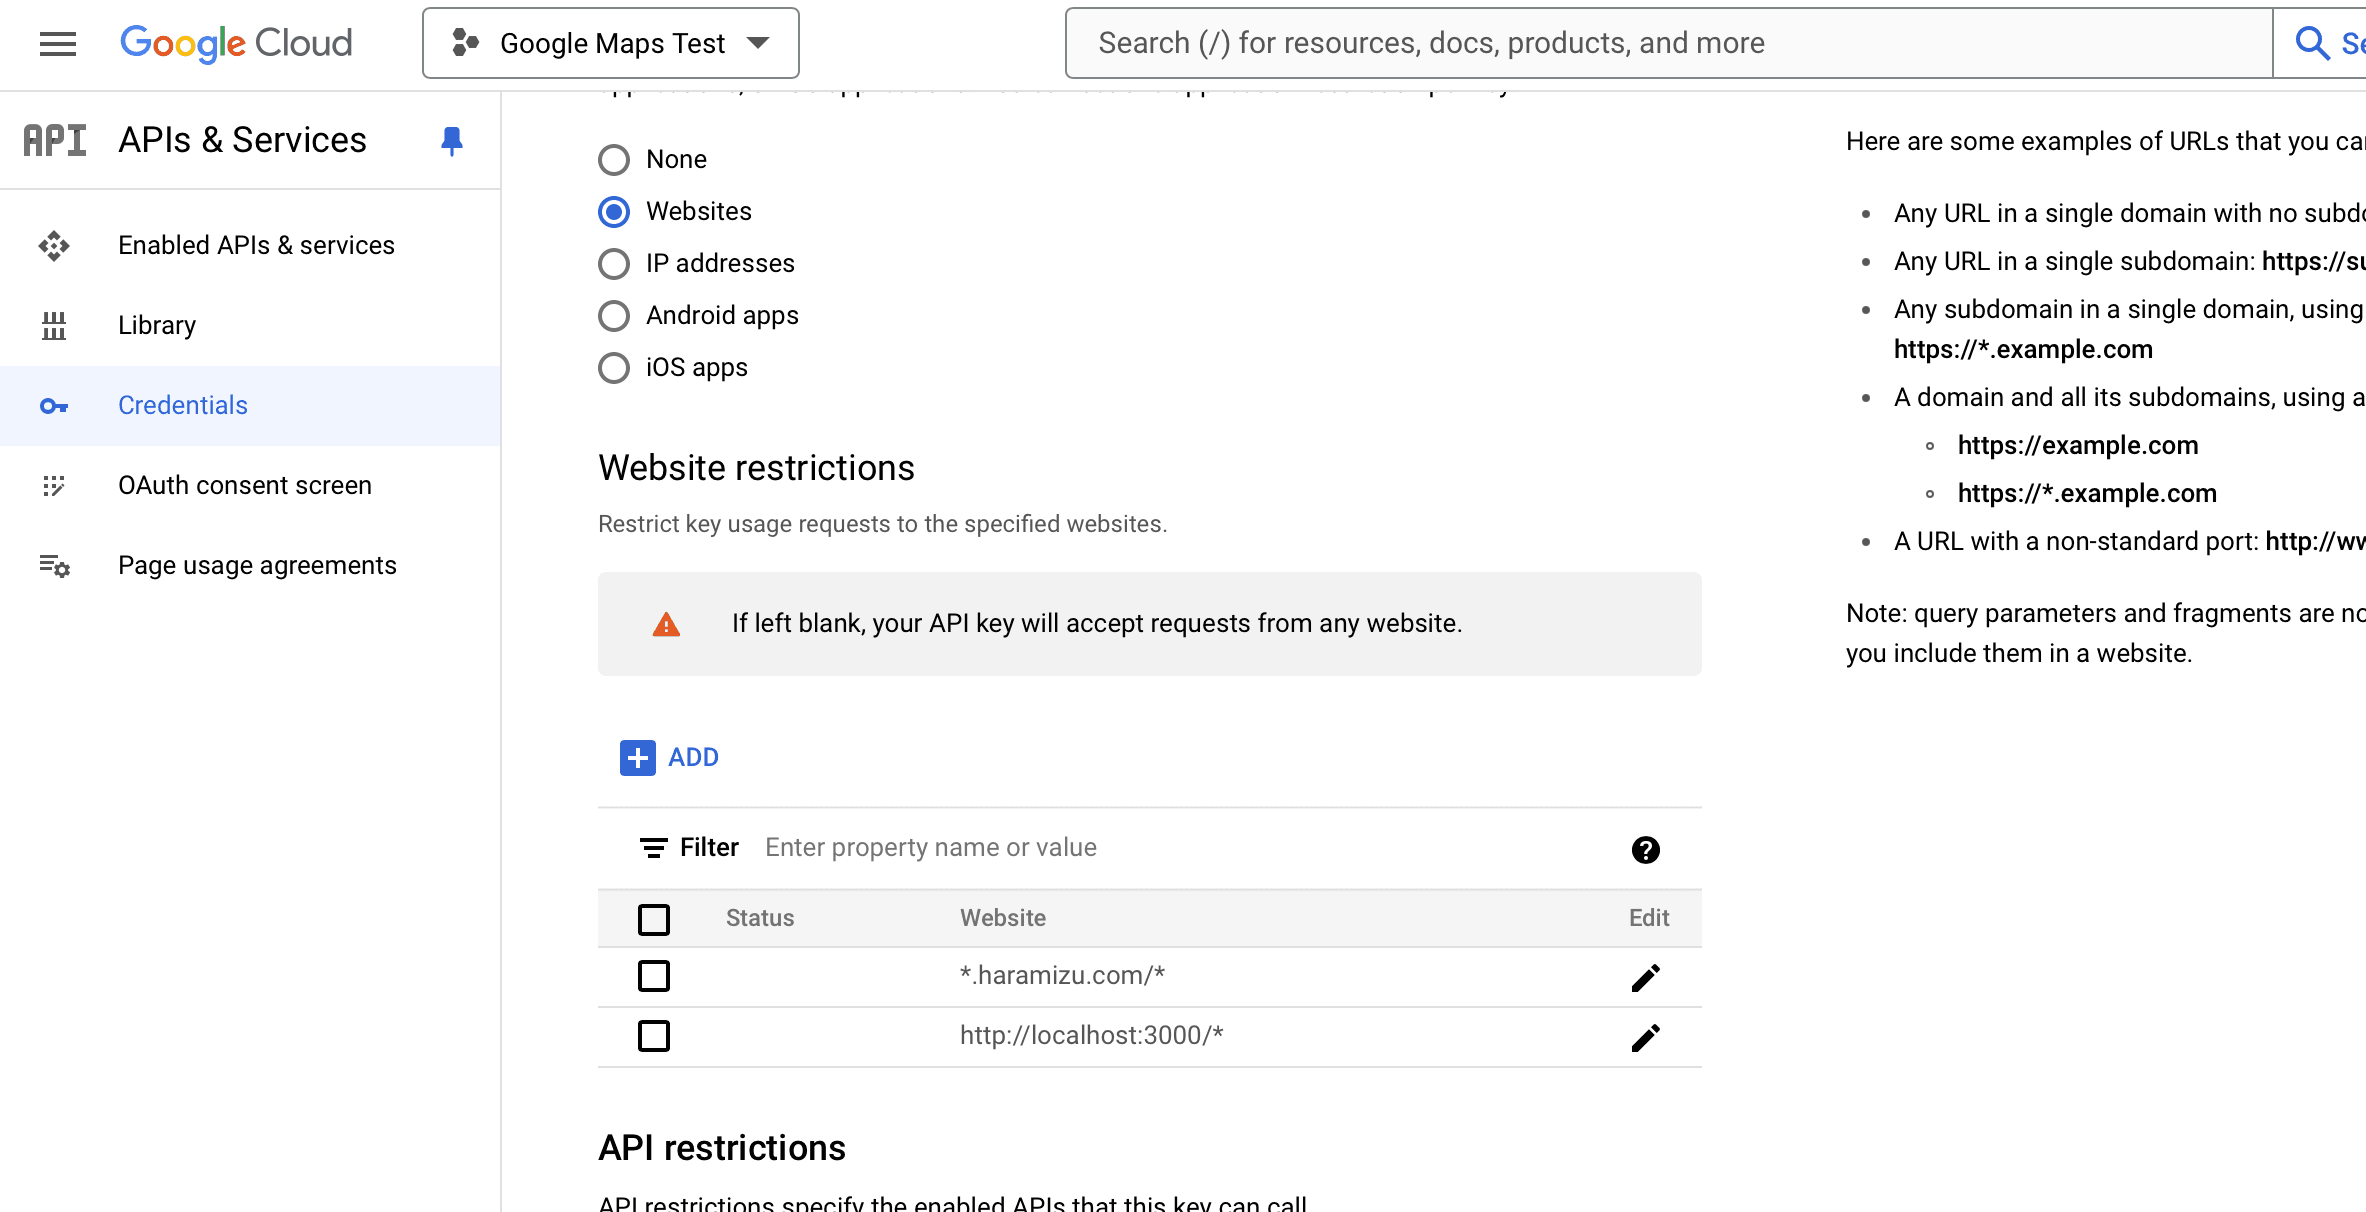
Click Edit API Key on the far right menu of the relevant key to display the API key settings. Since it needs to work locally this time, add http://localhost:3000/\* to Website restrictions.
Now the preparation is complete.
App Router
We will enable the use of Google maps for the Next.js App Router project.
Create sample site
- Creating a Next.js project
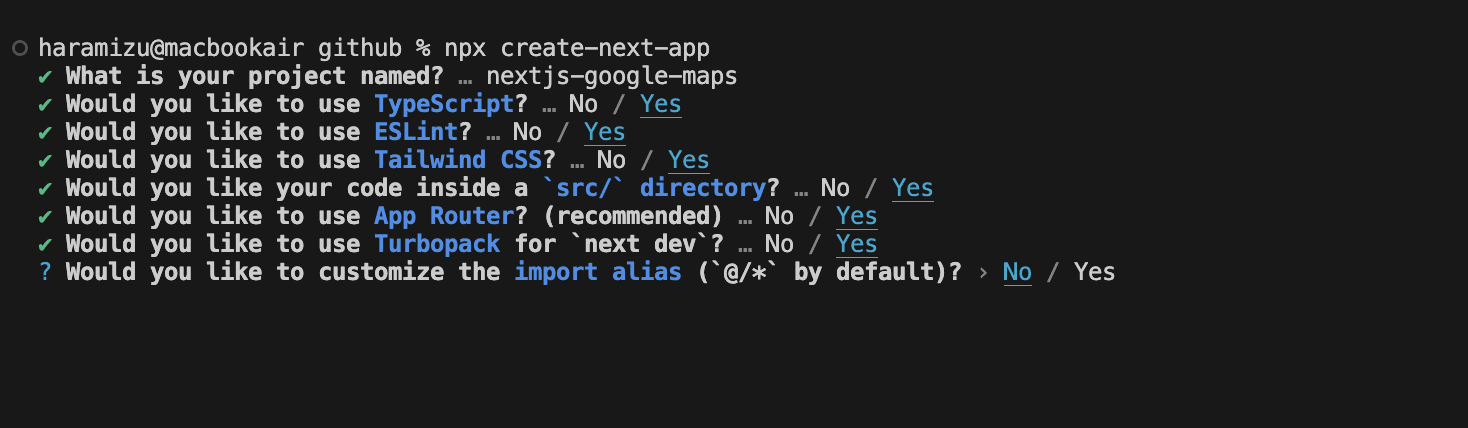
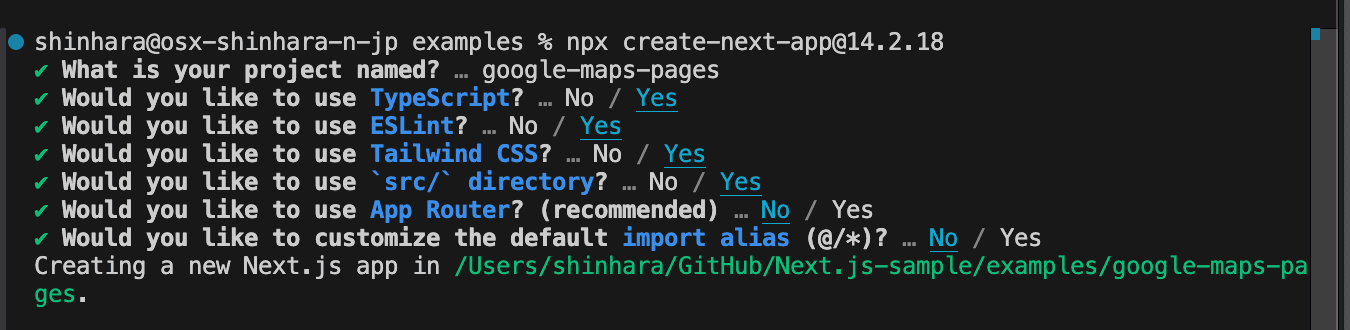
First, create a base Next.js project.
sh
- Typescript: Yes
- ESLint: Yes
- Tailwind CSS: Yes
- src/ directory: Yes
- App Router: Yes
- Import alias: No
- The following is a list of the following
- You have now created a new Next.js project.
- Next.js App Router 15.3.4
- Tailwind CSS 4.x
- Installing the Google Maps Package
Add the React Google Maps package to your project.
sh
- Configure the API
Since the API key for Google Maps is already prepared, prepare an .env file as follows to have the environment variables.
text
- Adding a Maps component
Create a Maps component that uses the component as src/components/Maps.tsx. Be sure to add "use client" since it is required to work on the client side.
src/components/Maps.tsx
- Rewrite the code on the top page as follows
src/app/page.tsx
- The map will appear as follows
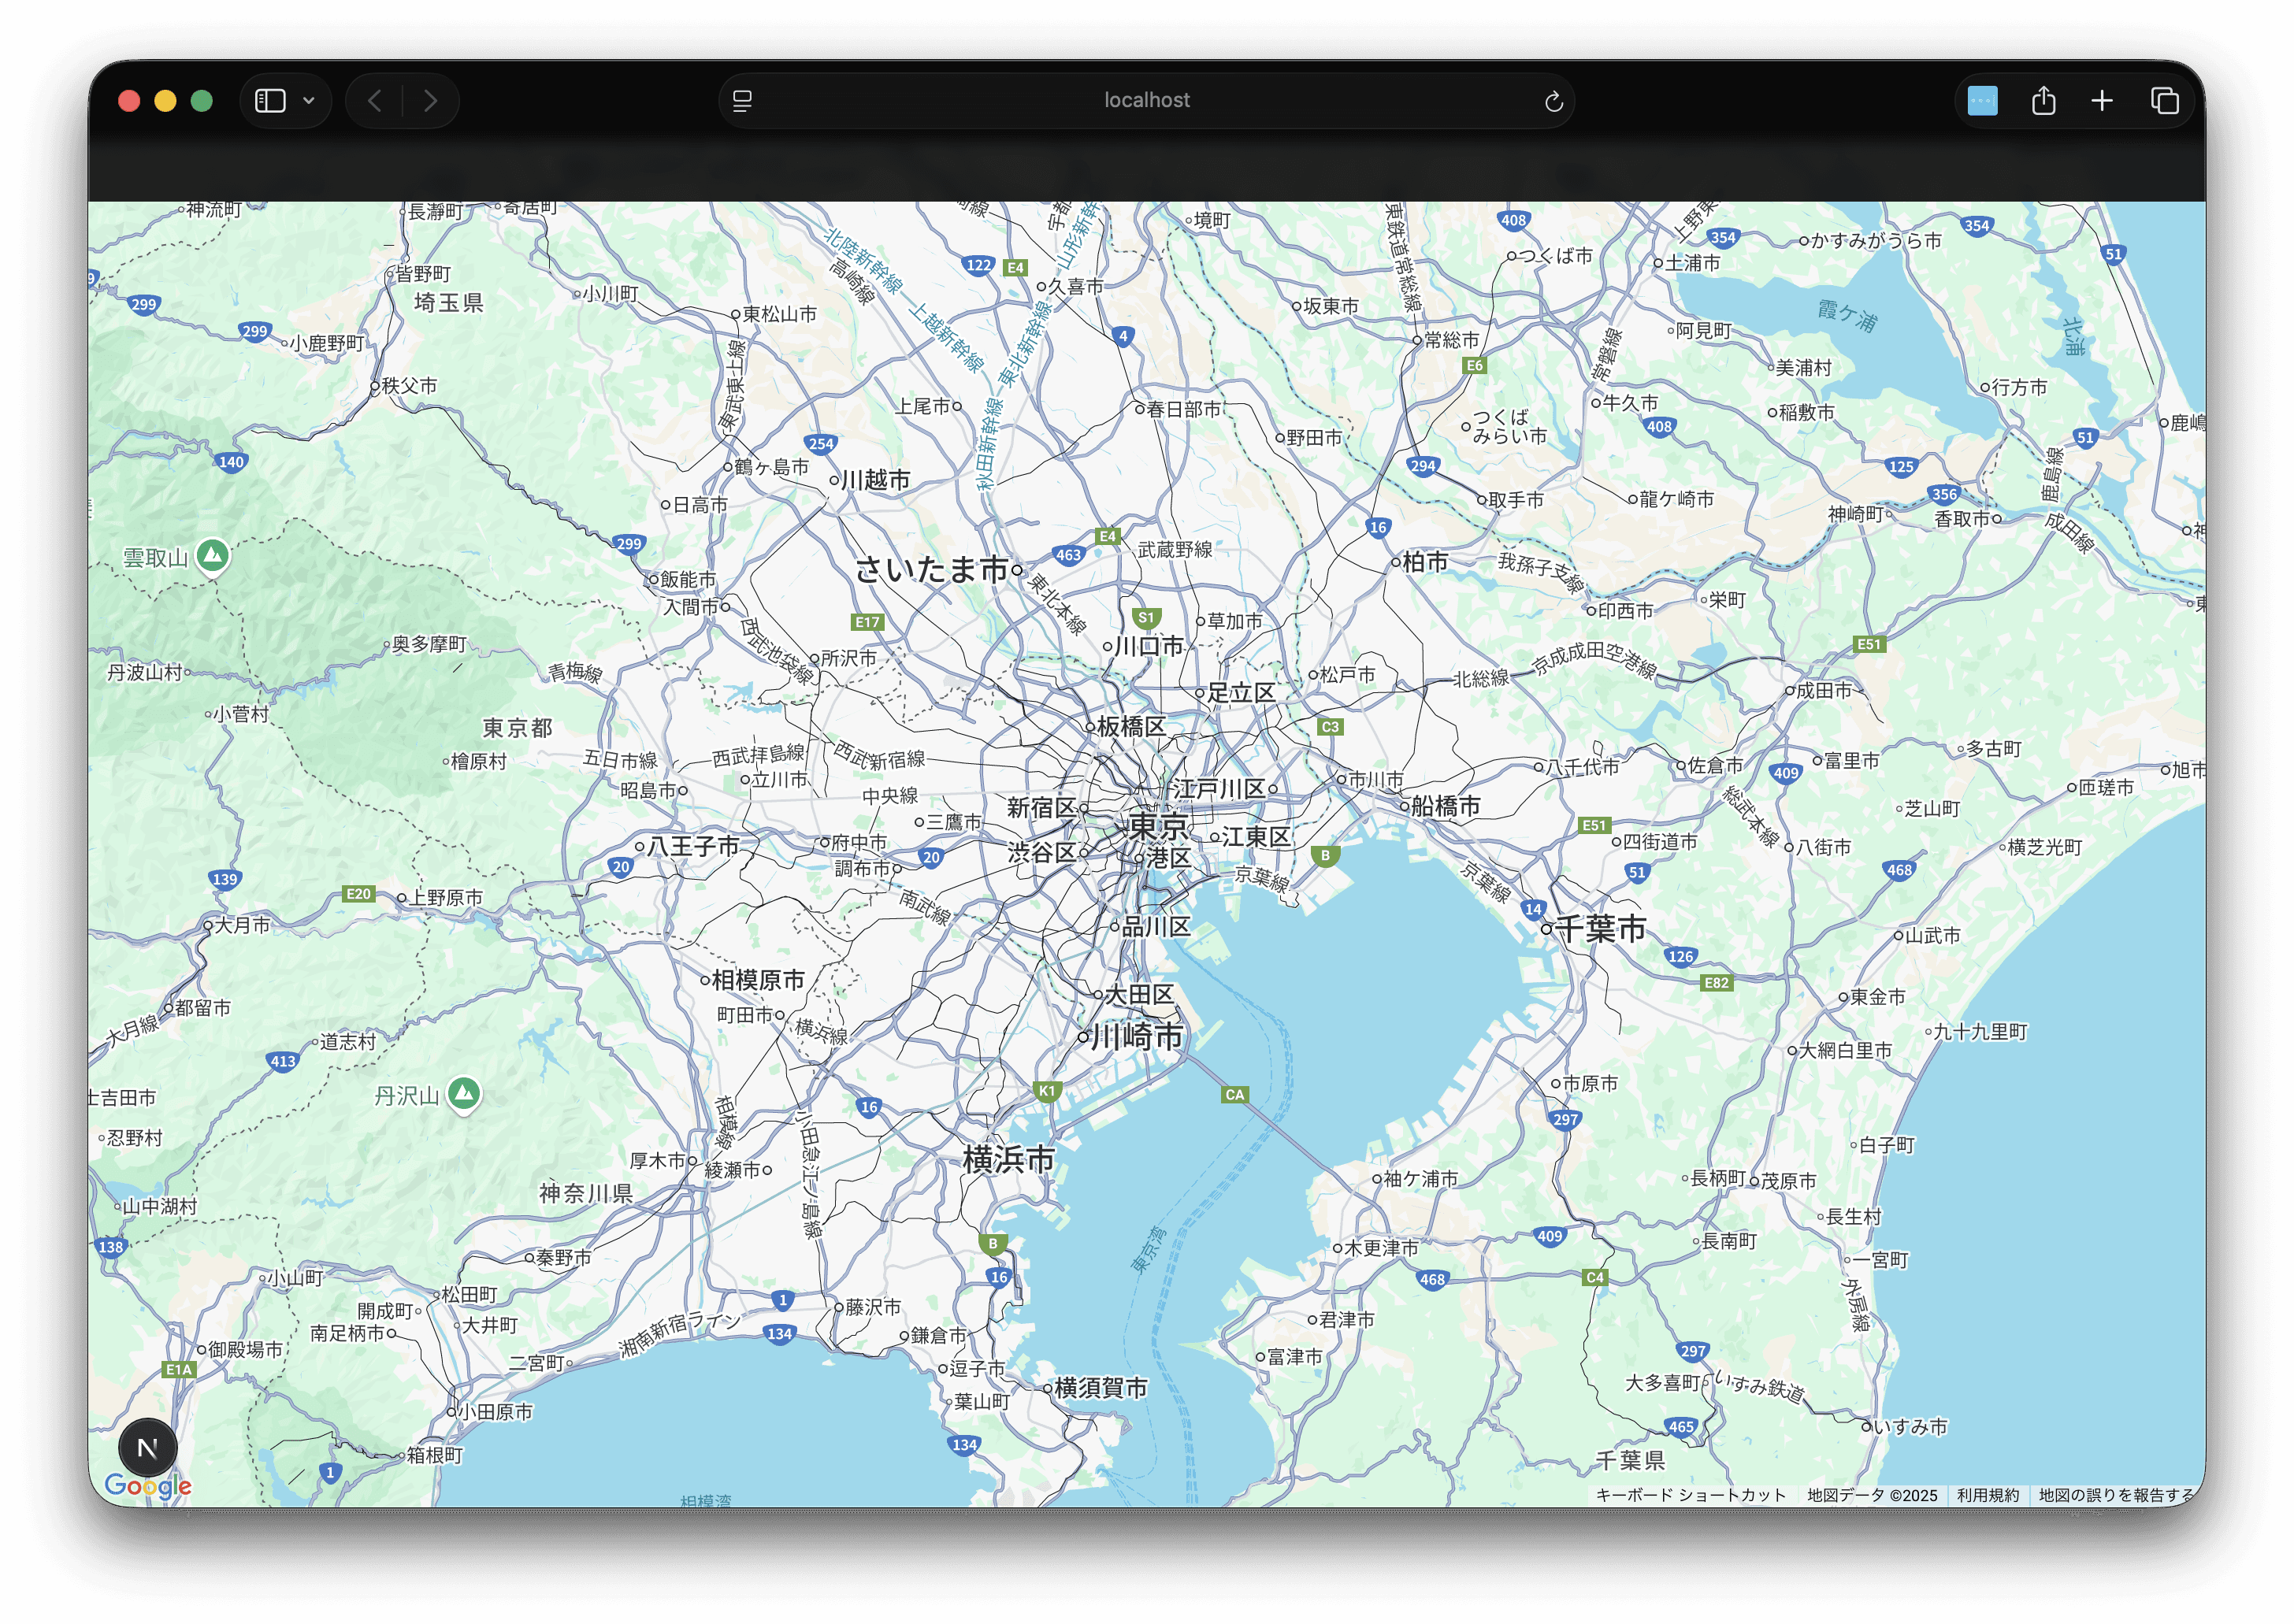
Sample code can be found below.
Pages Router
Let’s enable the use of Google Maps in a Next.js Pages Router project.
Running the Sample
- Create a Next.js project
First, create a base Next.js project.
sh
- Typescript: Yes
- ESLint: Yes
- Tailwind CSS: Yes
- src/ directory: Yes
- App Router: No
- Import alias: No
- It will look like this.
- Now a new Next.js project has been created.
- Install the Google Maps package
Add the React Google Maps package to the project.
sh
- Set up the API
Since the Google Maps API key is already prepared, prepare the.envfile to hold the environment variable as follows.
.env
- Change to the sample code
Rewrite the code of the top page as follows.
src/pages/index.tsx
- Run
Start the sample with the following command.
sh
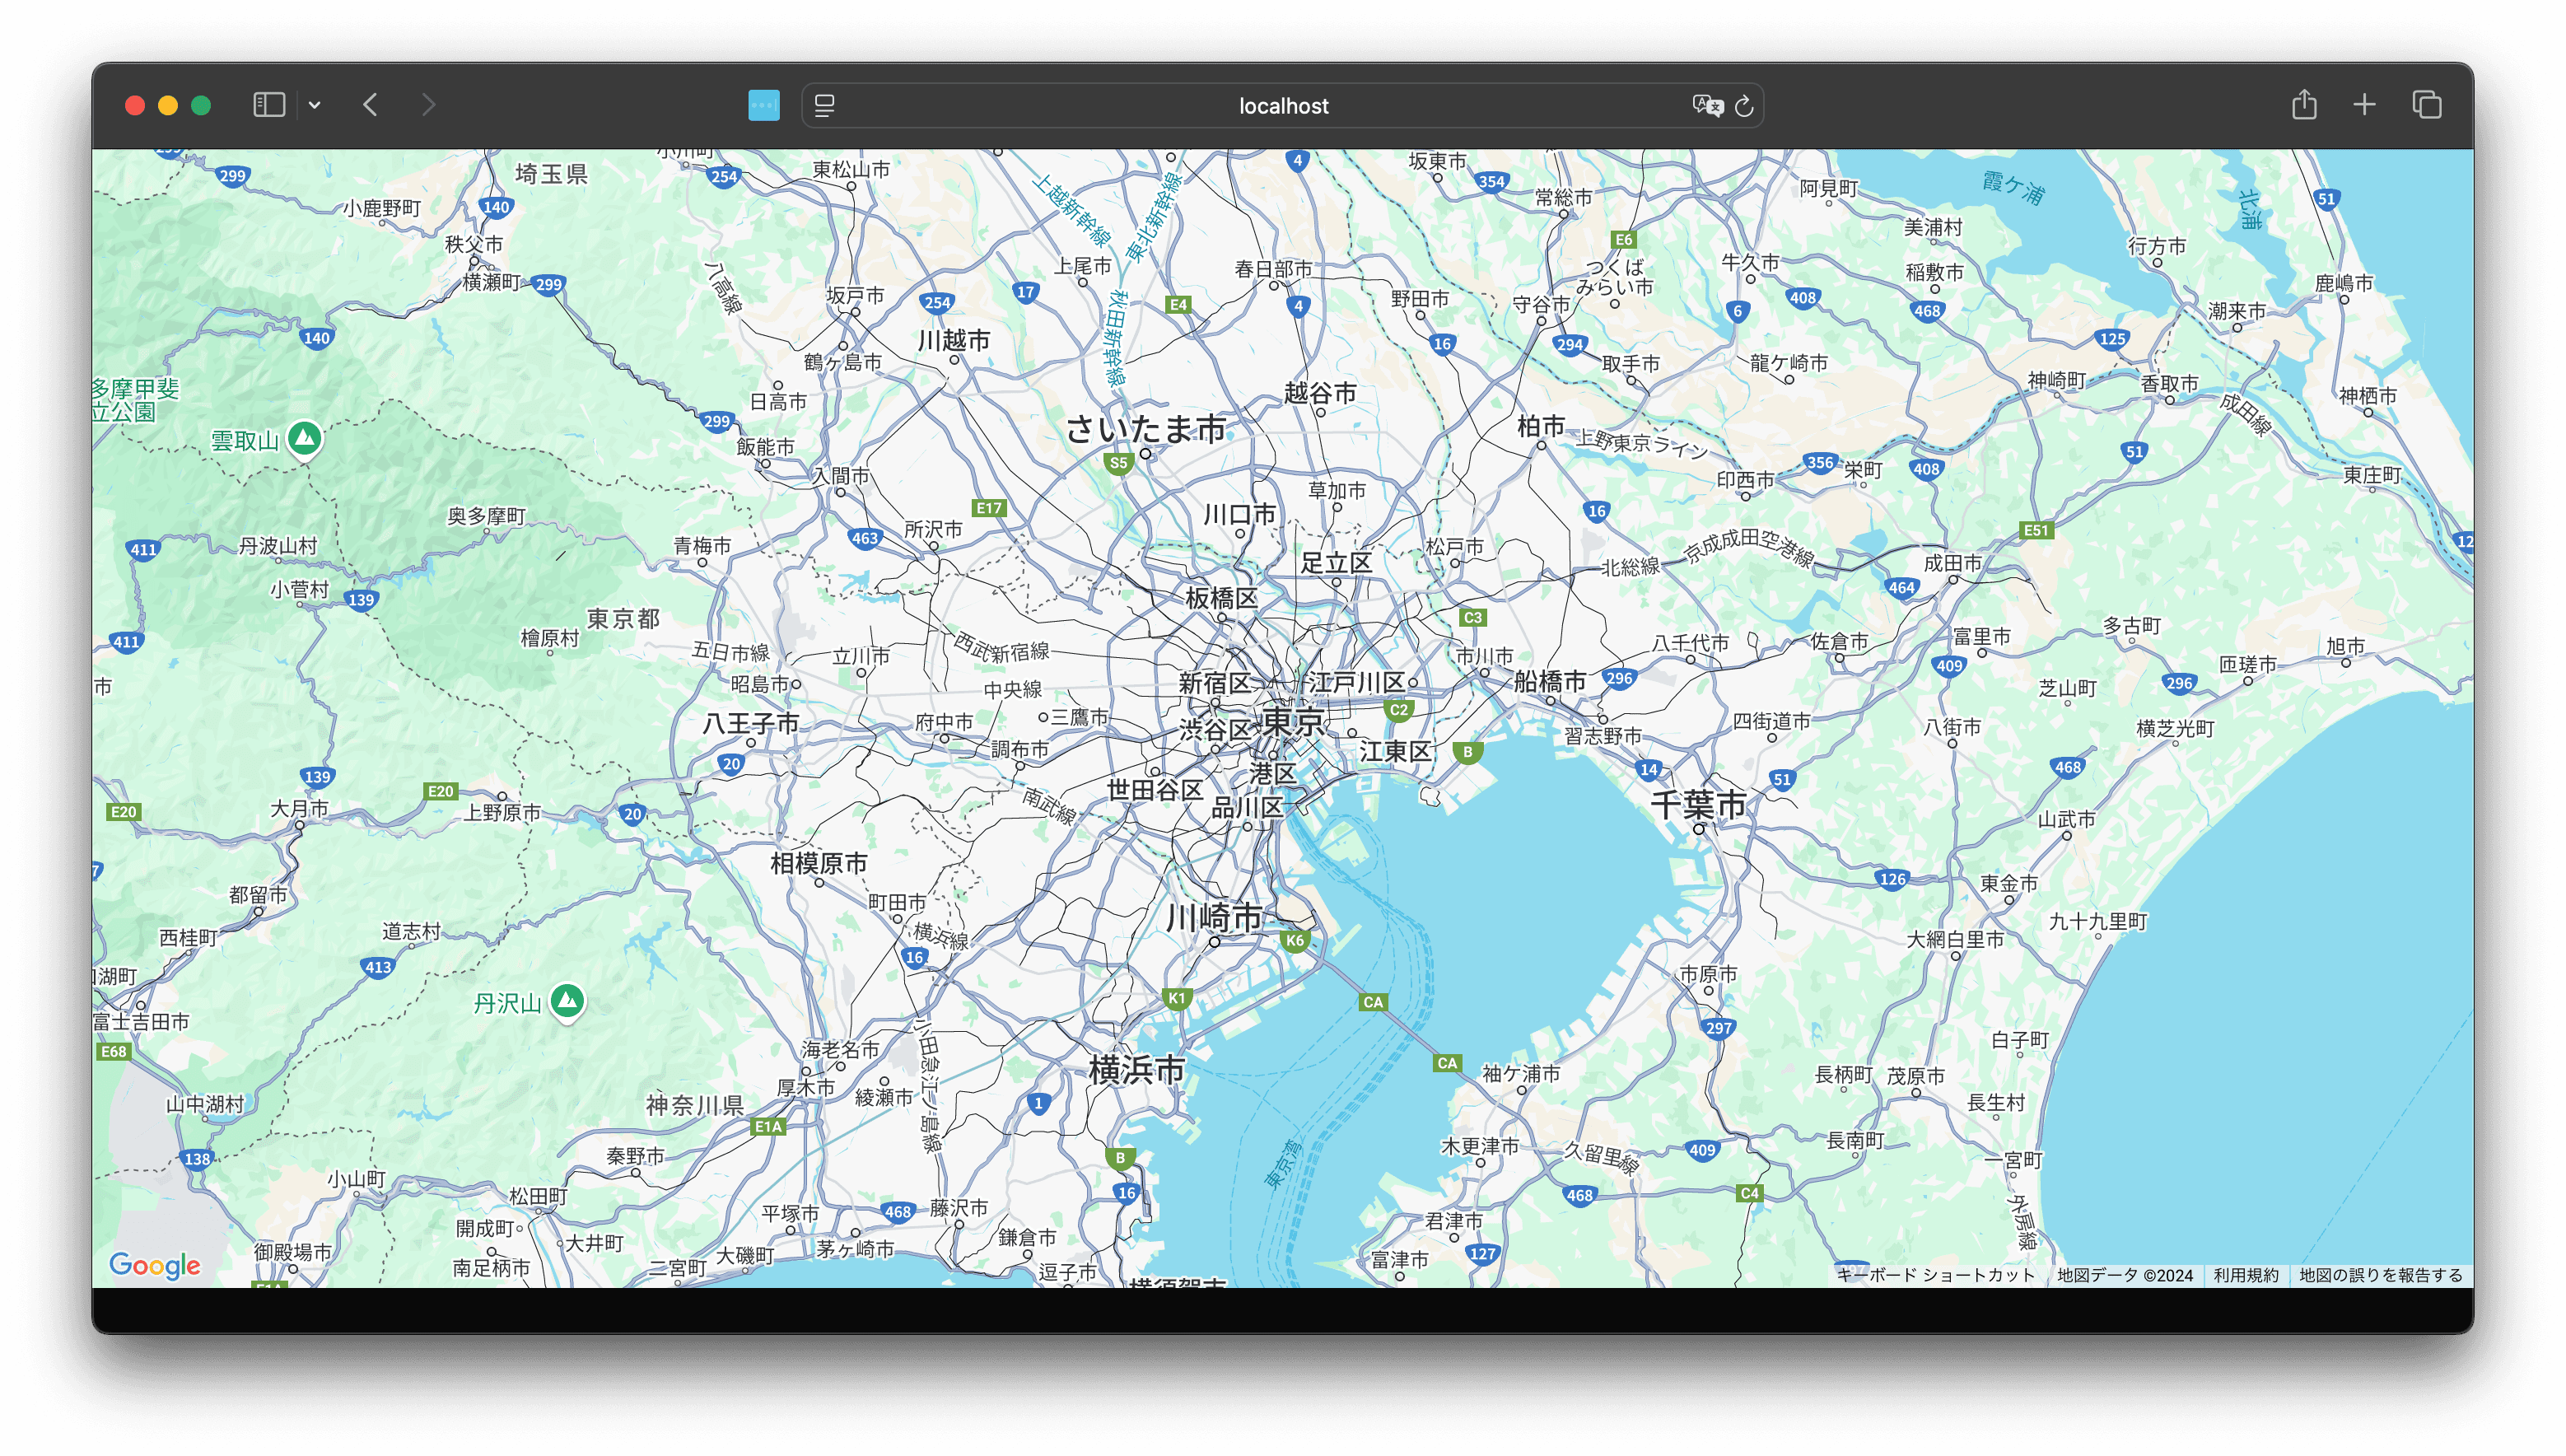
As a result, the maps was displayed as follows.
Error Handling
When running the above code, the following error is actually displayed.
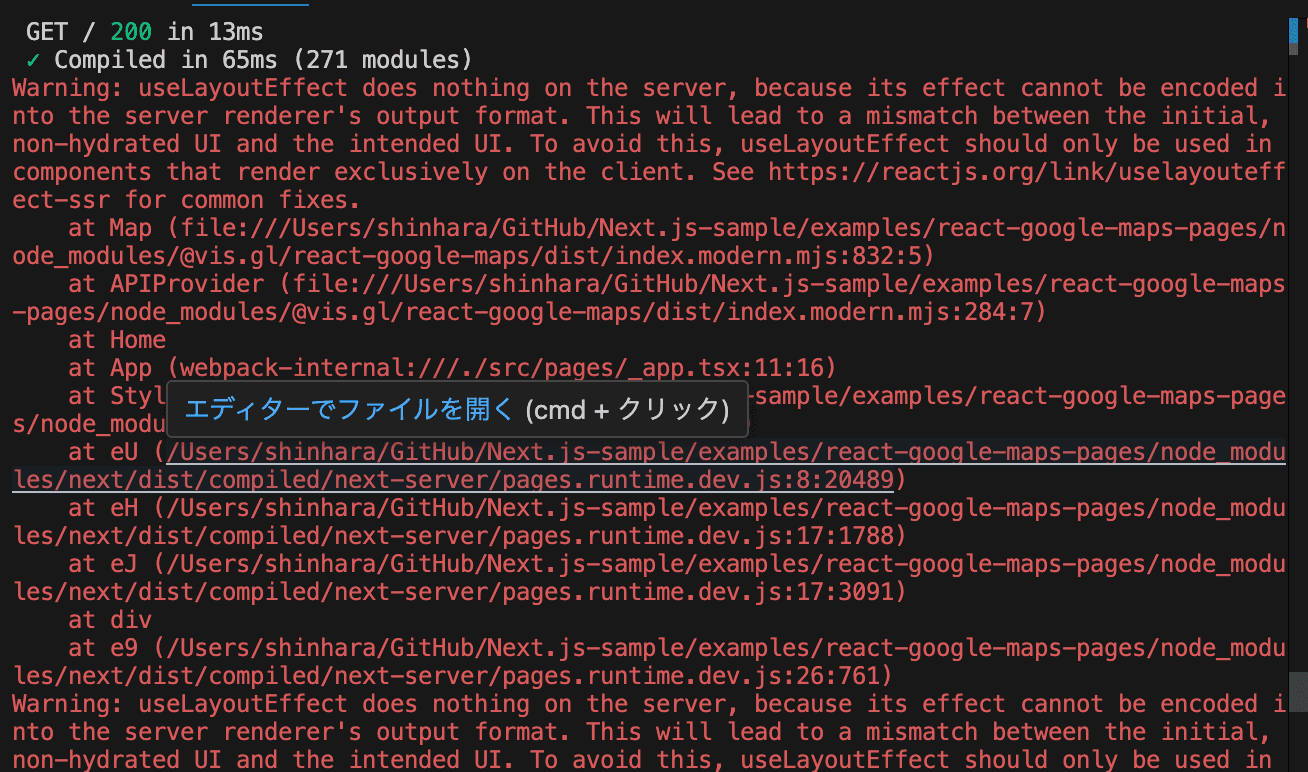
This error occurs because useLayoutEffect is being used in a server-side rendering (SSR) environment. useLayoutEffect is a hook that only works on the client side and has no effect on the server side.
Therefore, add the following code.
src/pages/index.tsx
Now, the error is no longer displayed.
You can find the sample code below.
Summary
This time, I created a sample to use the new React Google Maps library with Next.js. It is a form of pure Next.js operation check, but I think it is convenient in terms of preparing an environment that works.
References
Update
- 2025-07-08 App Router has been re-created with the latest version of Next.js at this stage.