In the previous article, we used Sanity Studio's Vision to retrieve the necessary content from a query using GROQ. In this article, we will introduce how to perform the same process from Next.js and use the content on the web.
Integration with Next.js
2025-08-04
This document is a translated version of the official steps explained in Japanese. If you would like to check the English version, we recommend referring to the official page.
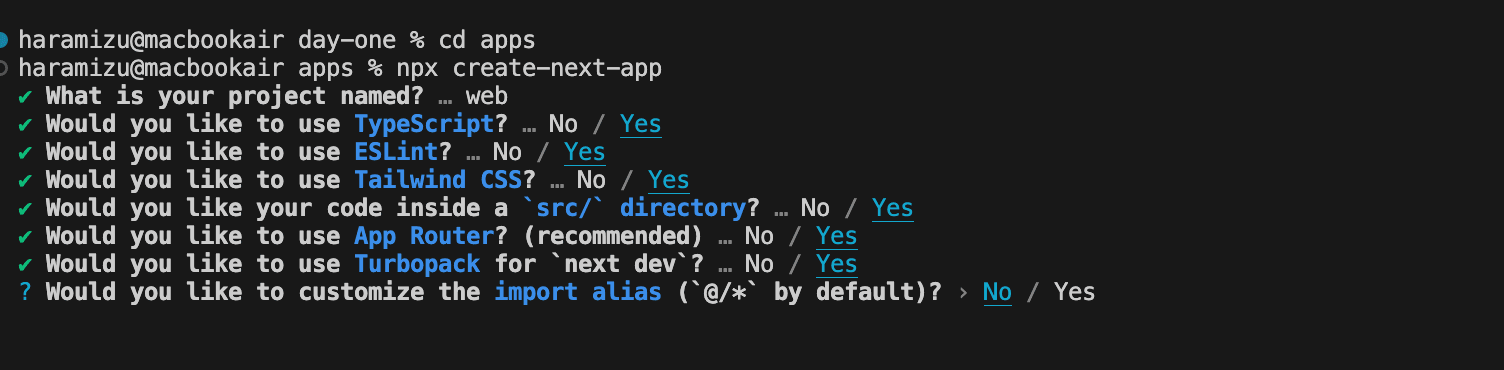
Creating a Next.js project
First, let's create a Next.js project. The command is as follows.
sh
The project was created as follows.
The folder structure is as follows.
Next, install the package for integrating Sanity with Next.js. Move to the Next.js path and execute the following command.
sh
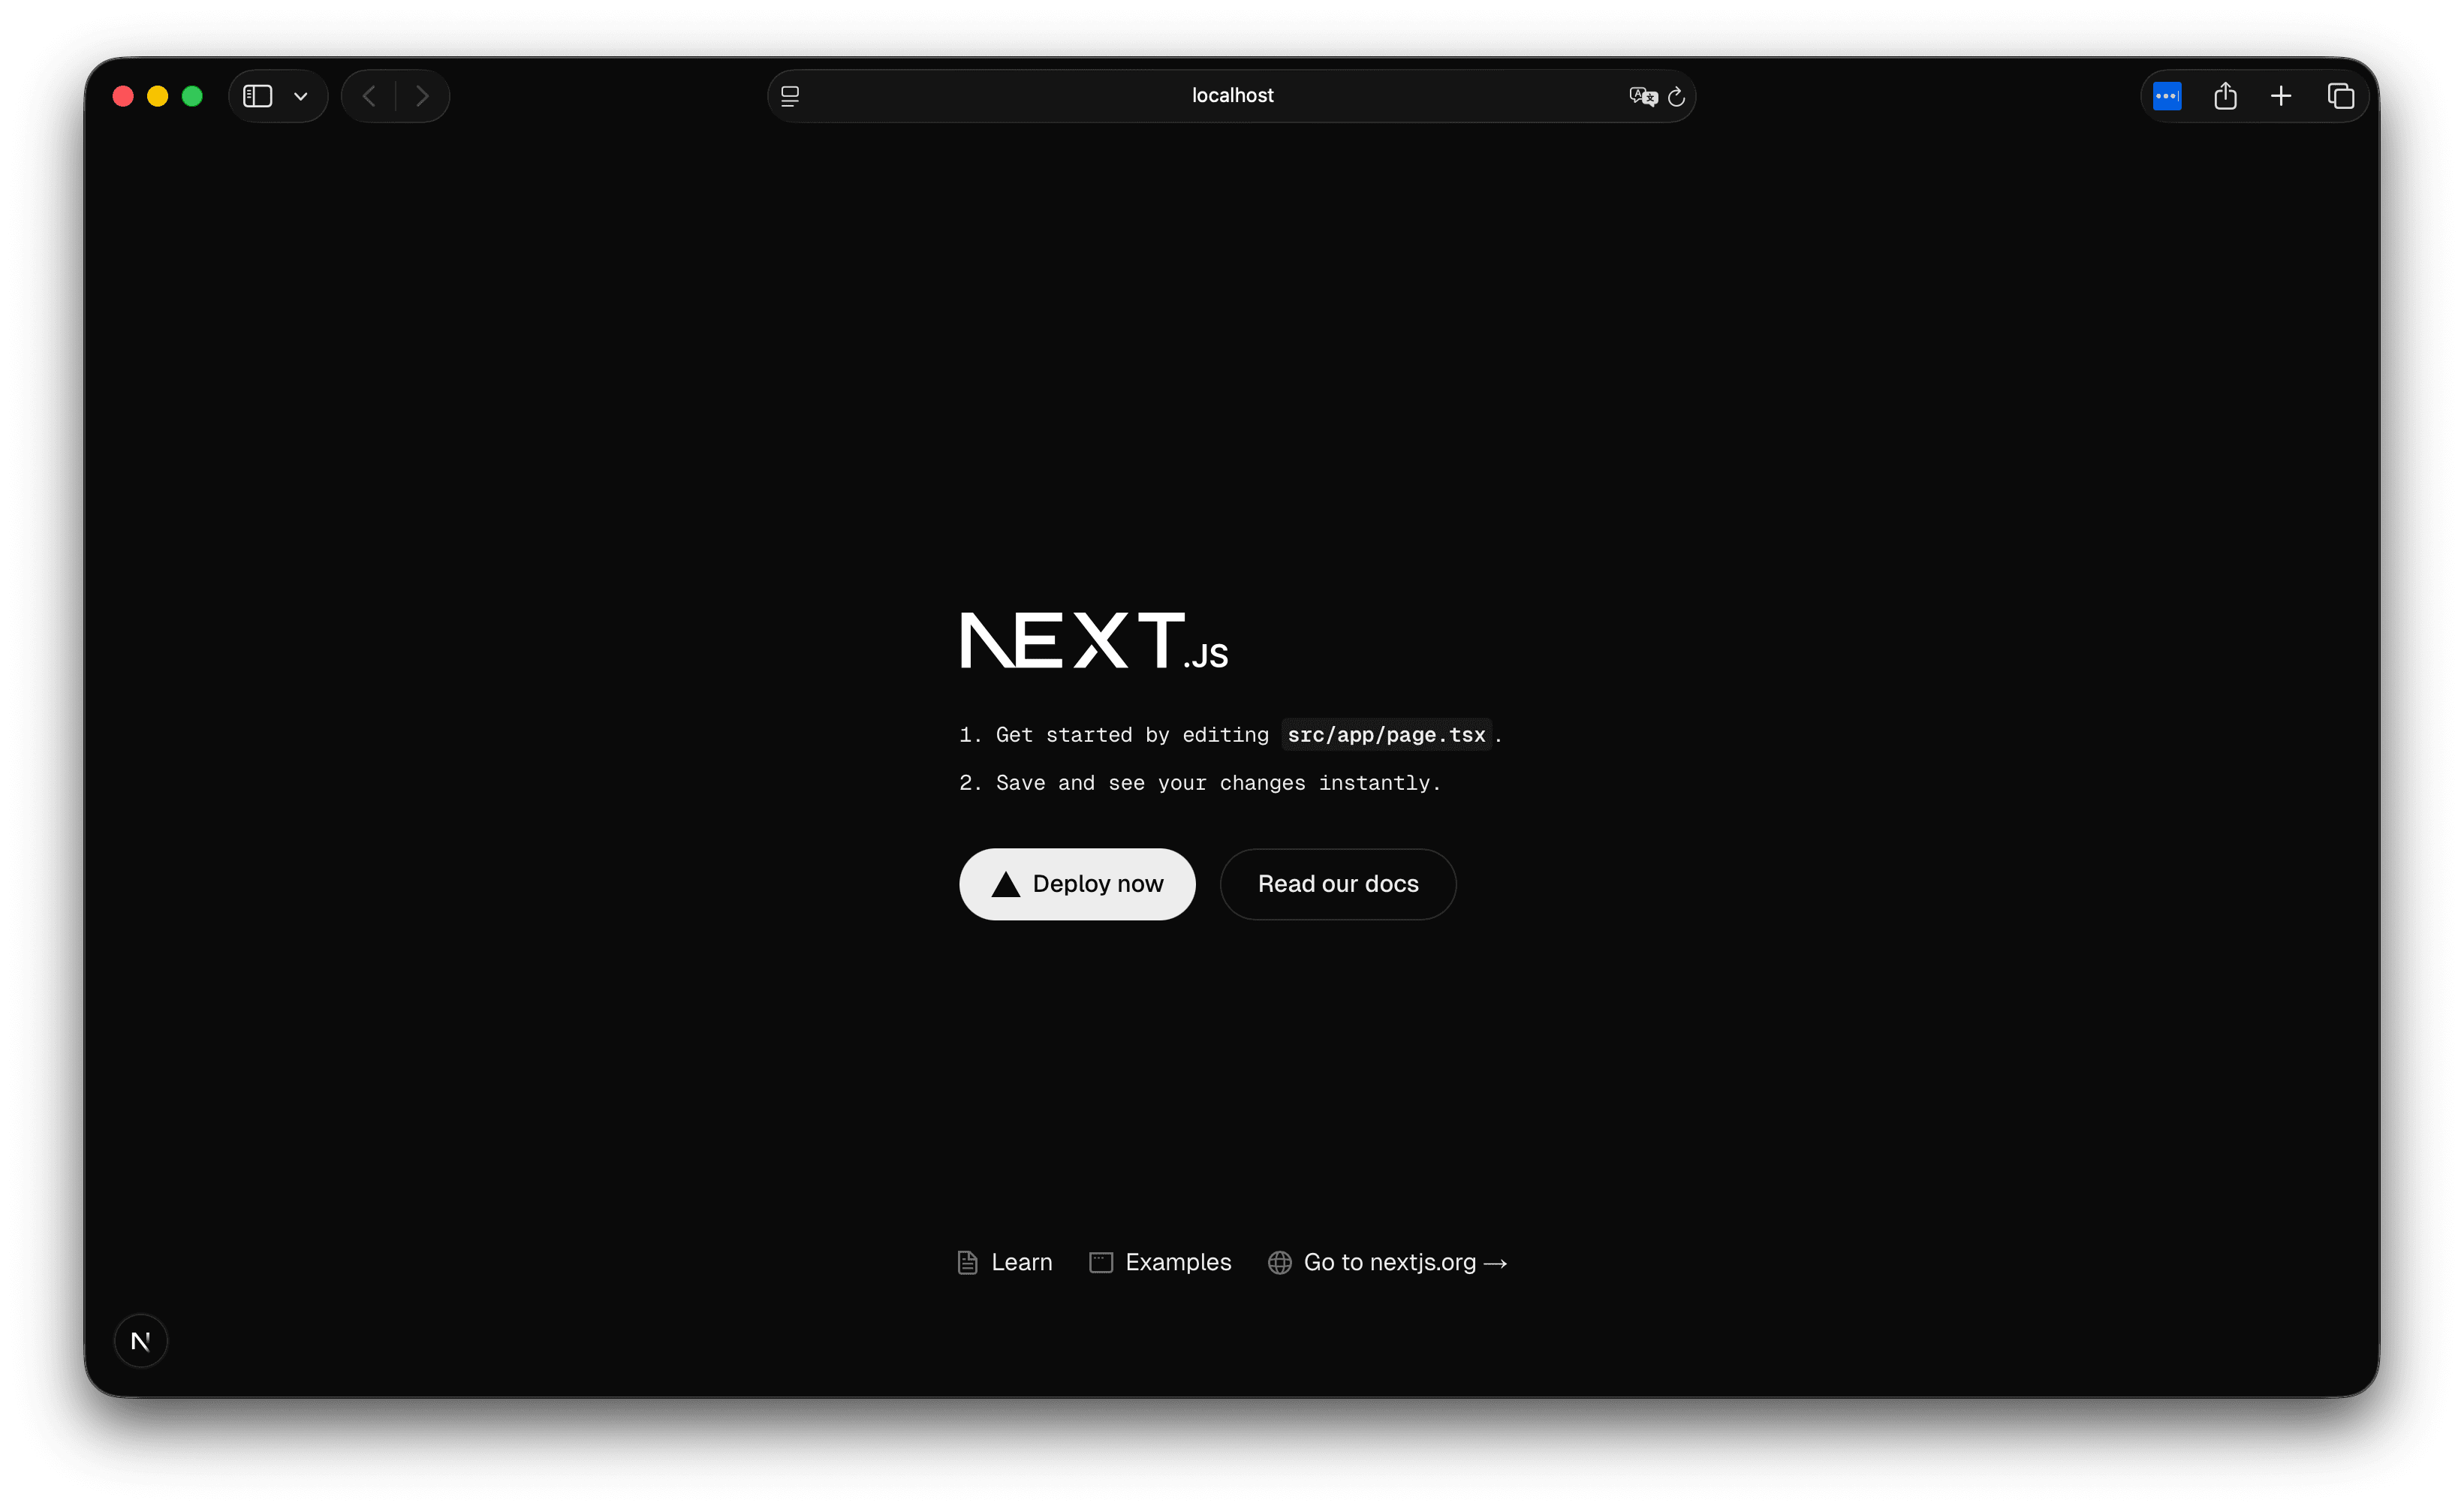
Now you're ready to go. You've only installed the package, but you can start Next.js with the following command.
sh
The Next.js template page has been launched.
Integrate with Sanity
Next, add code to Next.js to retrieve data from Sanity.
Event List
Create a client for retrieving data from Sanity in apps/web/src/sanity/client.ts.
apps/web/src/sanity/client.ts
projectId is listed in apps/studio/sanity.cli.ts, so please refer to it and rewrite it.
This alone is sufficient, but we will add a mode to quickly reflect changes in content.
apps/web/src/sanity/live.ts
Now you are ready to connect to Sanity.
We will make changes so that it can be used on the Next.js side. First, replace the apps/web/src/app/layout.tsx file as follows.
apps/web/src/app/layout.tsx
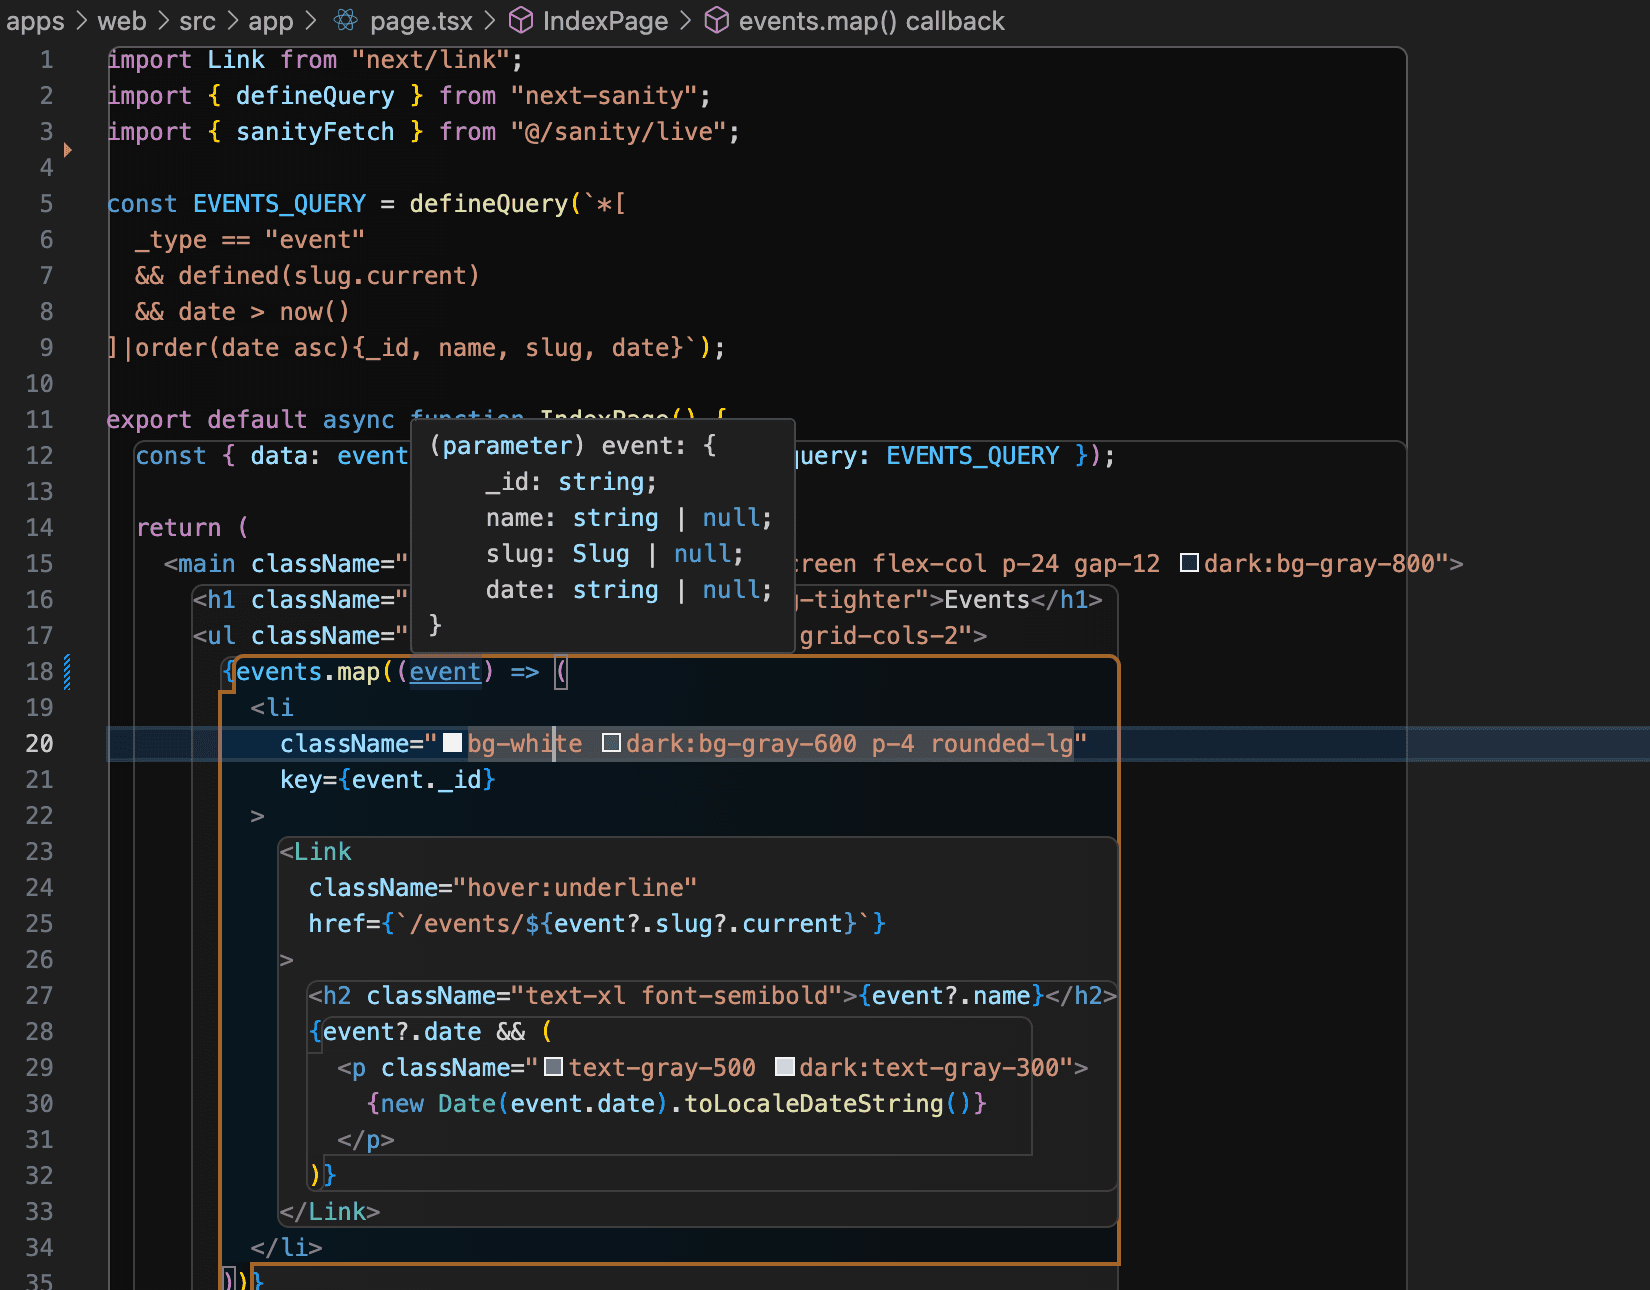
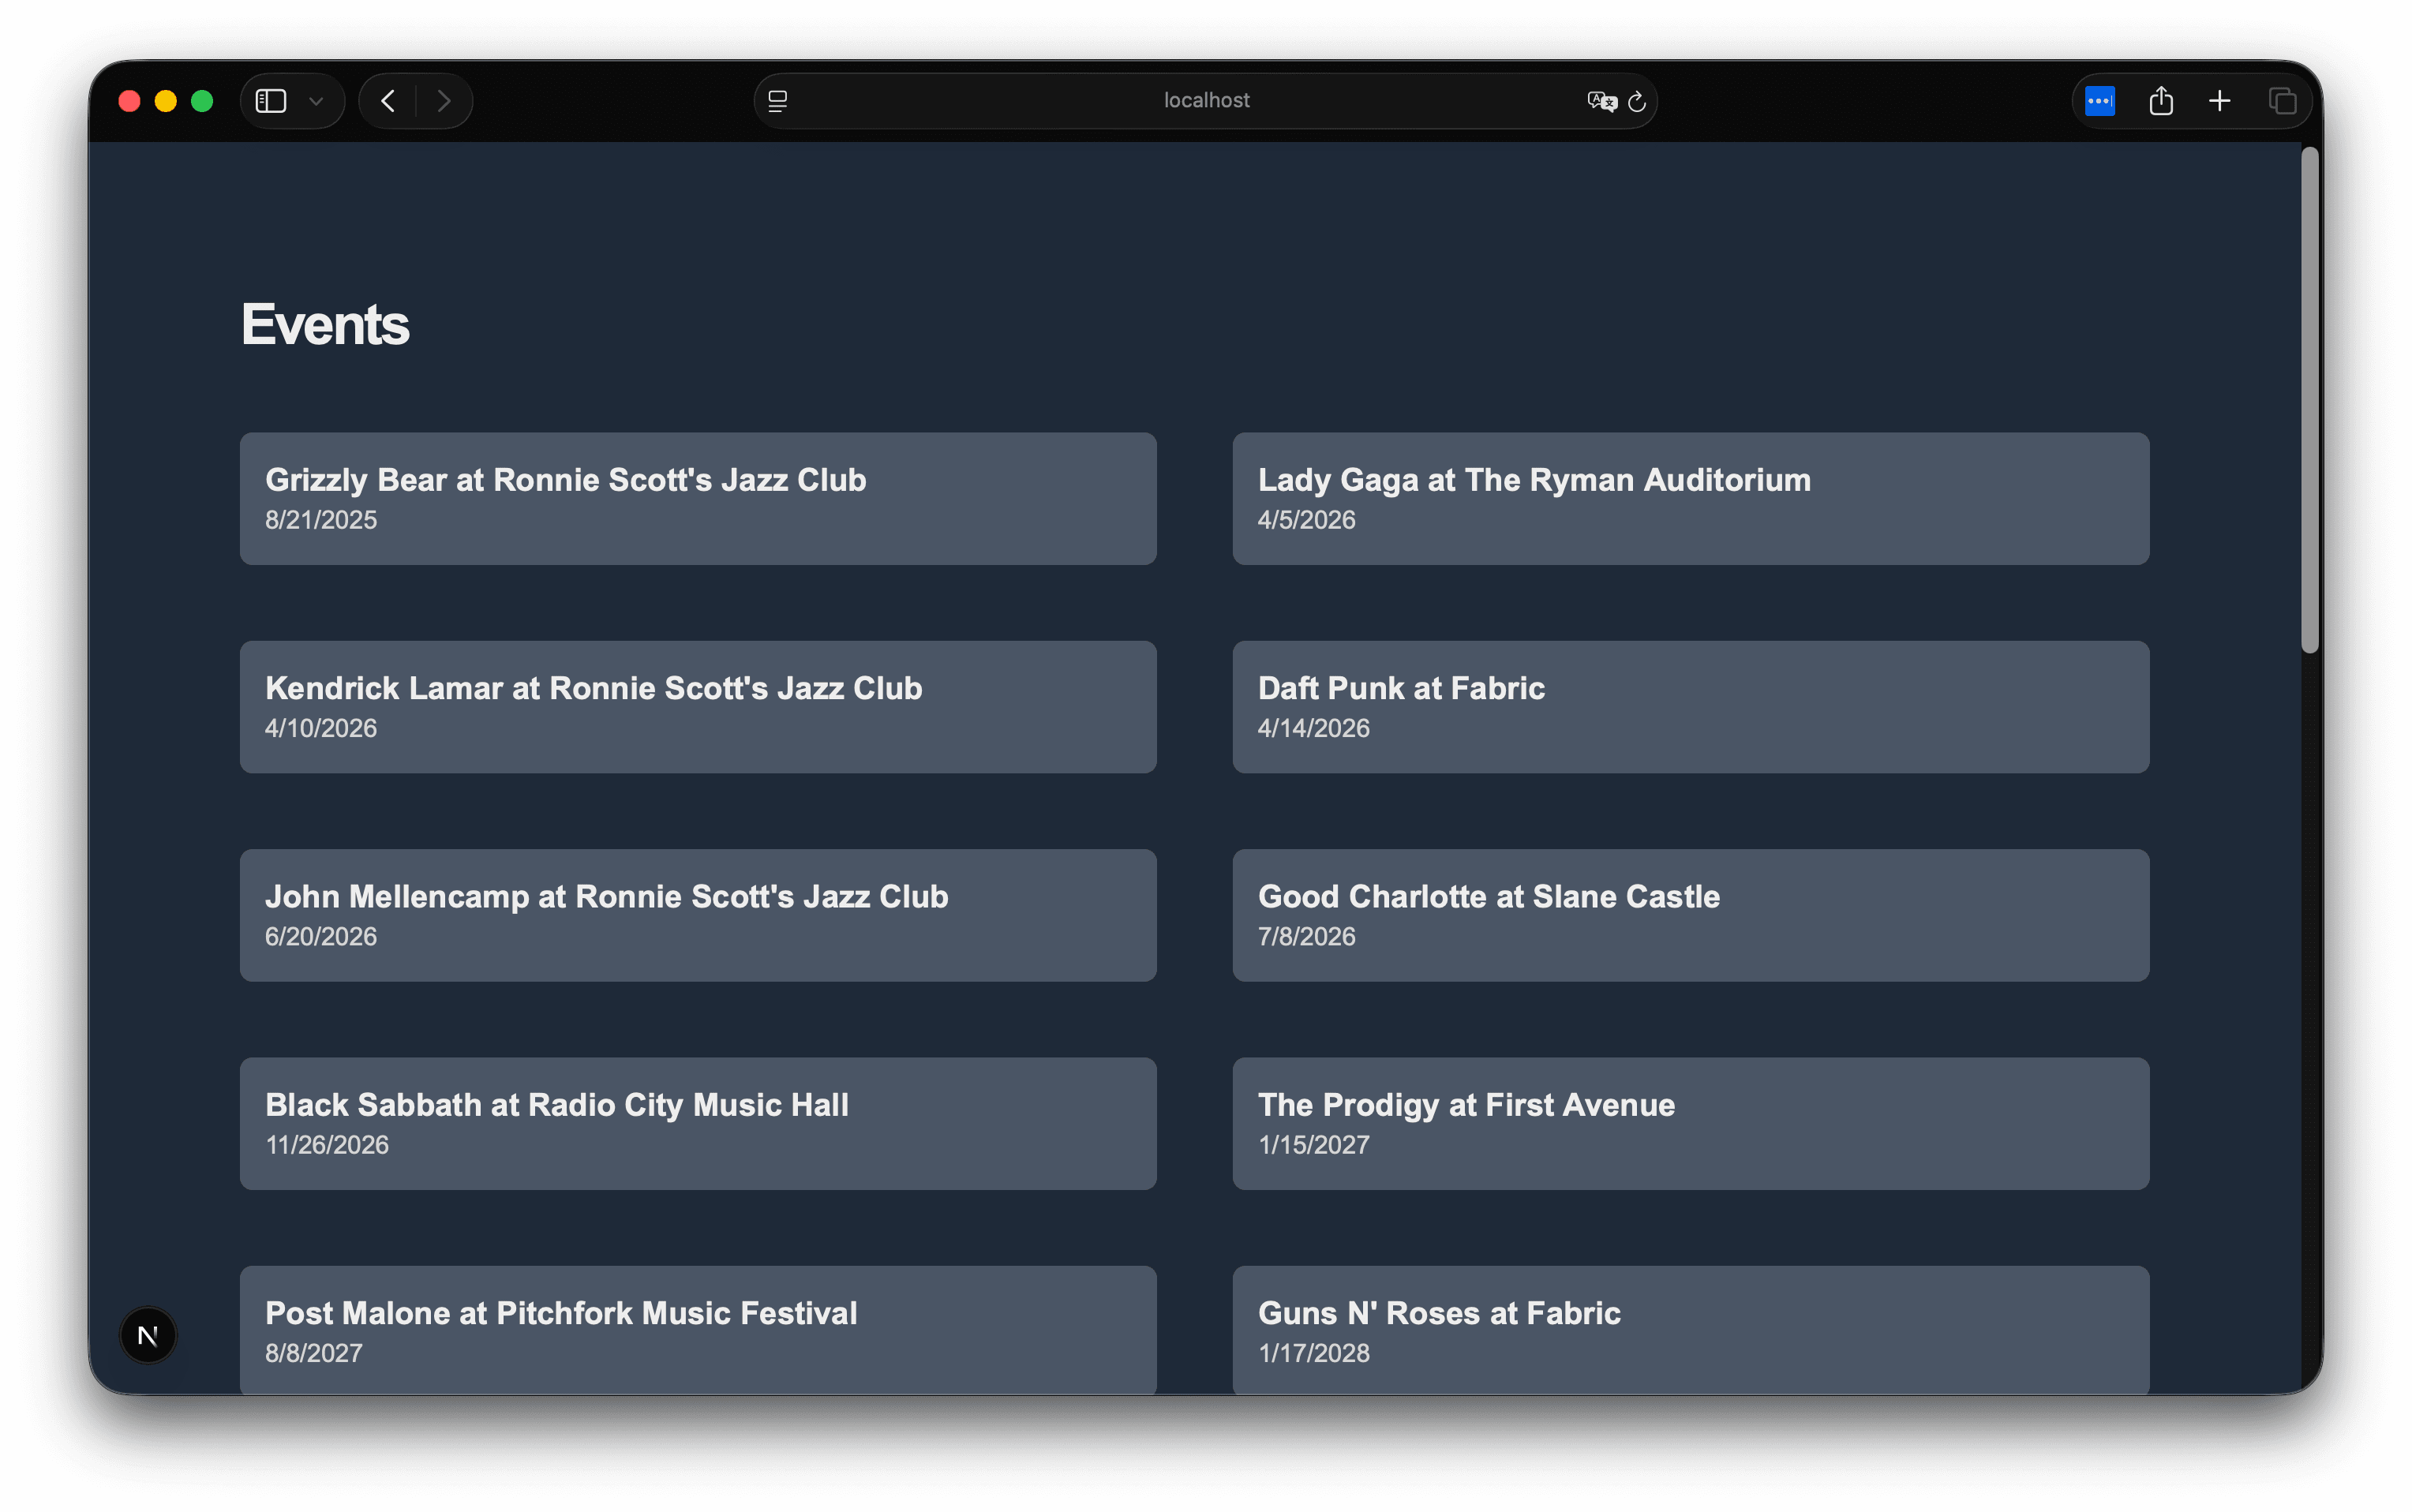
Next, rewrite the top page as follows. Although not mentioned on the official website, we have added the Event interface and made some changes so that the text is visible in dark mode.
apps/web/src/app/page.tsx
Let's check the code.
- GROQ query to retrieve event data
- Retrieve data using sanityFetch
- Display acquired data
As a result, event information is now displayed.
Creating event pages
To create links to each page from the list, create an events folder, create a [slug] folder under it, and create page.tsx. This will enable the use of URLs utilizing slugs.
src/app/events/[slug]/page.tsx
After adding it, clicking on the event on the top page will now display the event details page as shown below.
The important code on this page is as follows.
apps/web/src/app/events/[slug]/page.tsx
The operation is as follows.
- Make the slug obtained in the form of $slug available in EVENT_QUERY.
- [0] So, use the first data with the matching slug value.
- In sanityFetch, query and params are passed so that $slug works as the value of [slug].
The data from the acquired events is defined as follows so that it can be easily used on the page.
apps/web/src/app/events/[slug]/page.tsx
By passing the query and values to sanityFetch, you can retrieve the resulting data and create values to display on the page.
Using Asset
The @sanity/image-url package is provided for displaying images. Add this to your Next.js project.
sh
Next, when using images from external domains in Next.js, you need to register the domain in the settings. This is done by adding it to remotePatterns. The settings are as follows.
apps/web/next.config.ts
Next, add the code to display the image.
apps/web/src/sanity/image.ts
Use the image.ts file added above in apps/web/src/sanity/image.ts to update the code in the event page apps/web/src/app/events/[slug]/page.tsx.
apps/web/src/app/events/[slug]/page.tsx
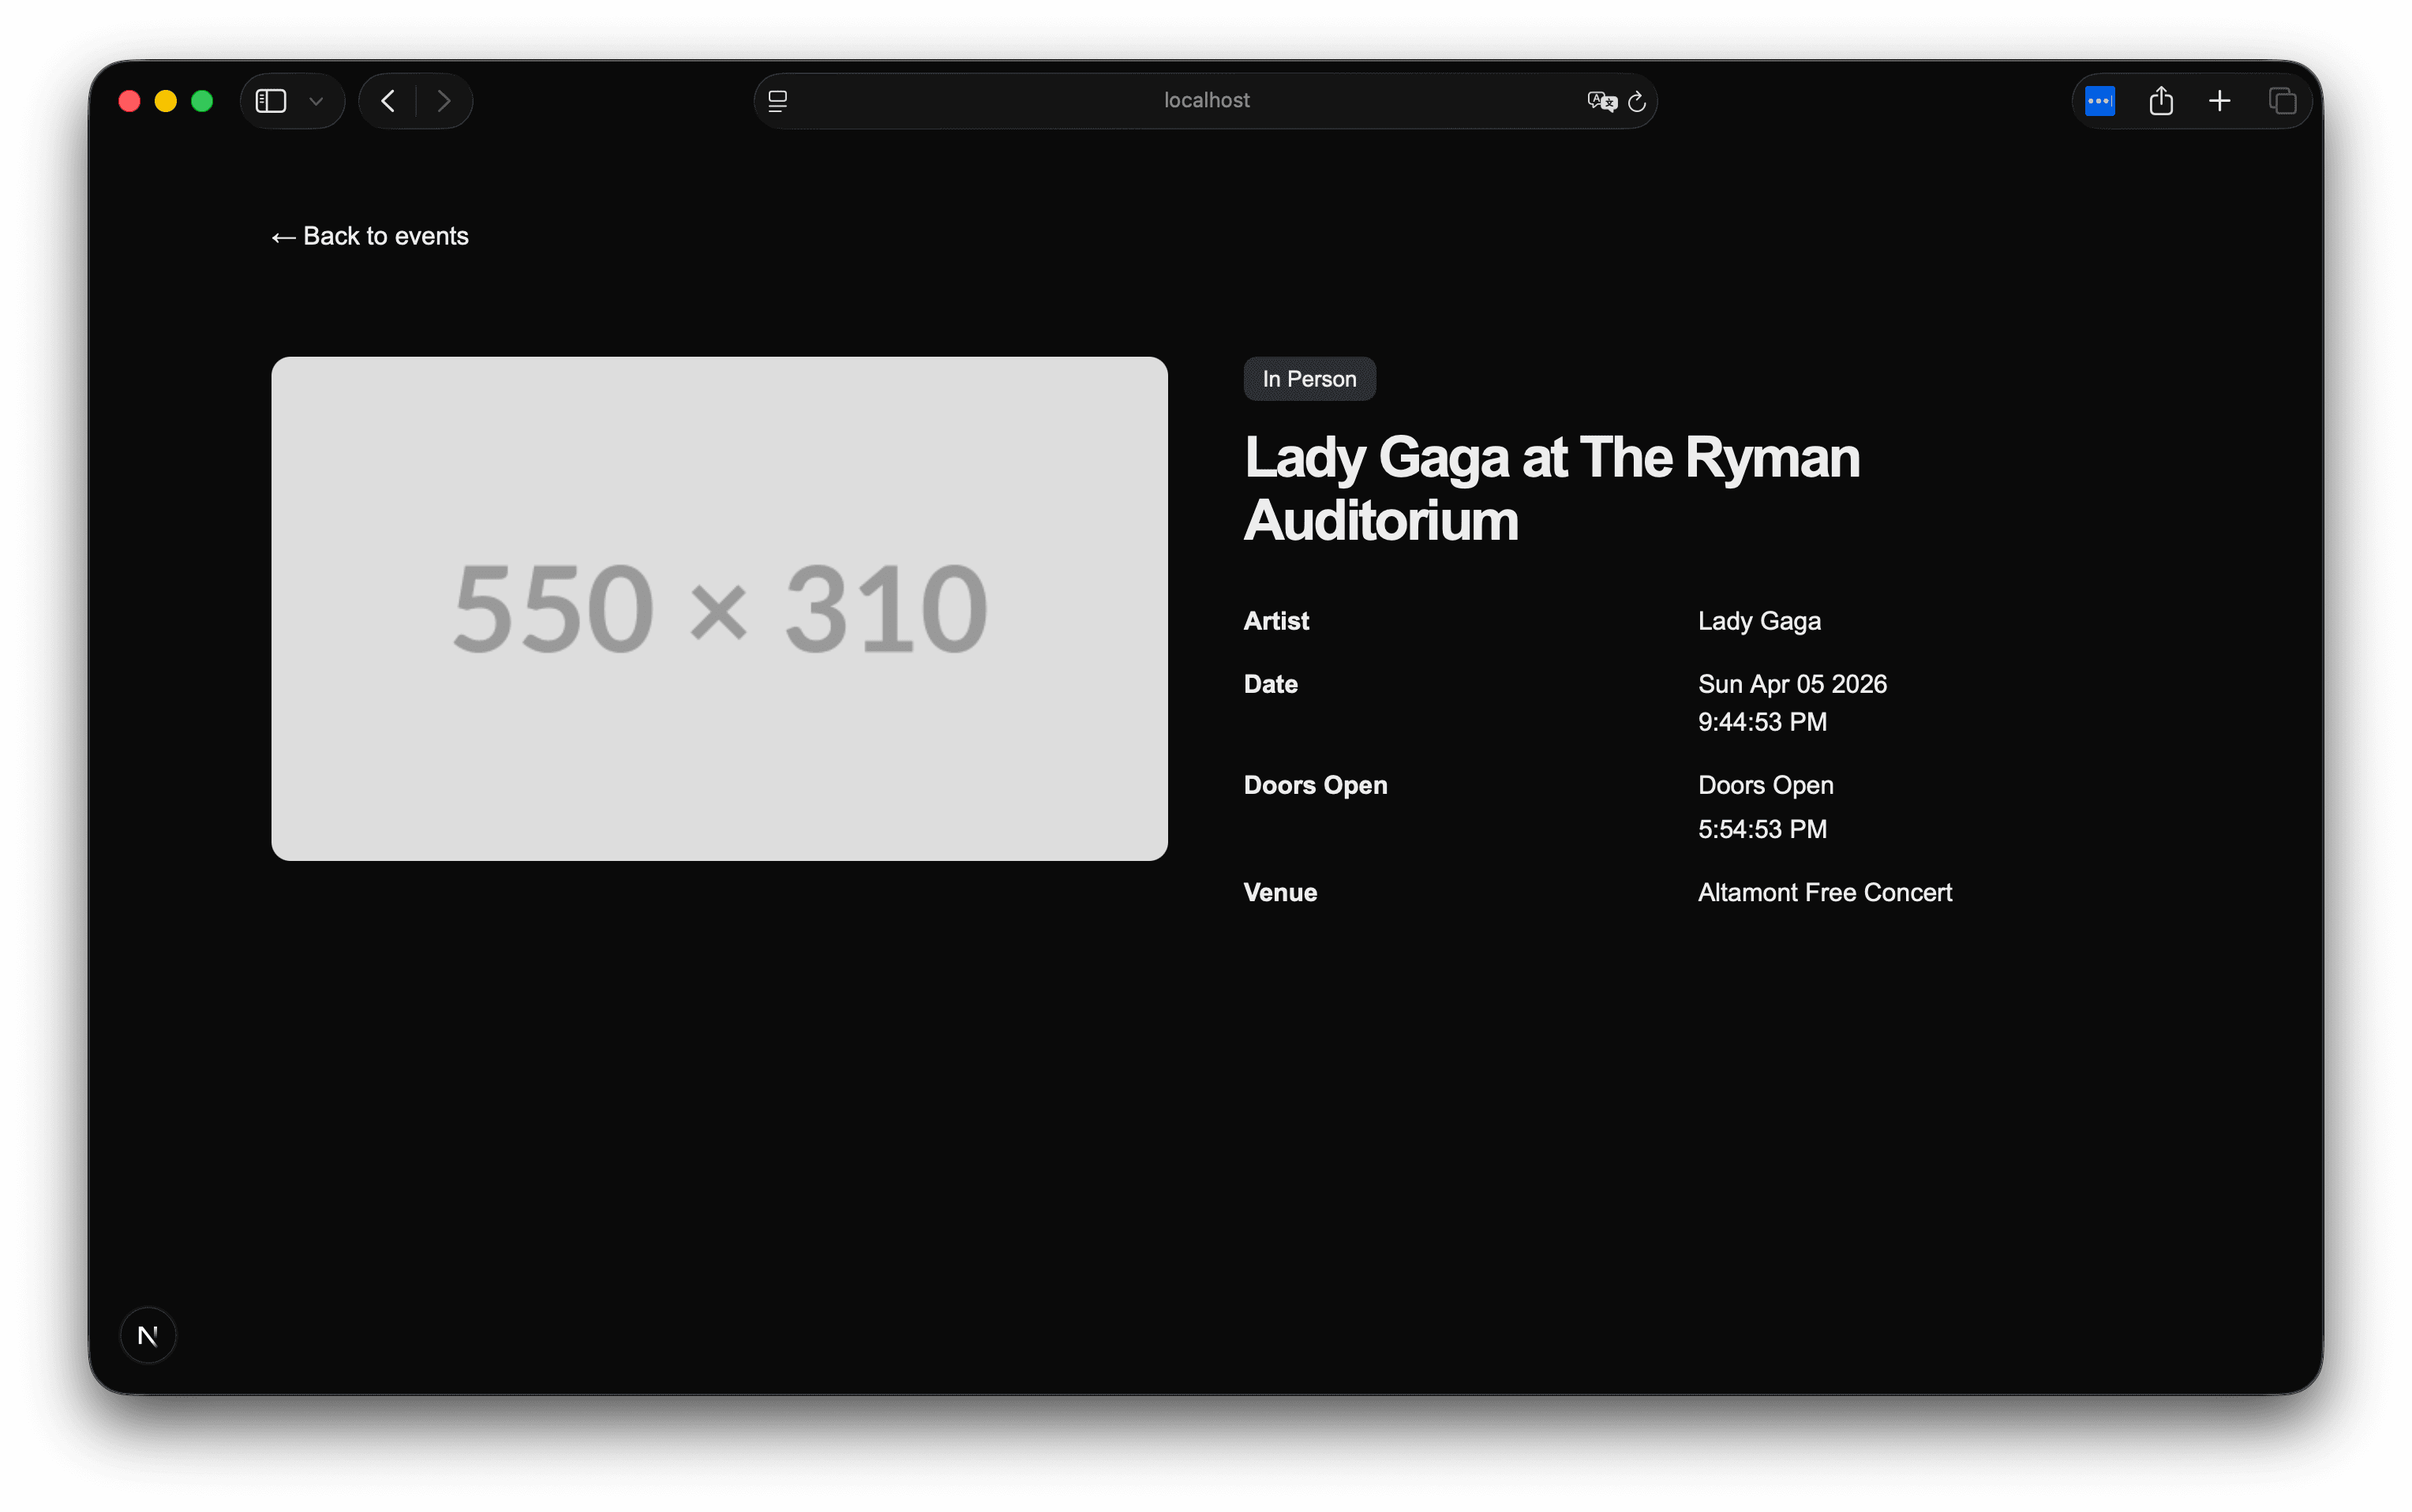
This way, if an image is set for the event, that image will be displayed, and if not, the Placeholder image will be displayed.
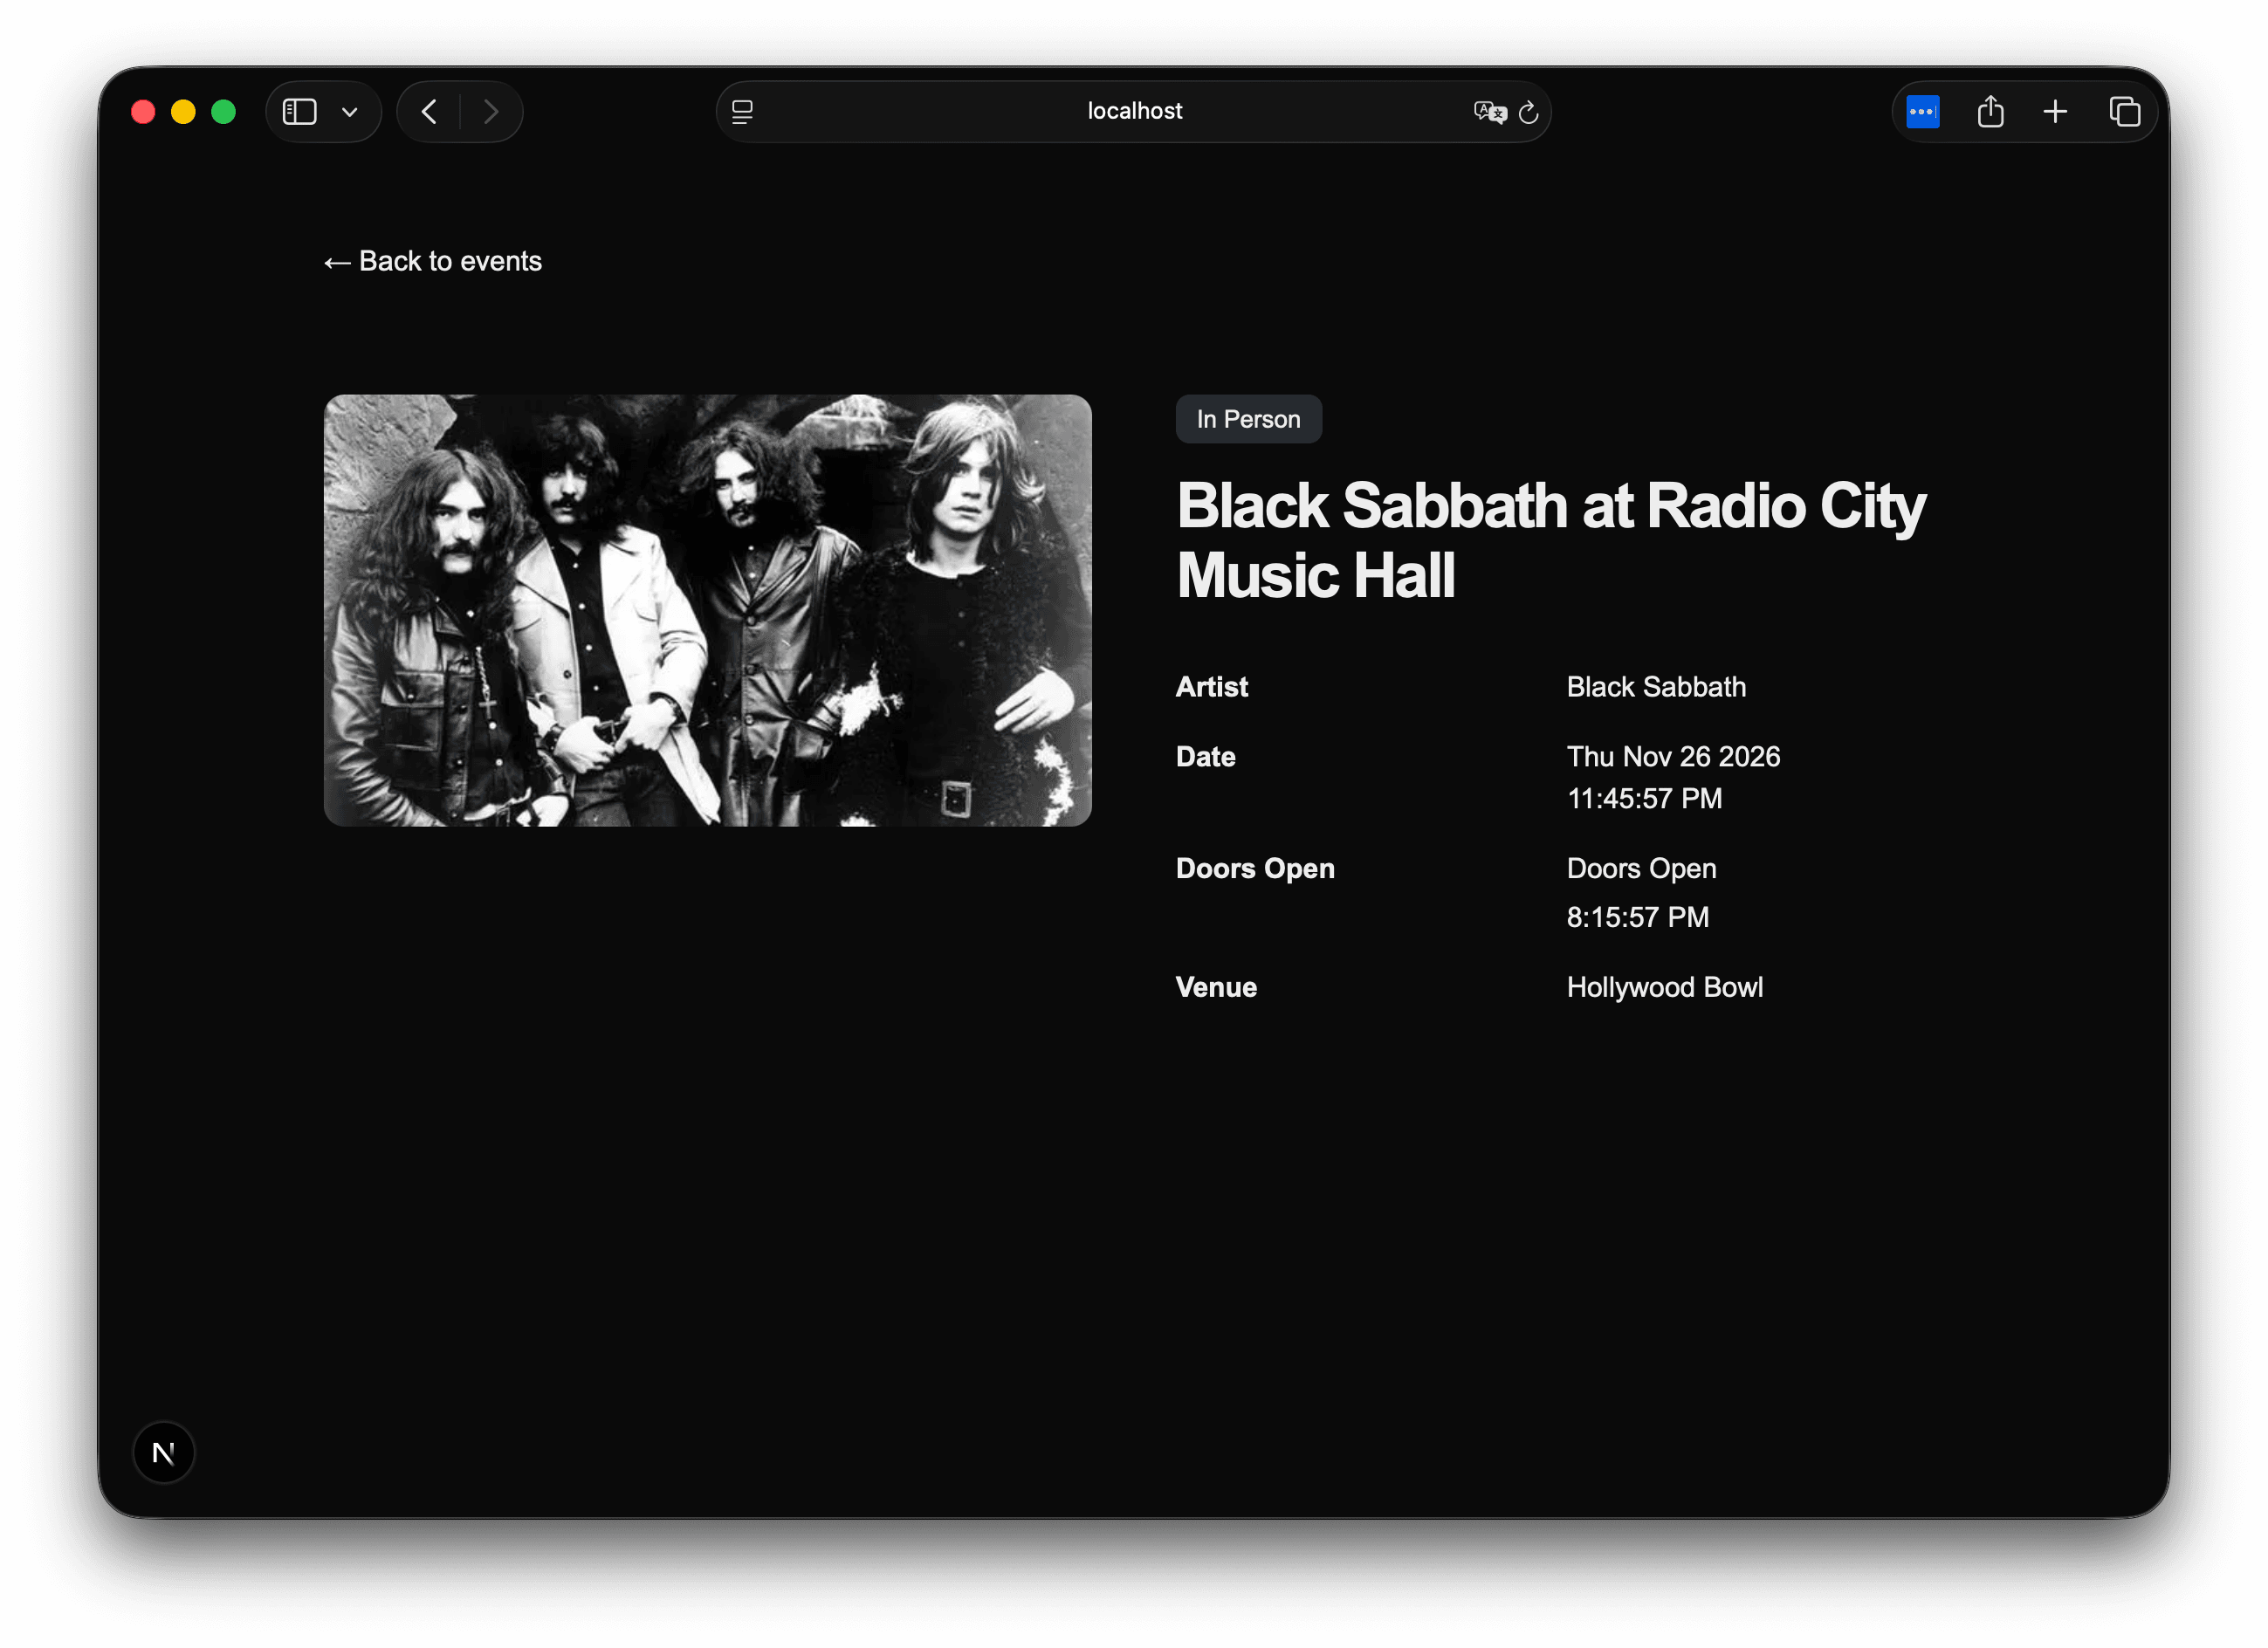
Some artists do not have images included in their events, so please select events from the list that have images specified.
Summary
In this article, we created a Next.js project, installed a package to integrate Sanity into the project, and then used the package's features and GROQ to create a web page. We also retrieved image-related information and displayed it on the page.
The code up to this point can be found in the following repository/branch.