In many cases, content is edited using the Sanity Studio admin interface, but depending on the application, it may be better to prepare an application specifically for editing content. In this article, we will create an application that addresses this need.
Build a content application
2025-08-04
This document is a translated version of the official steps explained in Japanese. If you would like to check the English version, we recommend referring to the official page.
Create a new app
Let's get started with developing a simple app. Run the following commands under day-one.
sh
When you execute, the Organization confirmation will be displayed. Select the same Organization as the existing Studio.
When executed, a new app will be added under "apps" as shown below.
In the created file, add projectId and dataset to apps/tickets/src/App.tsx.
apps/tickets/src/App.tsx
By default, this application runs on port 3334. When studio is launched locally, it also uses the same port. Therefore, to enable studio to launch this application on port 3334 when launched locally, modify the file apps/tickets/sanity.cli.ts as follows.
apps/studio/sanity.cli.ts
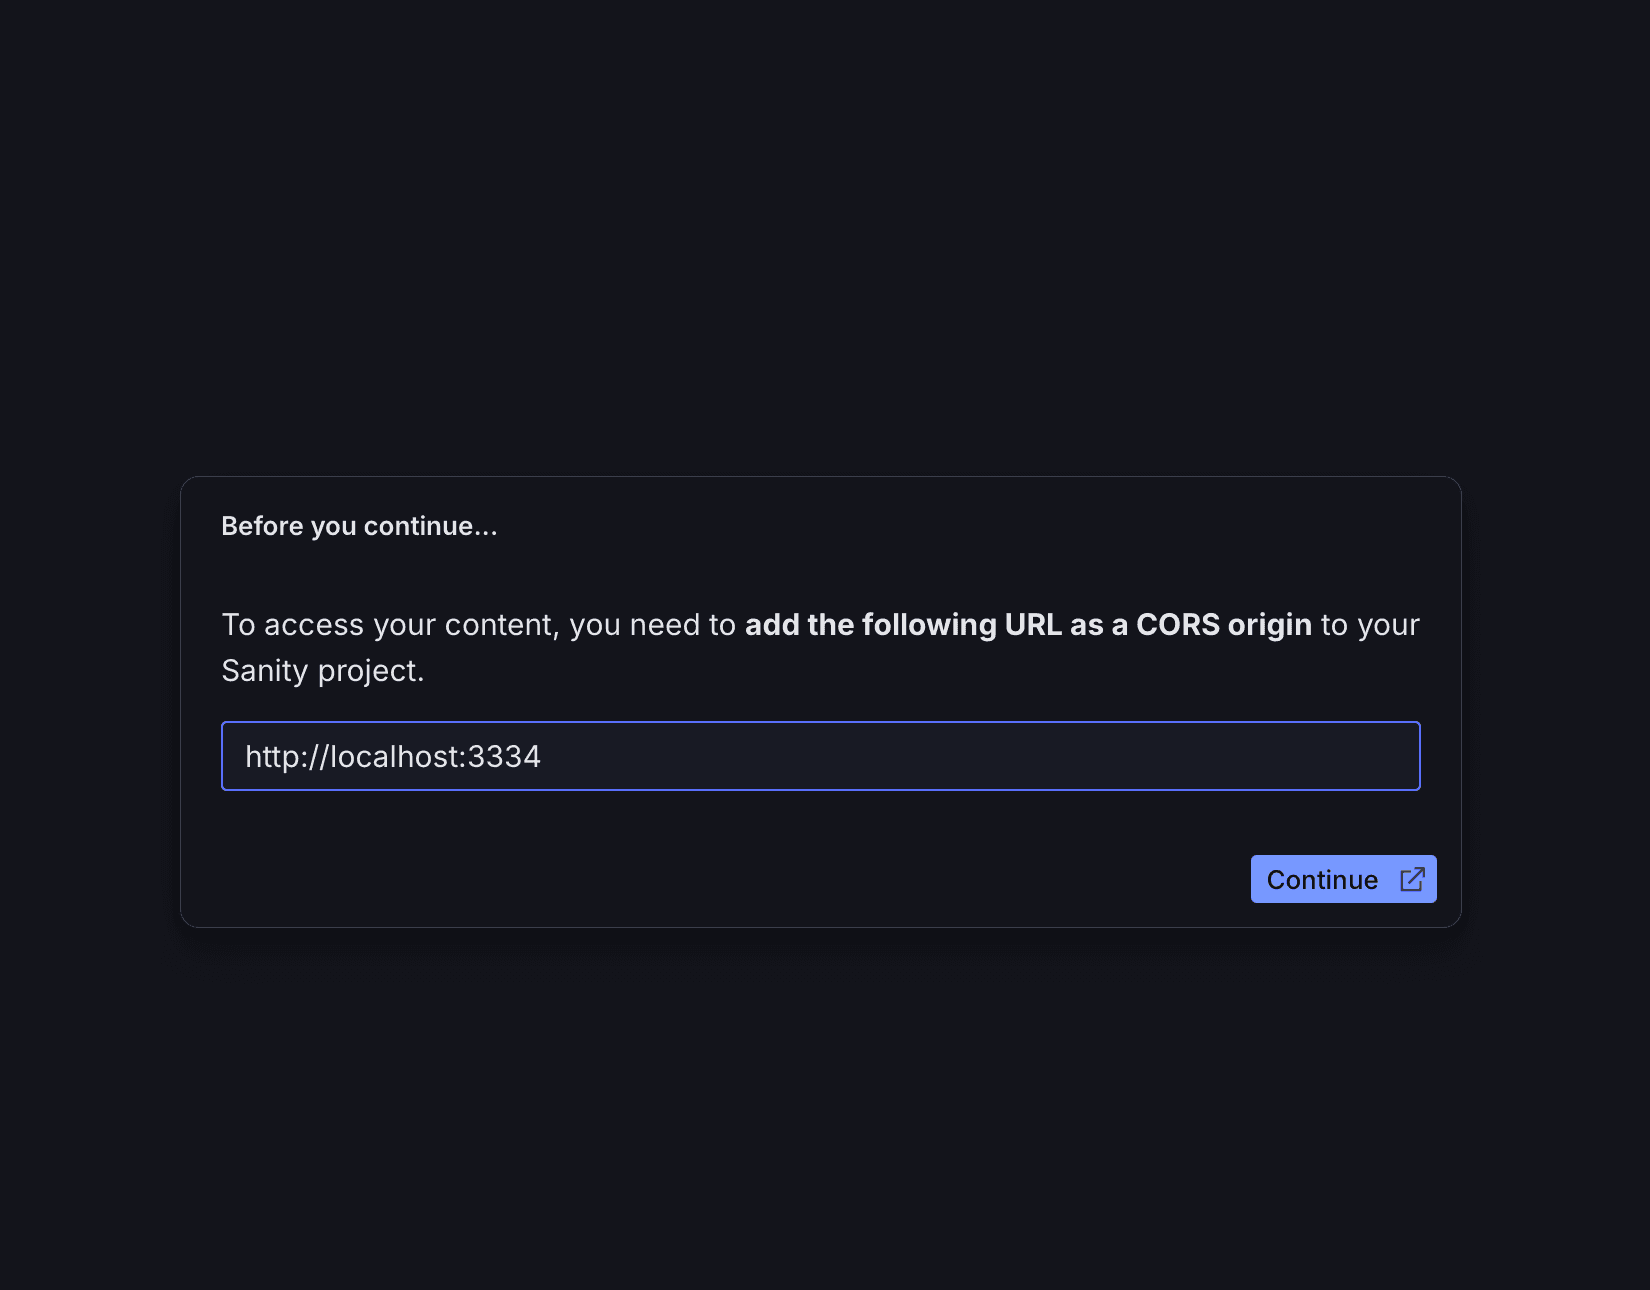
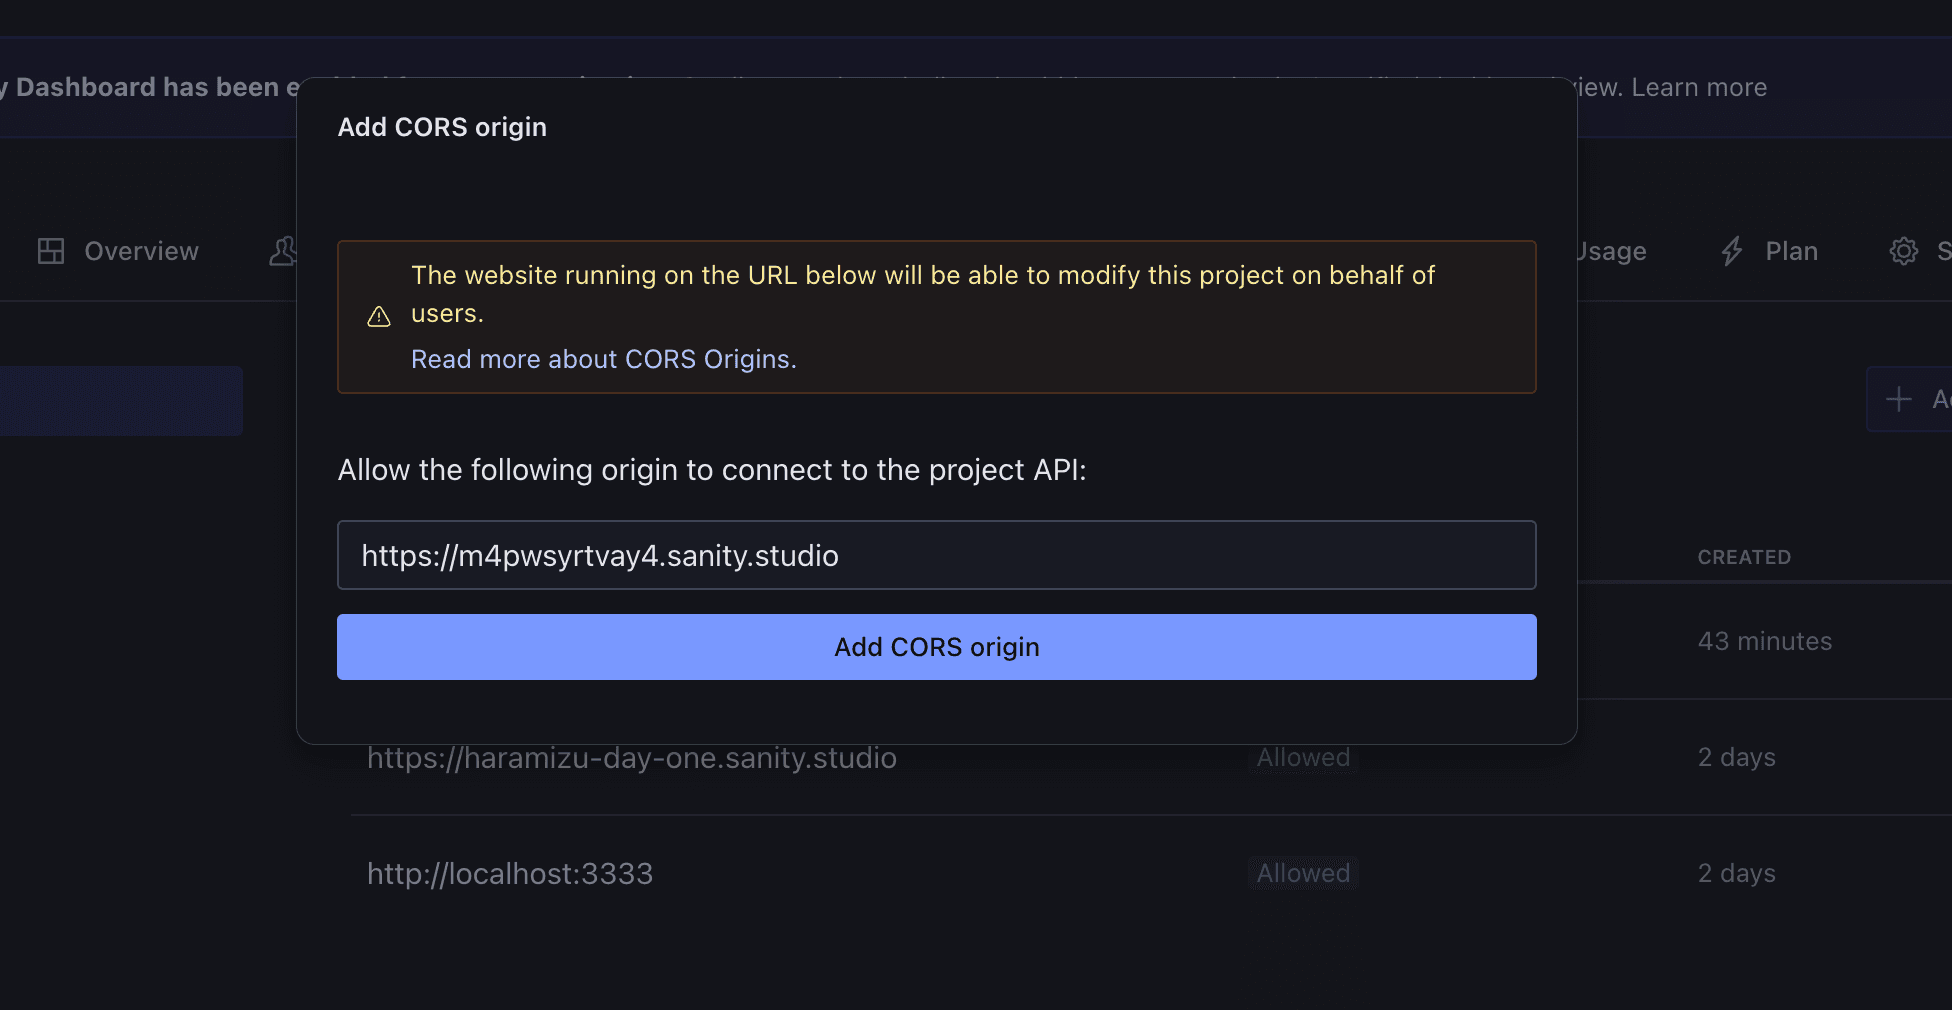
If you make this change, the following screen will be displayed because localhost:3334 is not included in CROS in the Sanity management screen.
Please execute the following command in the apps/studio folder.
sh
A warning will appear, but select Yes because this is intentional.

Now you are ready to go. Move to the apps/tickets directory and execute the following command.
sh
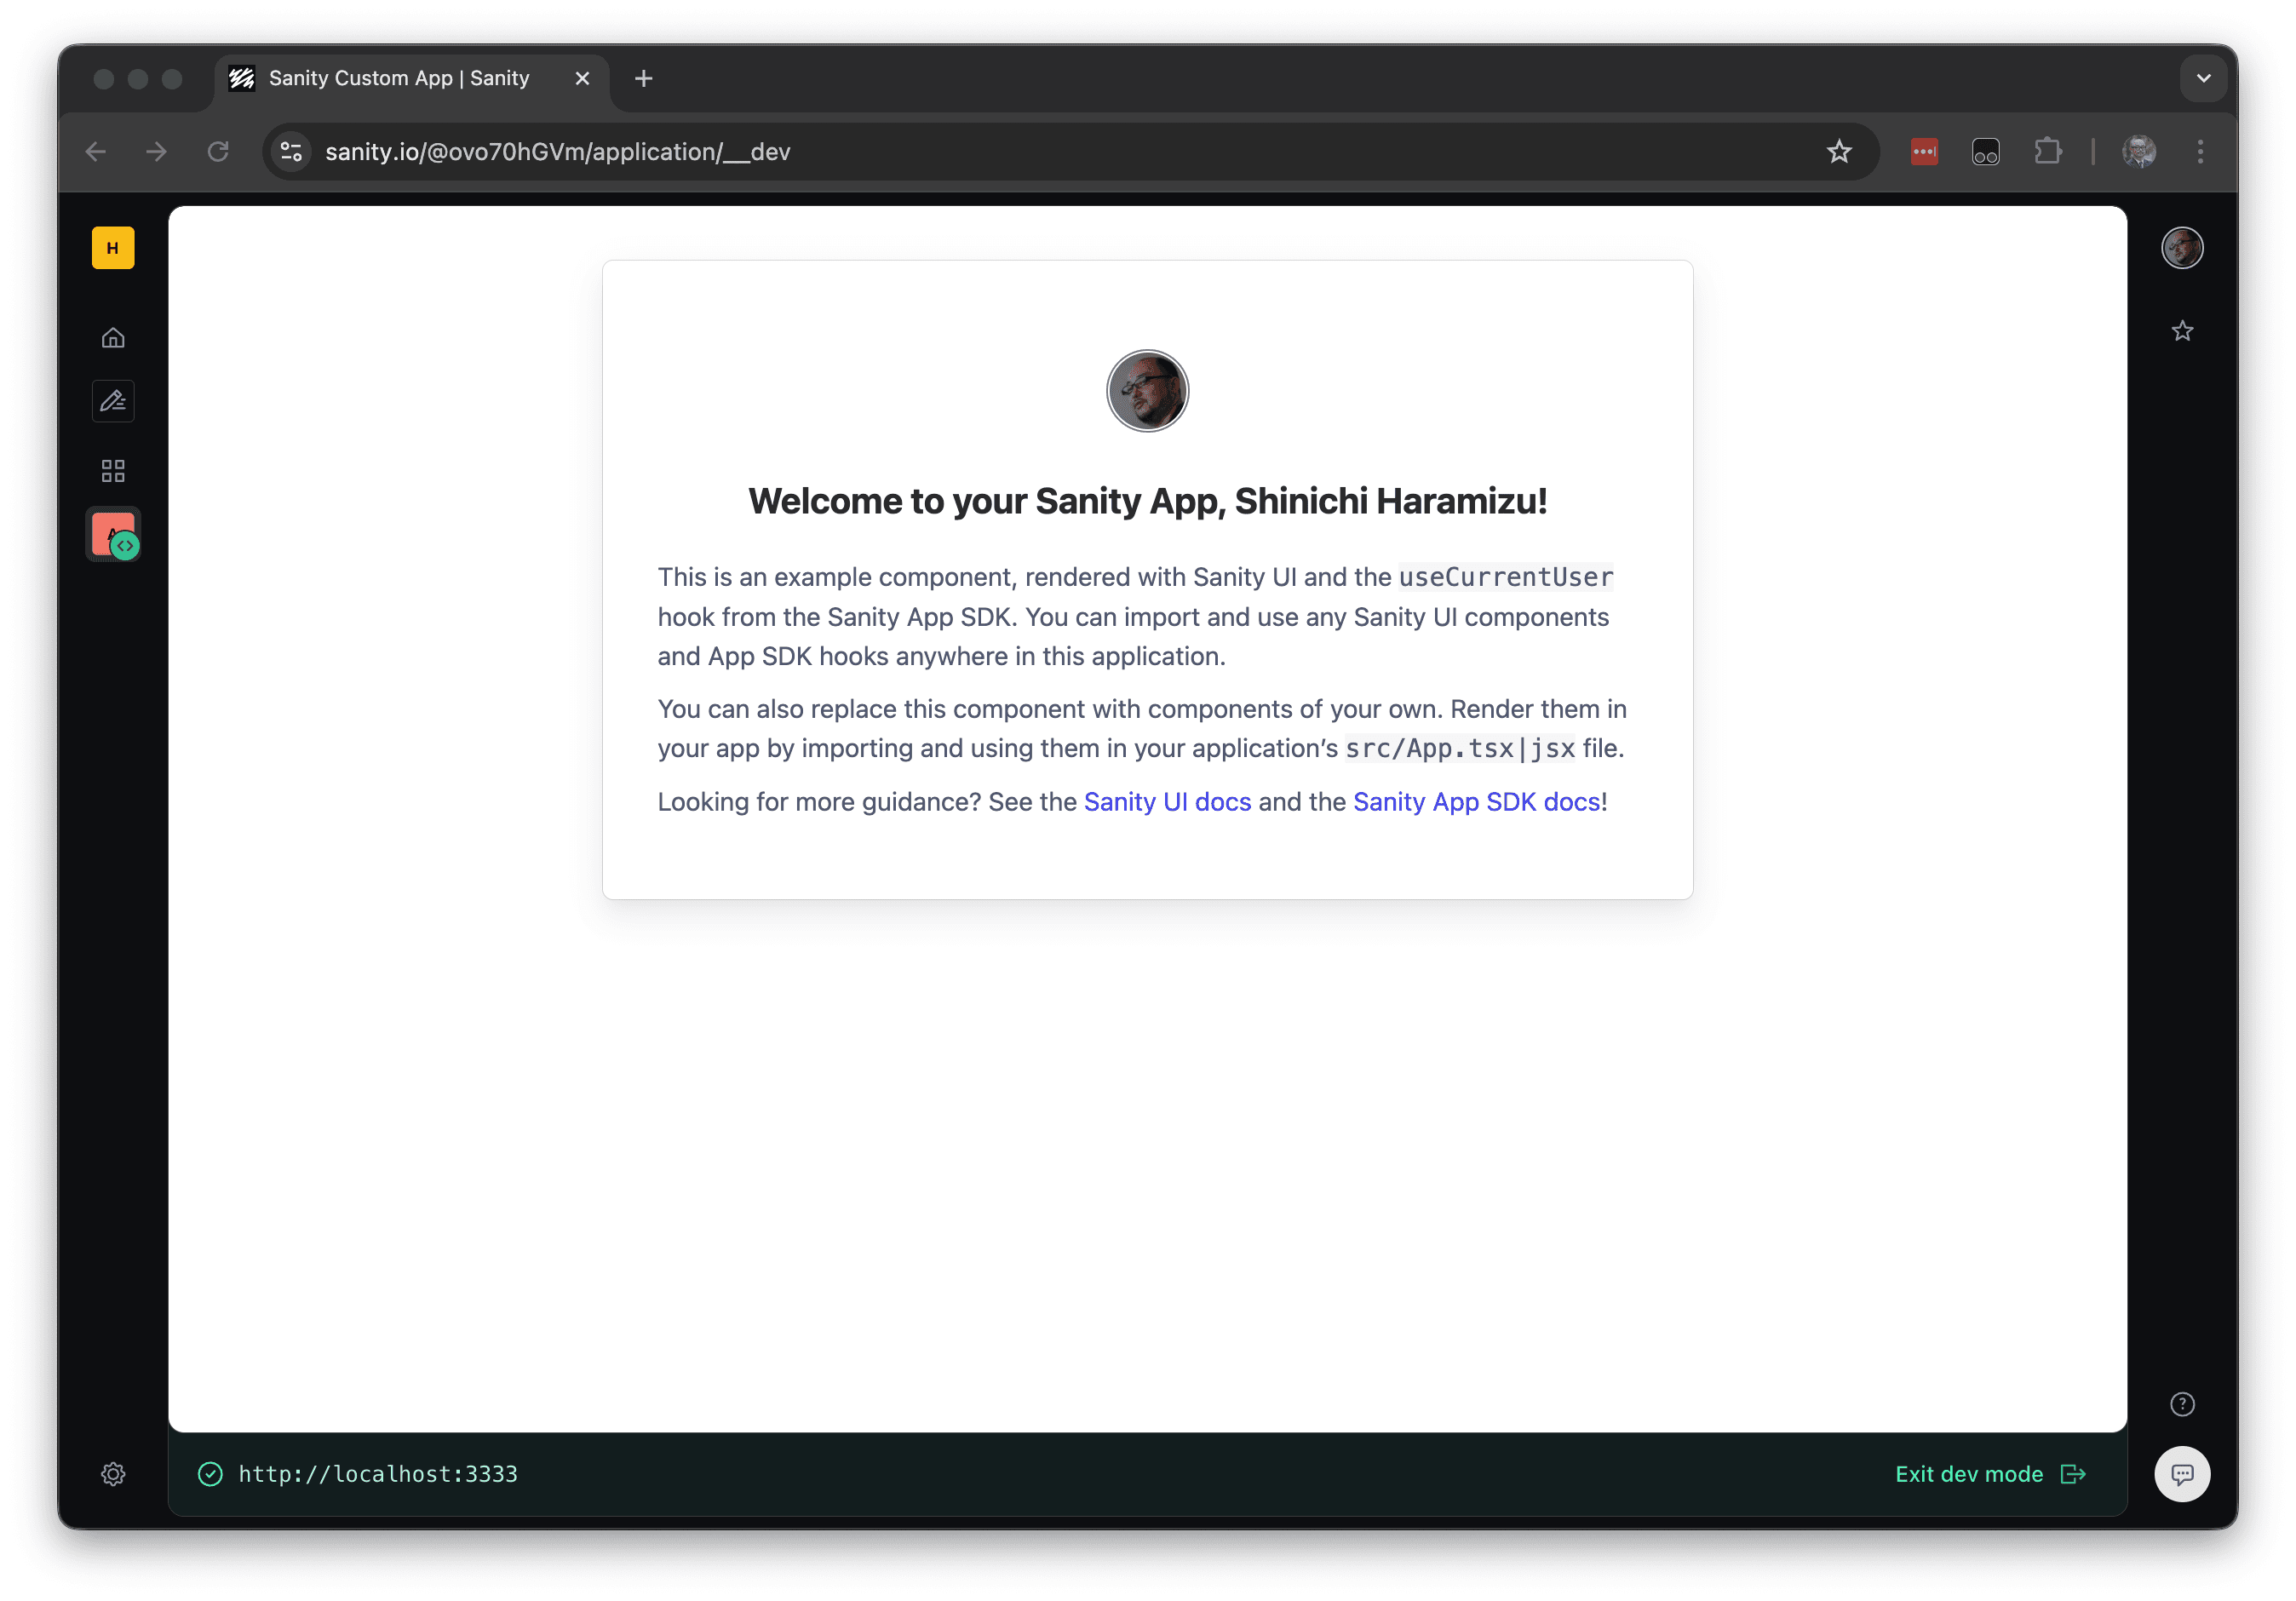
The URL will be displayed, so please click on it. If the dashboard appears as shown below, the local app is now running.
Creating components
We will add several features to the newly created app. First, create Publish.tsx to execute publishing when the content is in draft form. Create apps/tickets/src/Publish.tsx and set the following code.
apps/tickets/src/Publish.tsx
Next, create an Open button to check that the ticket URL is correct. Add apps/tickets/src/TicketURL.tsx and set the following code.
apps/tickets/src/TicketURL.tsx
Next, create the Event.tsx file in apps/tickets/src/Event.tsx as a component to display event information.
apps/tickets/src/Event.tsx
Finally, add apps/tickets/src/Events.tsx as Events to display a list of events.
apps/tickets/src/Events.tsx
Finally, update the apps/tickets/src/App.tsx file. Check that the following section is loading Events and adding the component.
apps/tickets/src/App.tsx
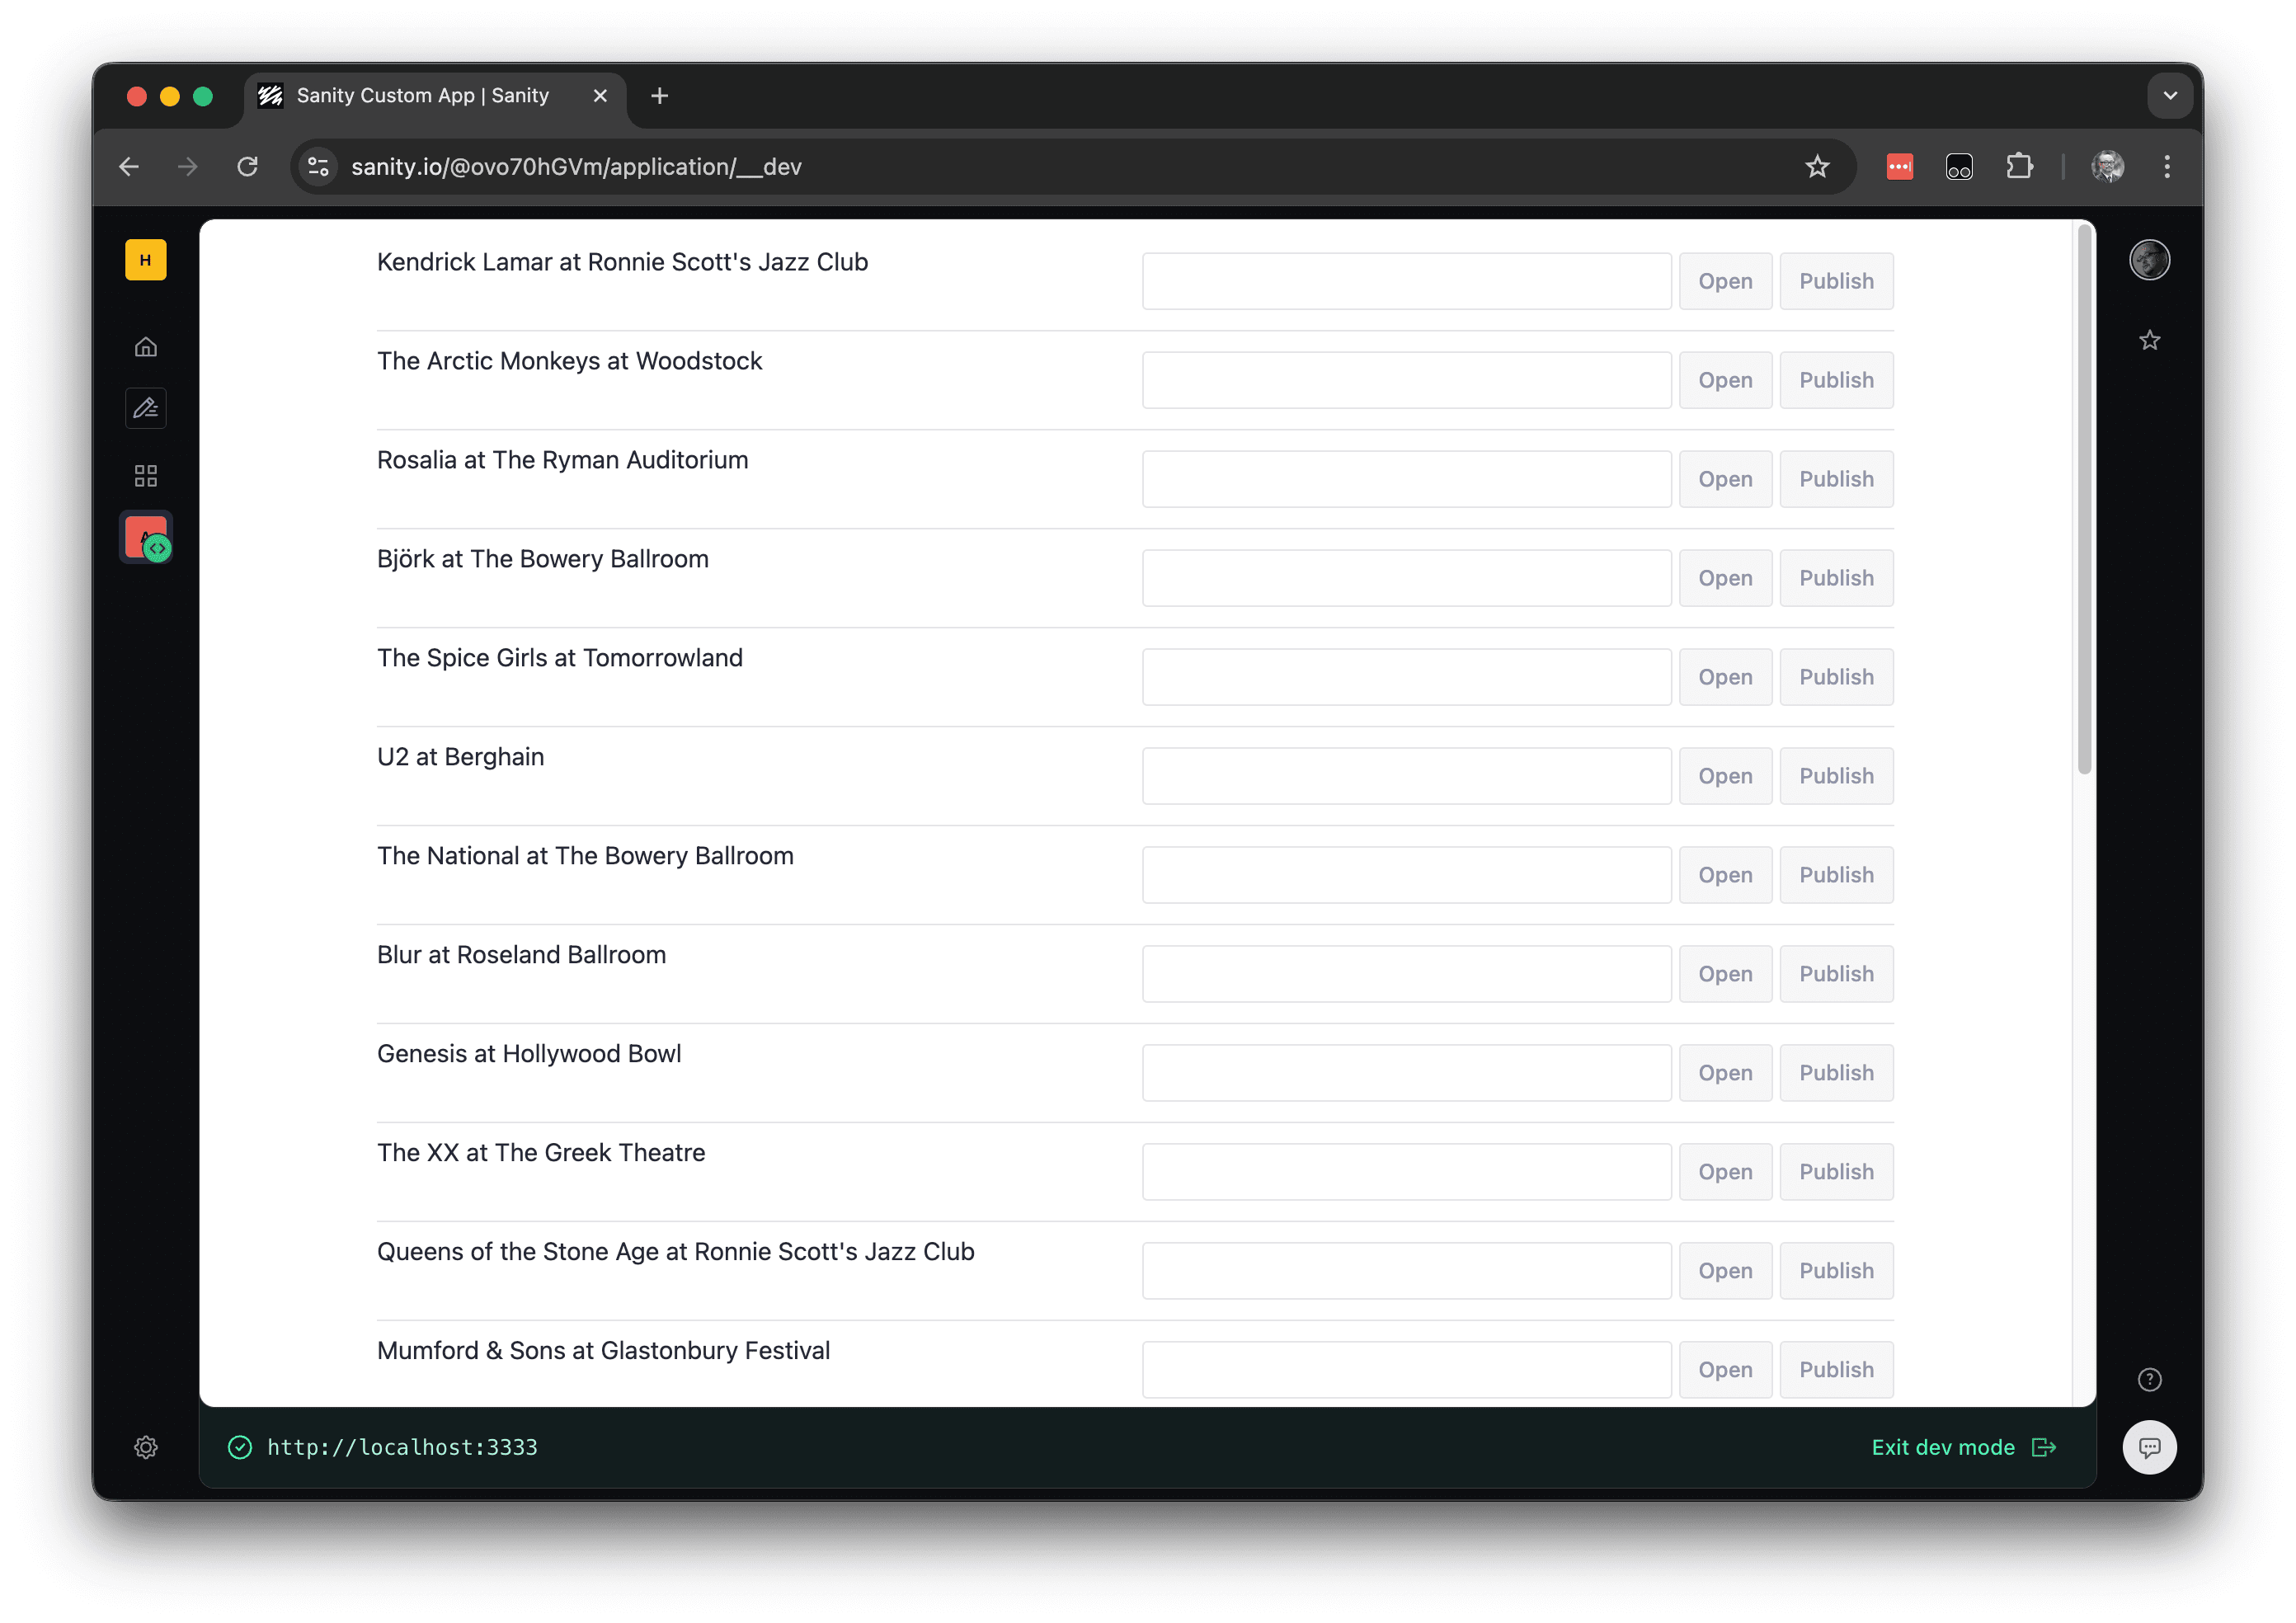
When complete, the screen will refresh as shown below.
Operation check
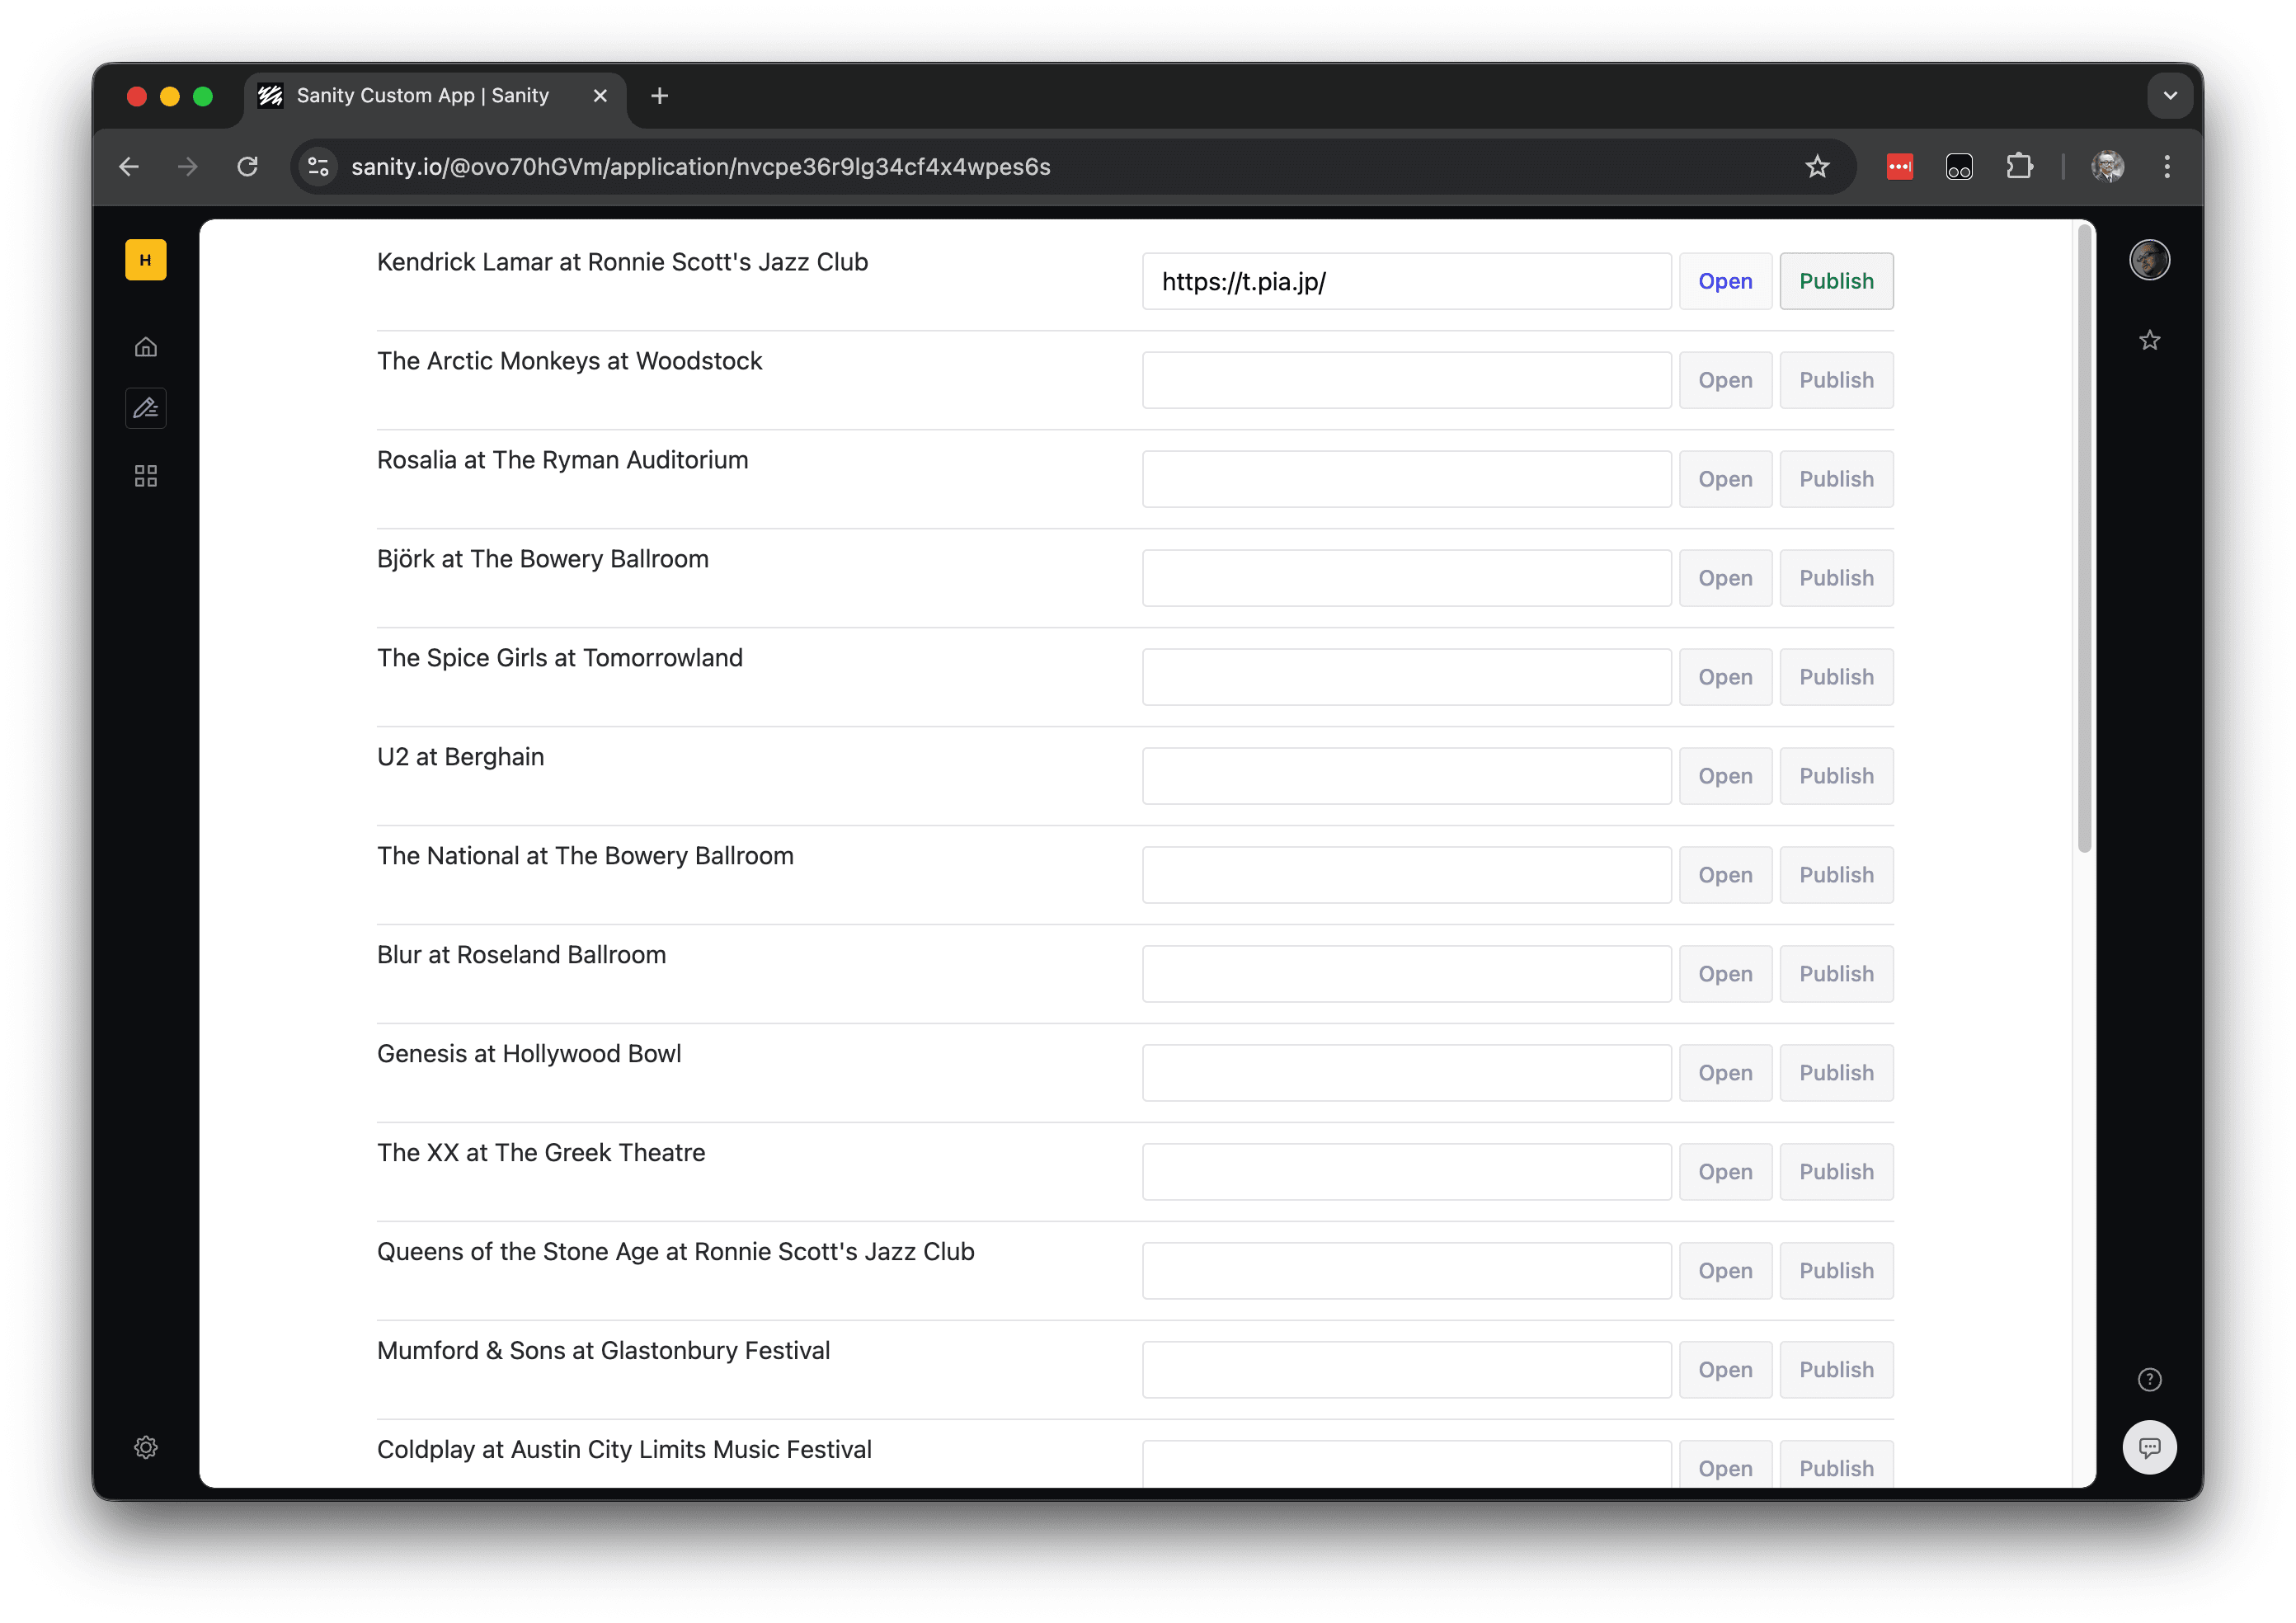
For example, set the URL through Studio for the tickets item for the Kendrick Lamar at Ronnie Scott's Jazz Club event.
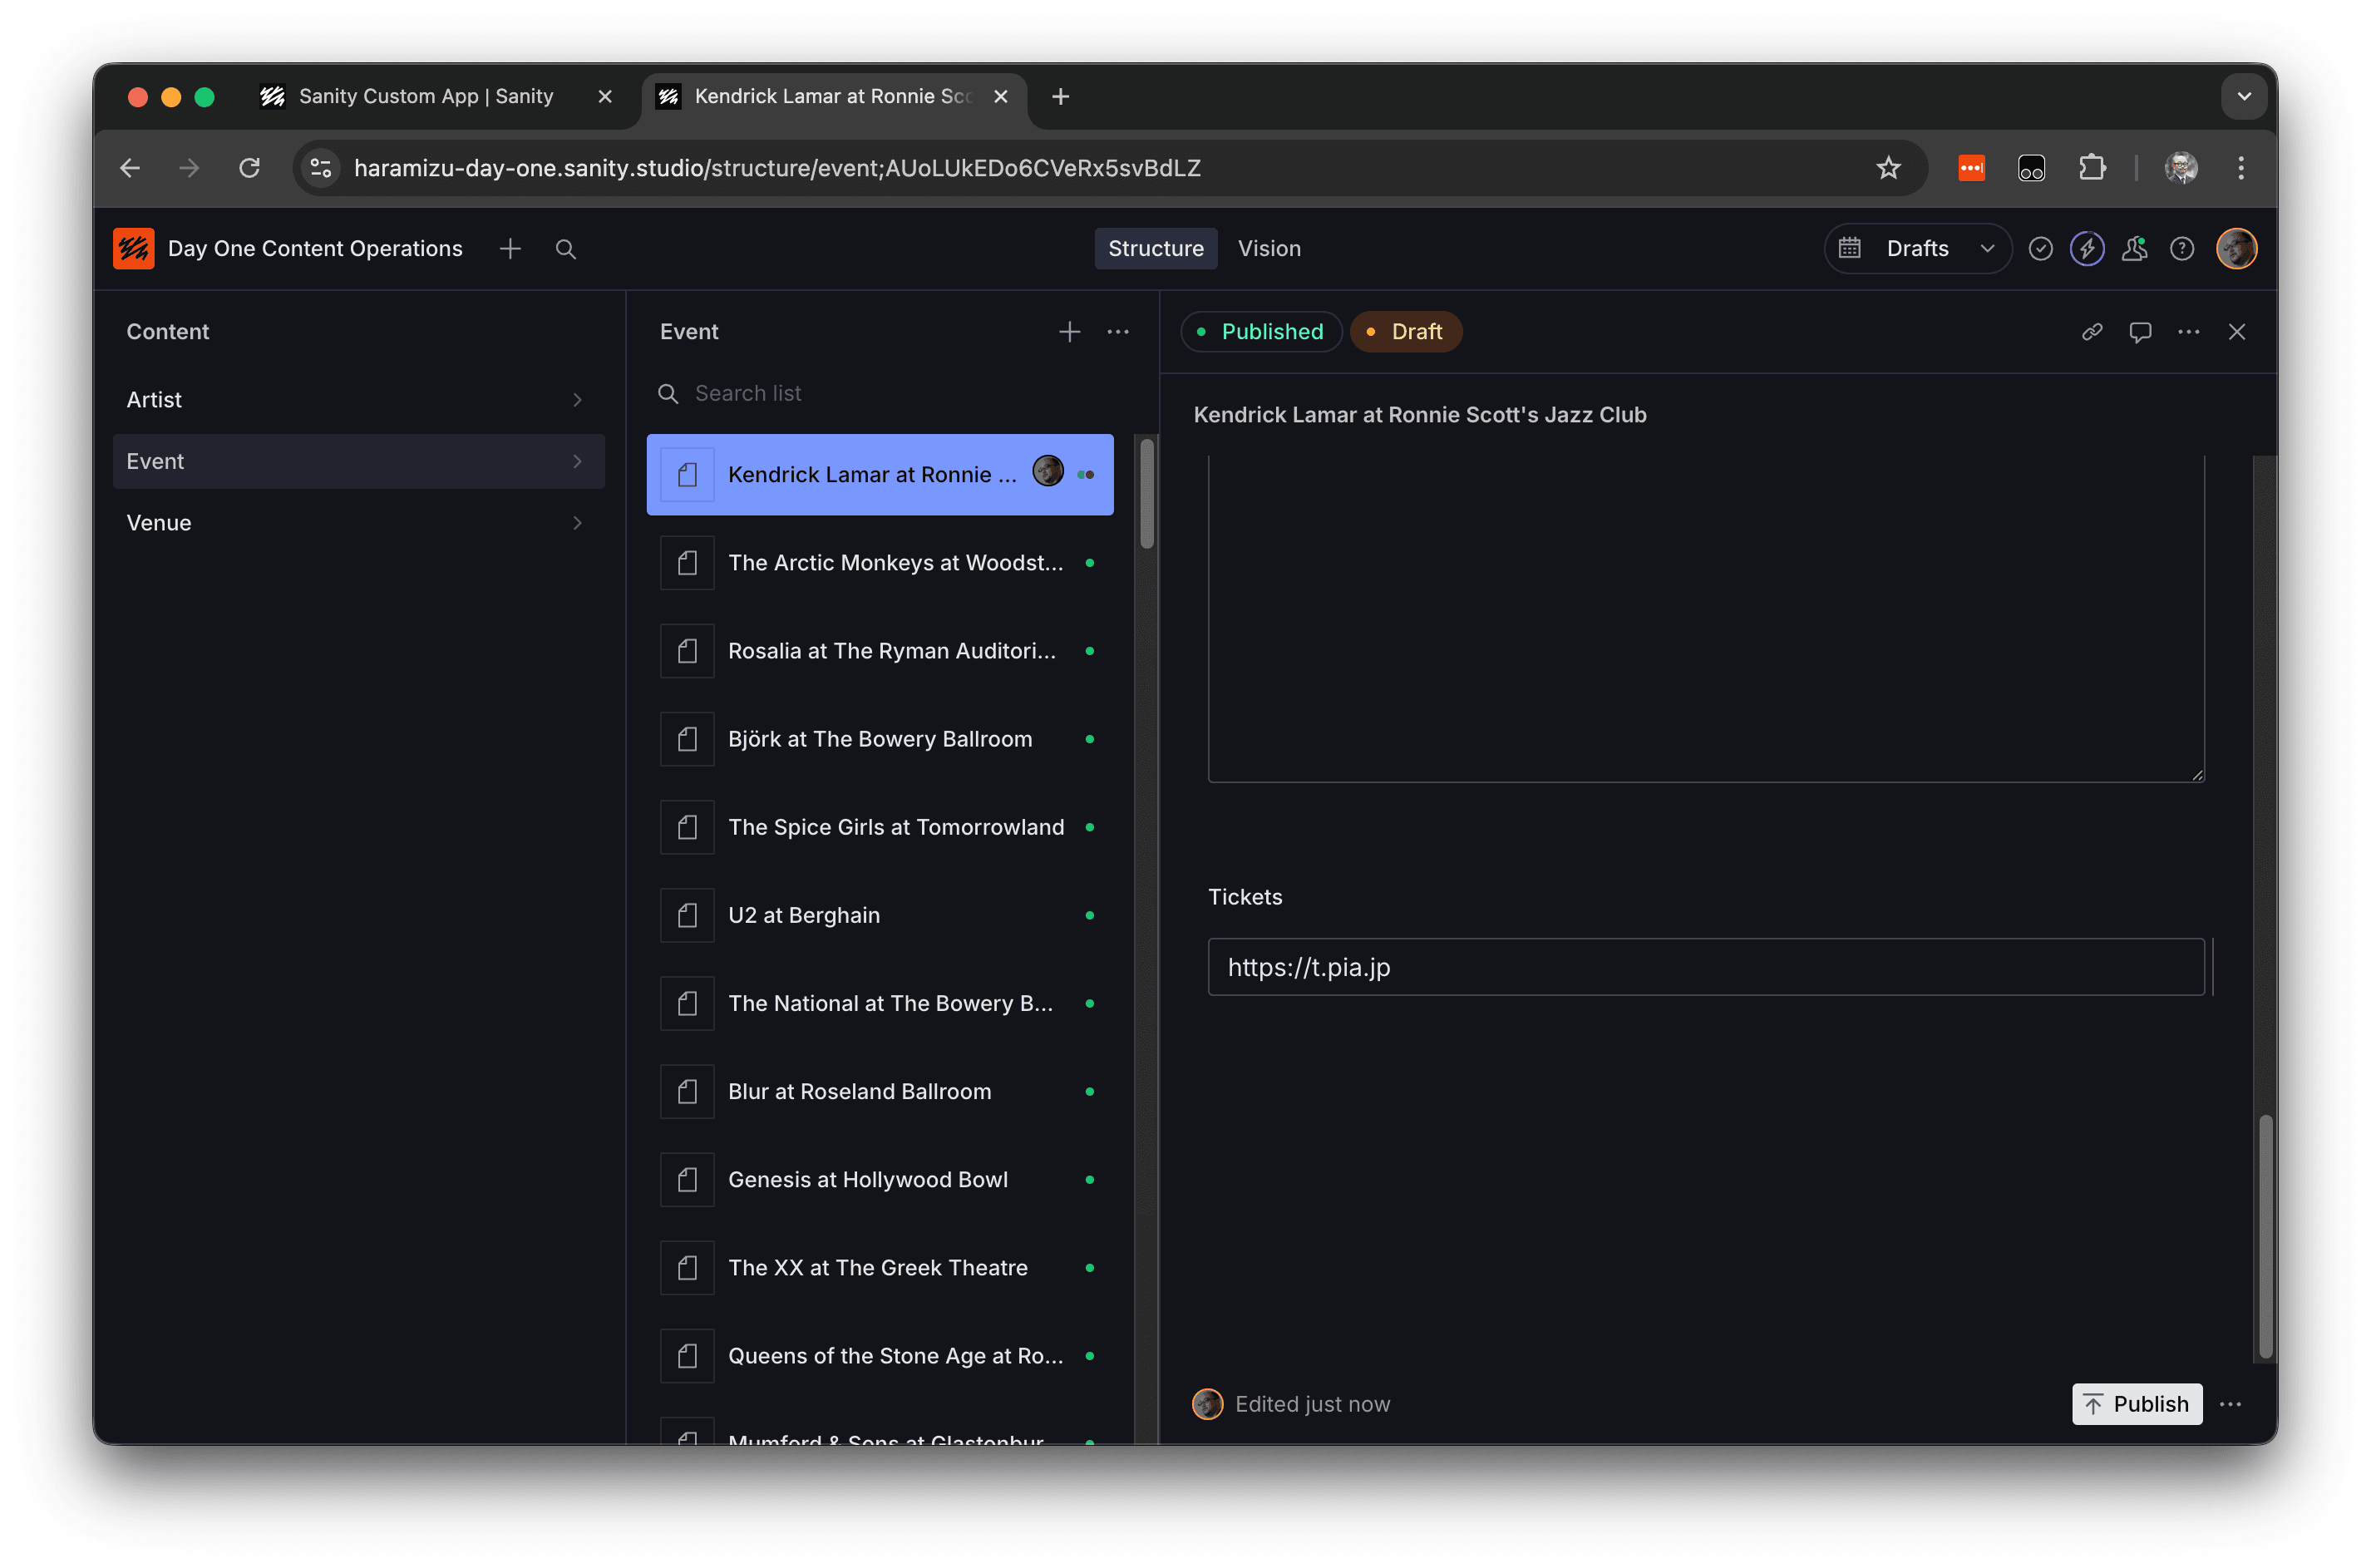
When you open the app you created, you will see that this URL is reflected.
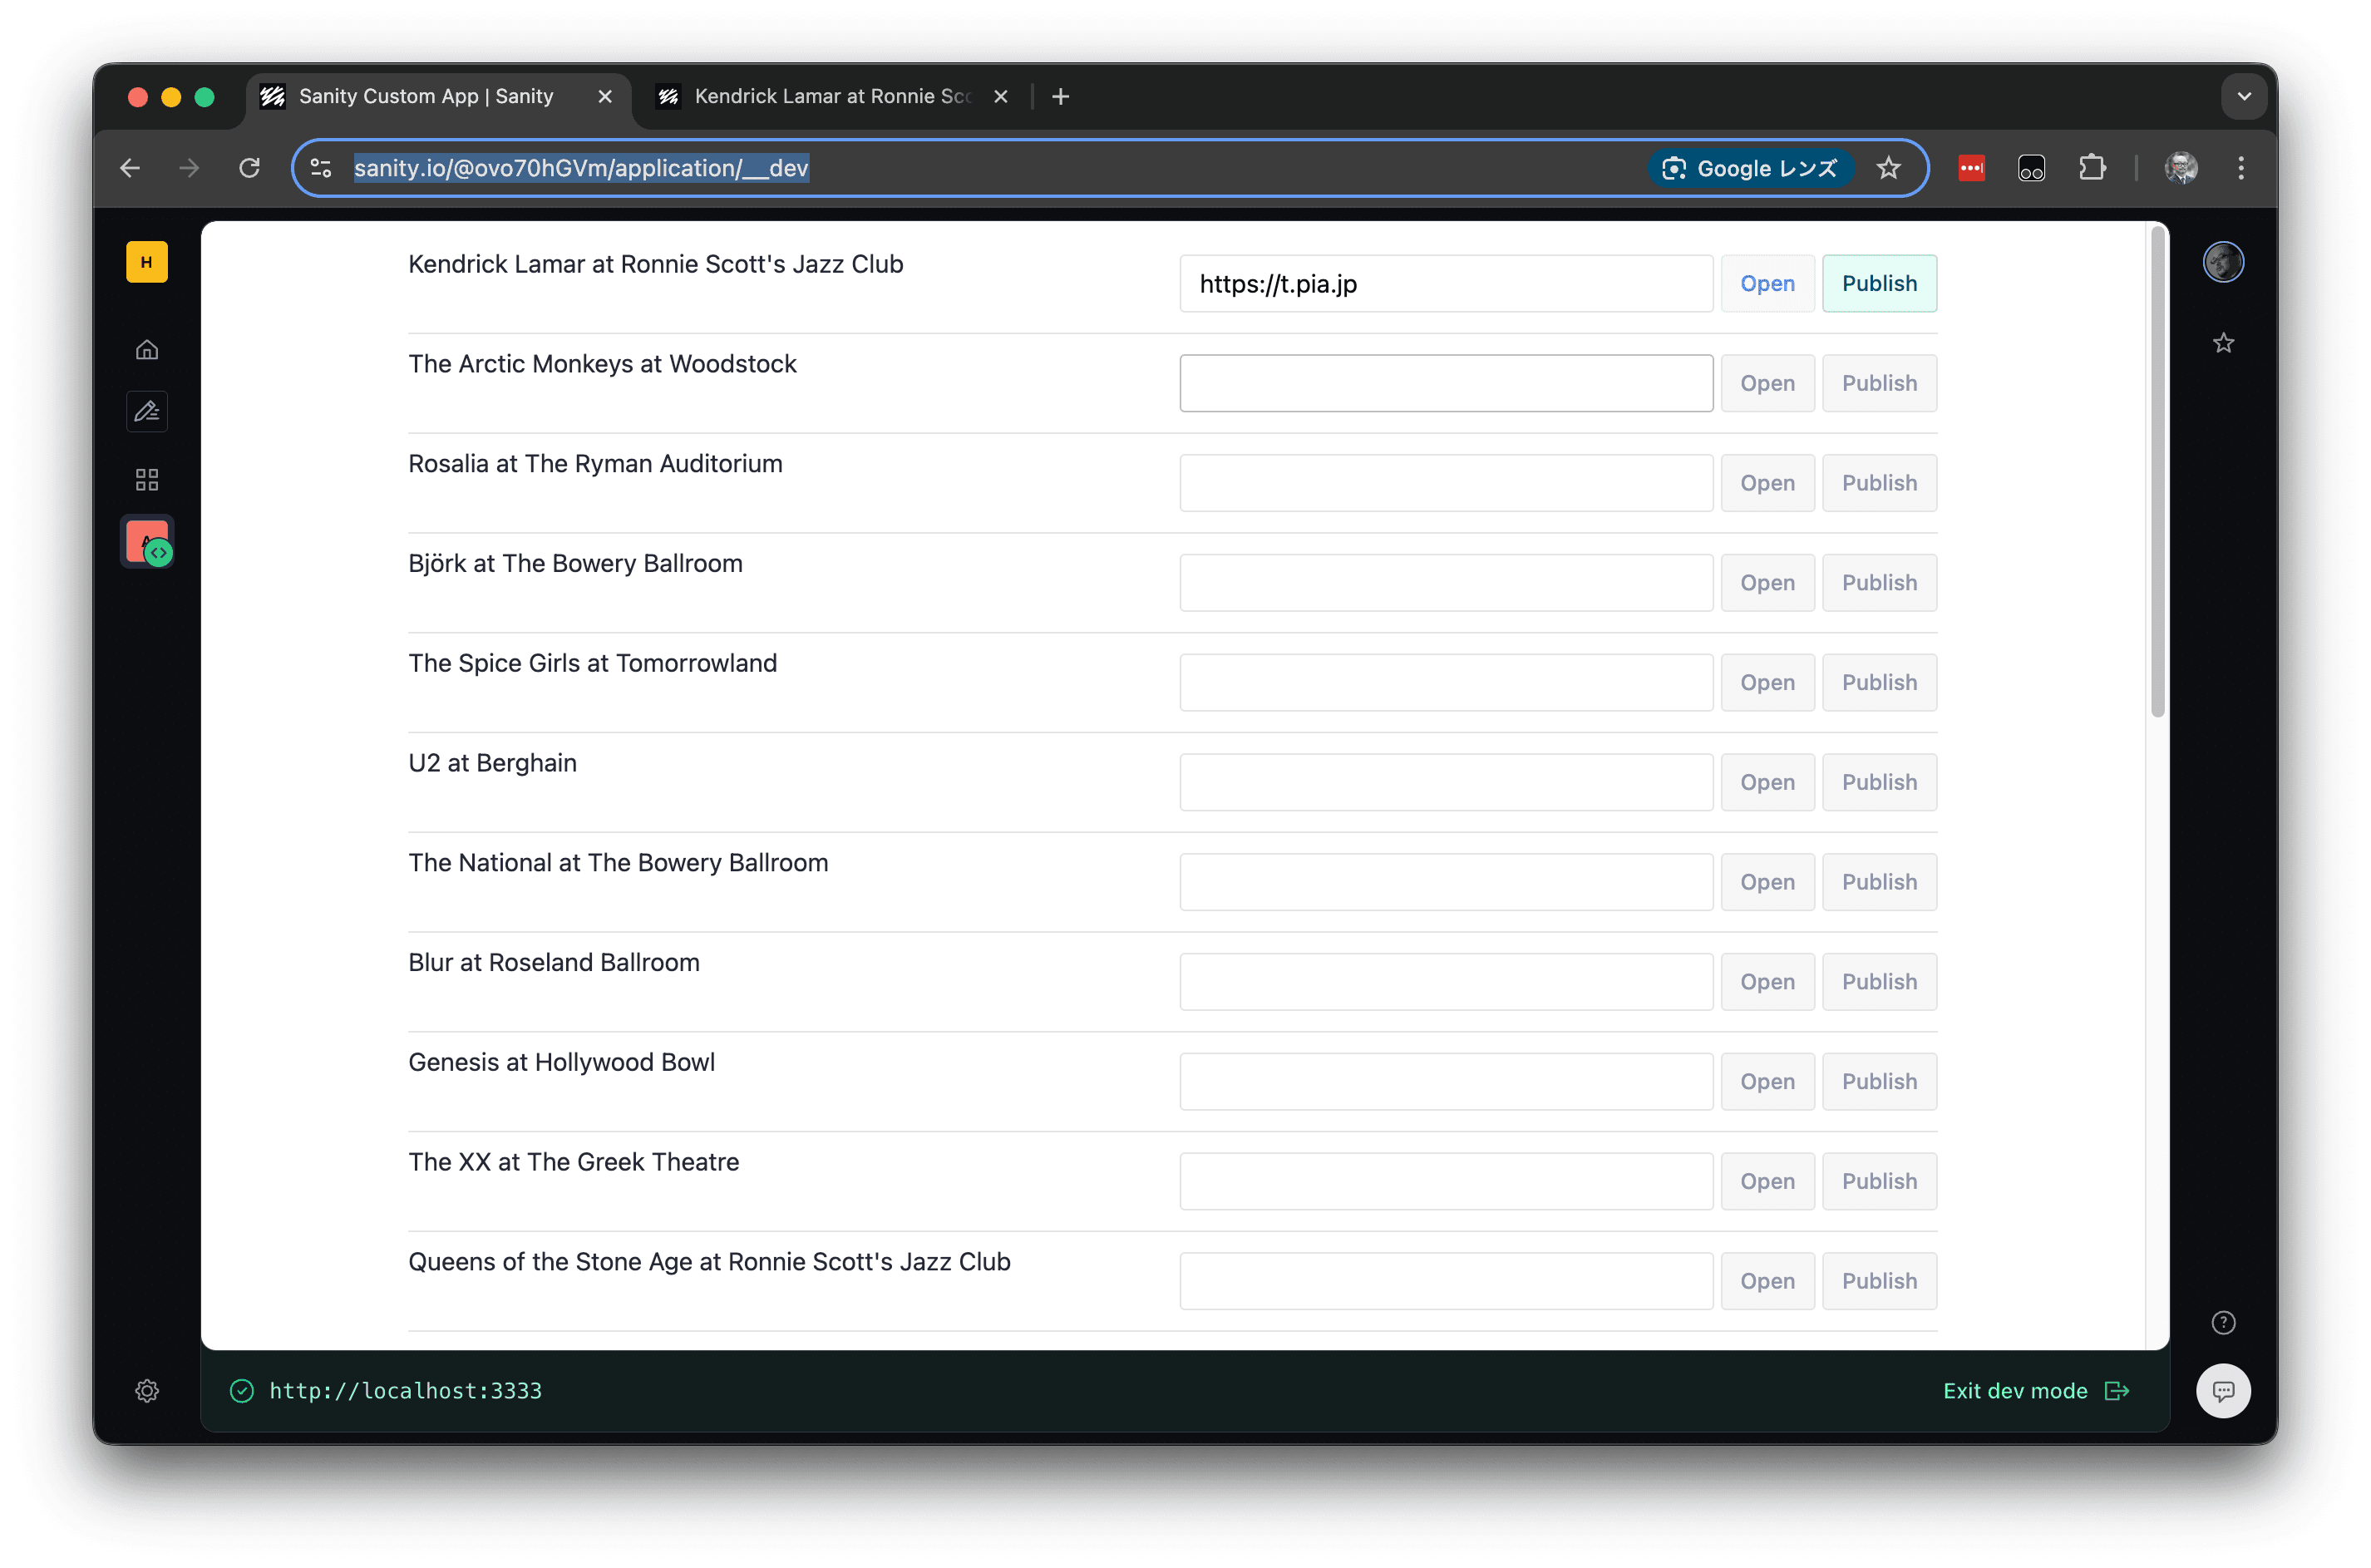
When you click the Publish button in this app, publishing is complete. The reverse is also possible: data changed in this app will be reflected in the data open in Studio.
Deploy the app
I would like to deploy the app I created. The deployment procedure is very simple. This time, just execute the following command under apps/tickets.
tsx
When you run it, you will be asked to confirm the app name.
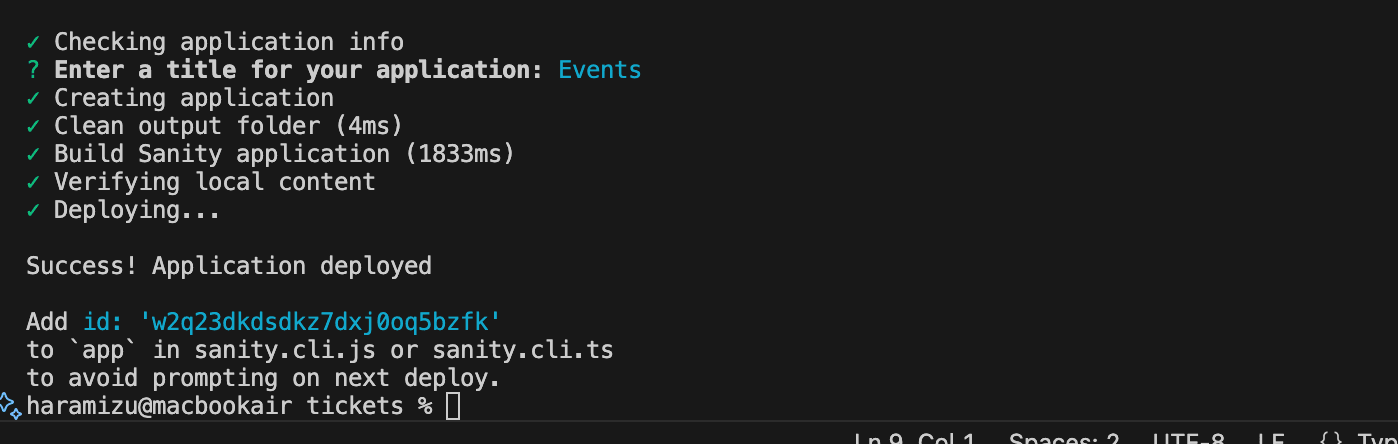
The message shown in the above screen indicates that you need to add id to sanity.cli.ts. By adding this setting, you can skip selecting the app when deploying again after updating.
apps/tickets/sanity.cli.ts
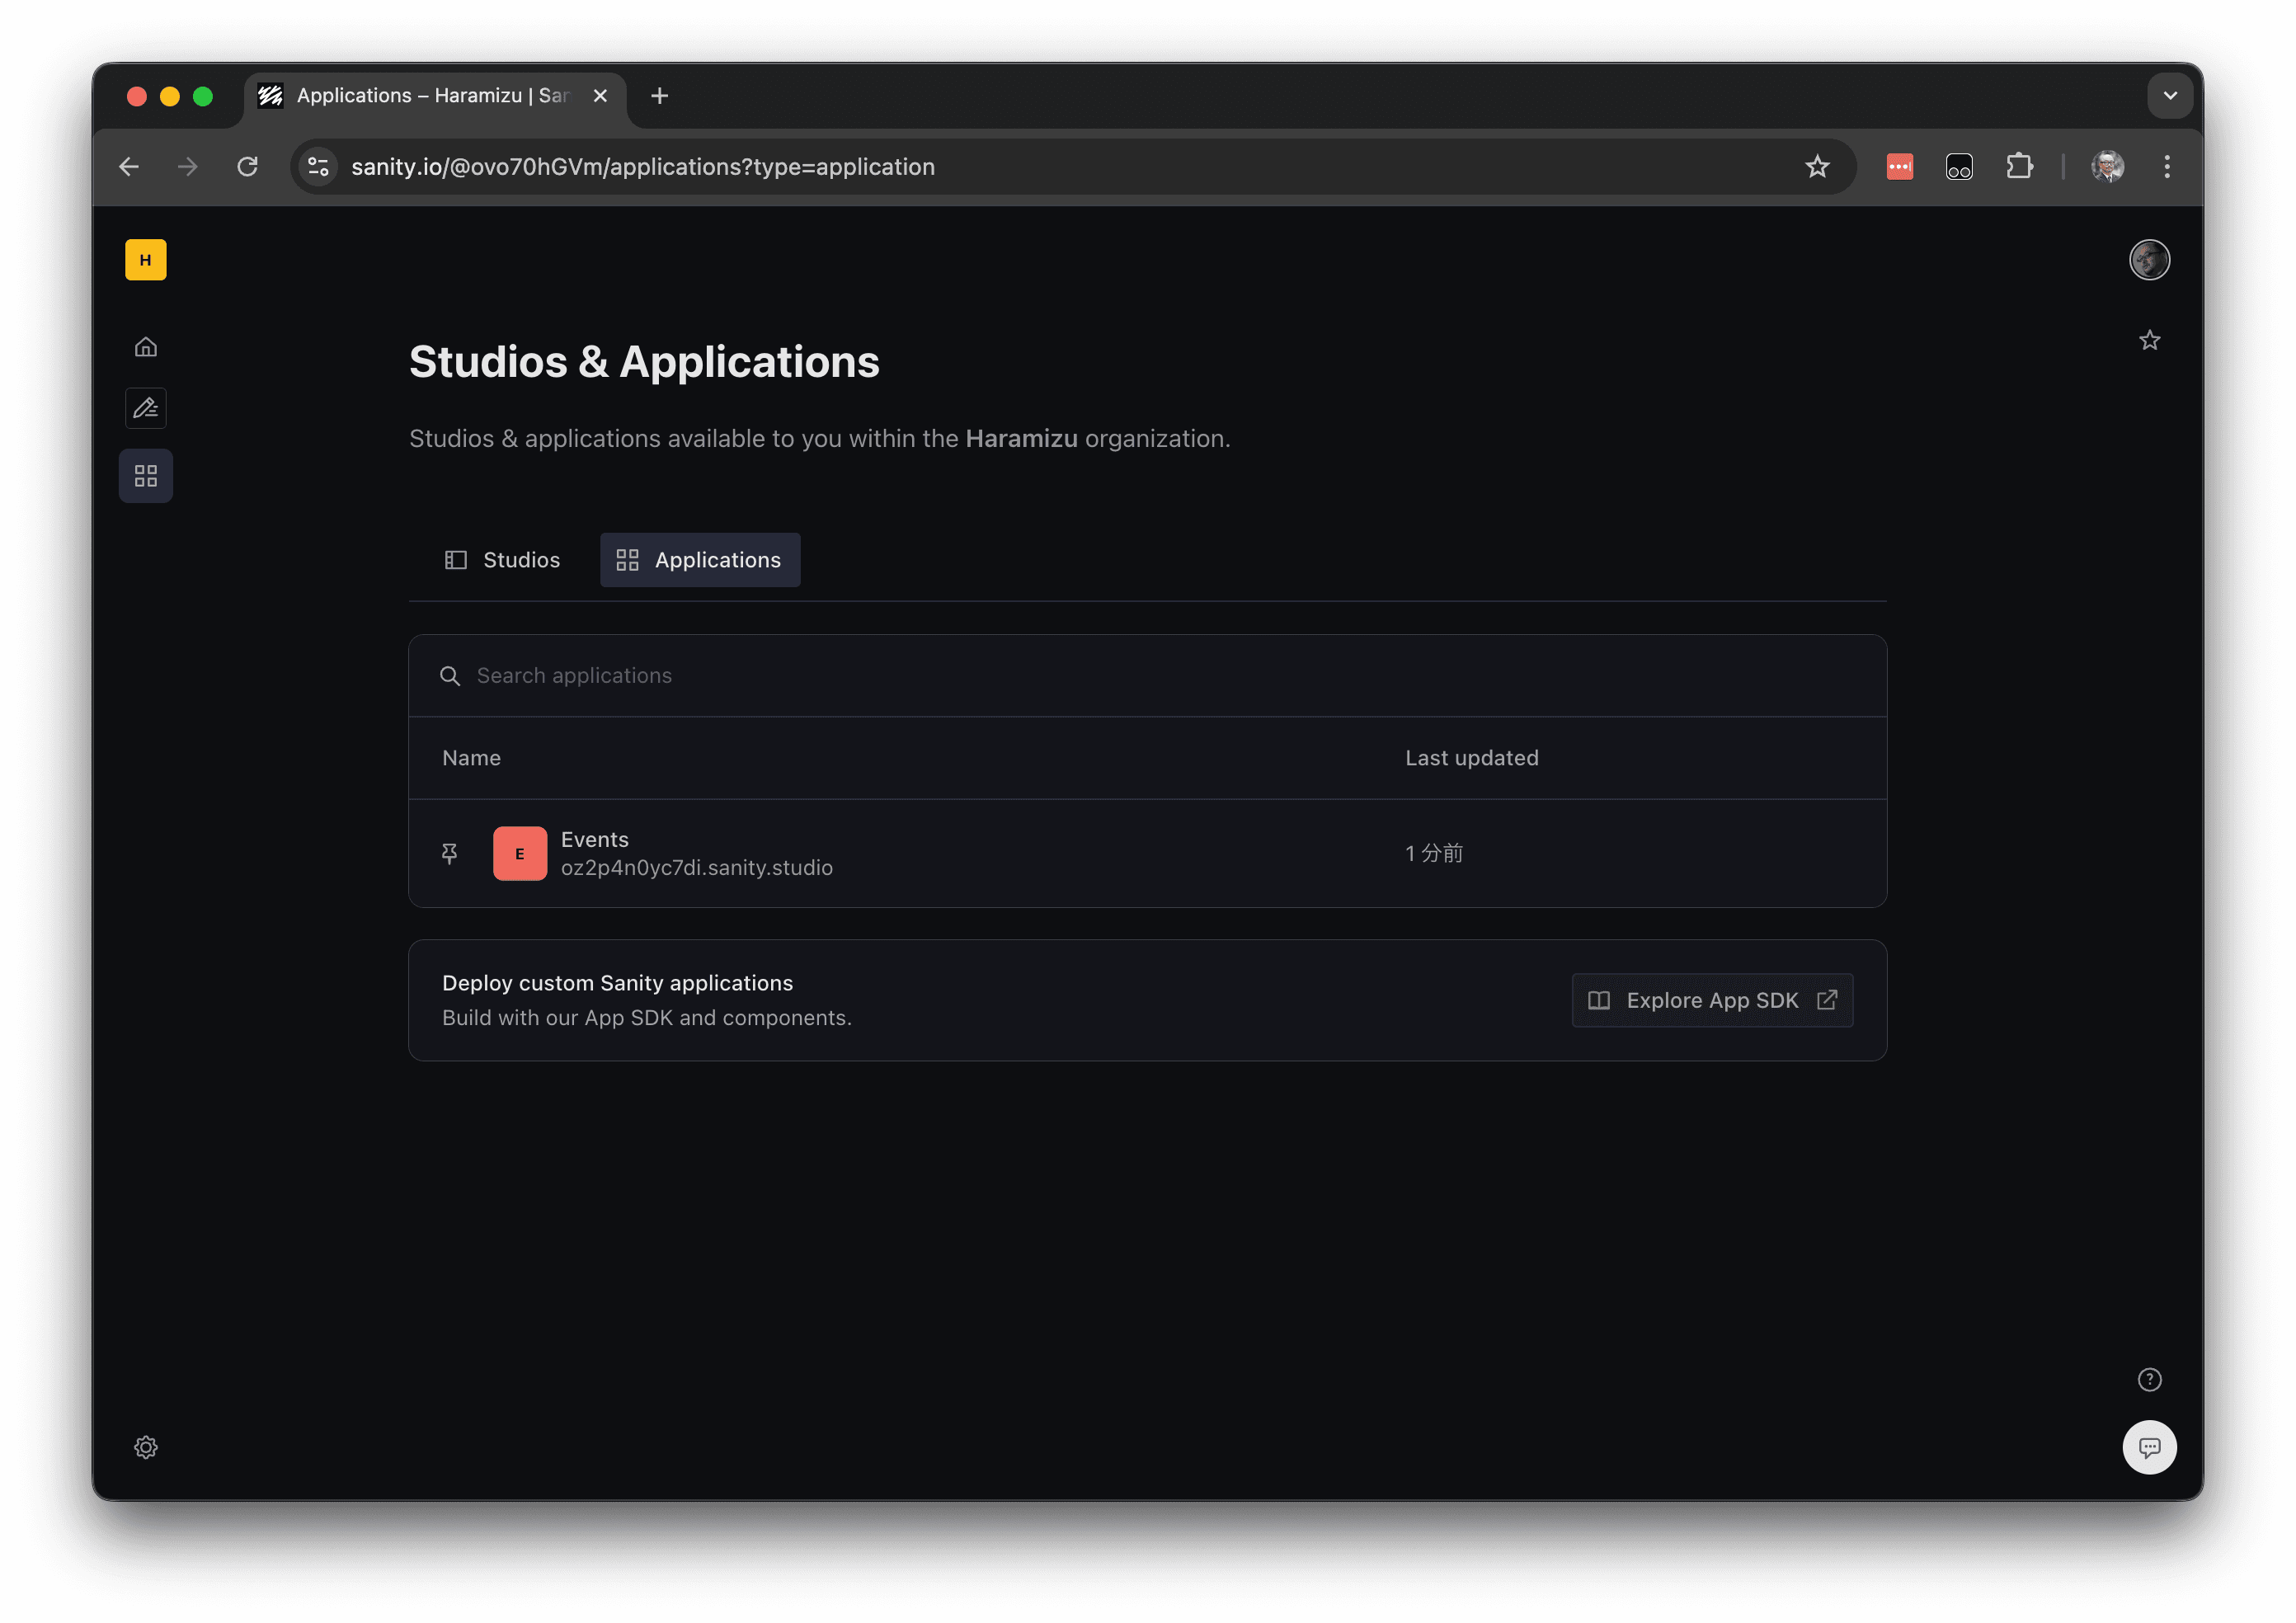
After deployment, access the Dashboard. Select the Studio & Applications menu from the left side menu, and the application you created this time will be included in Applications.
When you click, the following error will be displayed.
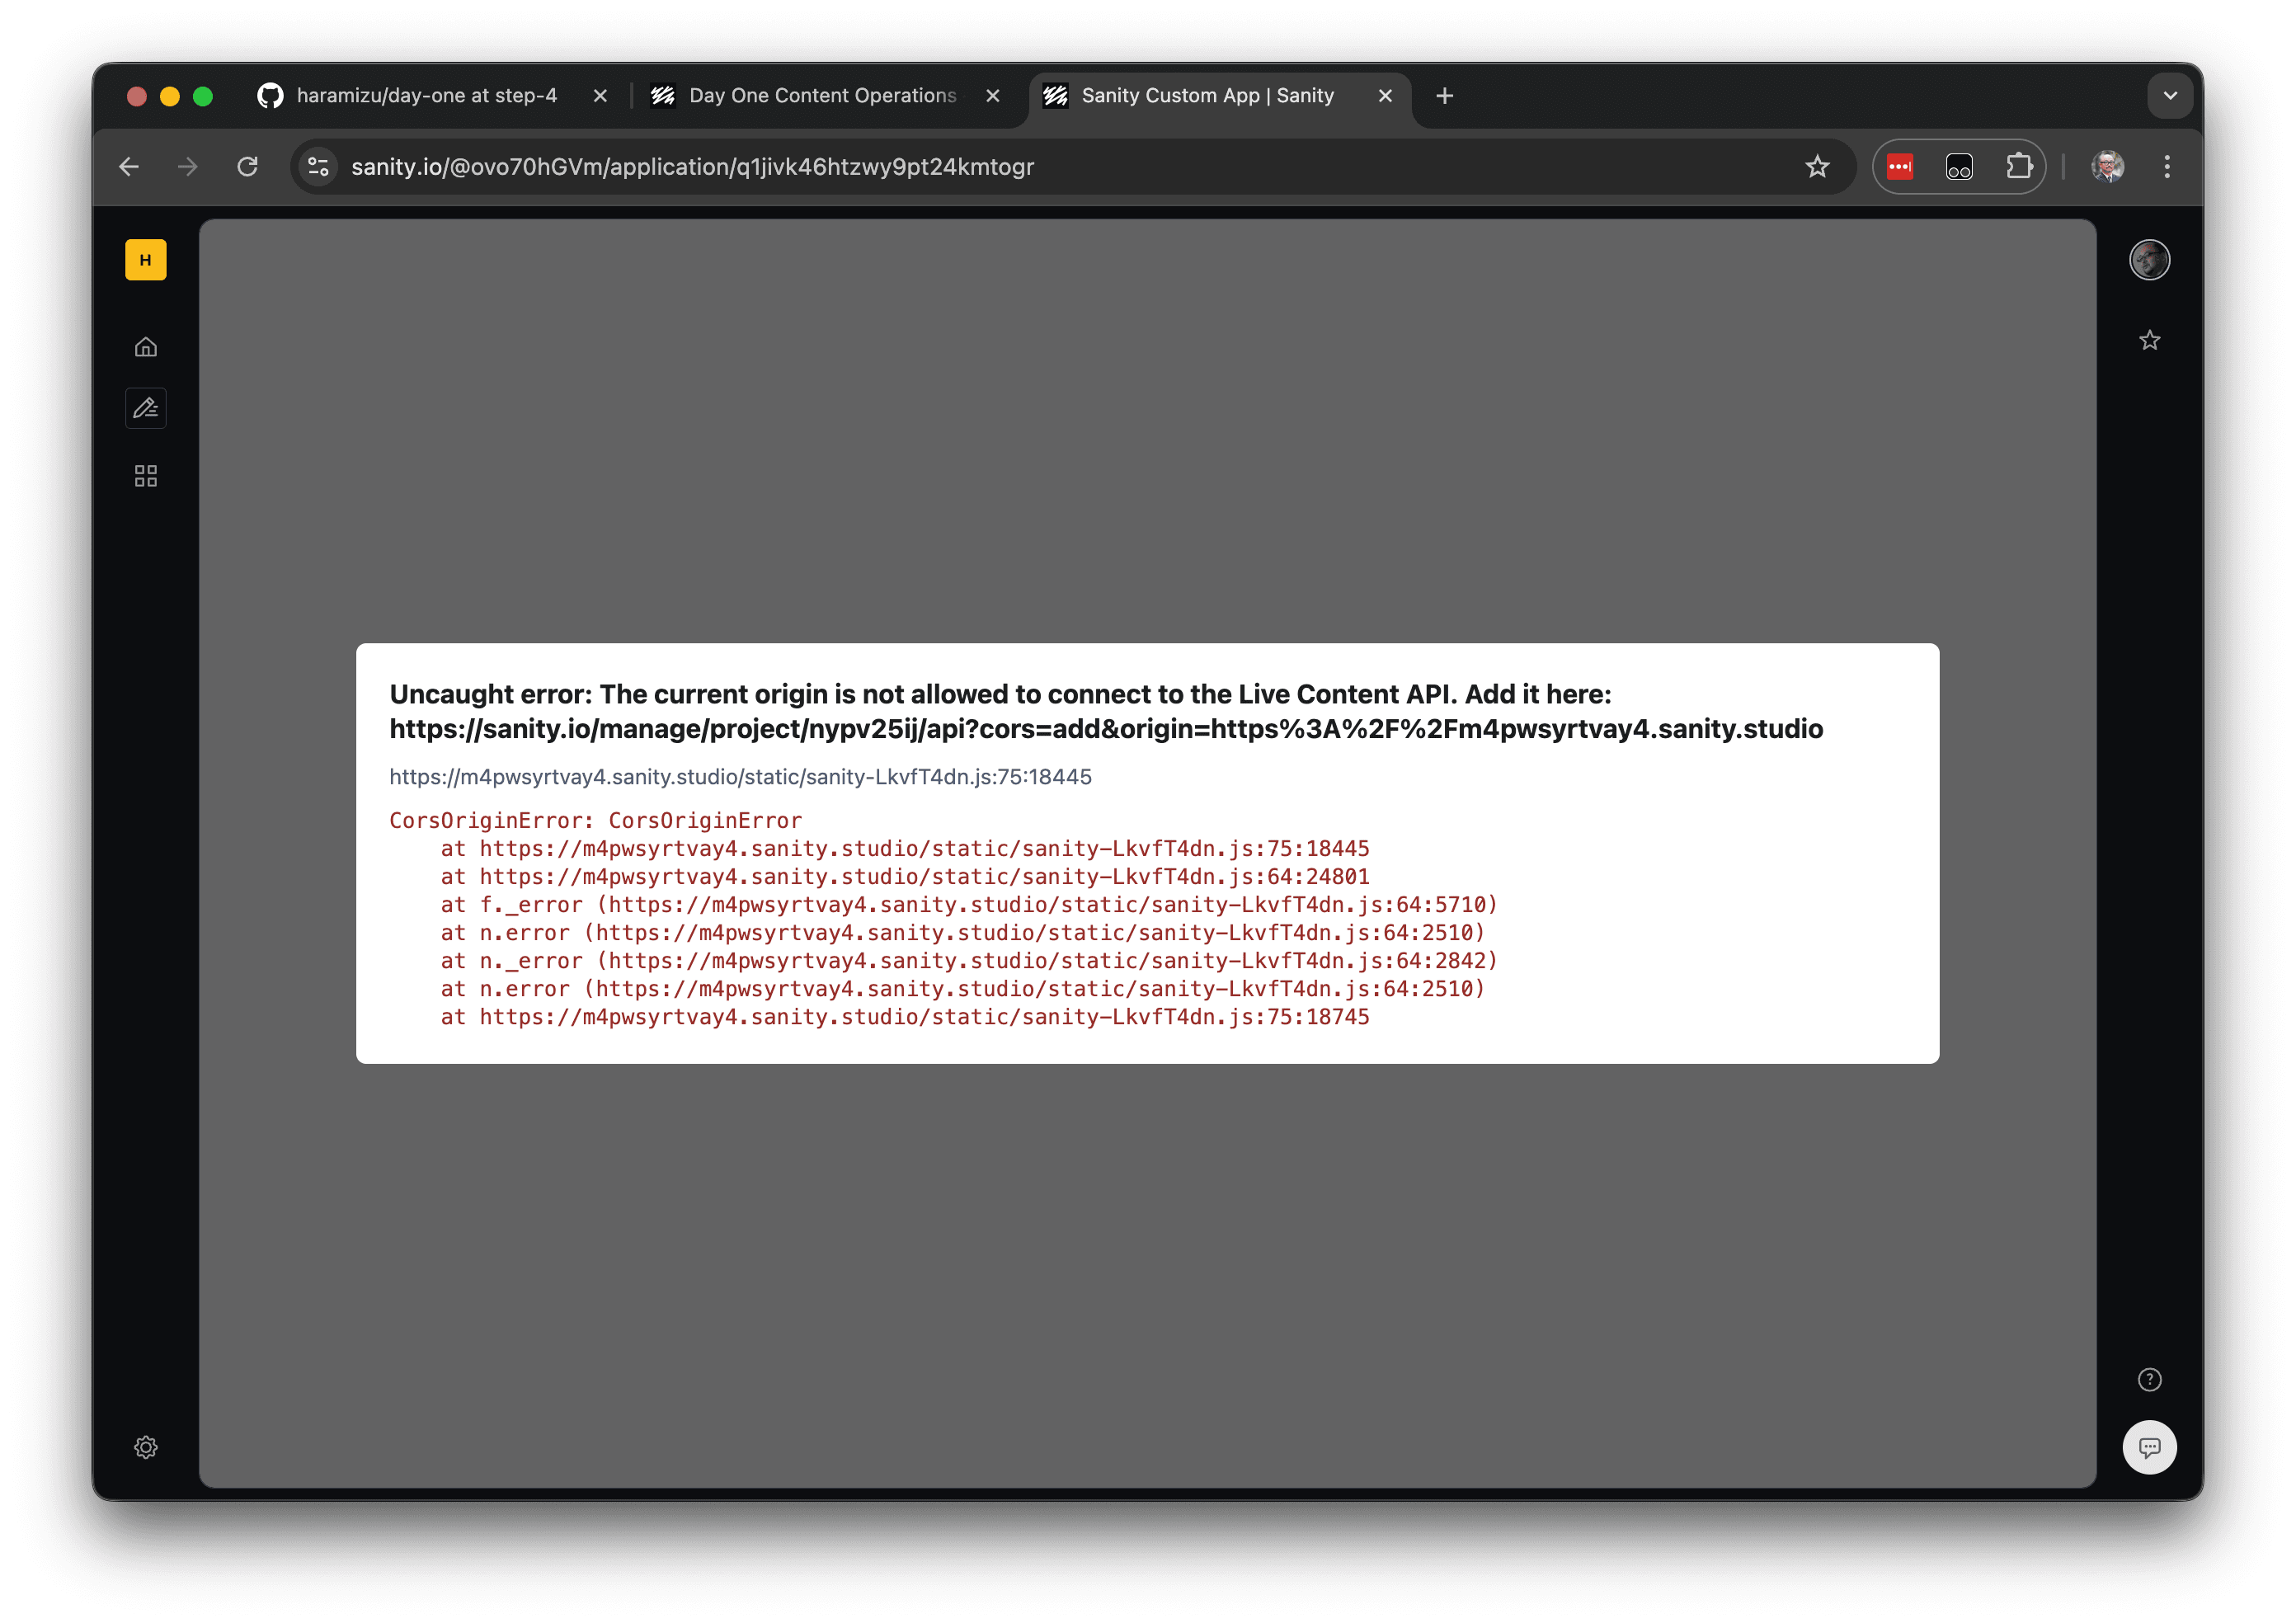
Opening the URL displayed in the error screen above will take you to the CORS settings screen.
Also, make sure that the above domain is added to the Allowed list in the same way as the others. If the deployment is successful, the app will work as follows.
Summary
This time, we simply ran the sample as is, but it is now possible to update content in a format different from the Studio UI. In cases where there are many updates across multiple pieces of content, or where only part of the content is updated frequently, preparing a separate update screen like this can streamline site operation.