Sitecore Cloud Portal supports SSO and can be configured as long as you have Owner or Admin privileges. This section introduces the integration with Entra ID and Auth0.
Configure SSO
2024-11-12
About SSO Settings
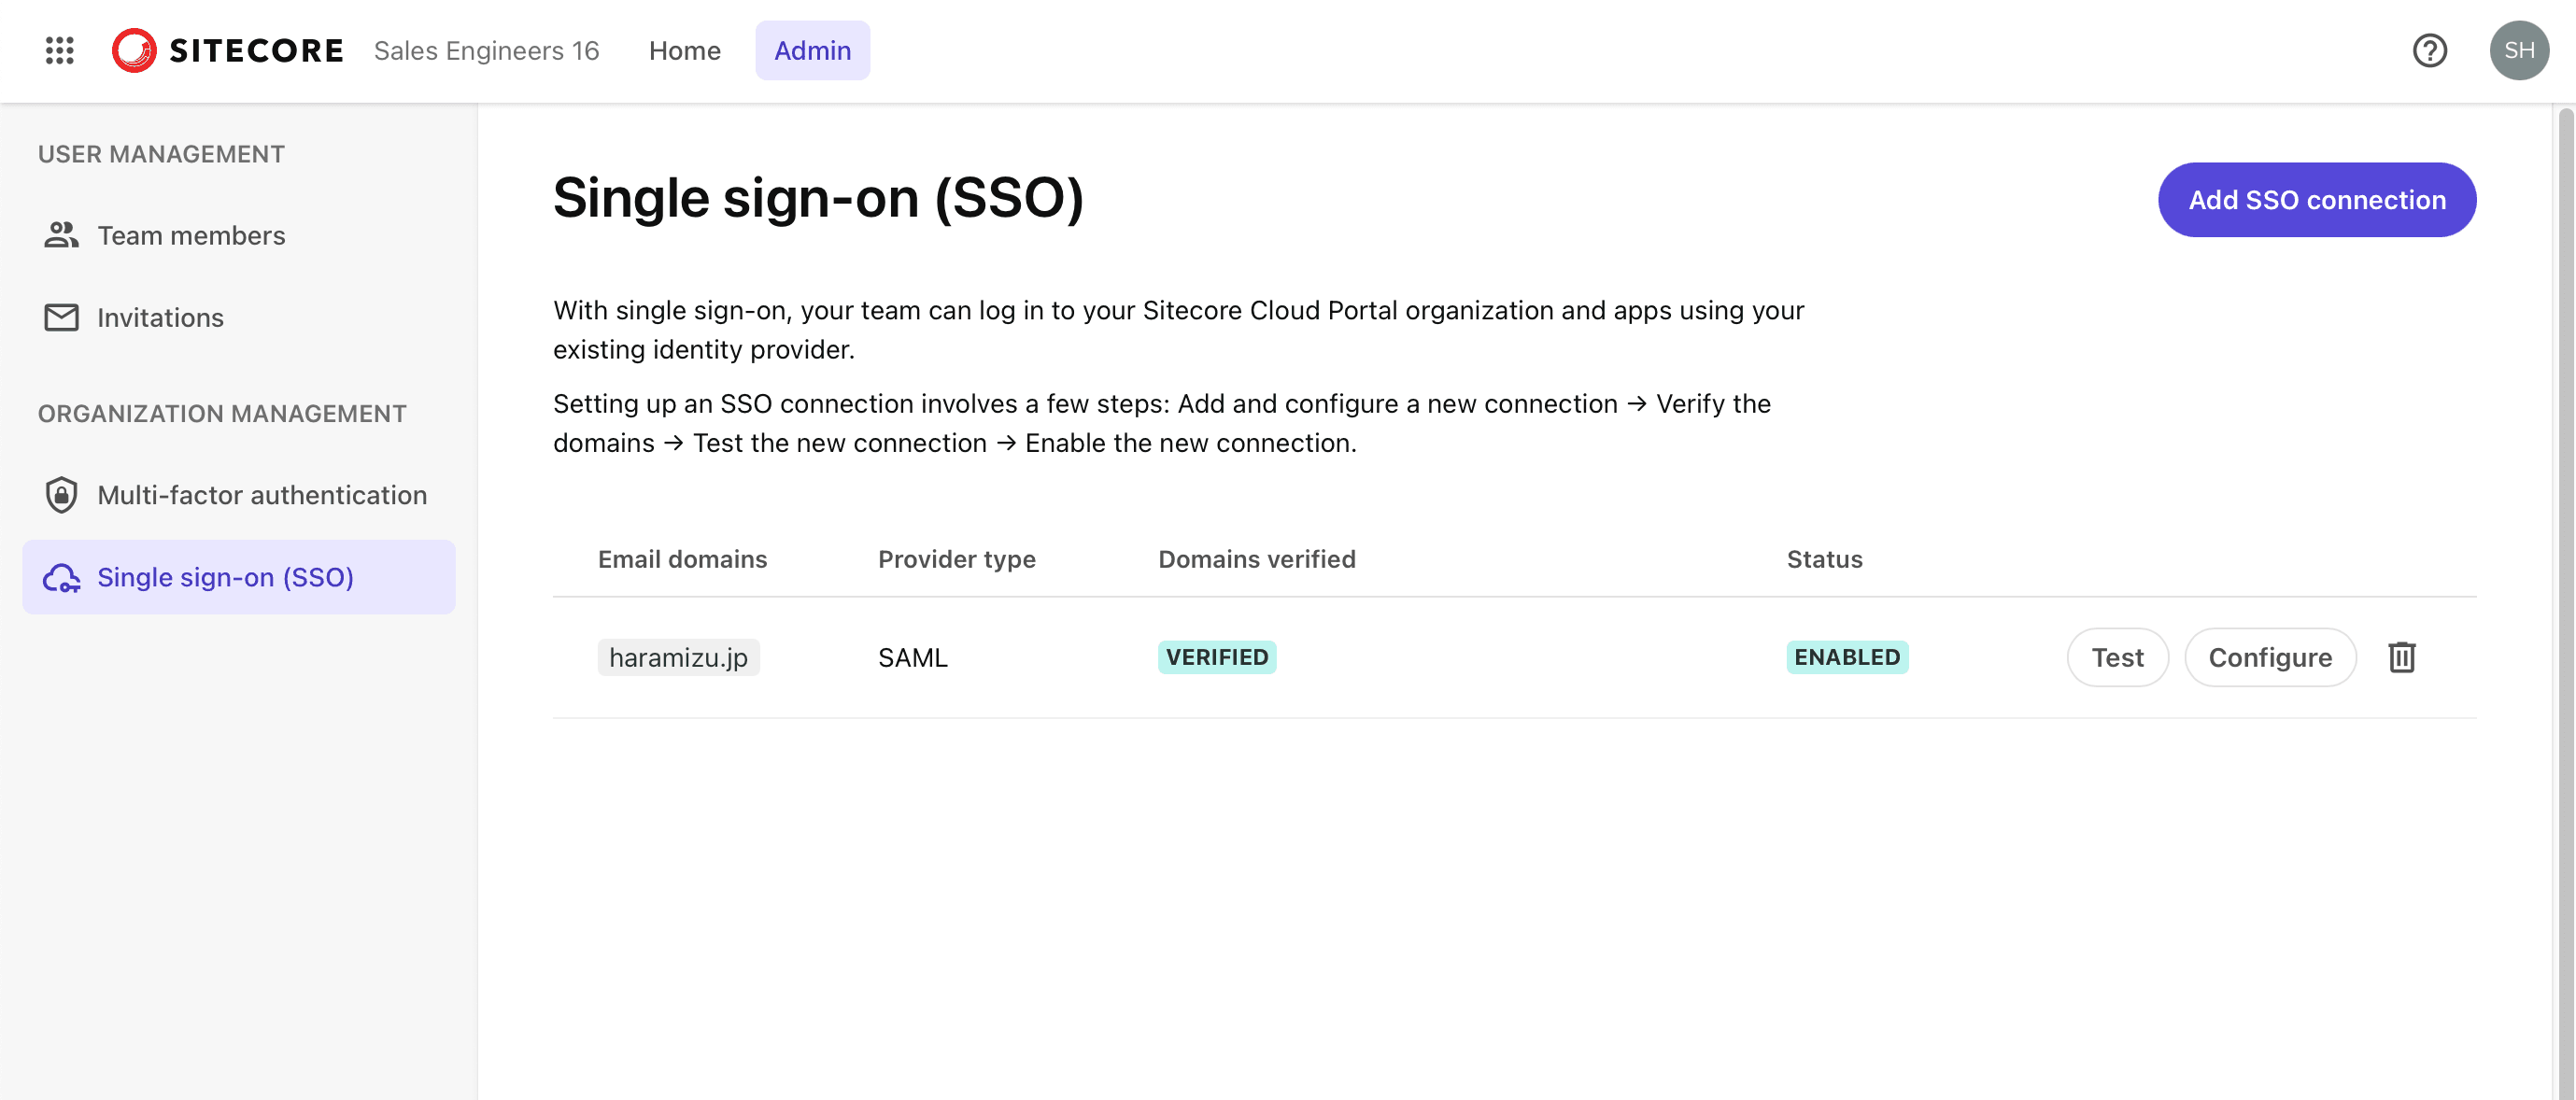
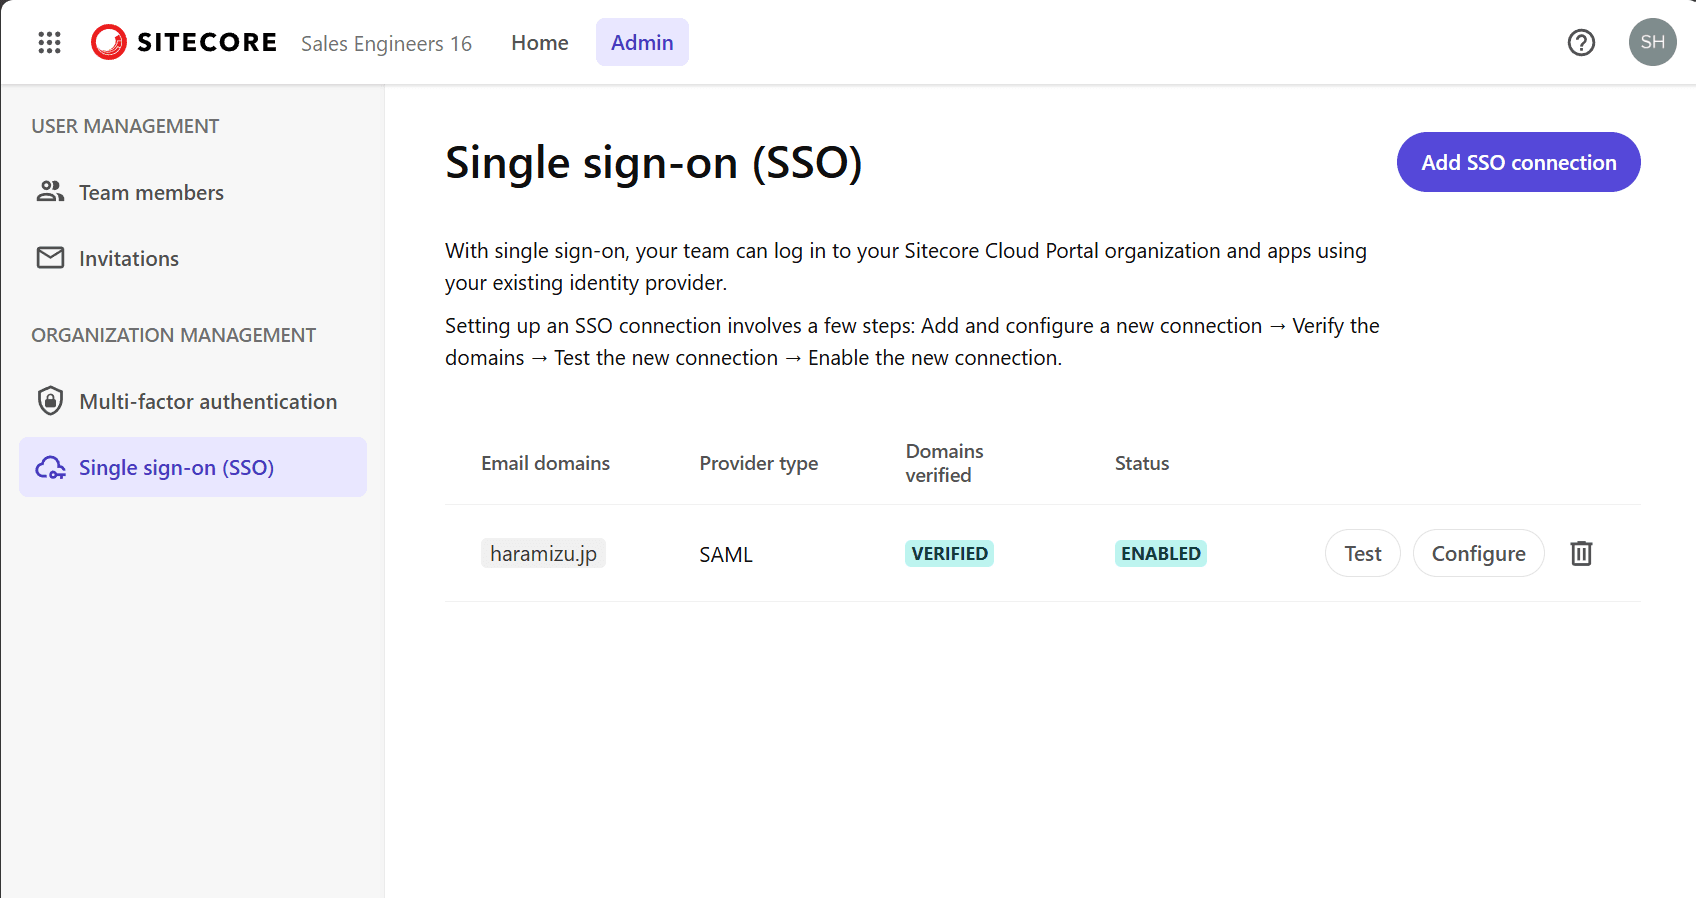
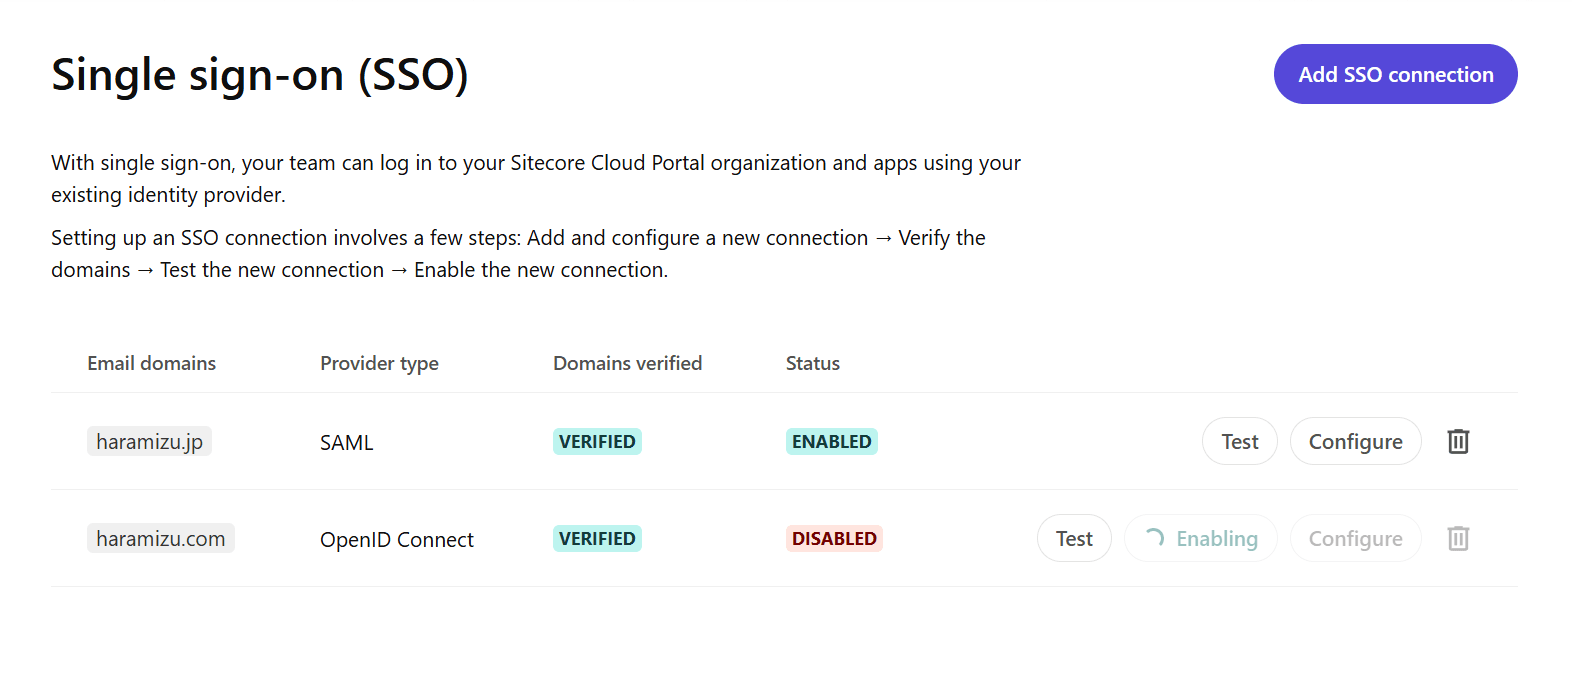
Access the Sitecore Cloud Portal, open the Admin menu, and click Single sign-on (SSO) on the left side to open the single sign-on configuration screen as shown below.
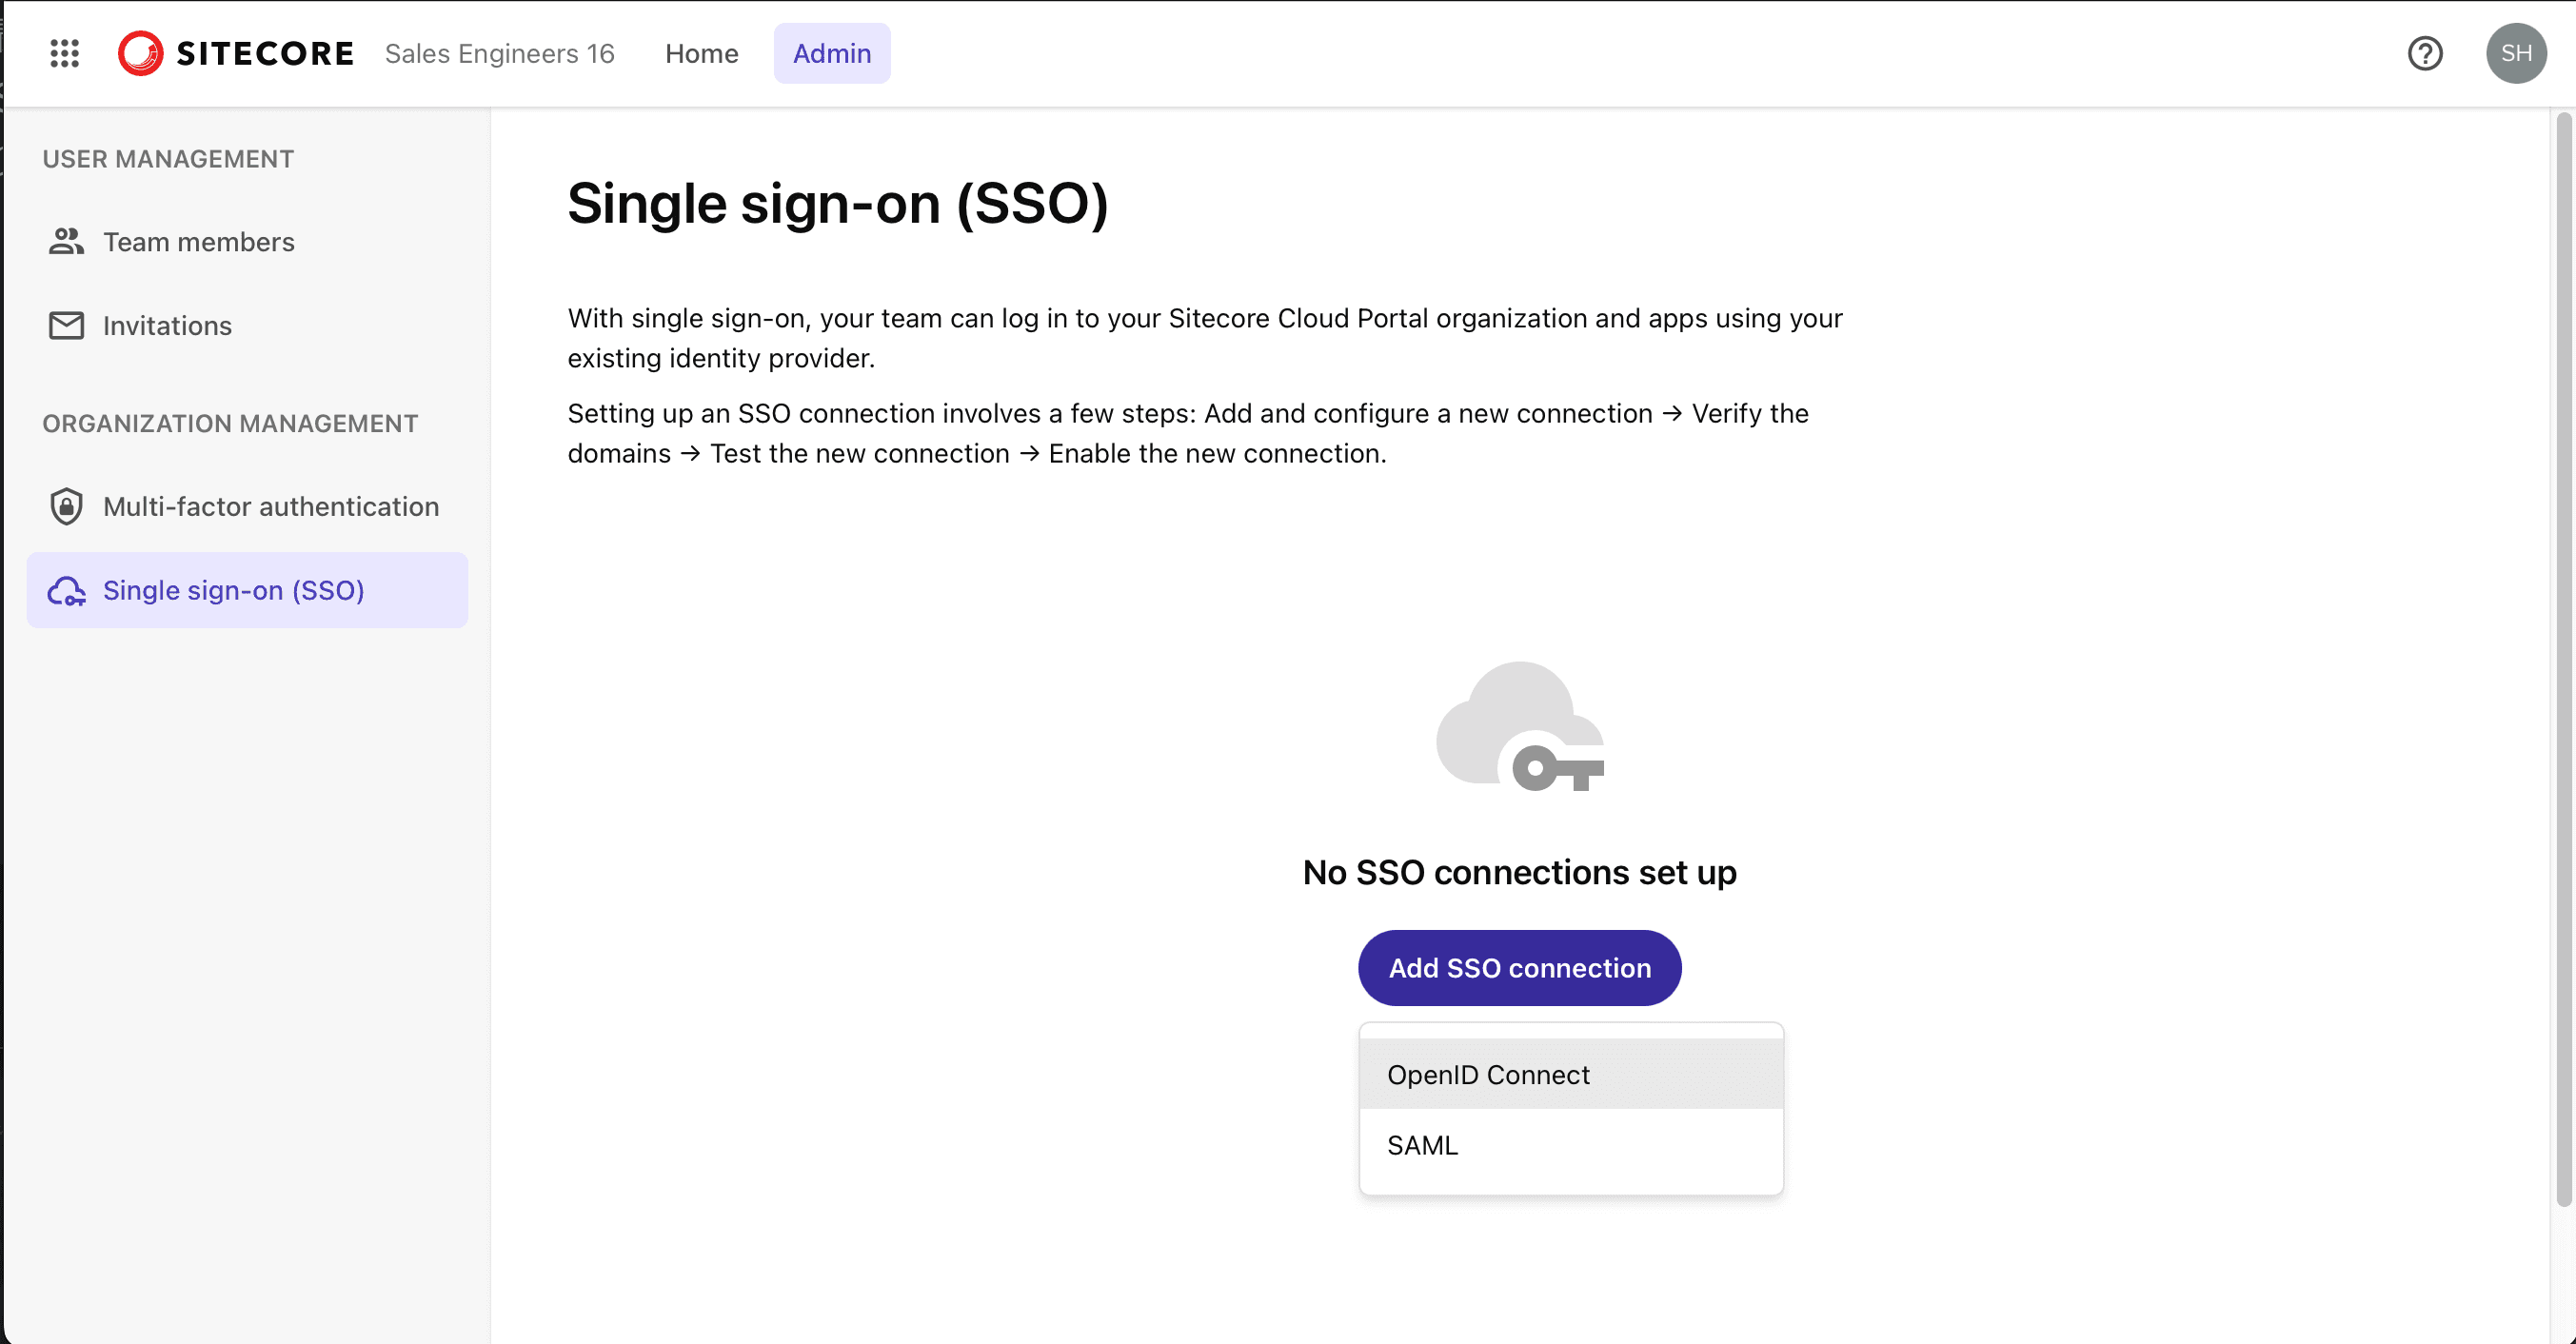
Sitecore Cloud Portal supports identity providers using either the OpenID Connect (OIDC) or Security Assertion Markup Language (SAML) protocols. An organization can have up to five SSO connections, each supporting up to 50 domains.
Microsoft Entra ID integration
Add a domain
Set up a connection with Microsoft Entra ID (formerly Azure Active Directory) using SAML.
- Click the Add SSO Connection button on the screen. A screen for entering a domain will appear.
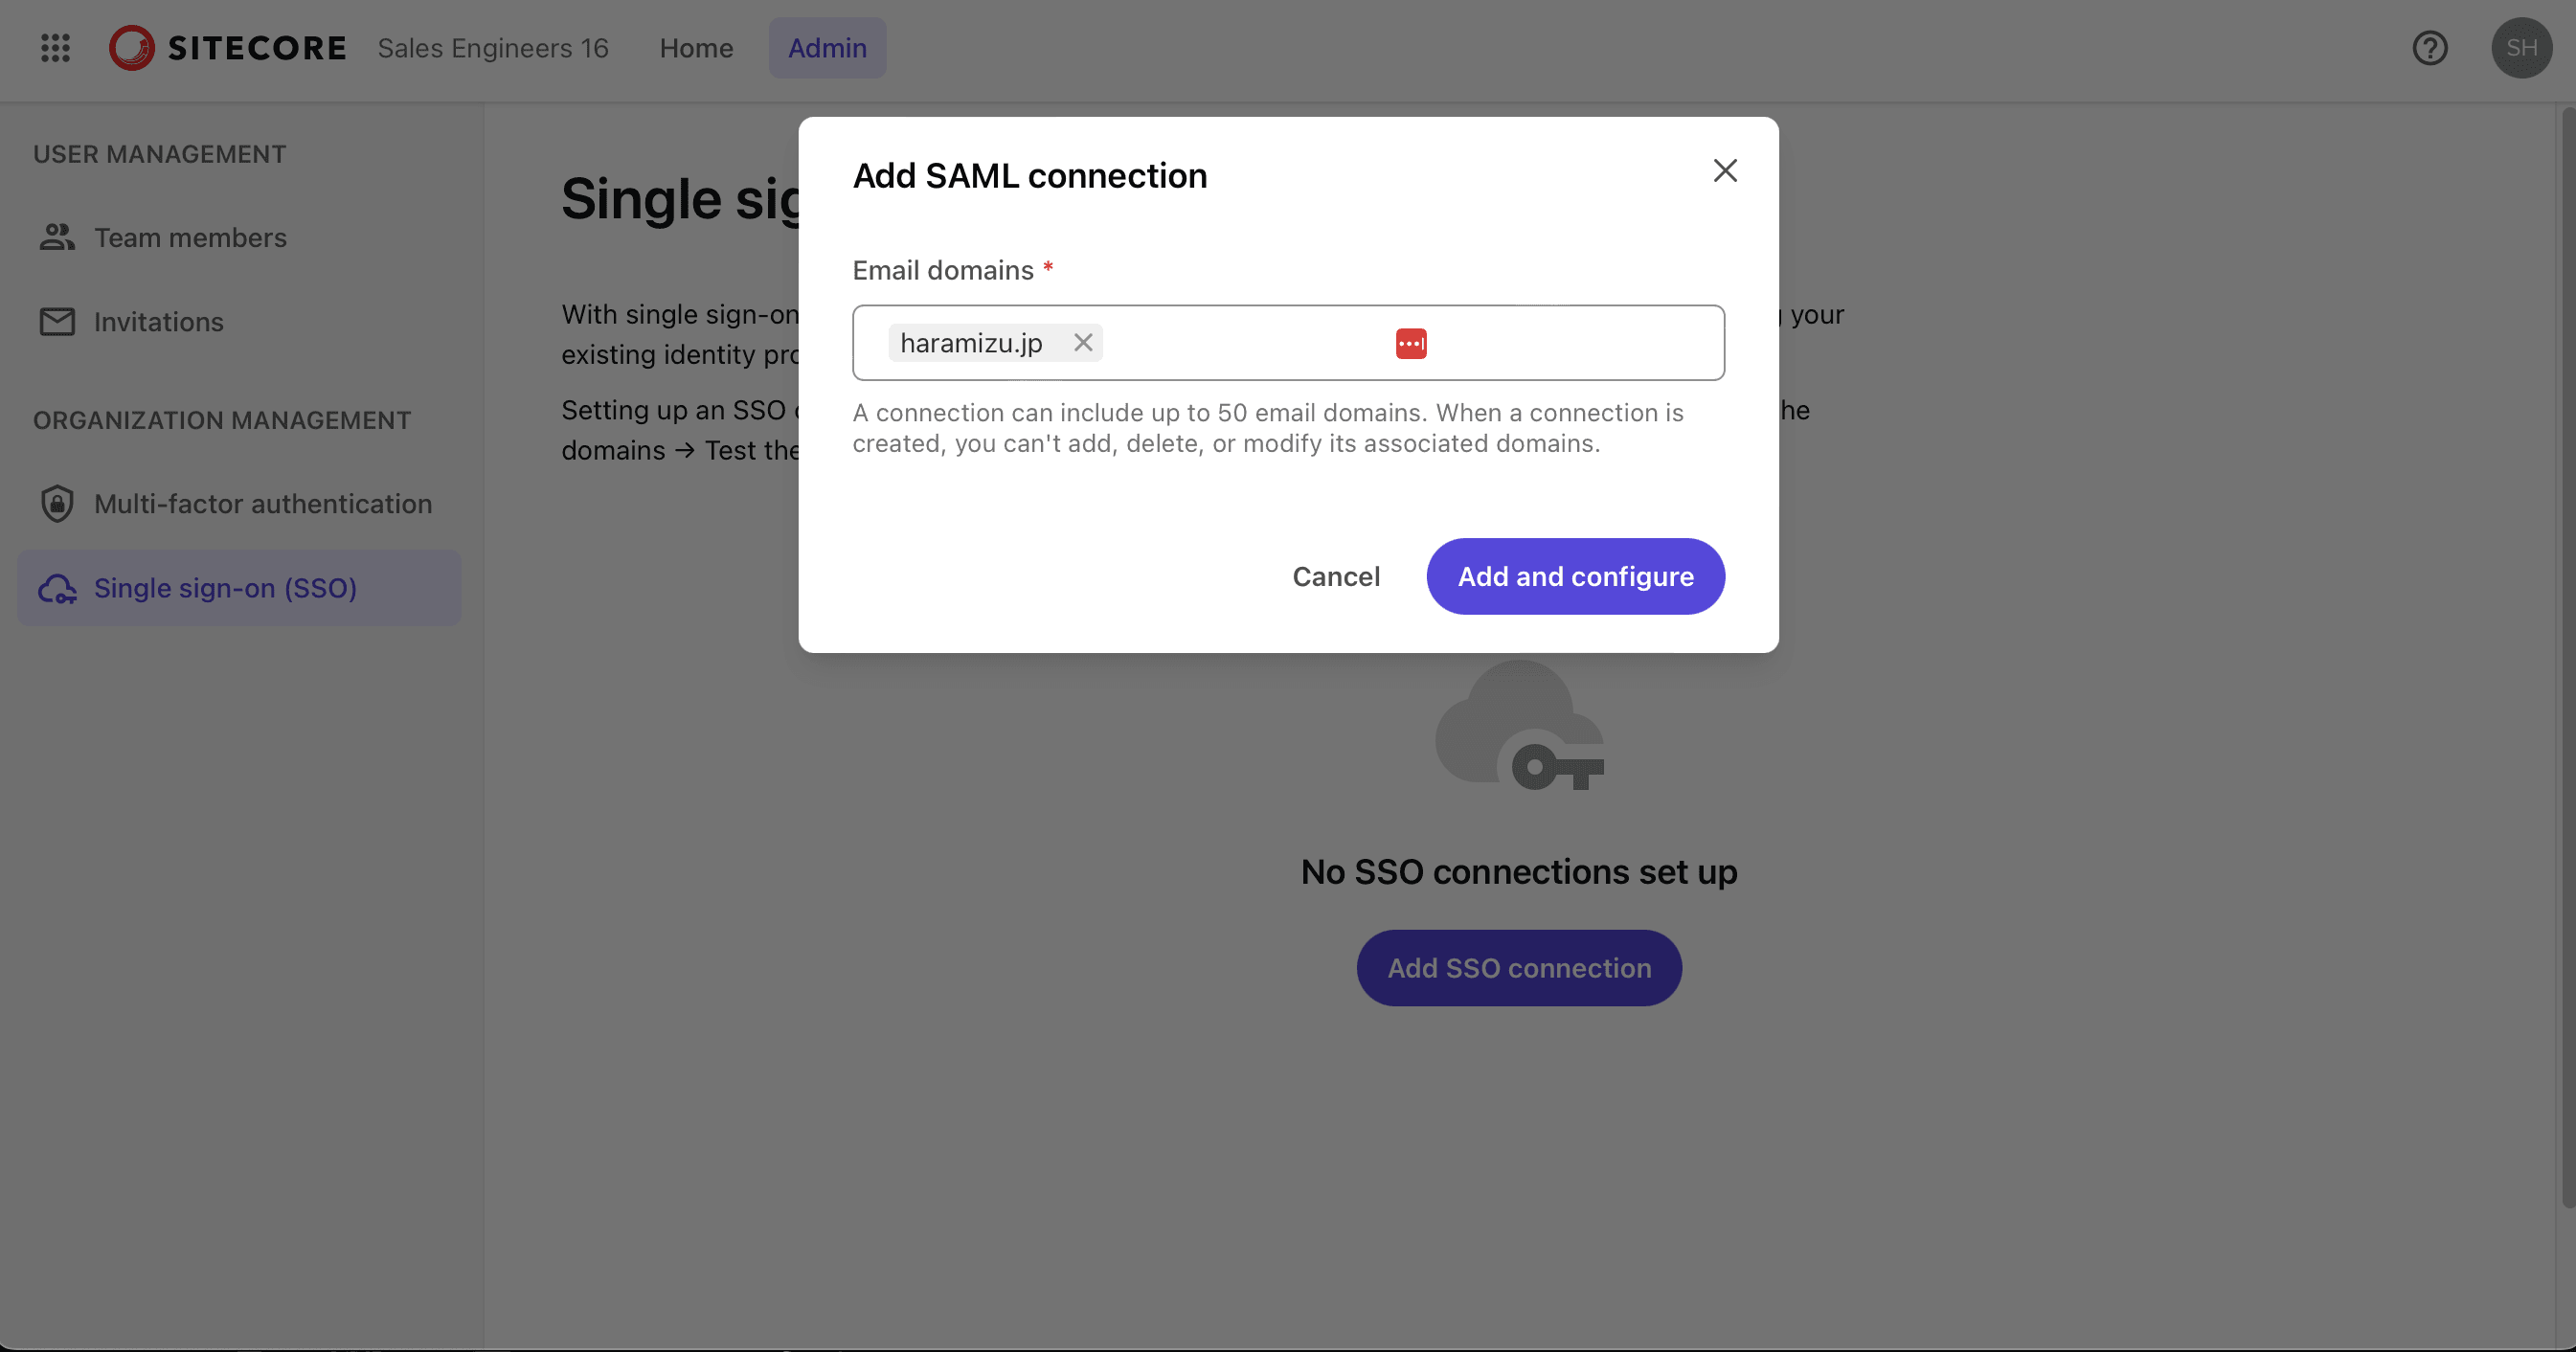
- After entering the domain, the following items for configuring SAML authentication will appear

- The above items are values that will be used later in the Entra ID management screen. Once this screen is closed, the screen under configuration will appear as shown below.
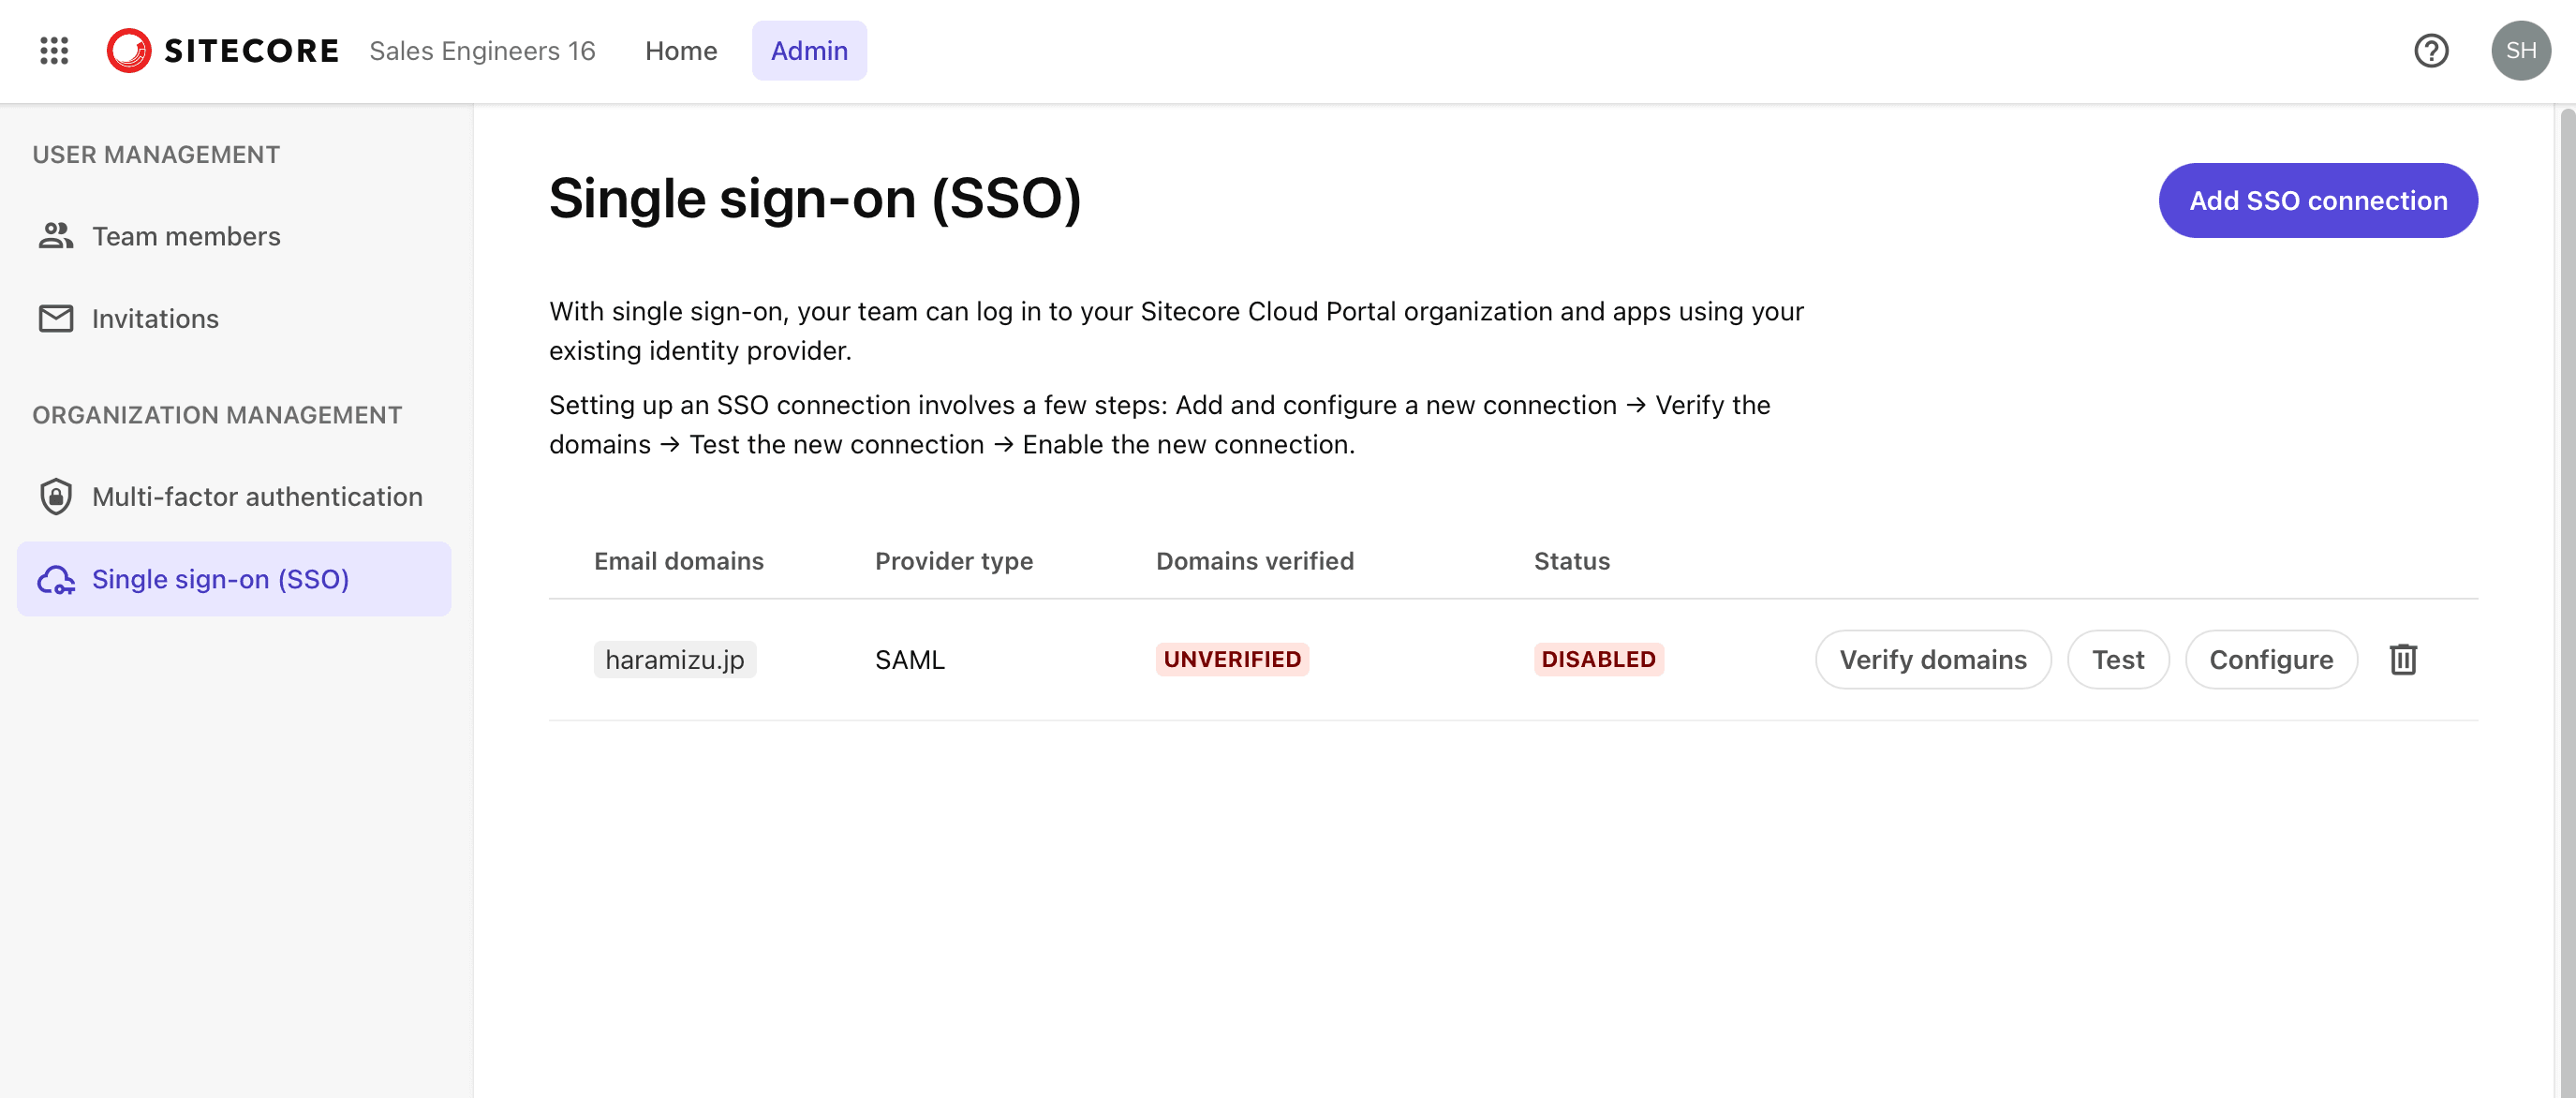
- On the list screen, you can always refer to the value of the previous setting by clicking on the Configure button.
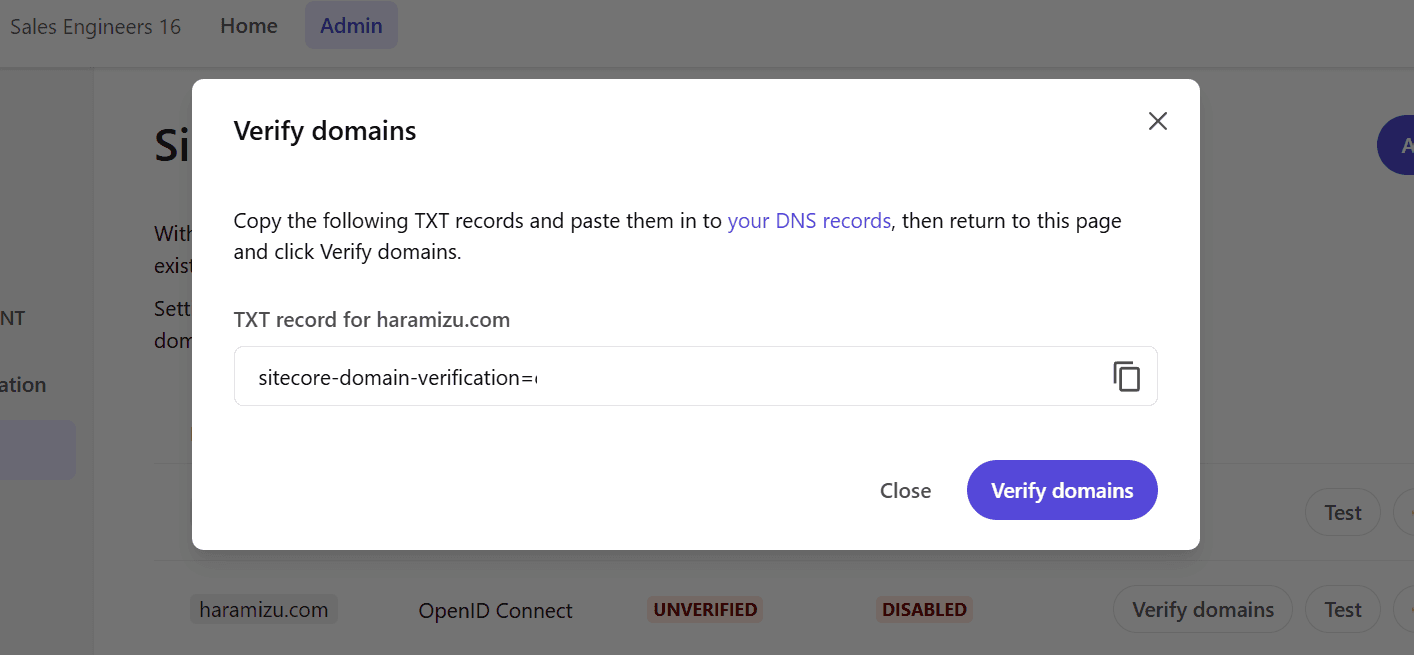
Before moving on to Entra ID configuration, we will proceed with domain verification. Clicking on the Verify domains button will display information about the records to be added to the DNS.
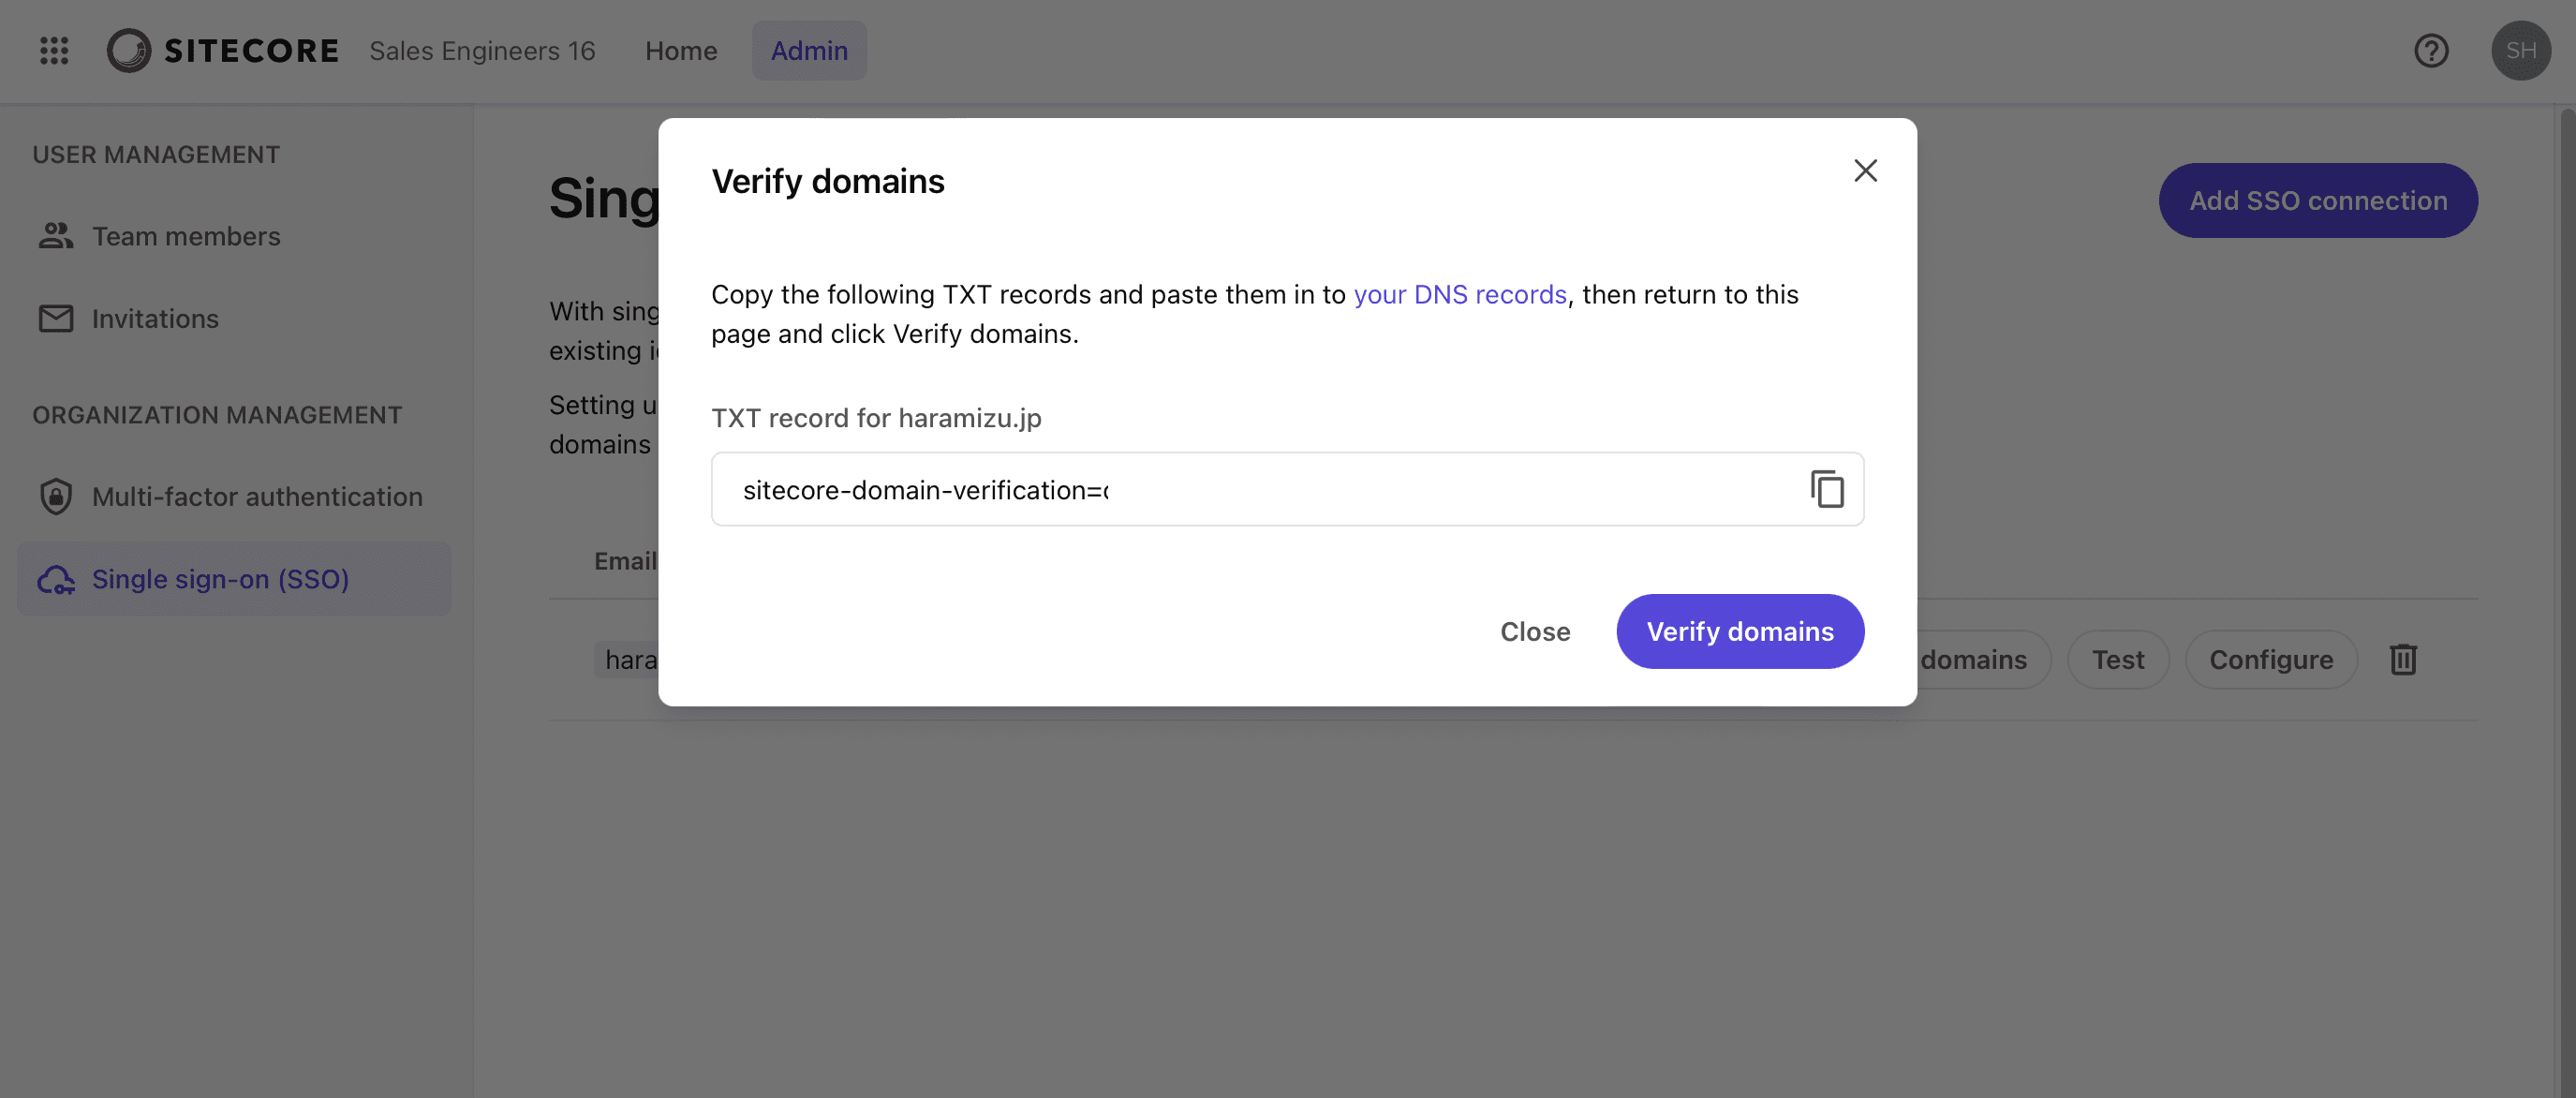
When setting this value in DNS, make sure that the TXT record recognizes this string in the form TXT @ the above string.
At this stage, click the Close button, as no other buttons can be used.

This completes the initial setup on the Sitecore Cloud Portal side.
Develop an environment for Entra ID
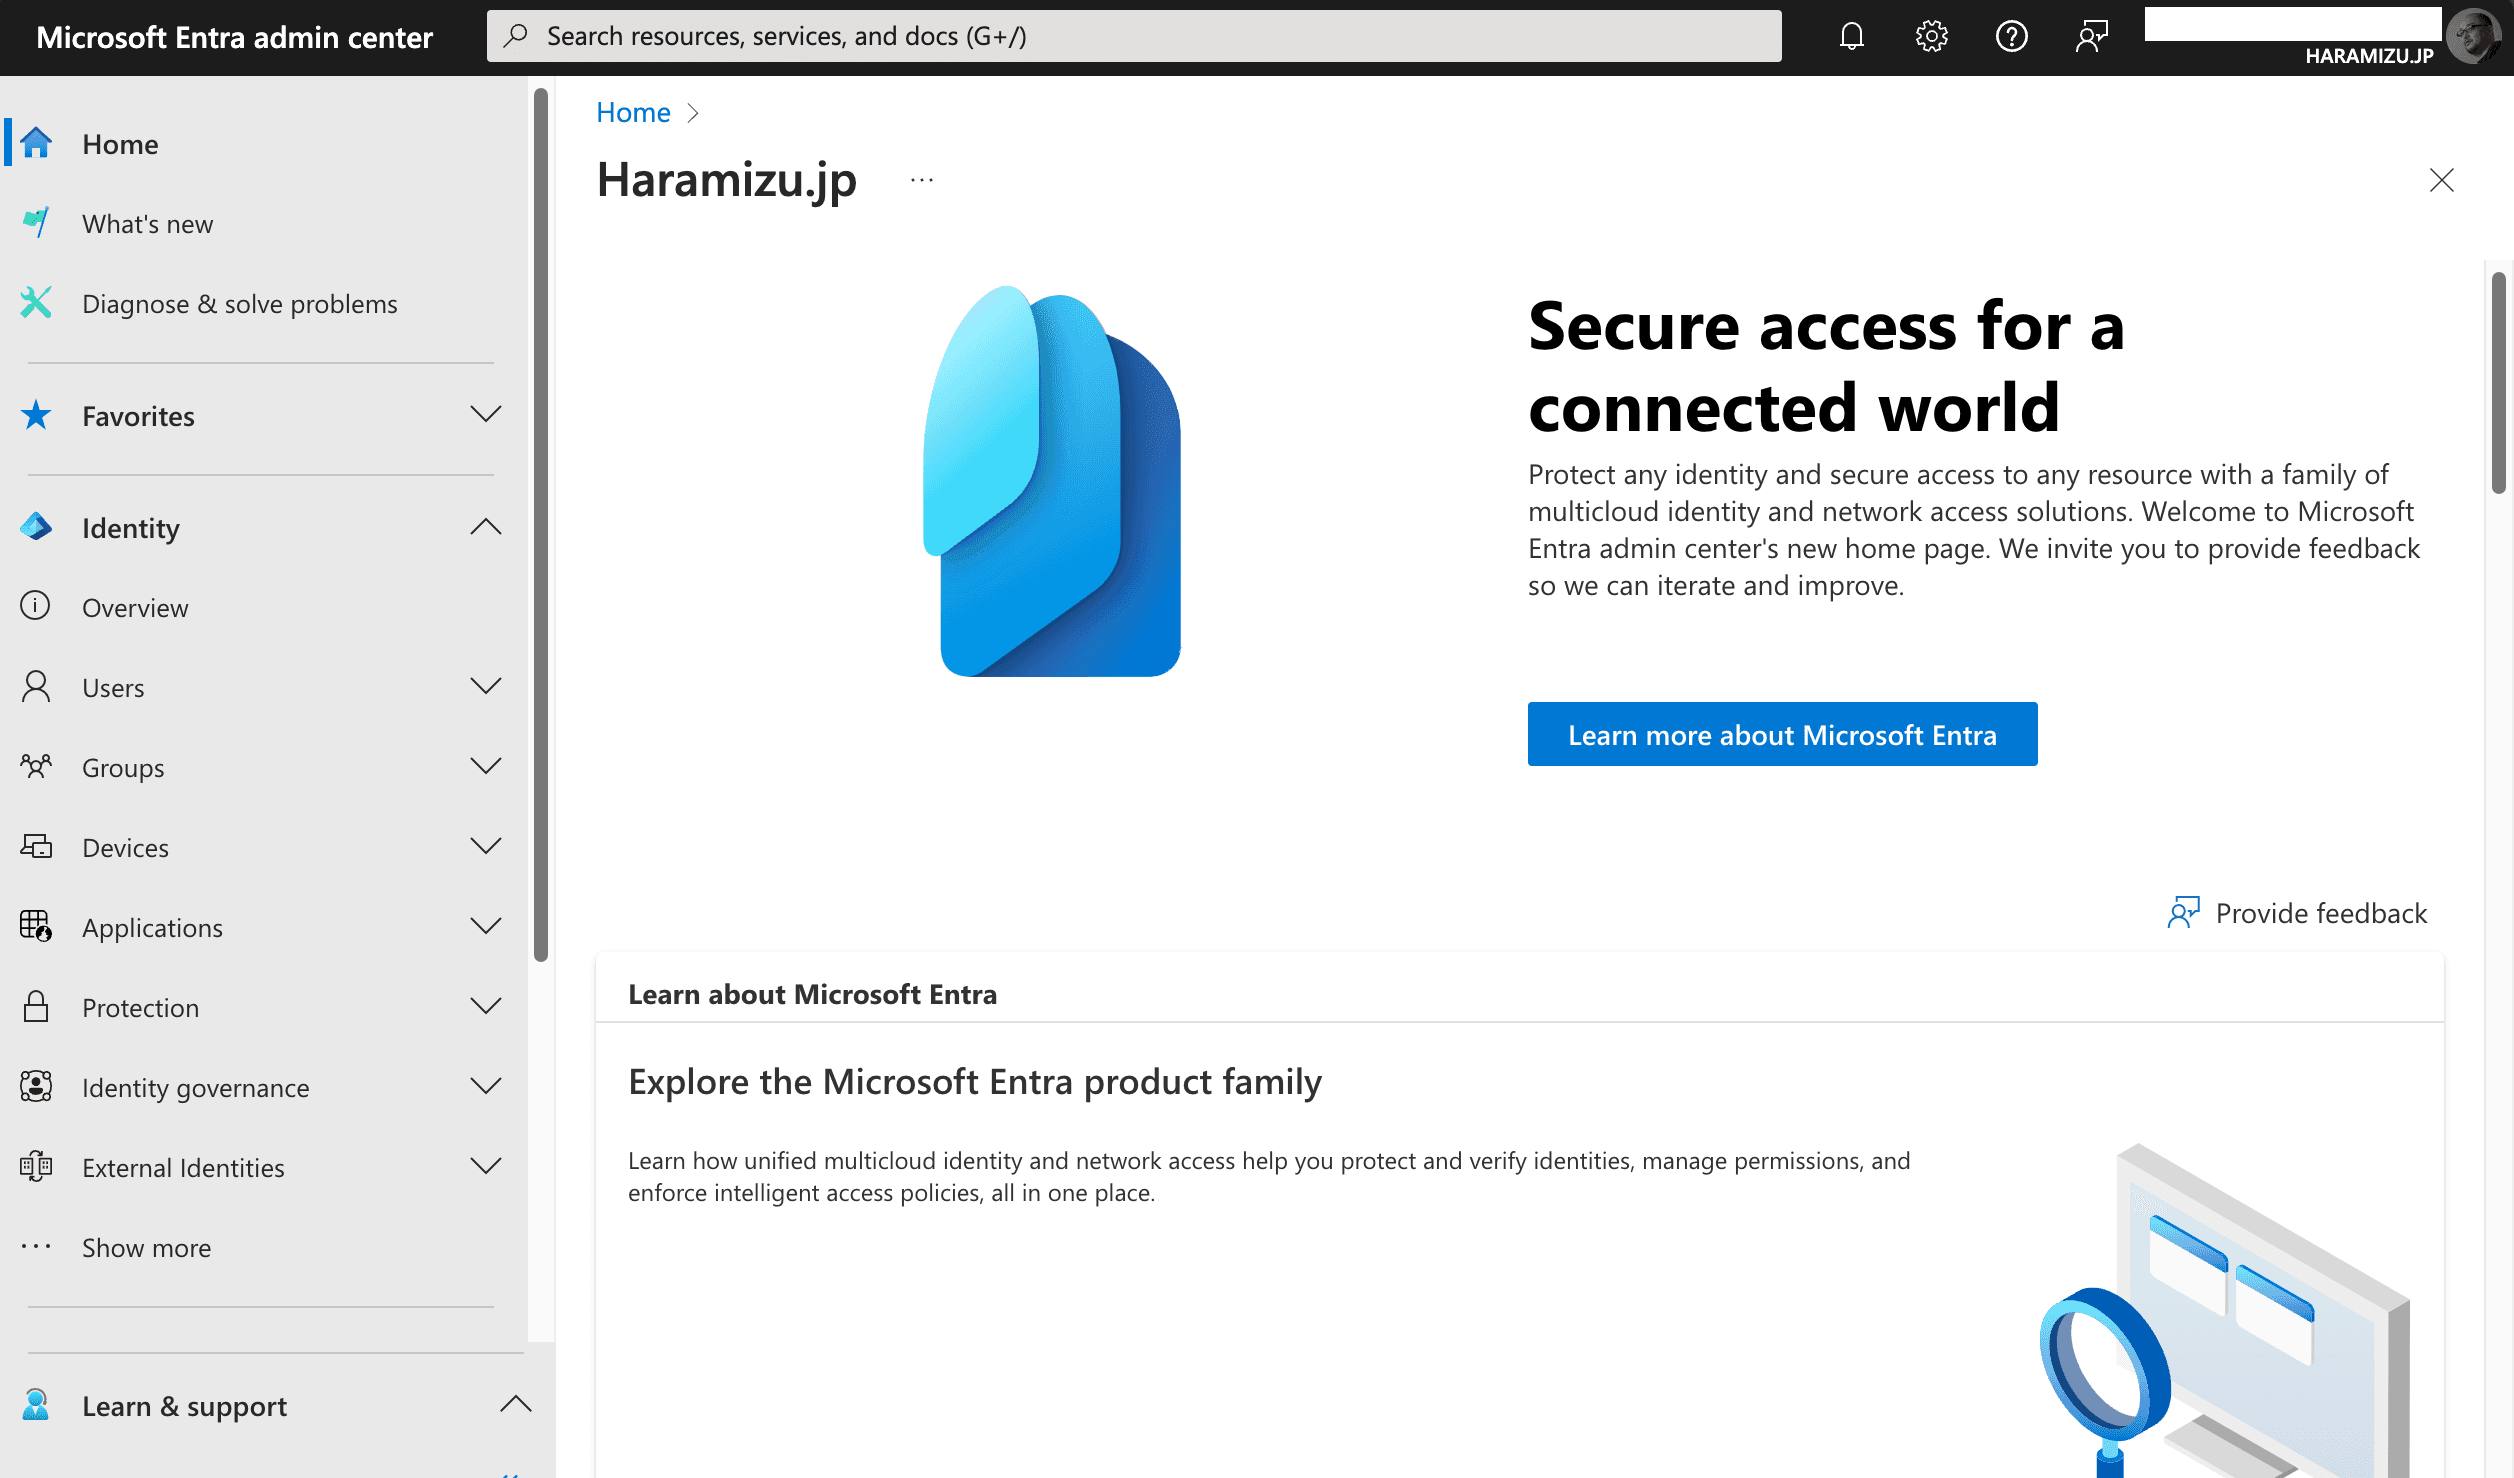
To proceed with the configuration, you will need to obtain various parameters from your Microsoft Entra ID and fill in the above items. First, access the Microsoft Entra Admin Center.
Select Applications - Enterprise Applications from the menu on the left.
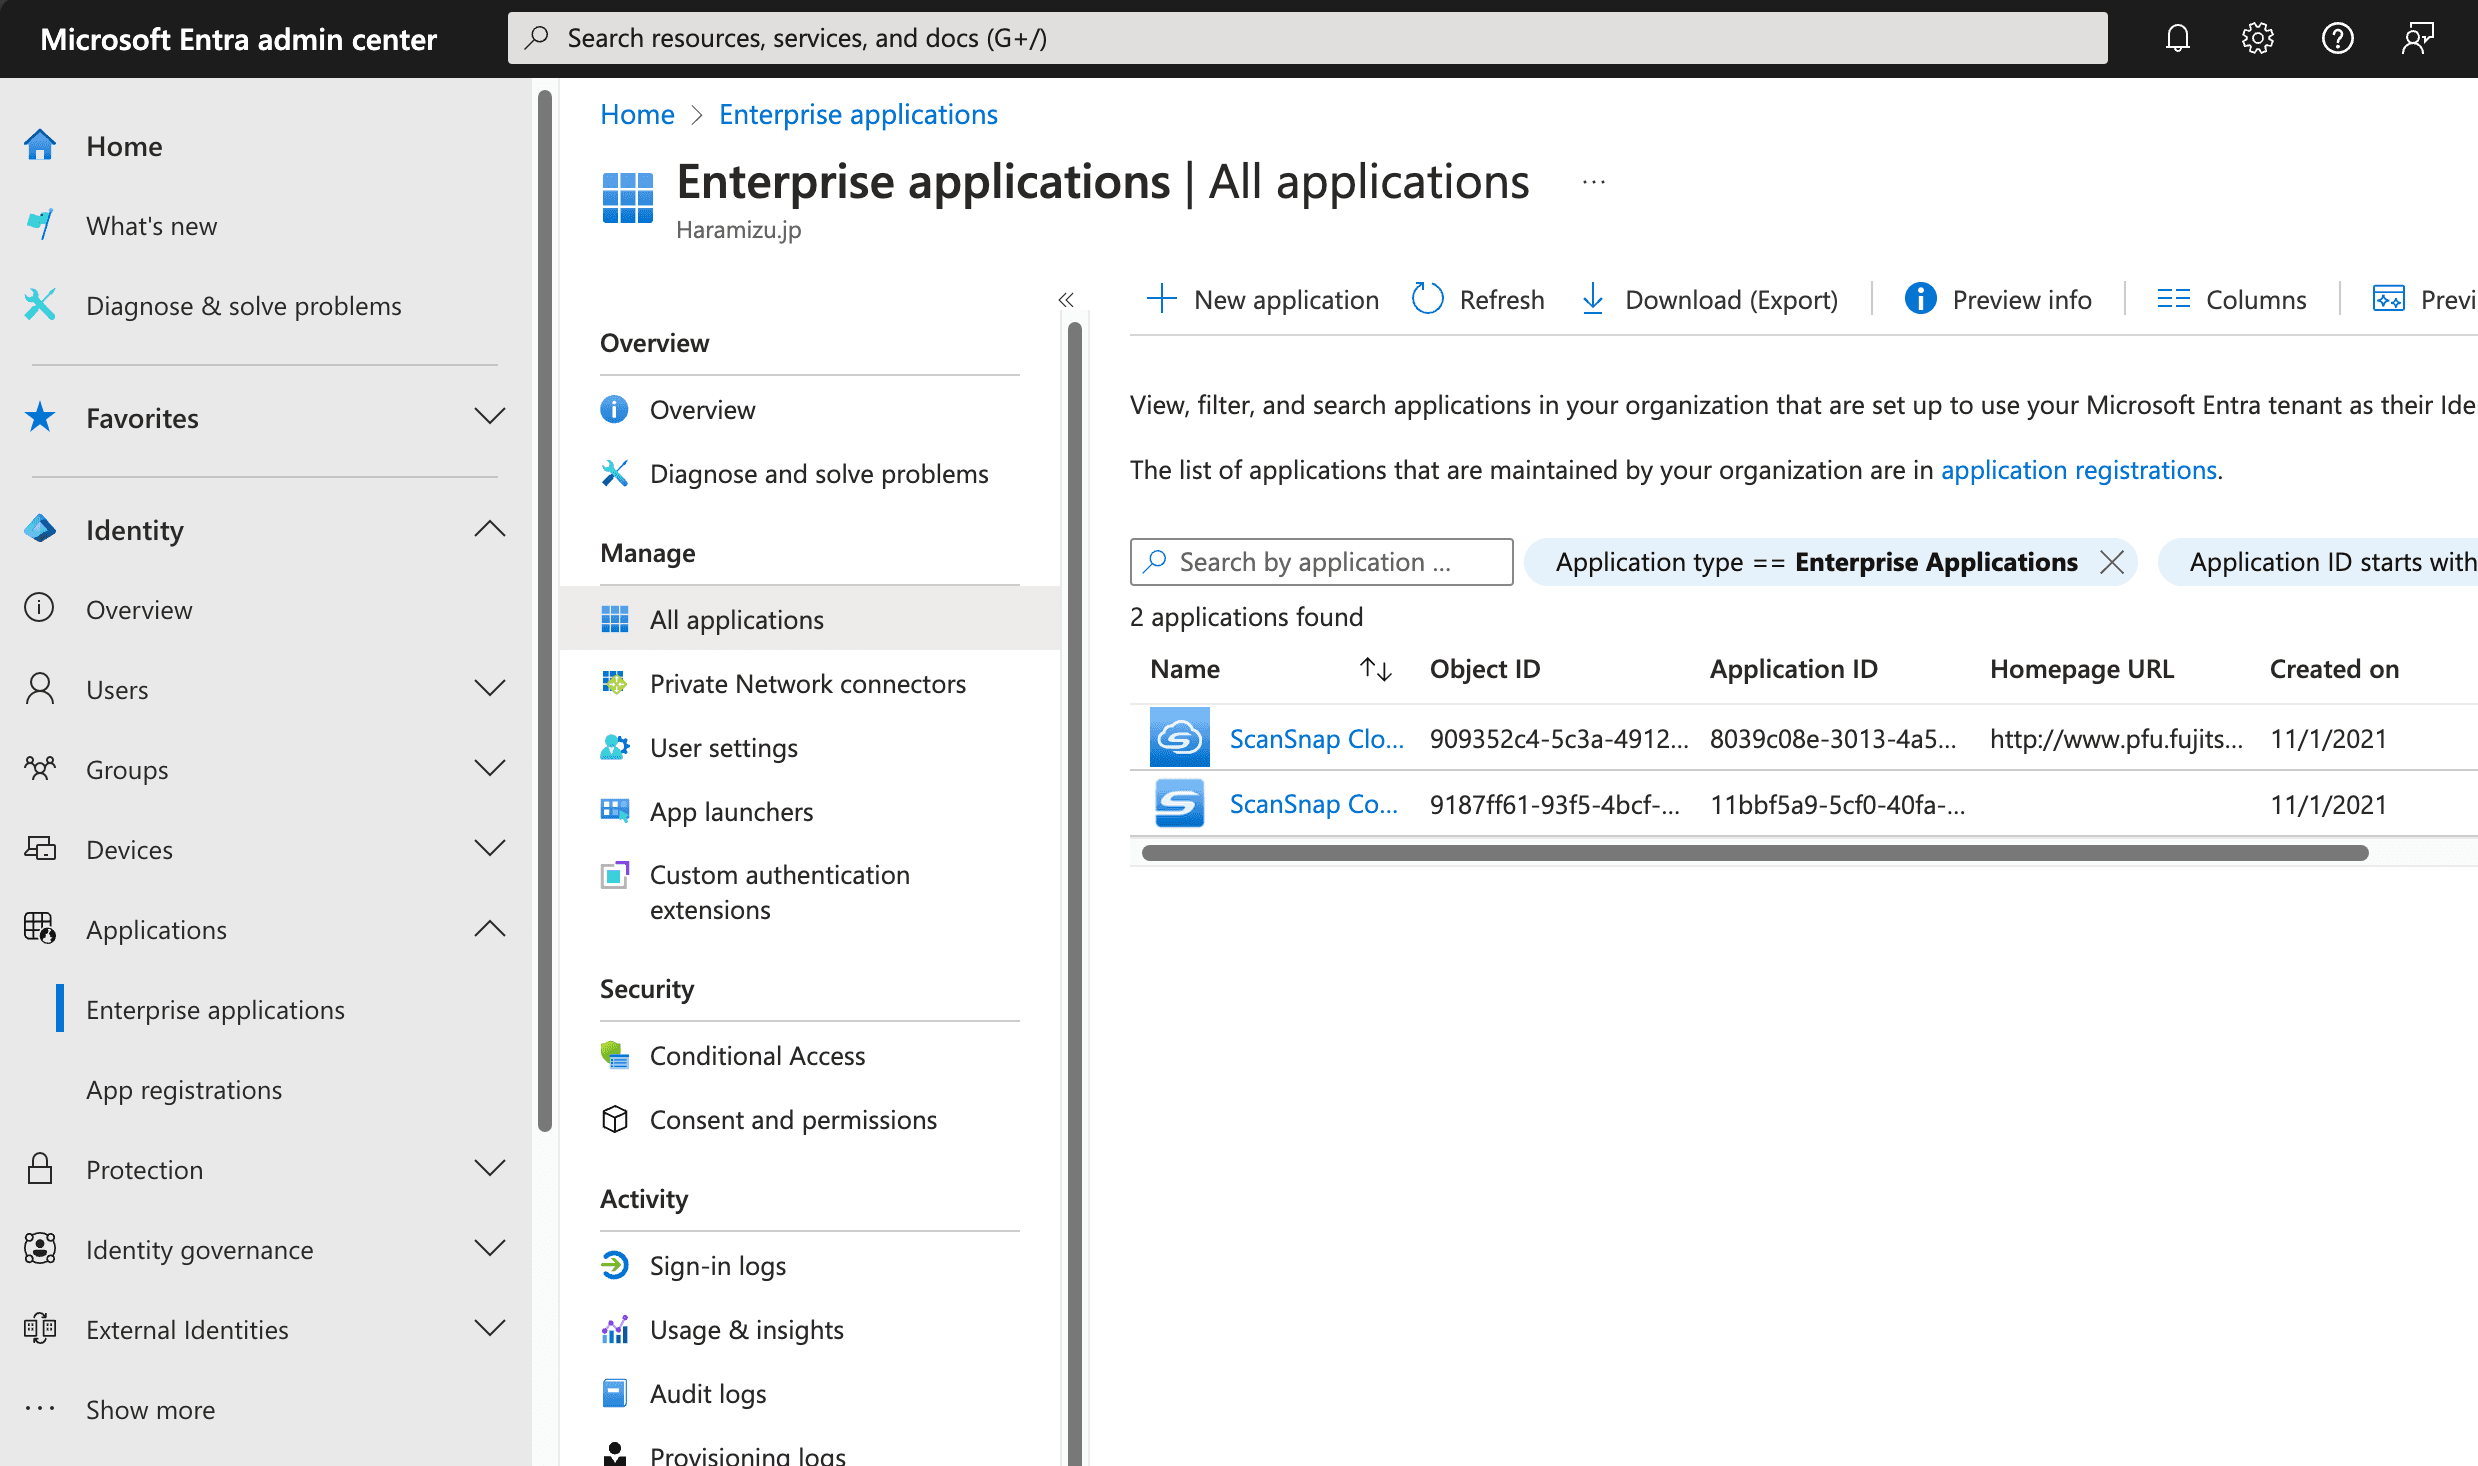
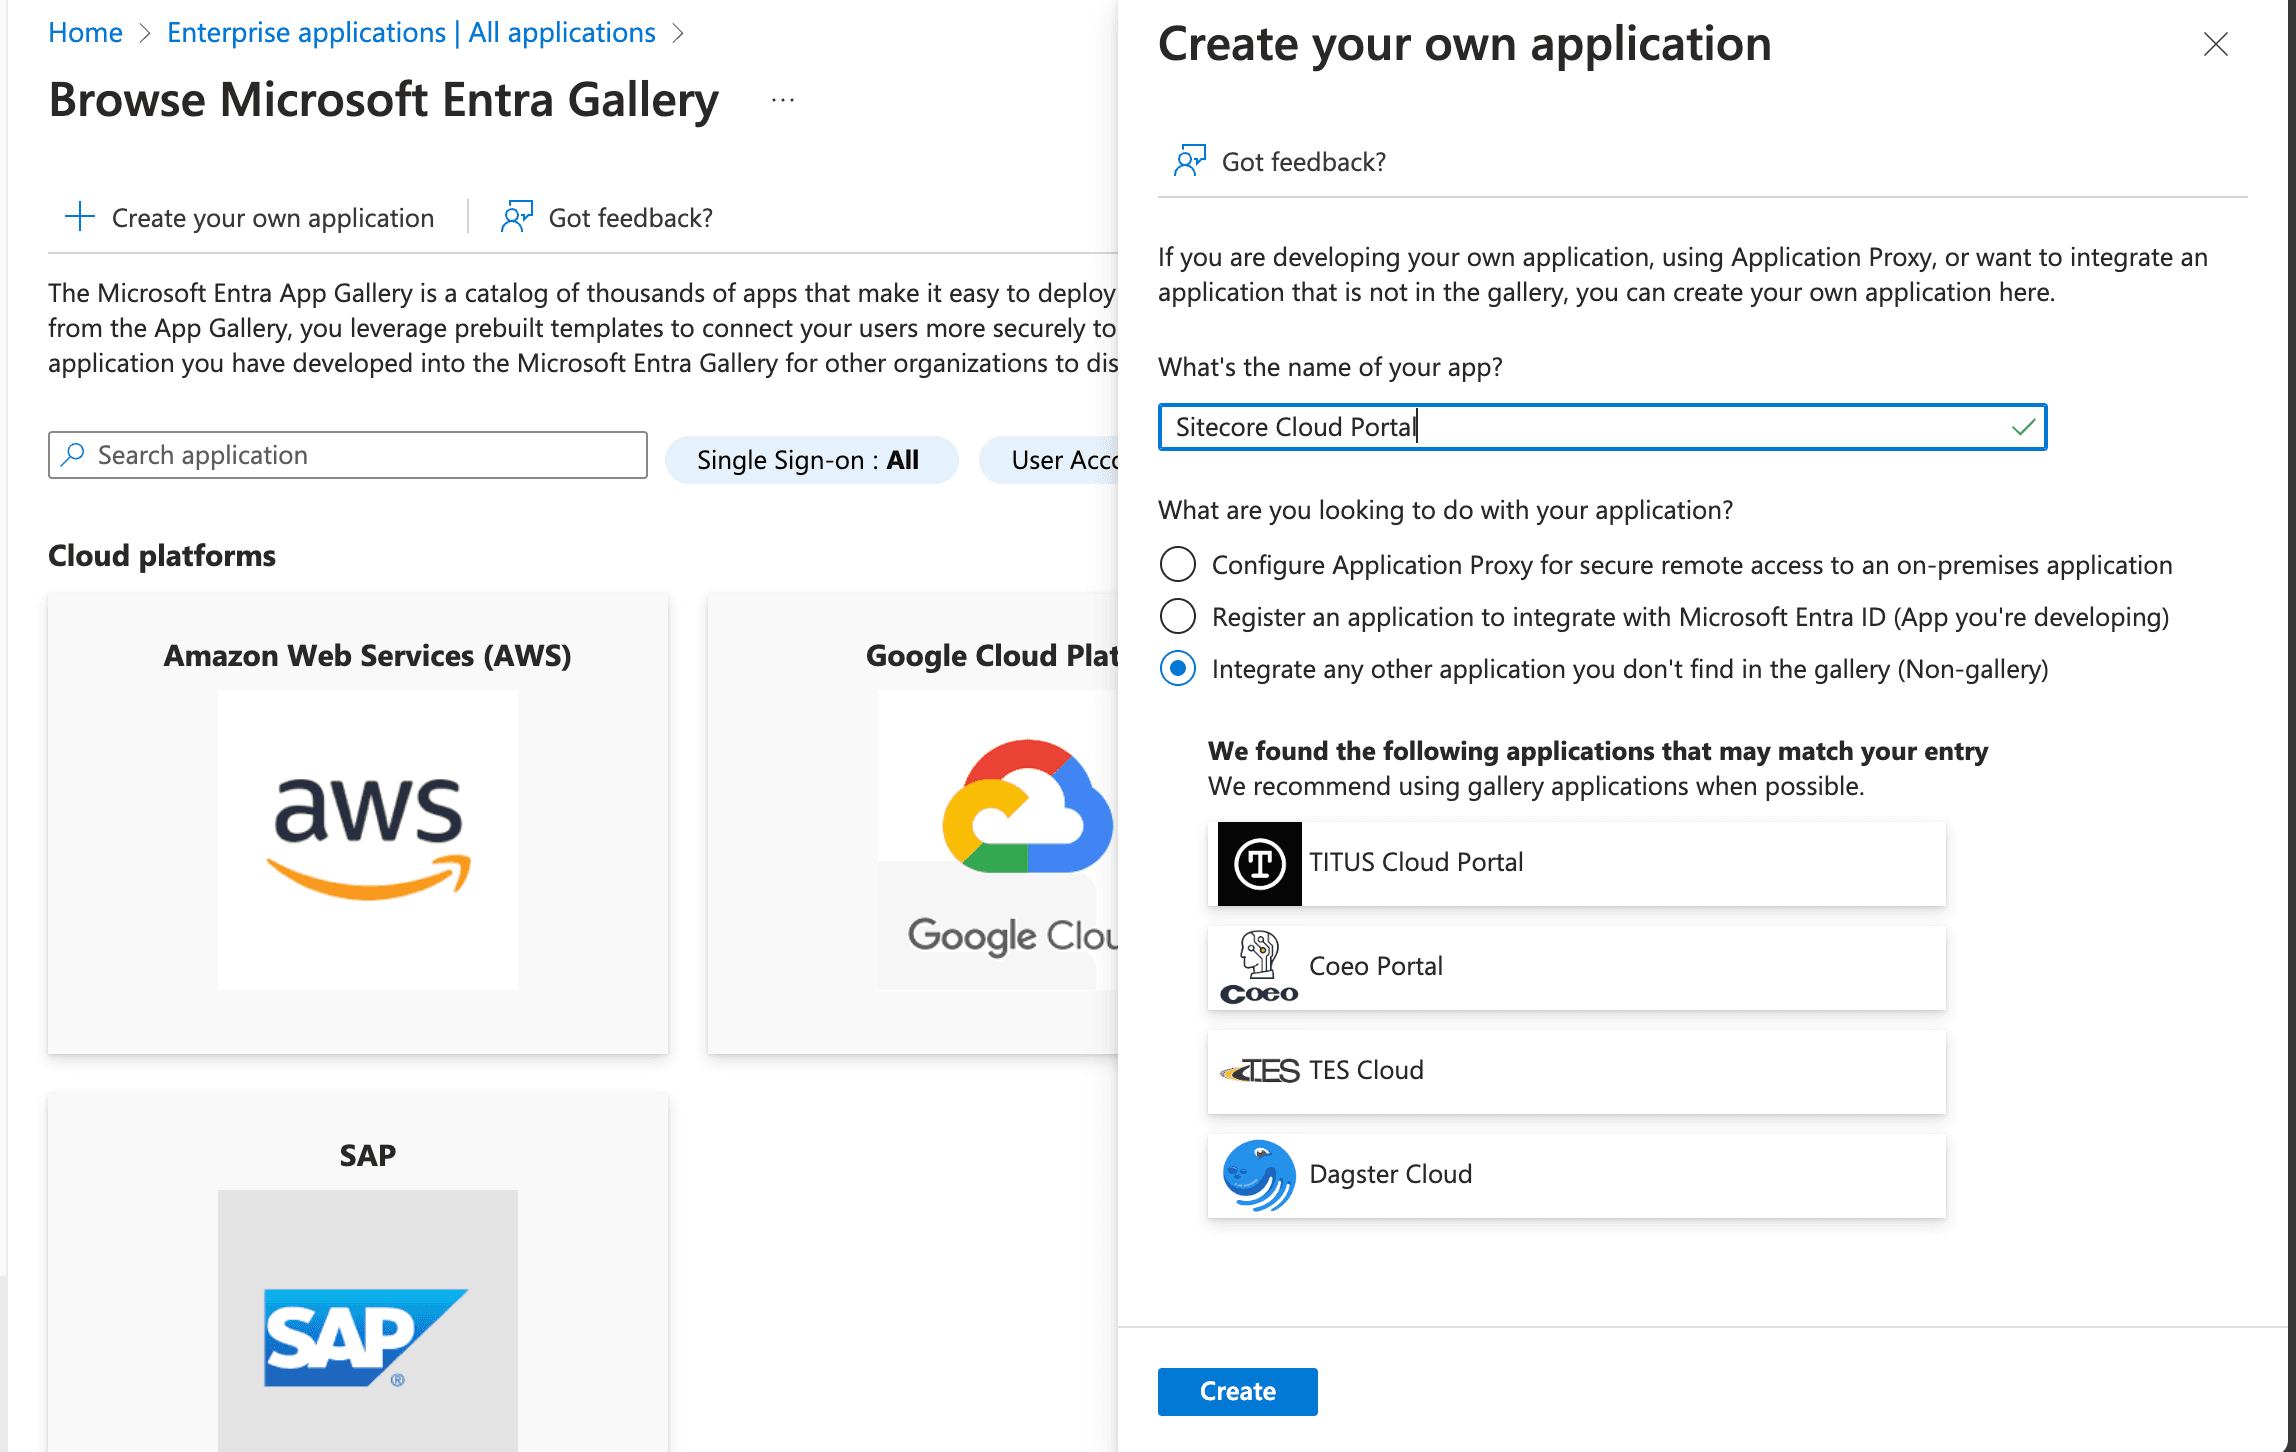
Click on the + New Application, which appears on the screen, click on Create Your Own Application, which appears on the screen below.
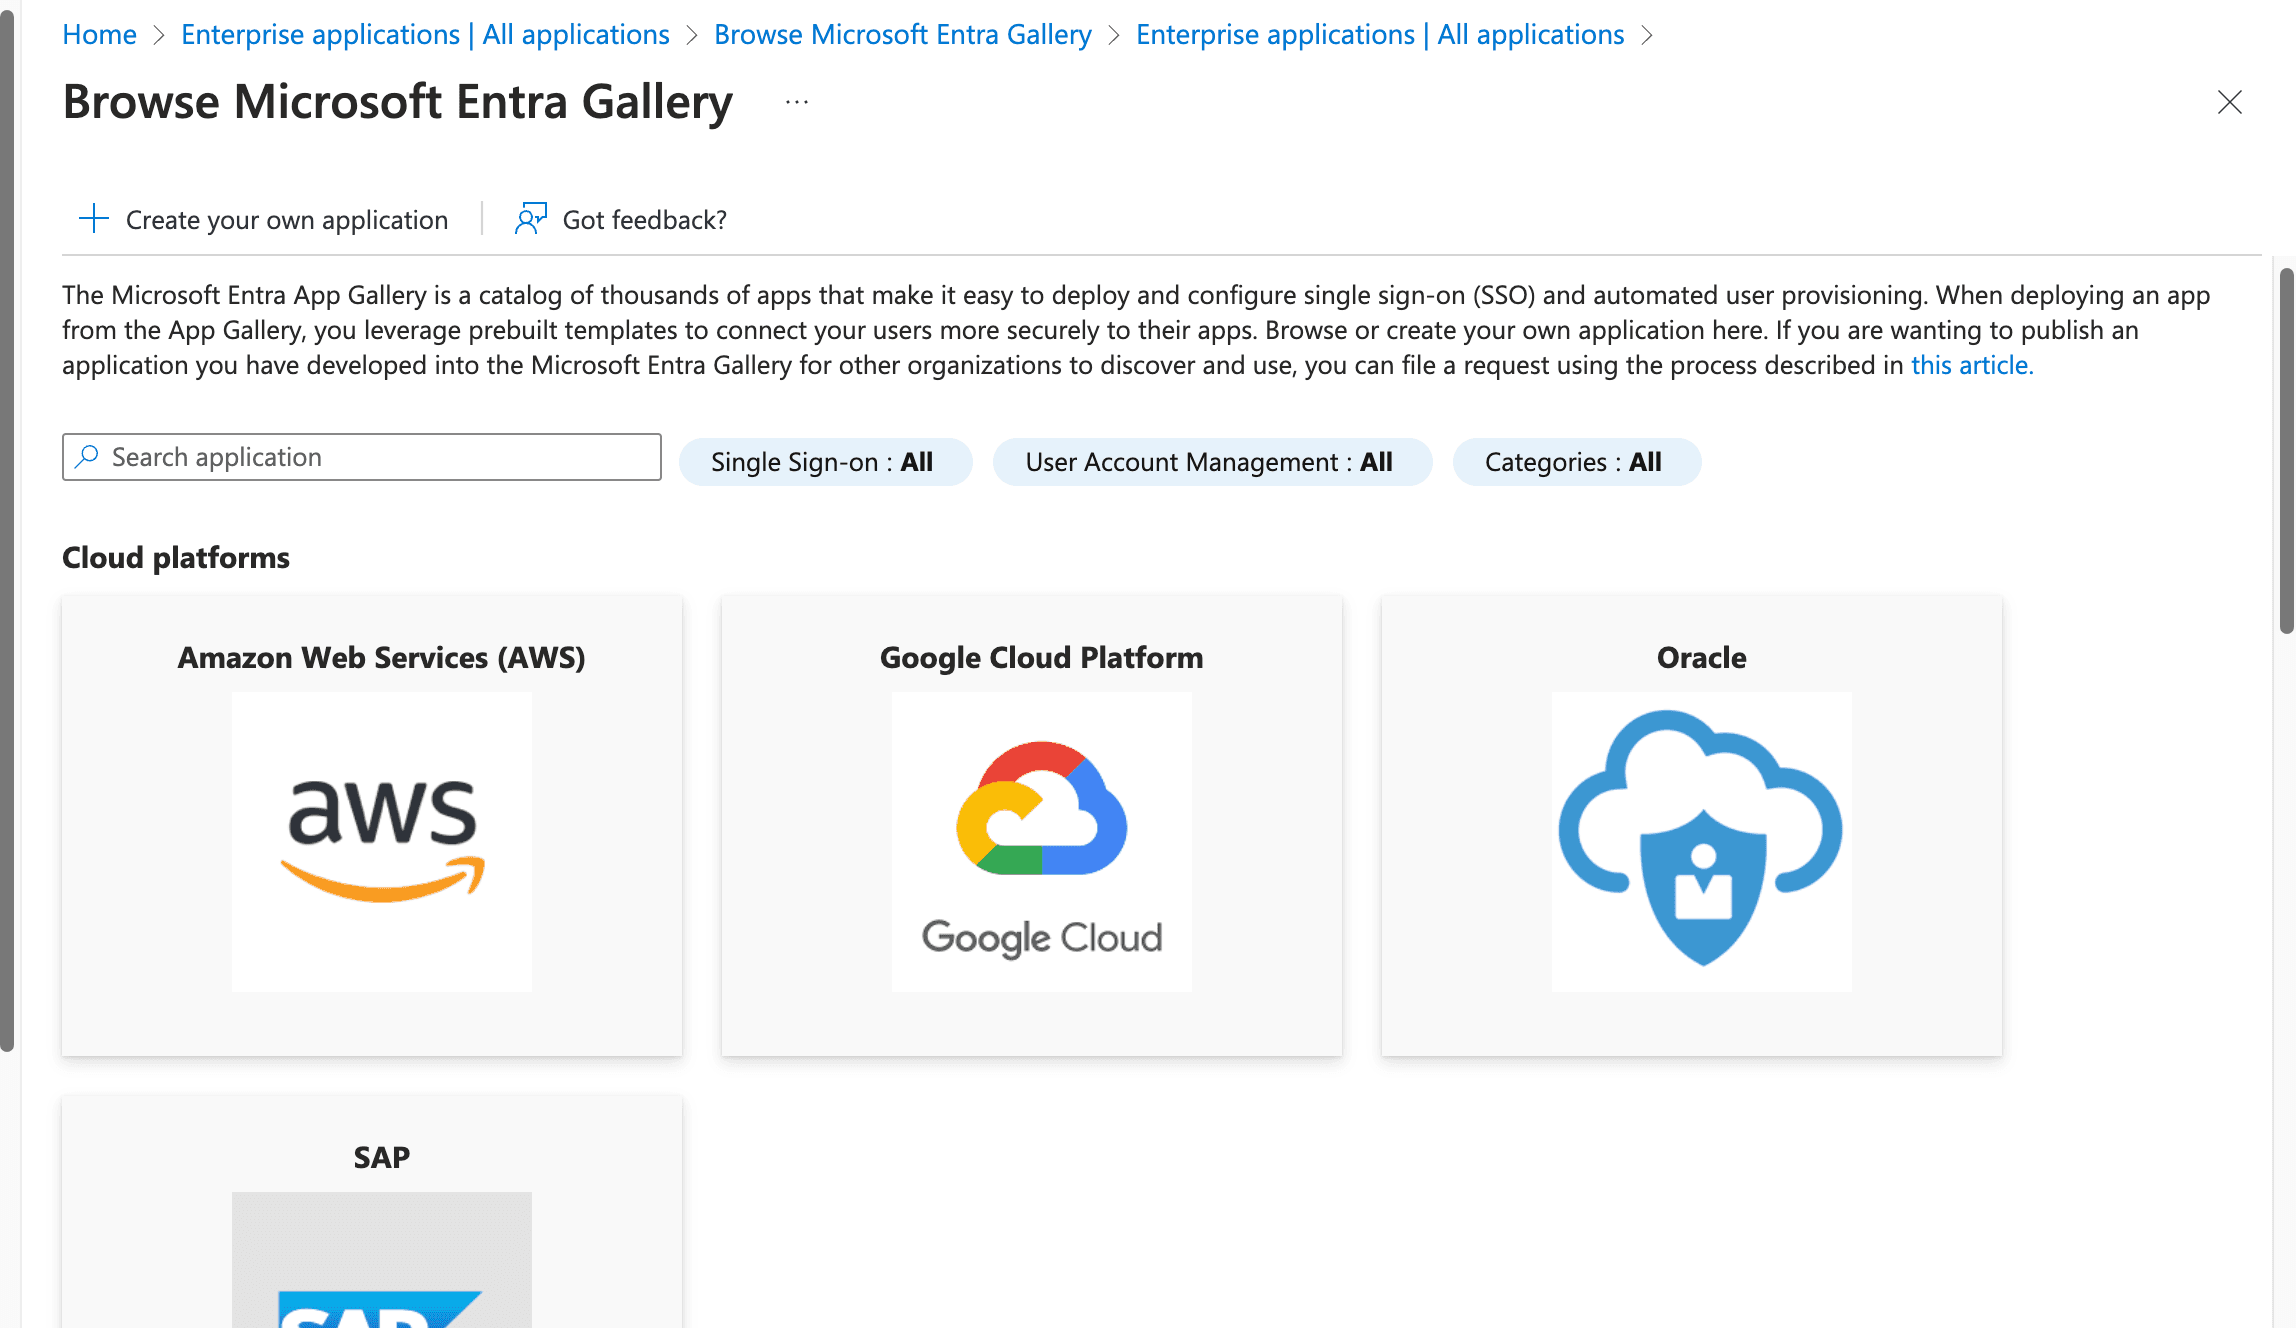
Create an application, this time named Sitecore Cloud Portal.
After a short while, the application is created as follows.
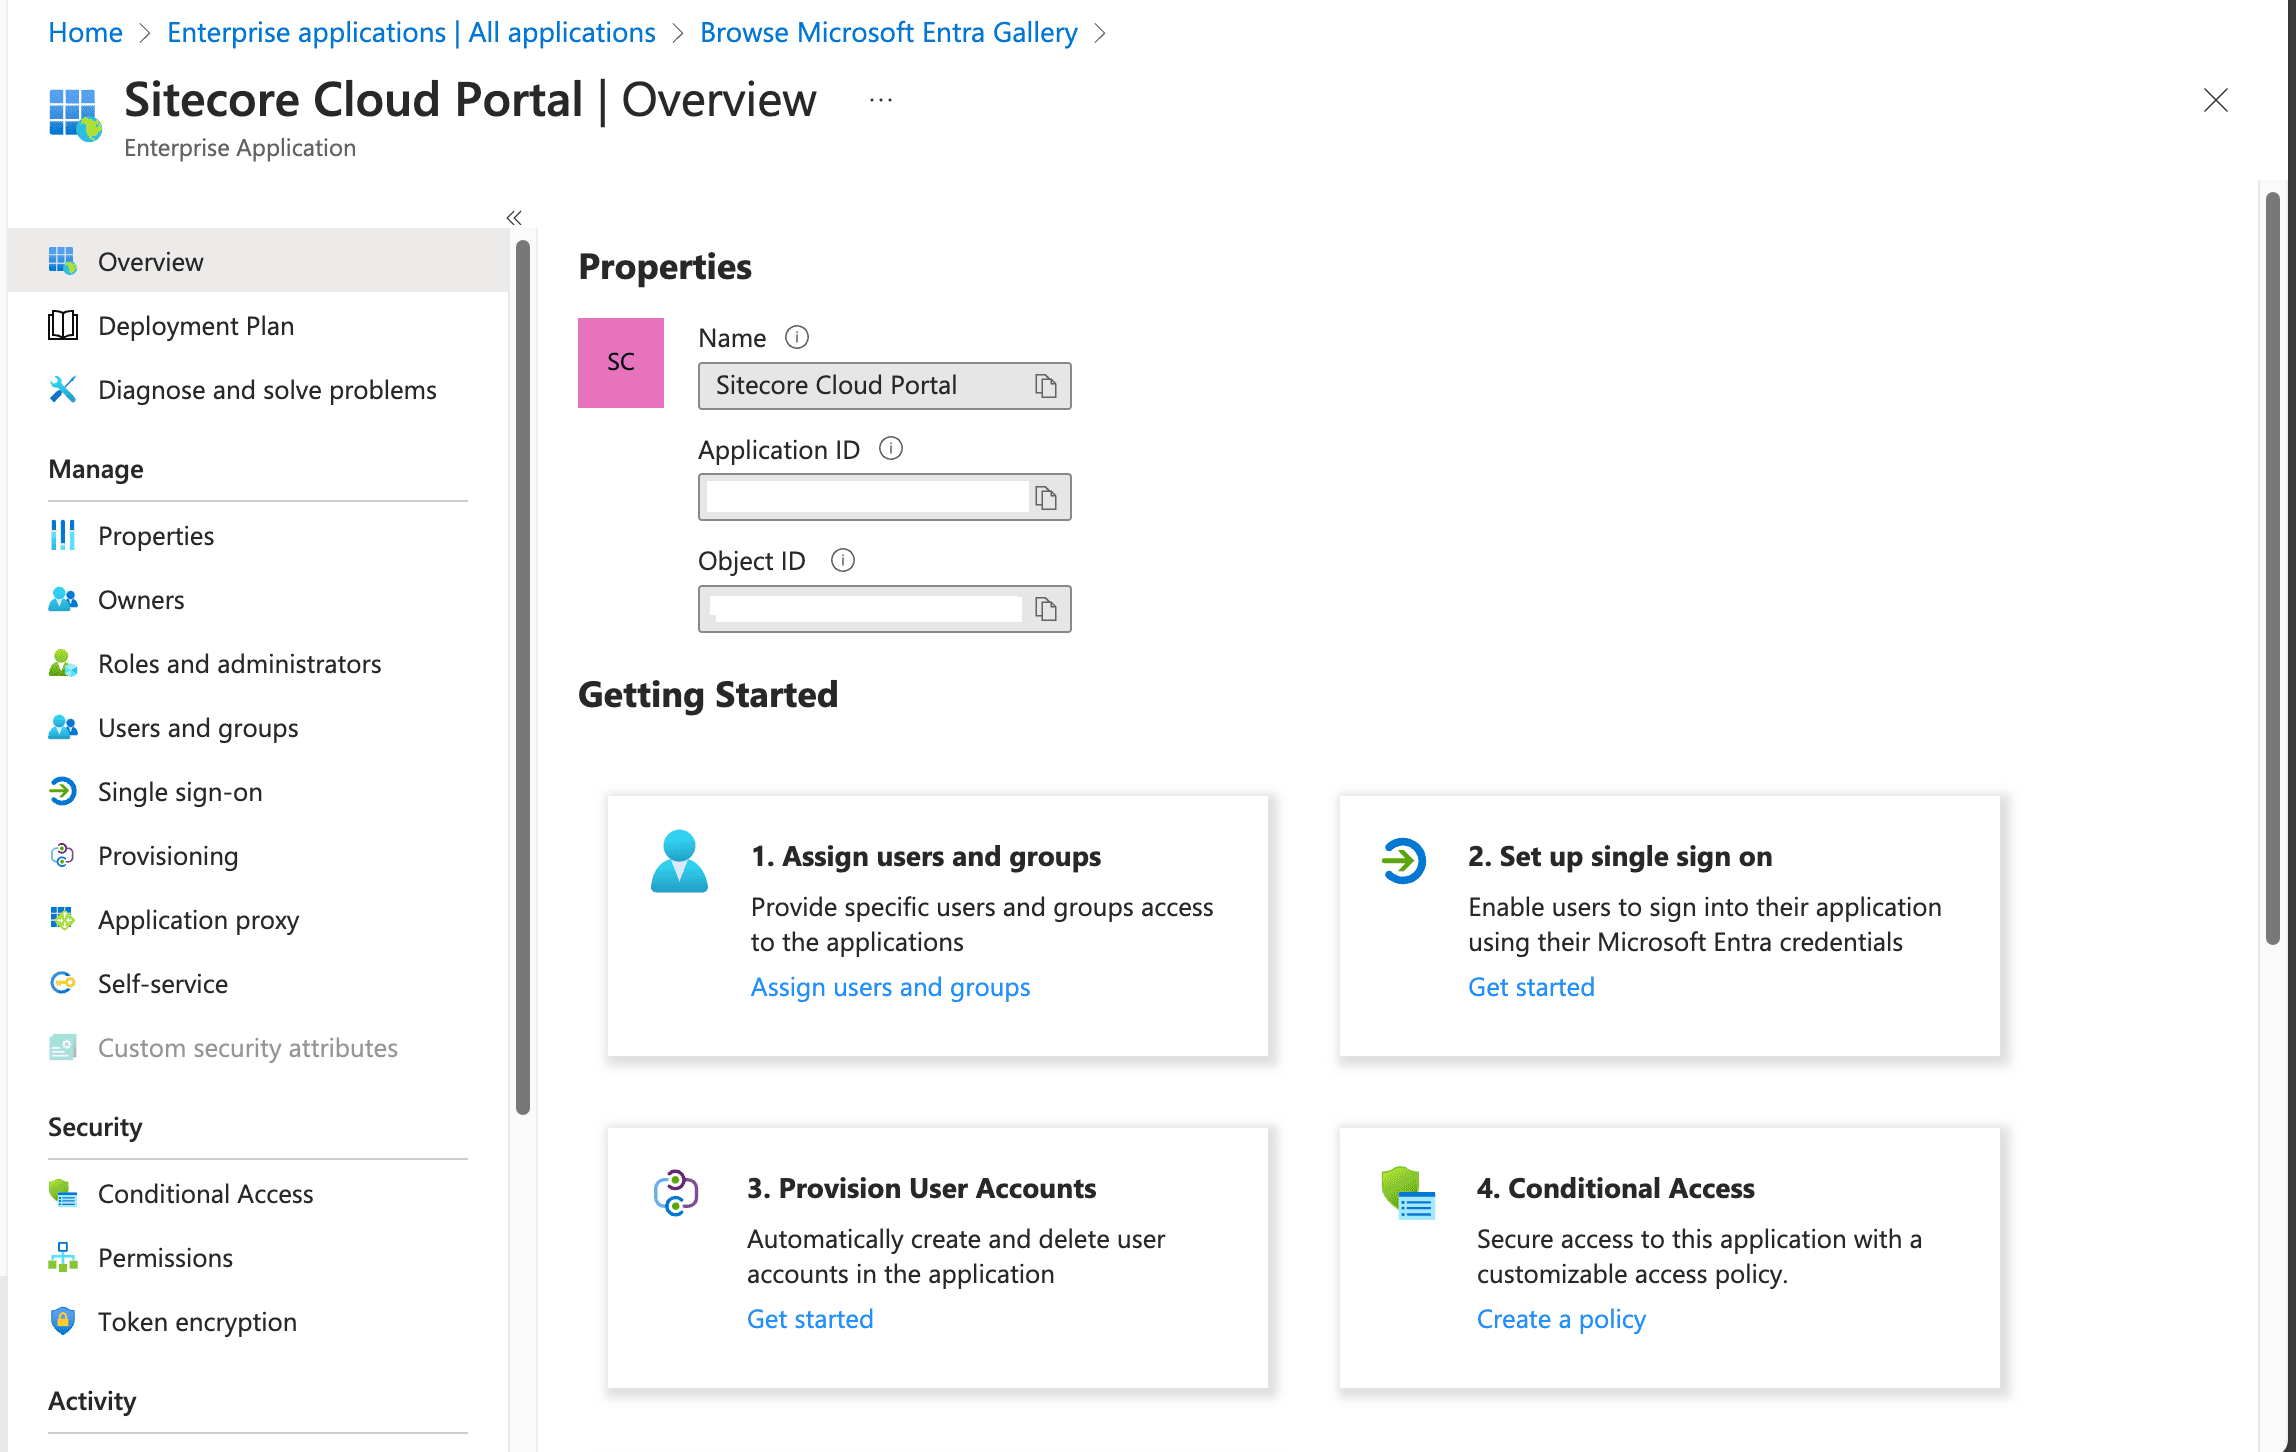
Then select Single Sign-On from the menu. The Single Sign-On selection screen will appear as shown below.
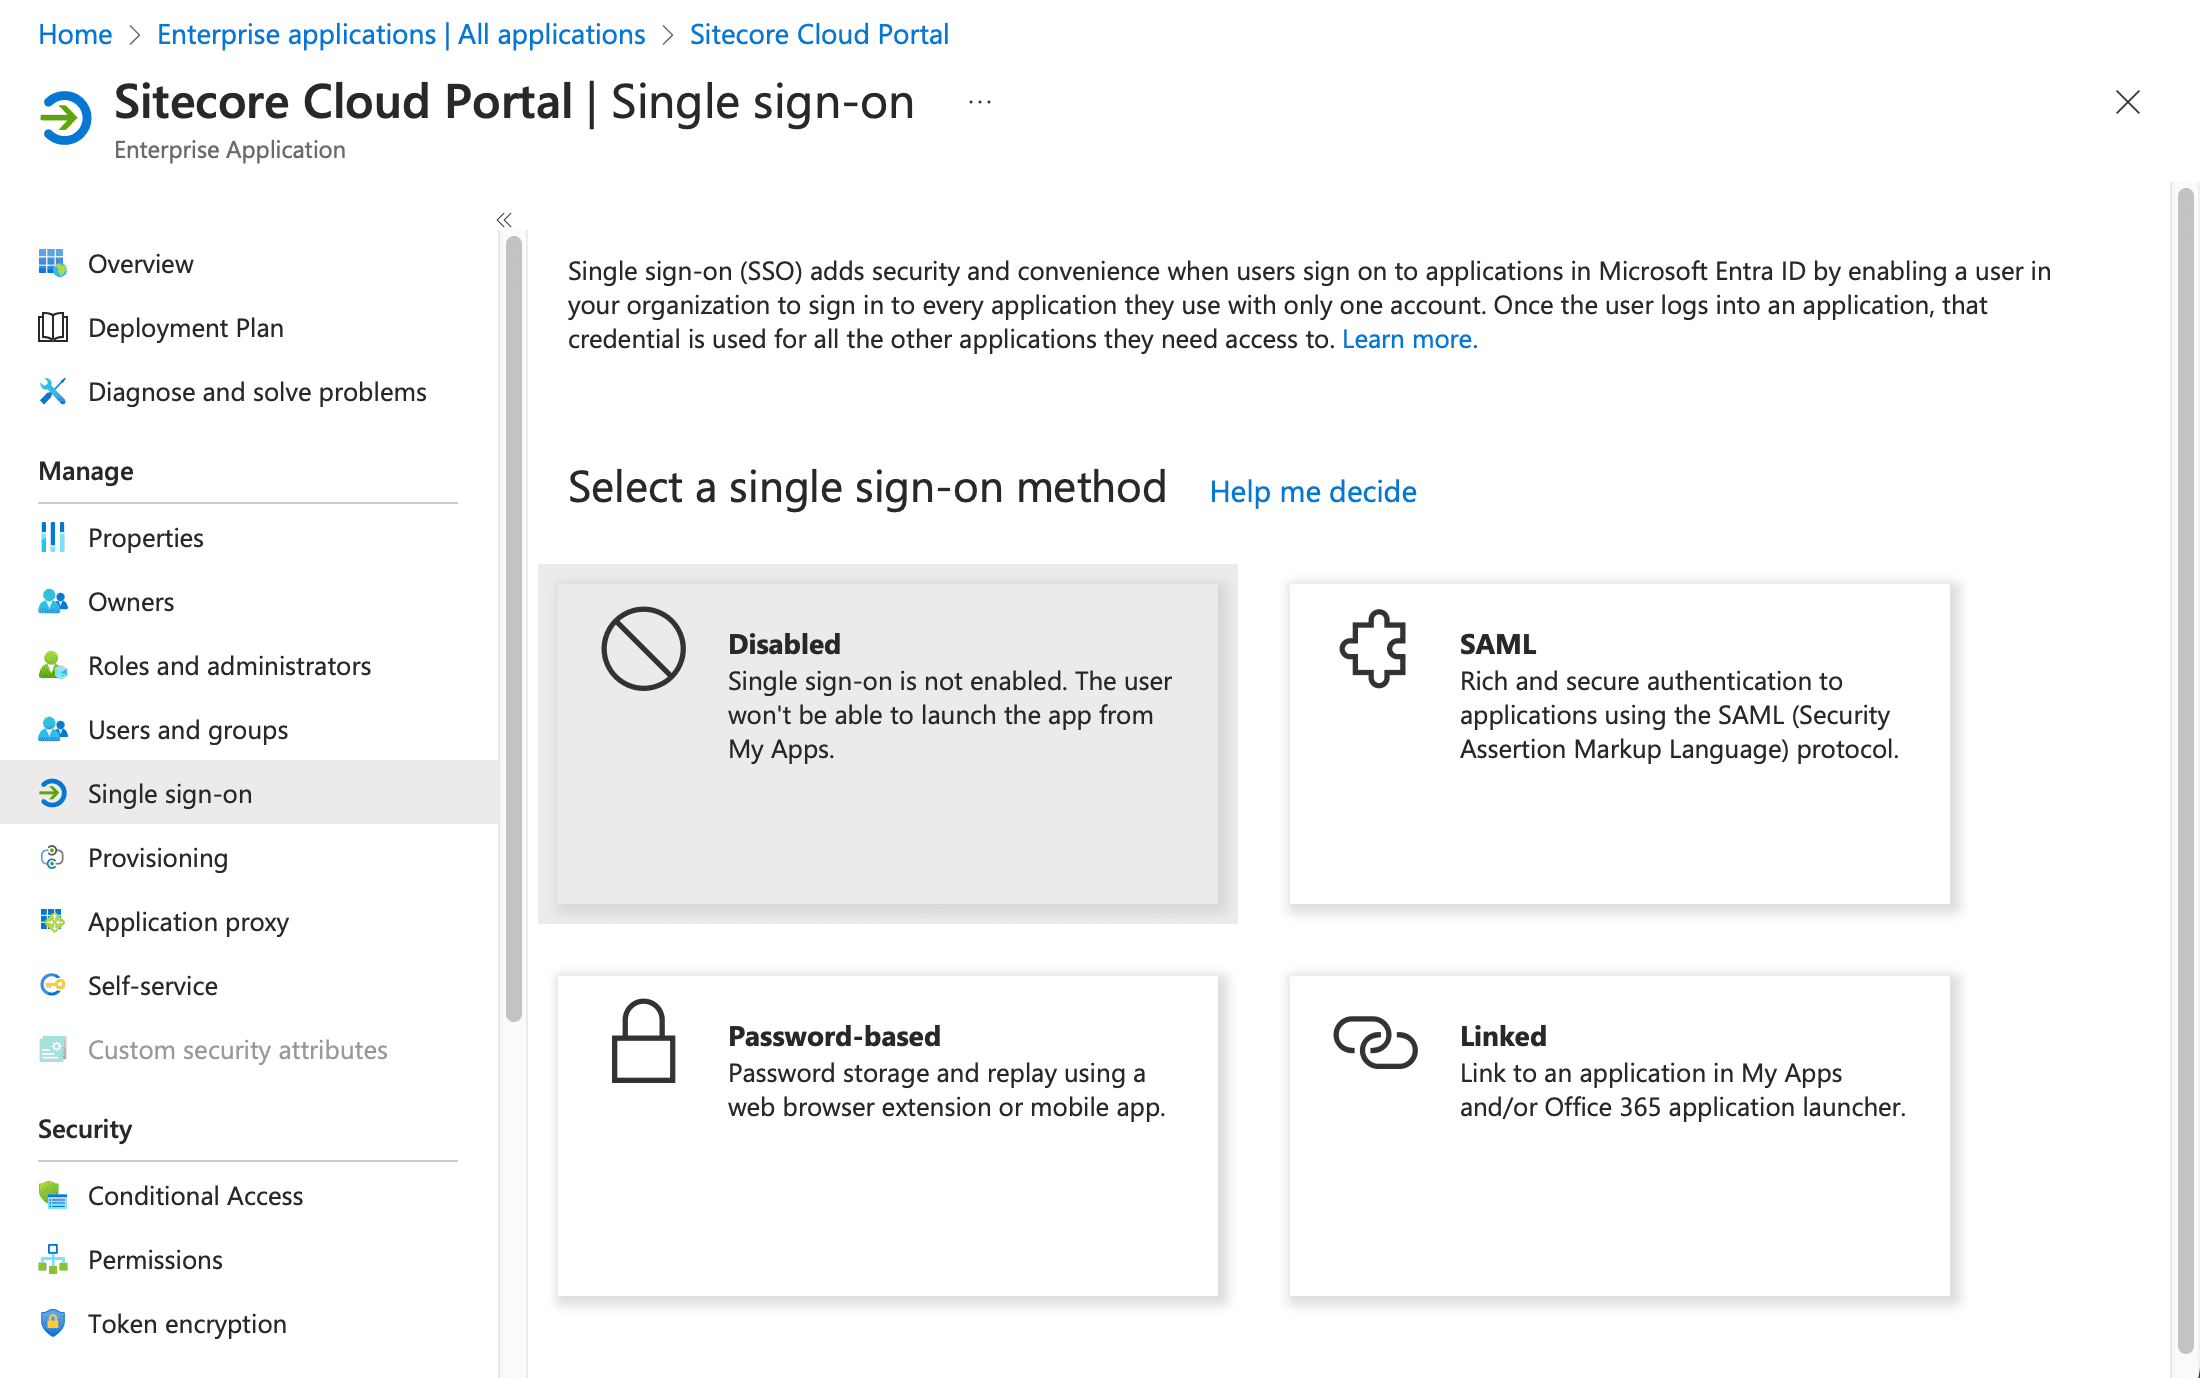
This time, to add SAML authentication, click the button in the upper right corner. After clicking, you will be taken to the following screen.
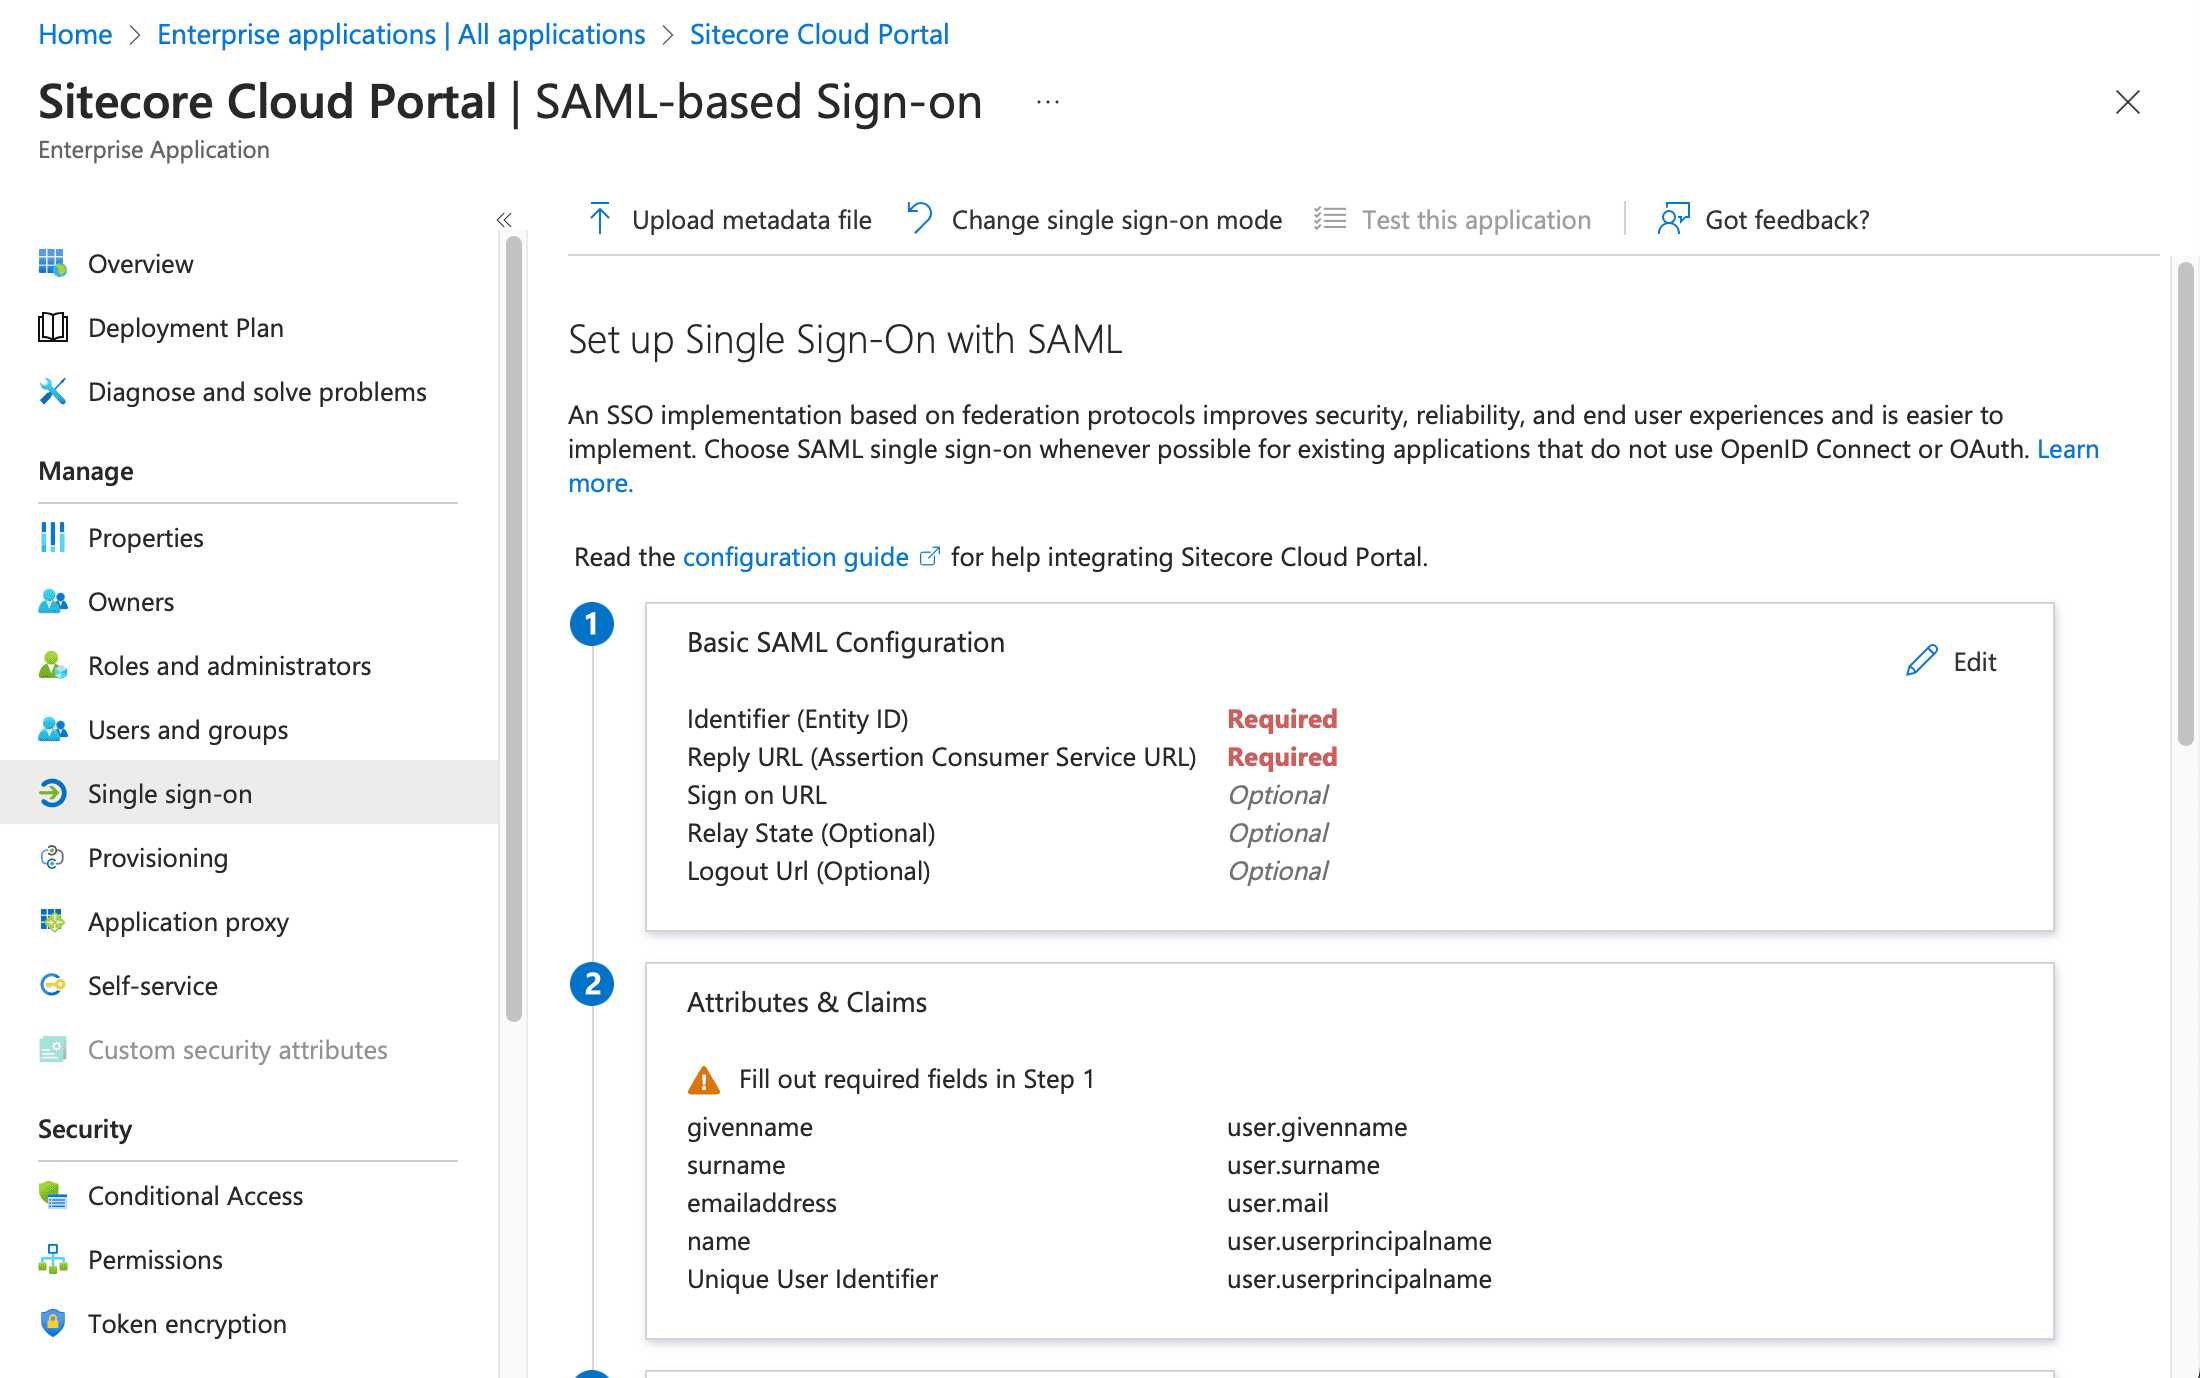
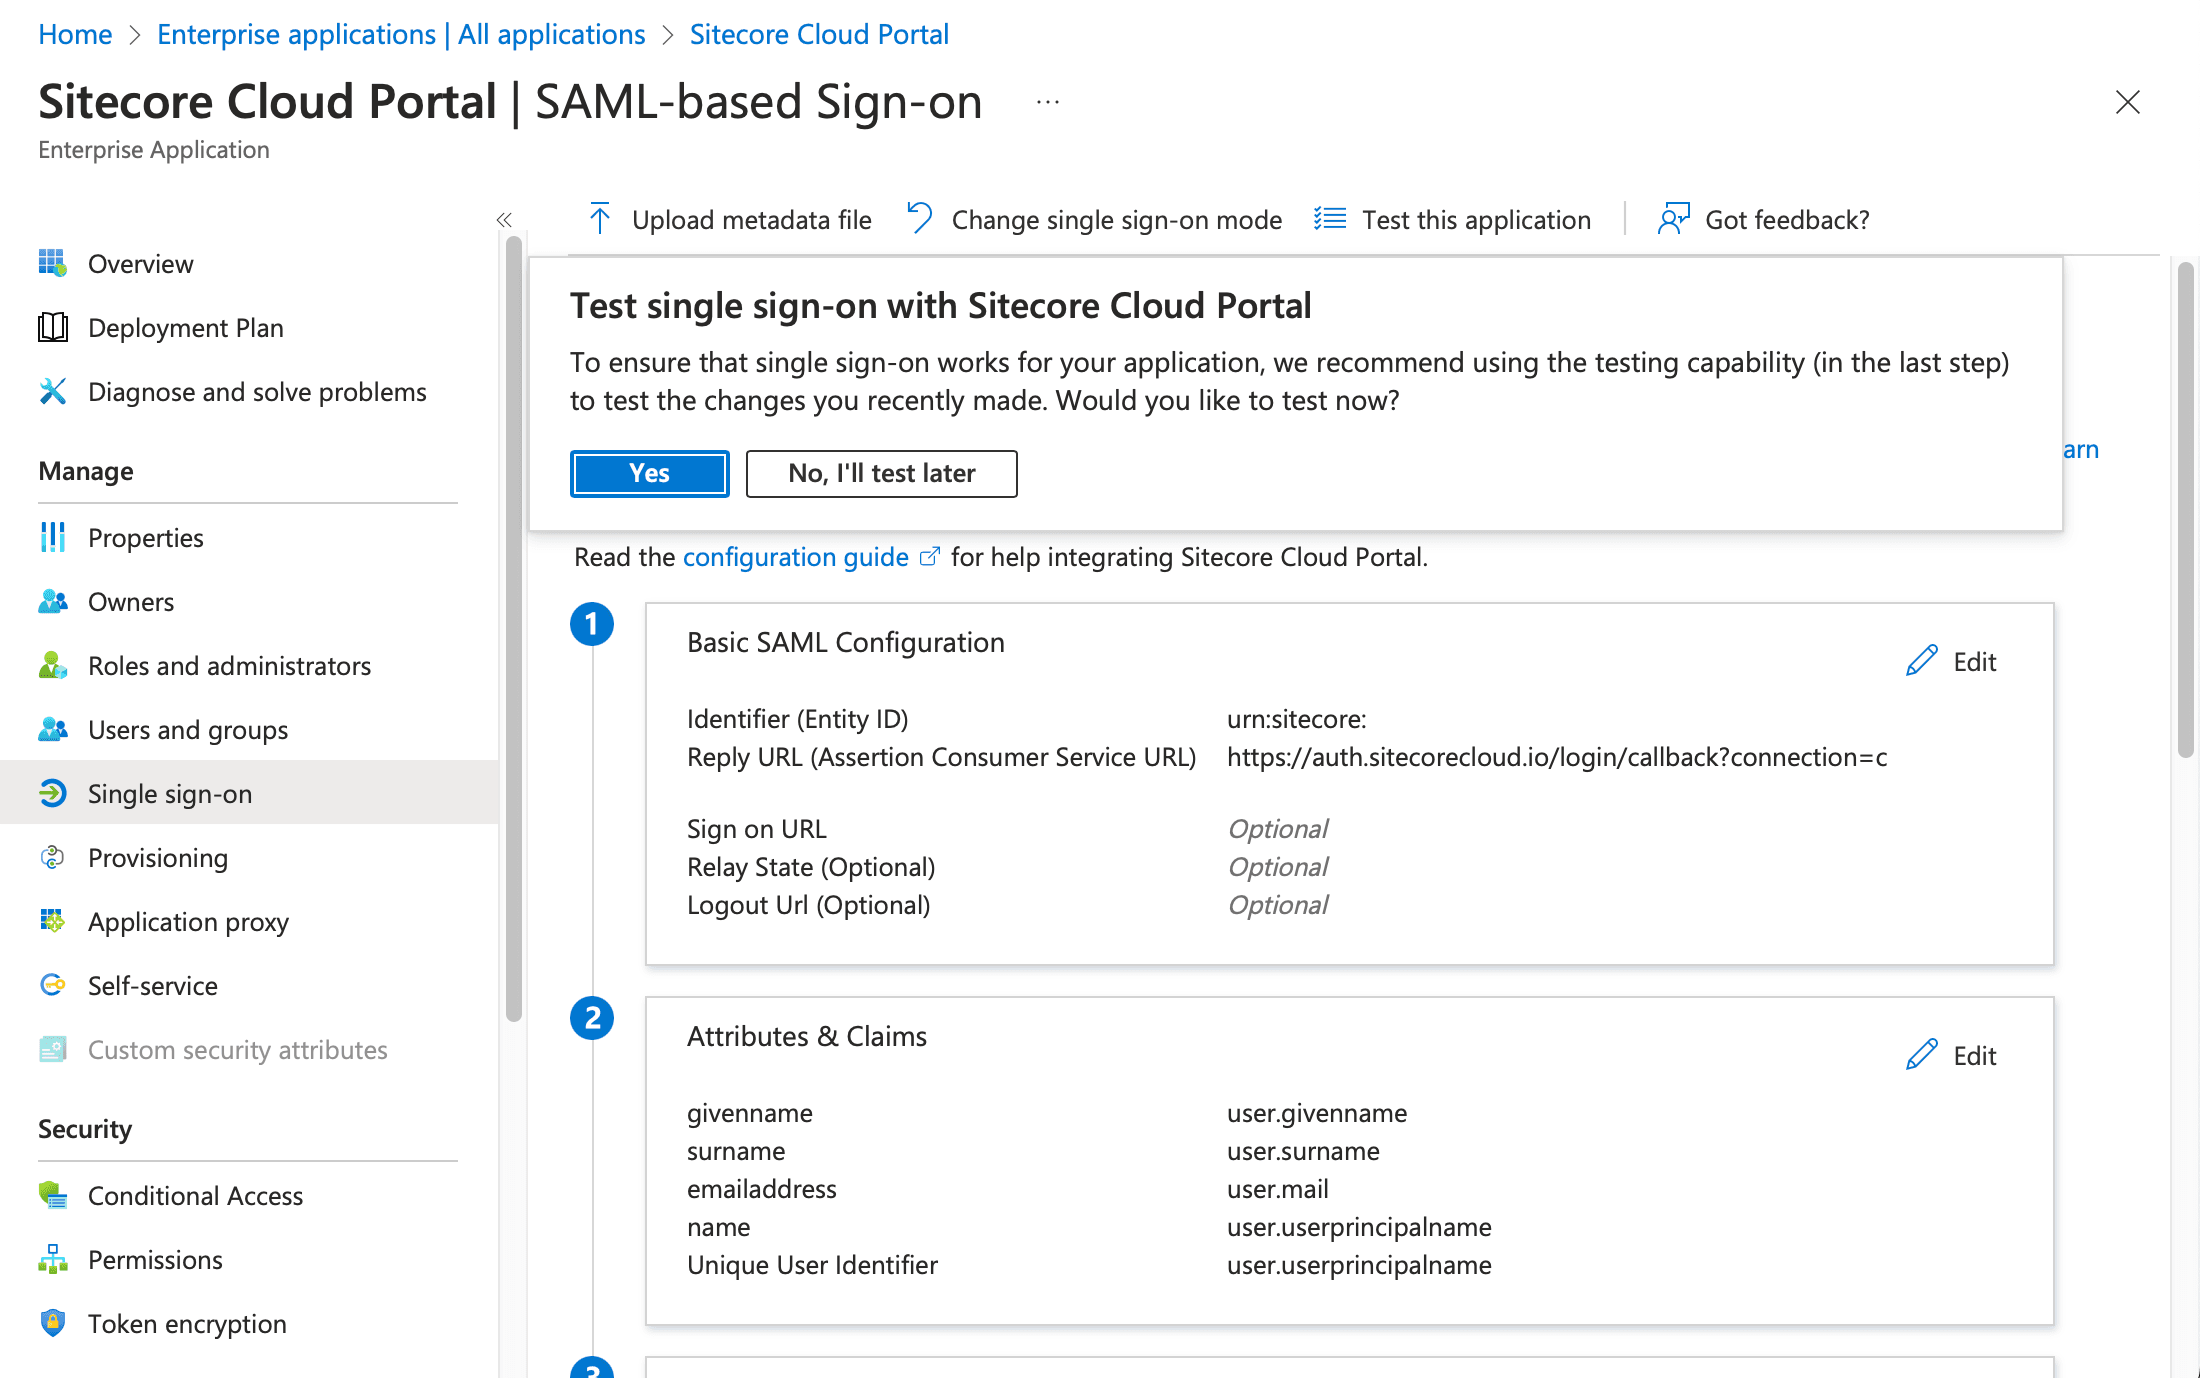
Two required items are provided in the basic SAML configuration section. These are the two items provided in the Sitecore Cloud Portal. Set the Identifier and ACS URL items as follows (the screenshot below is masked with respect to values)
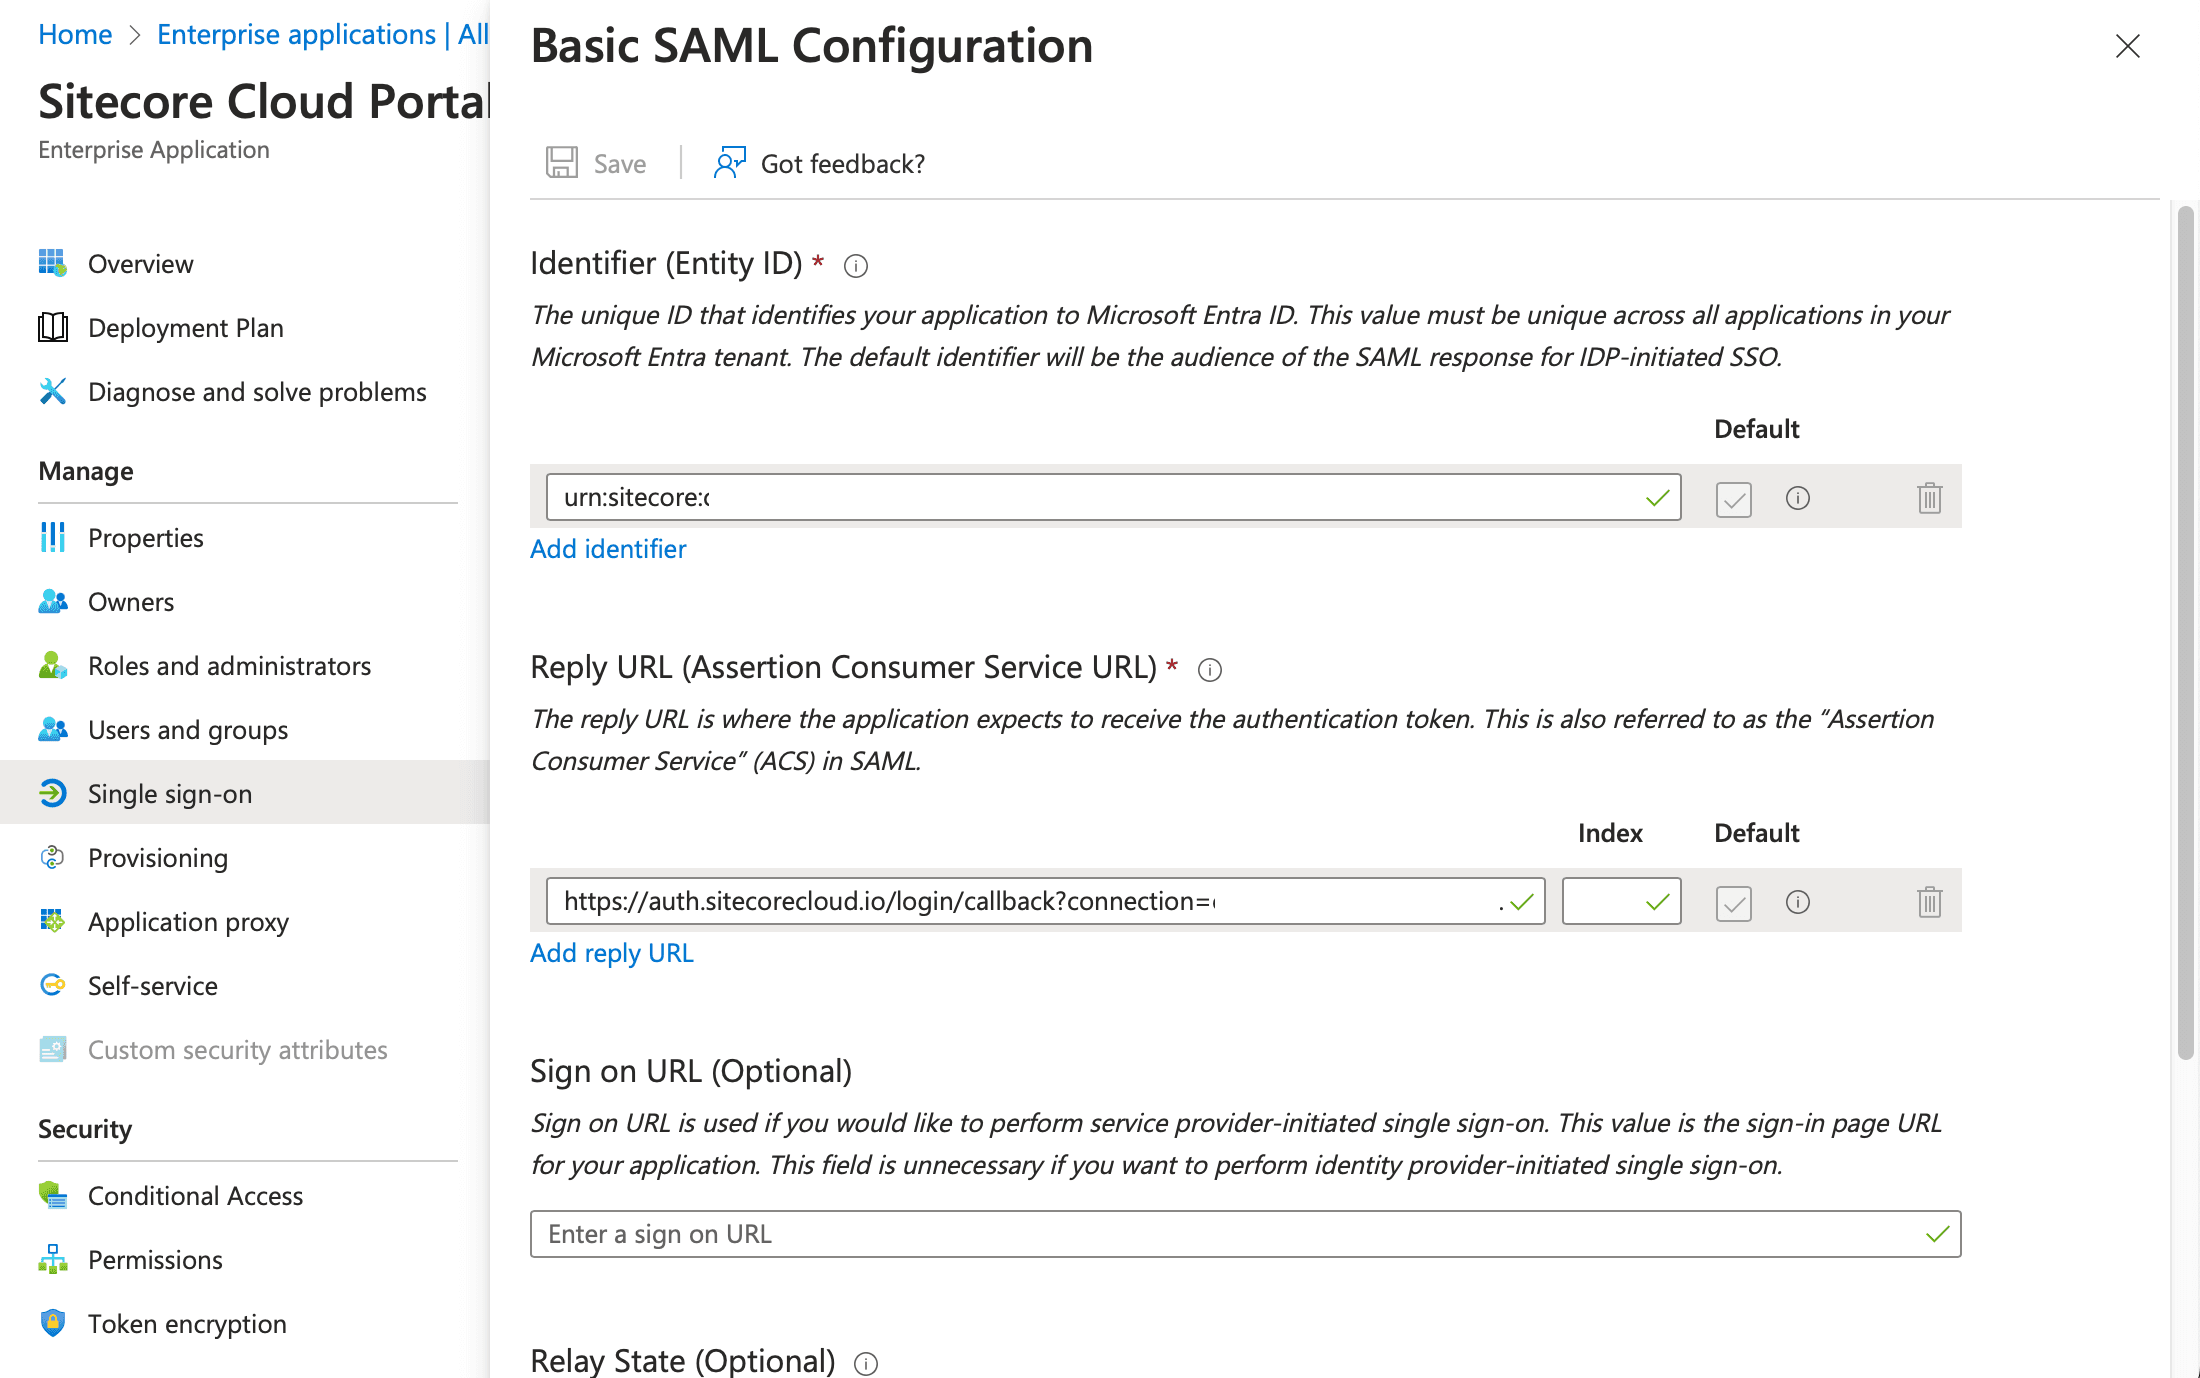
When you save the file, a dialog box will appear asking if you want to run the test. dialog box will appear, but we will not perform this test at this time.
Finally, add users who can use this application by clicking on the Users and Groups item in the menu on the left side. The result of the addition is the following screen.

This completes the configuration on the Entra ID side.
Additional Sitecore Cloud Portal settings
The settings in Entra ID have been completed, and we will return to the settings on the Sitecore Cloud Portal side again. First, display the configuration screen where the domain authentication has been completed.
Clicking on the Configure button will take you to Step 2, where you will configure the settings for meta data.
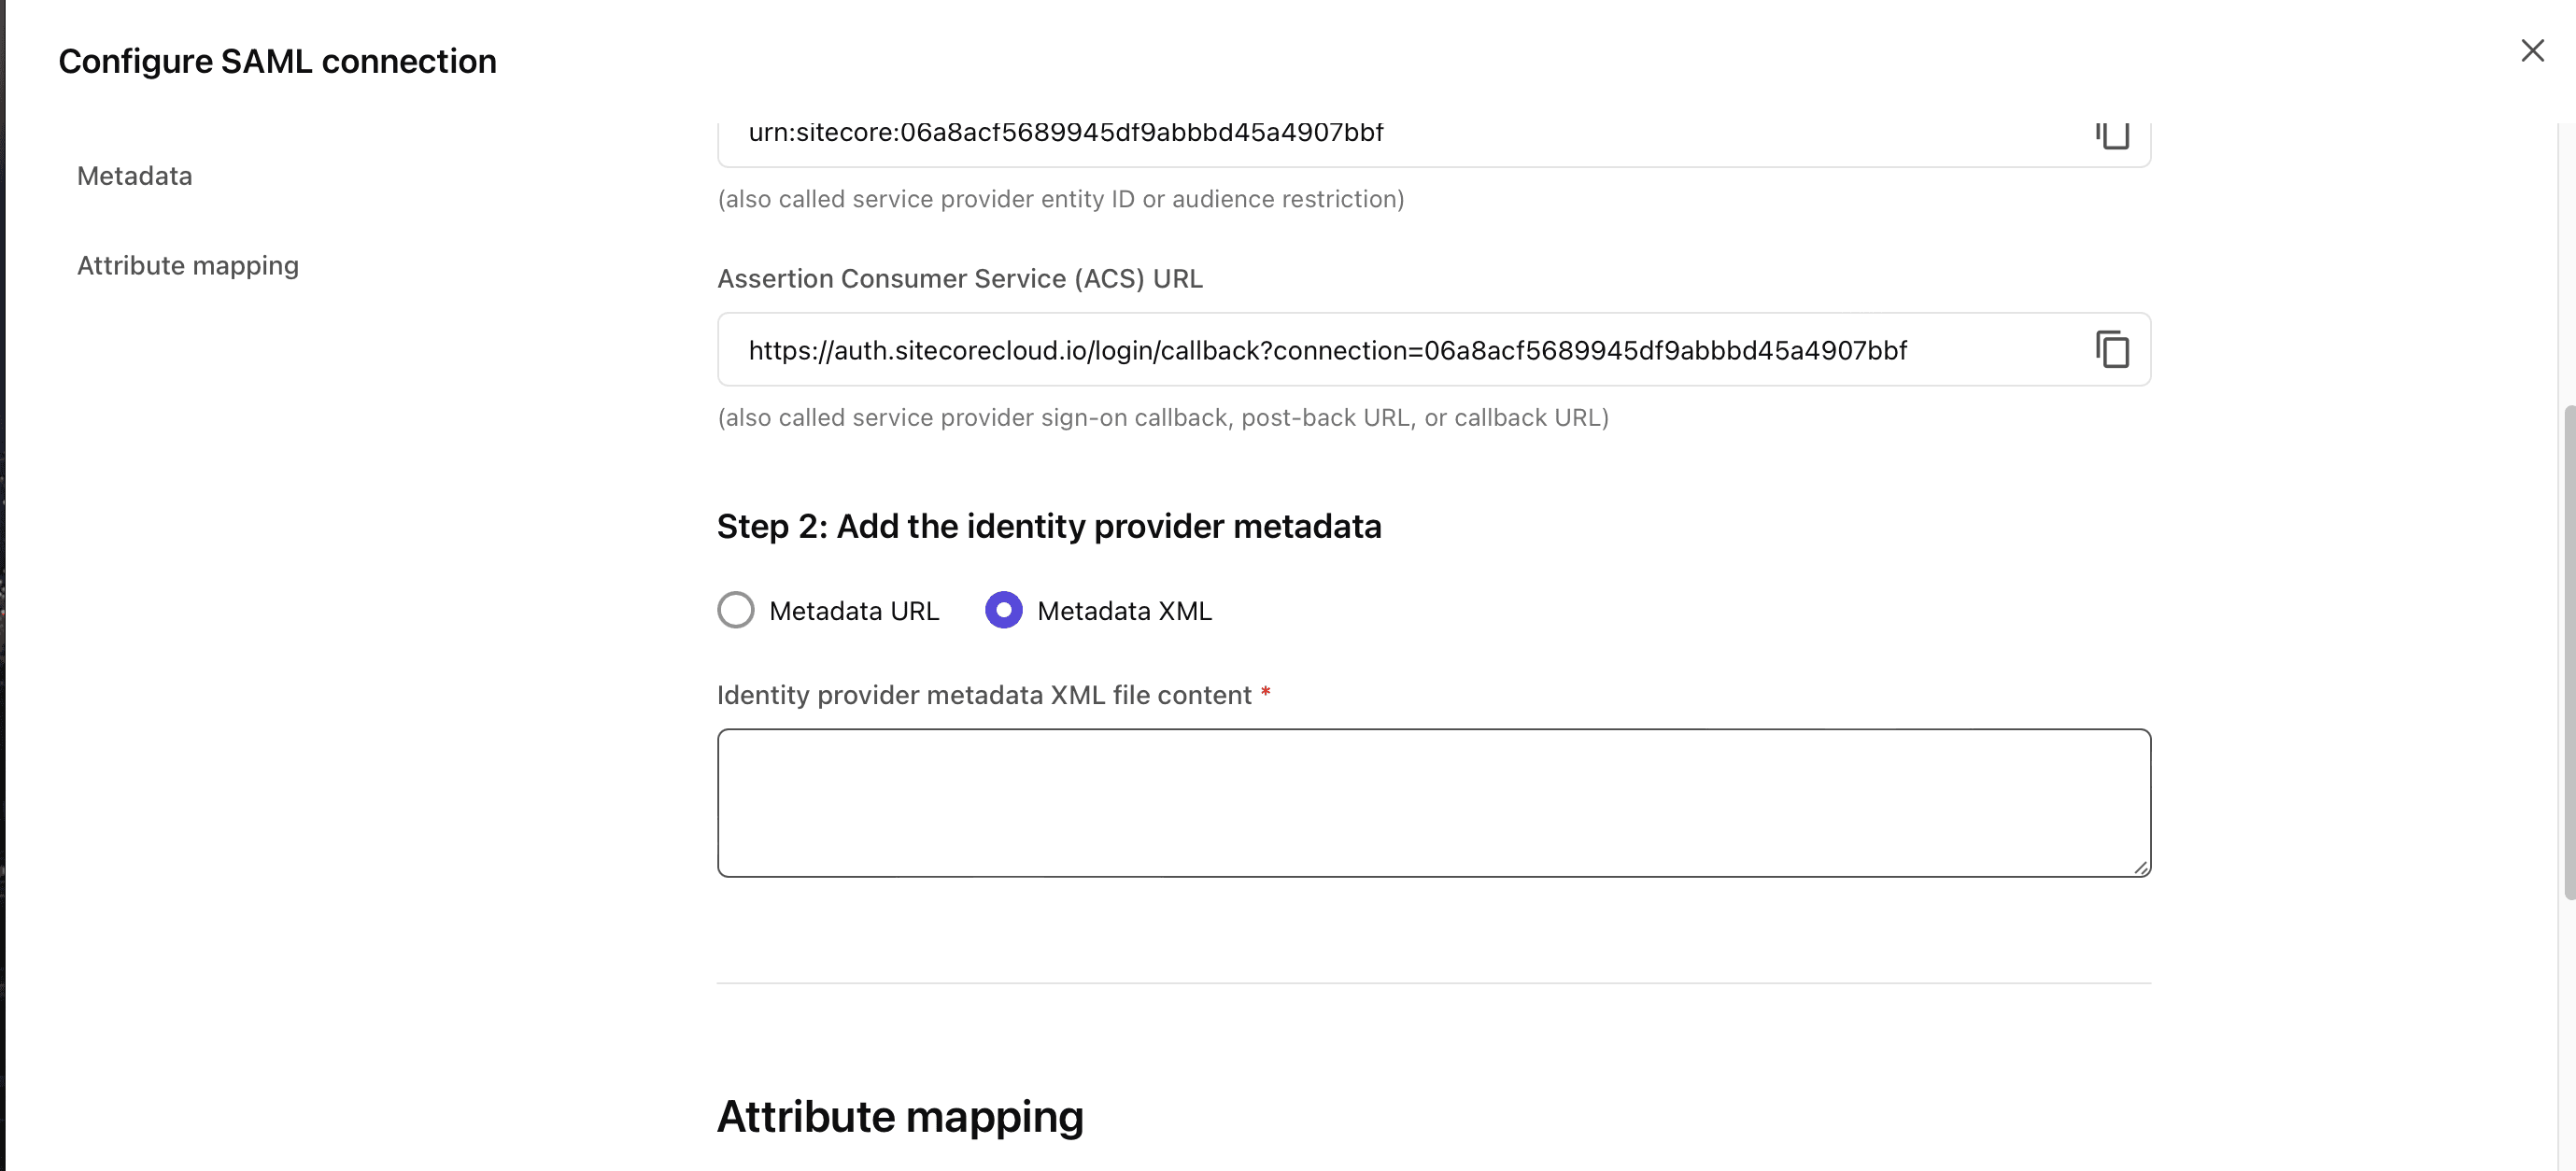
The data to be set here can be obtained from the Entra ID administration screen. In the Single Sign-On settings screen that you have already set up, there is an item called Federation Metadata XML, click here to download the XML data (bottom screen).
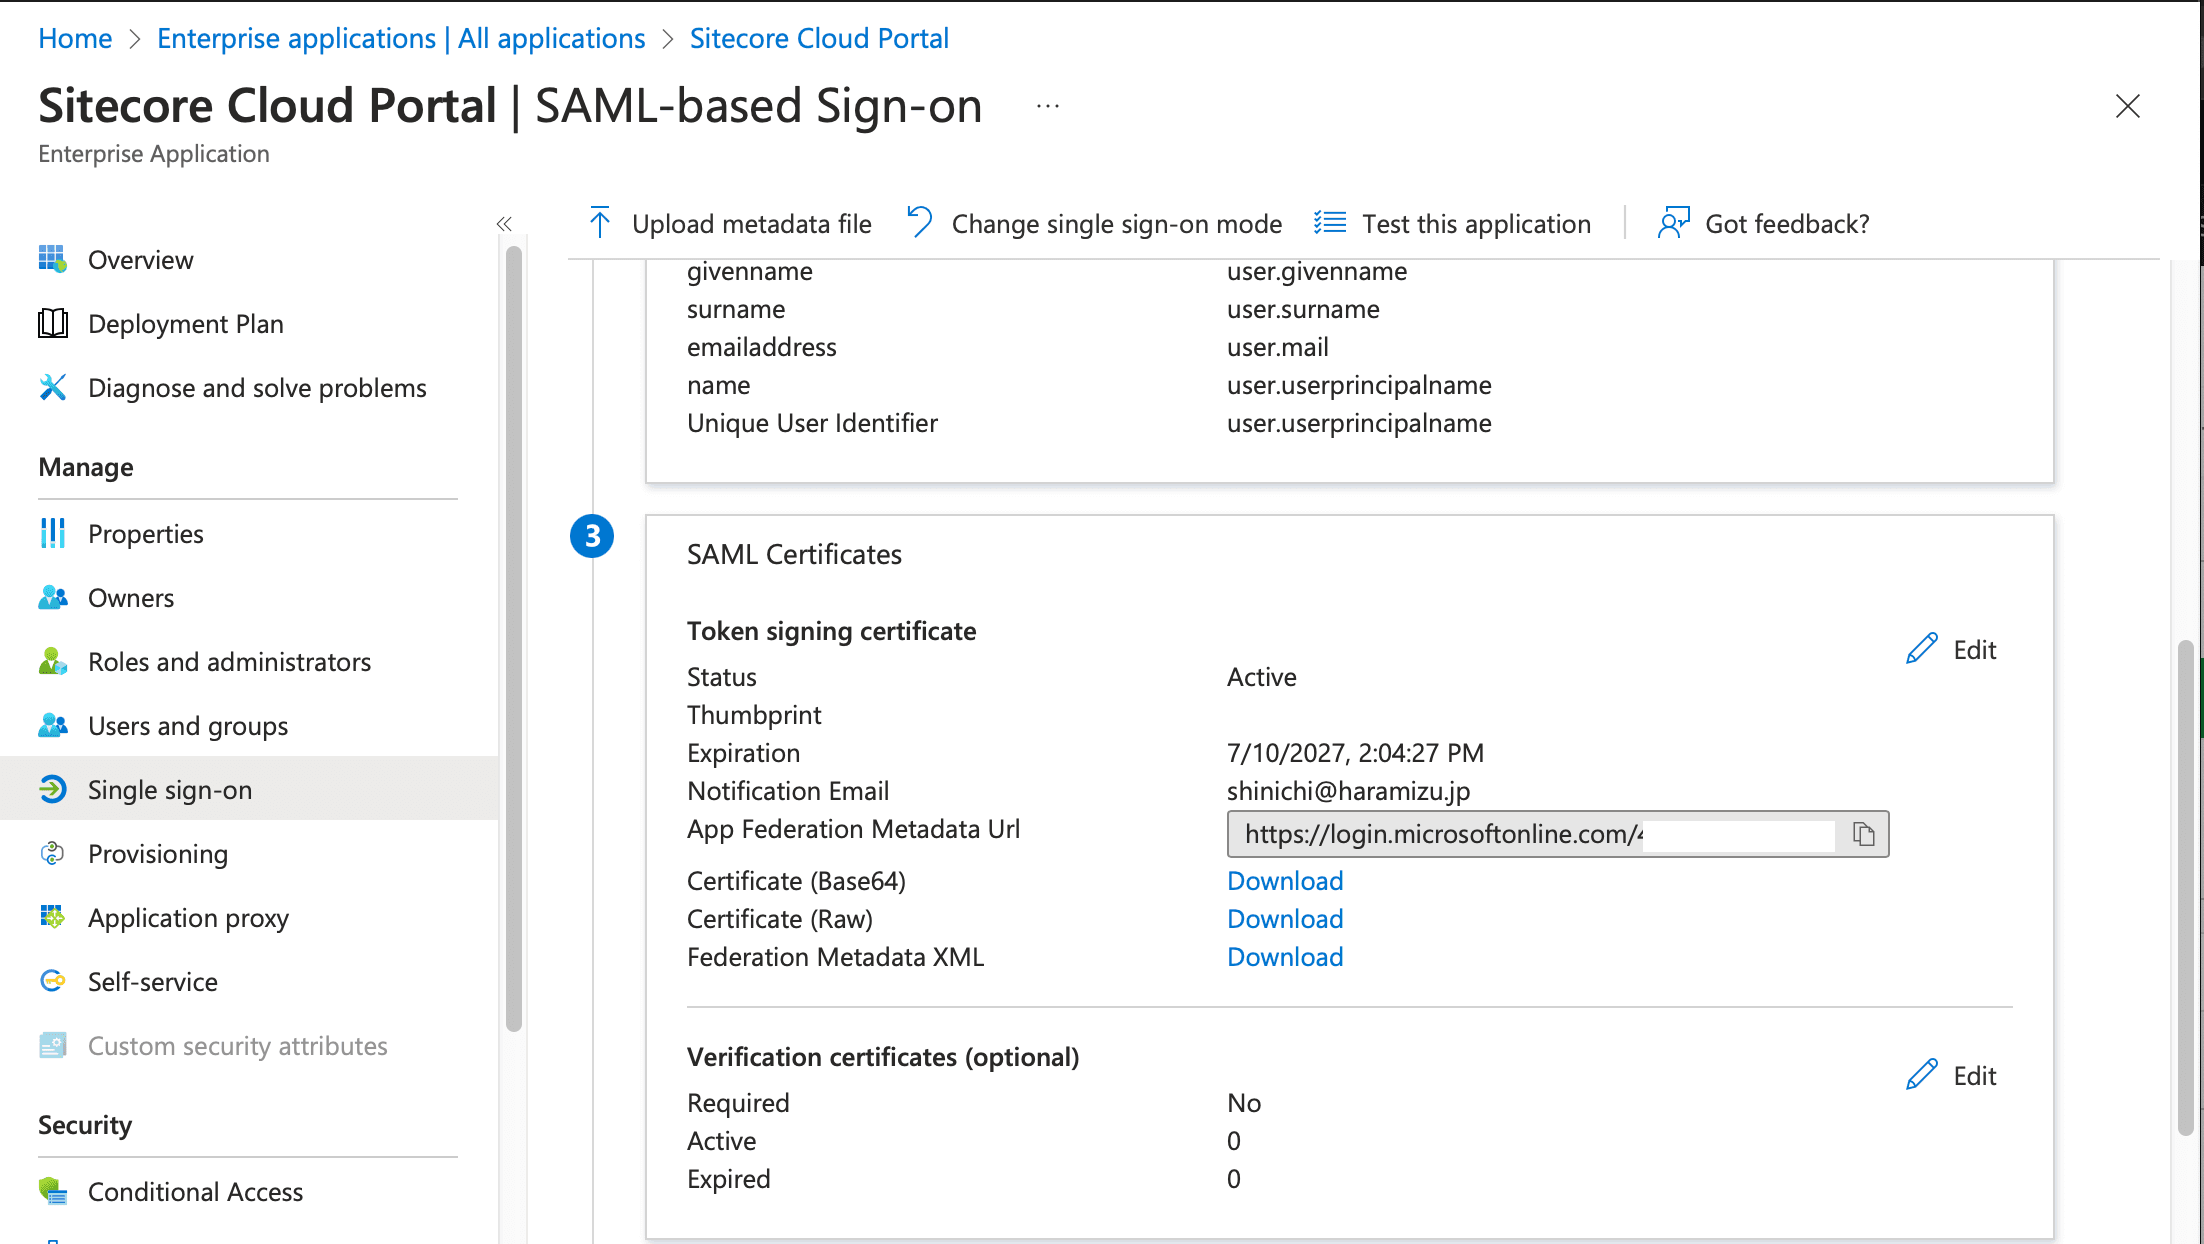
The XML data obtained here is used to set the items in Step 2 and saved to complete the setup.
Sign In Test
Click on the Test button from the Settings screen. The Start test button will appear as shown below.
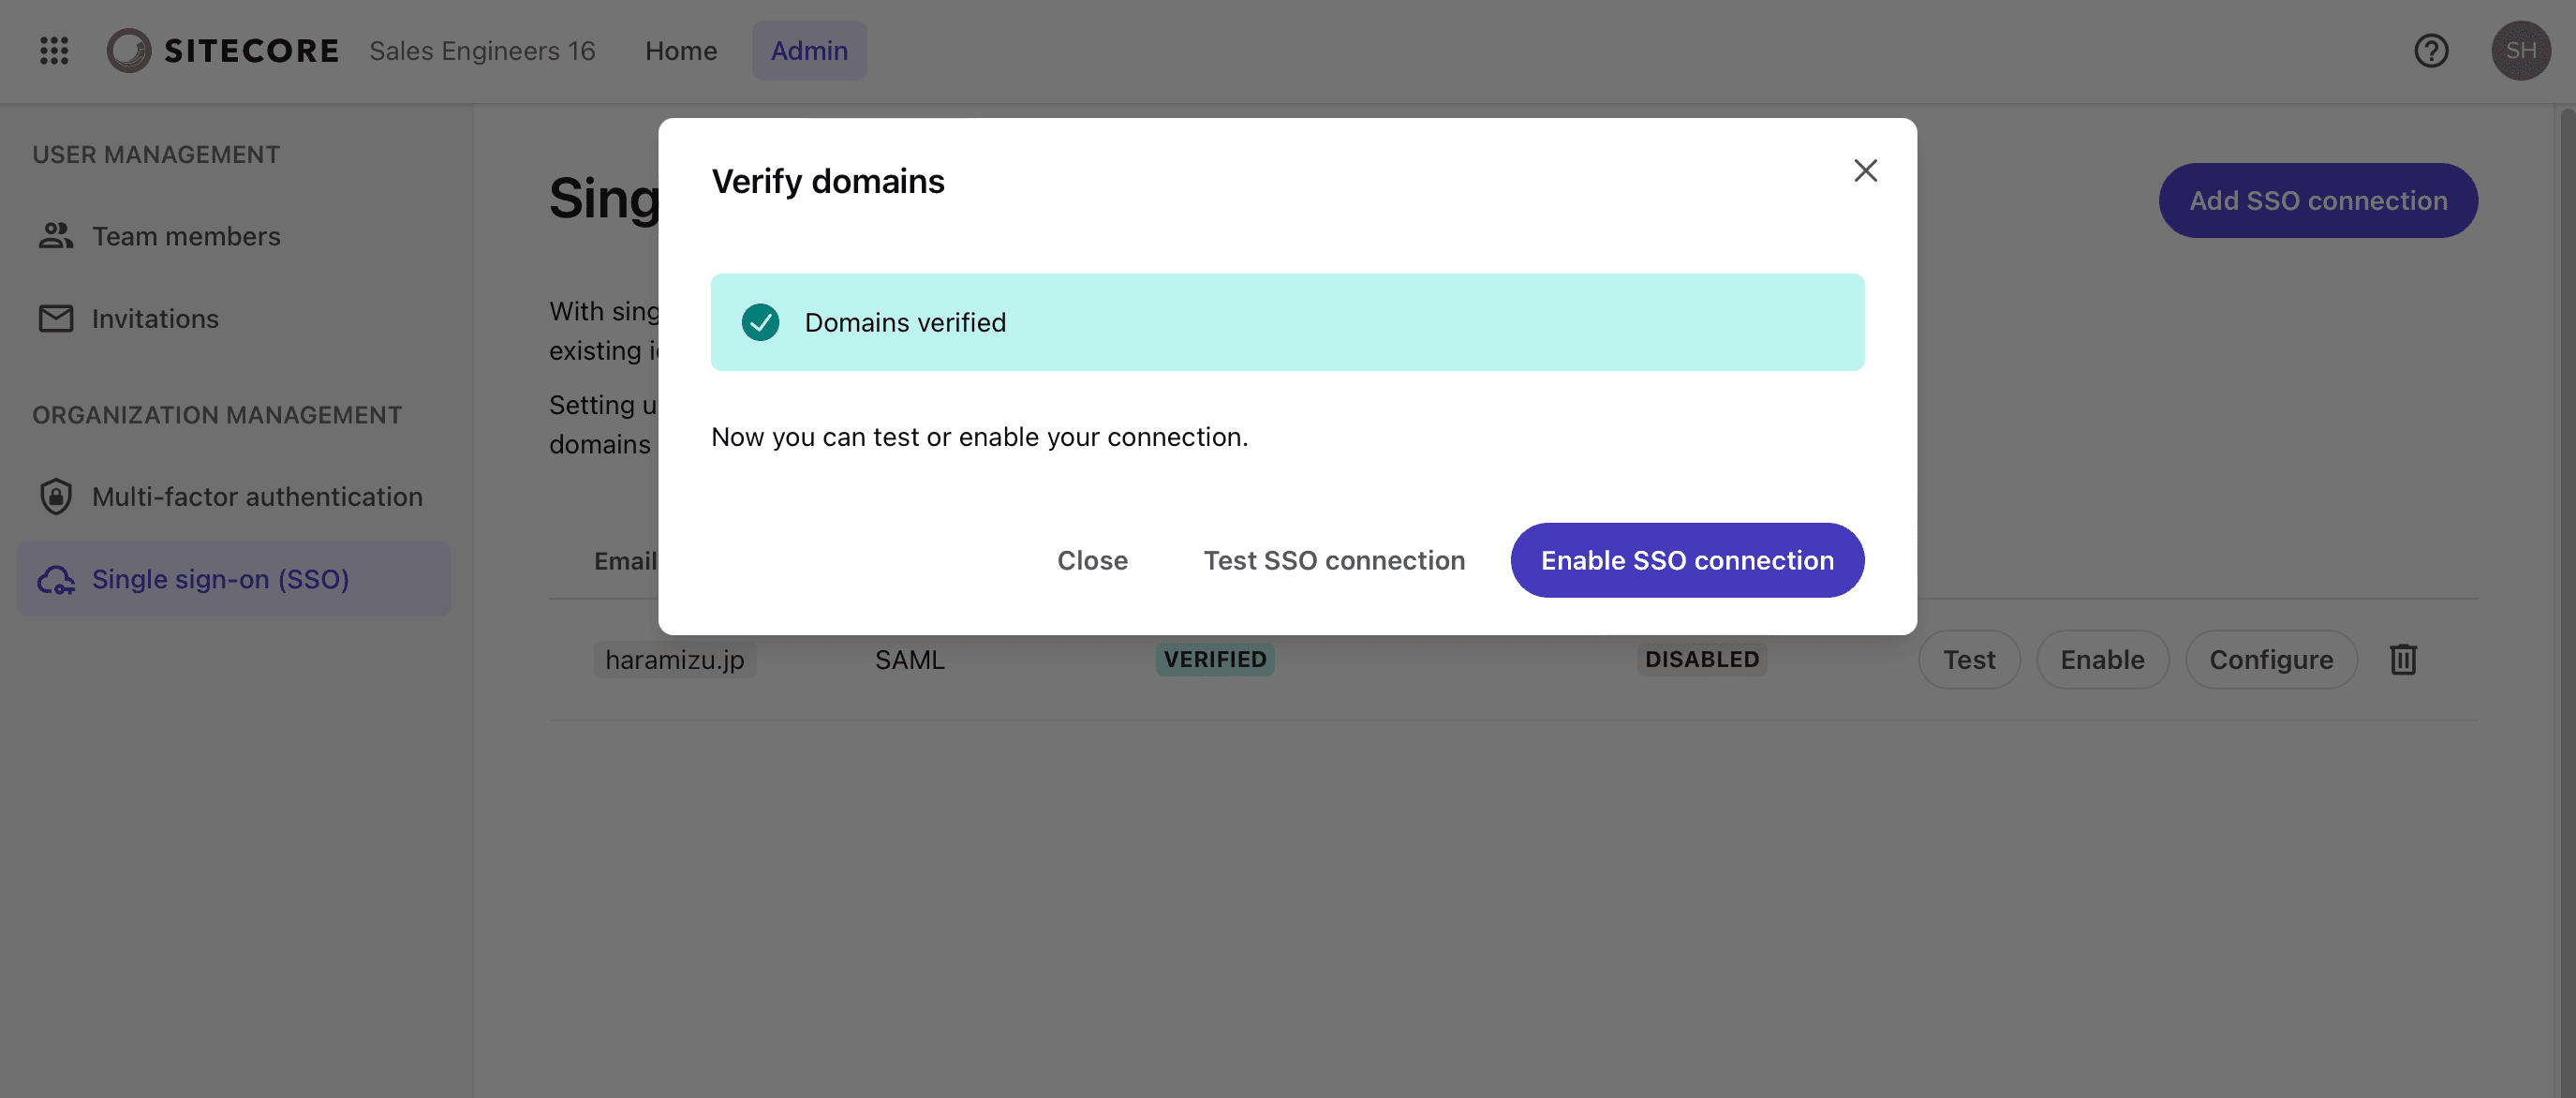
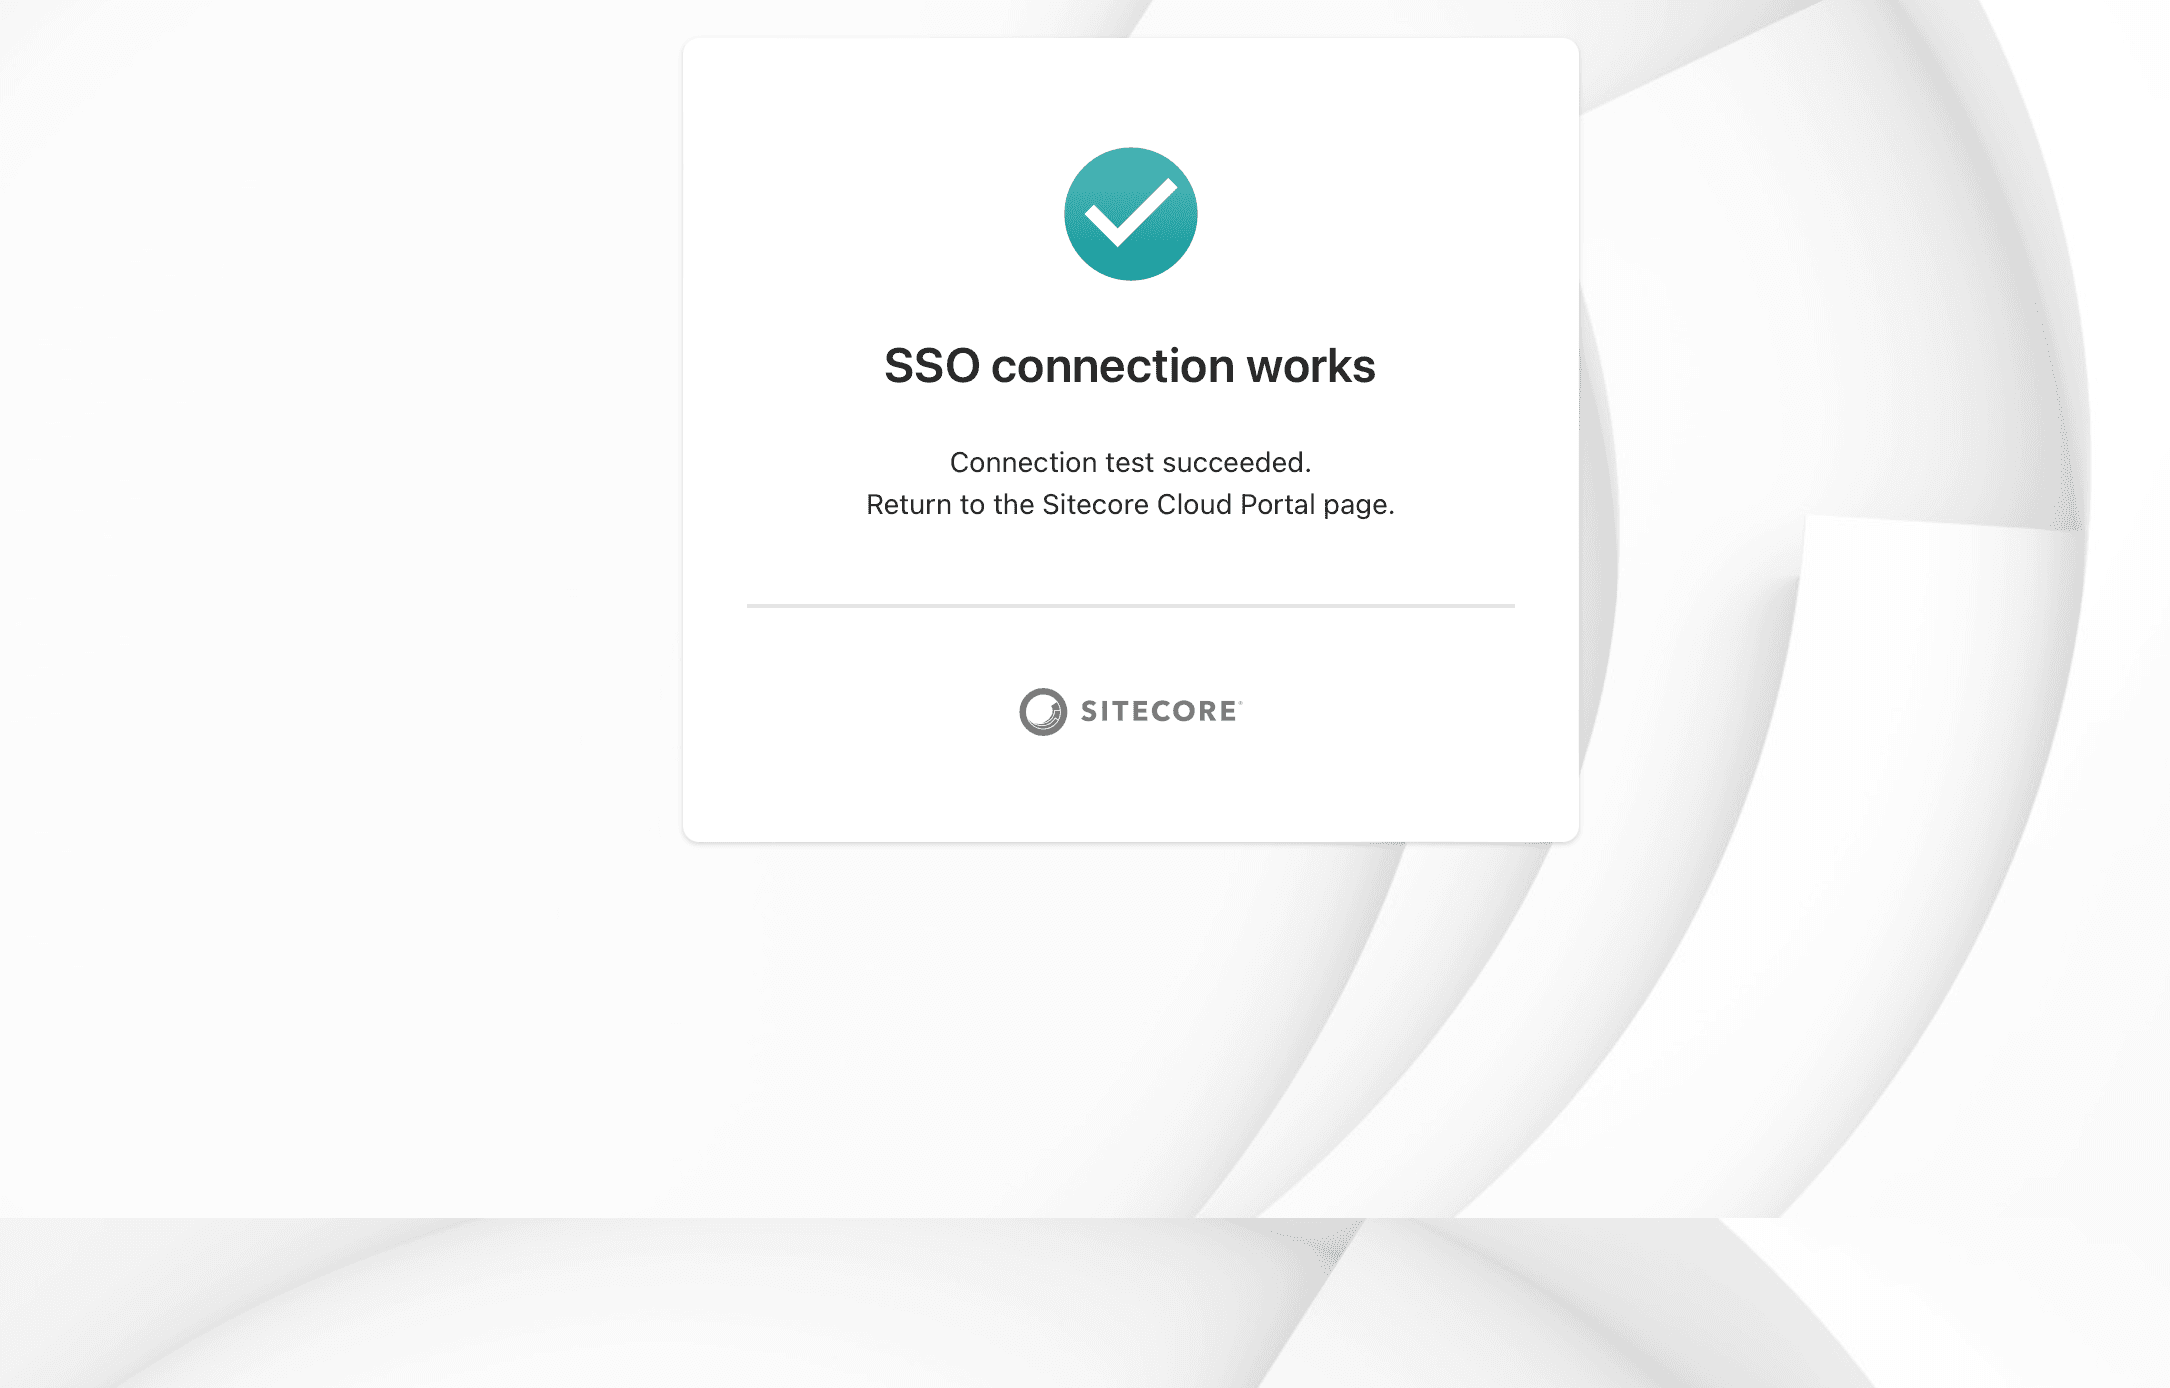
The following screen is displayed when the login is successfully completed with the account specified in the Entra ID Users and Groups.
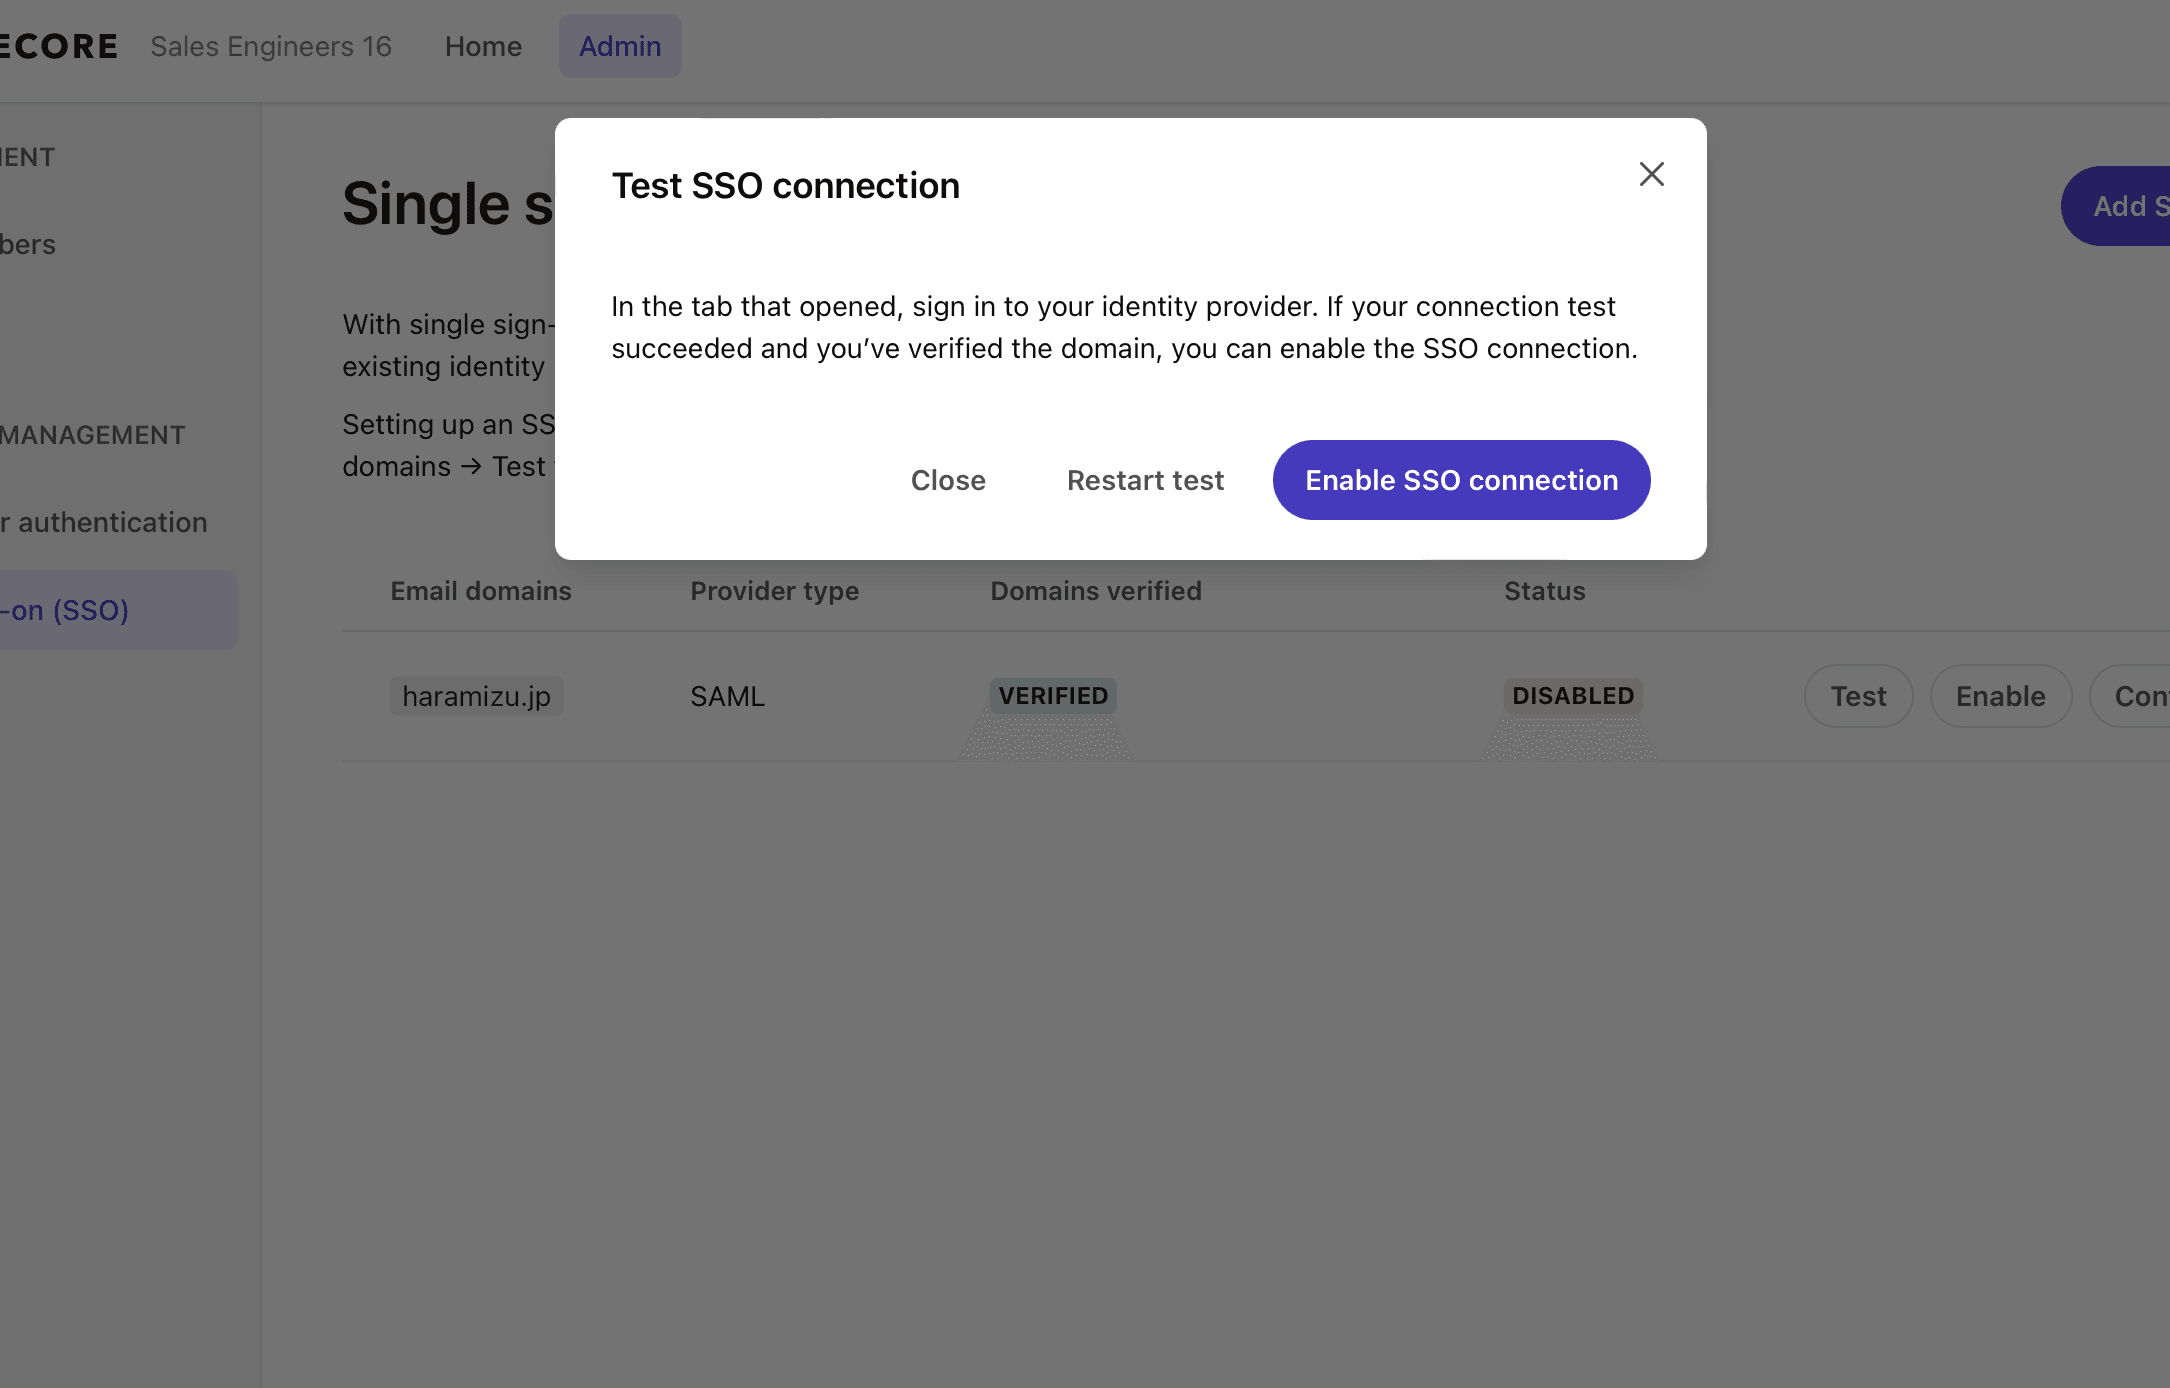
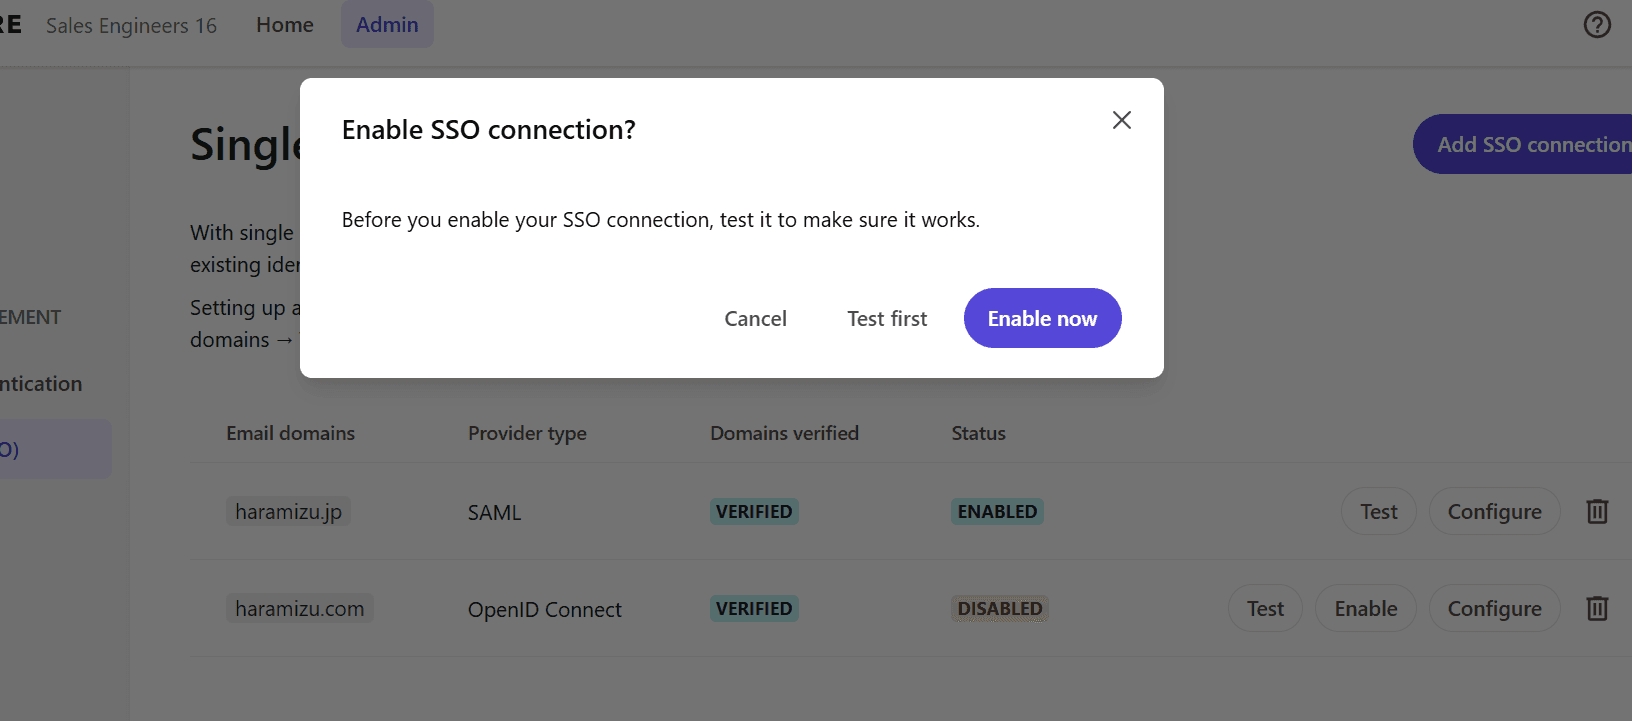
Now you can log in, click on the Enable SSO Connection button to enable SSO settings.
Once enabled as shown below, SSO configuration is complete.
Check login status
The SSO login information can be obtained from the Entra ID side. First, access the Microsoft Entra Management Center and select the application you have just configured. In the application, there is a Sign In Log section.
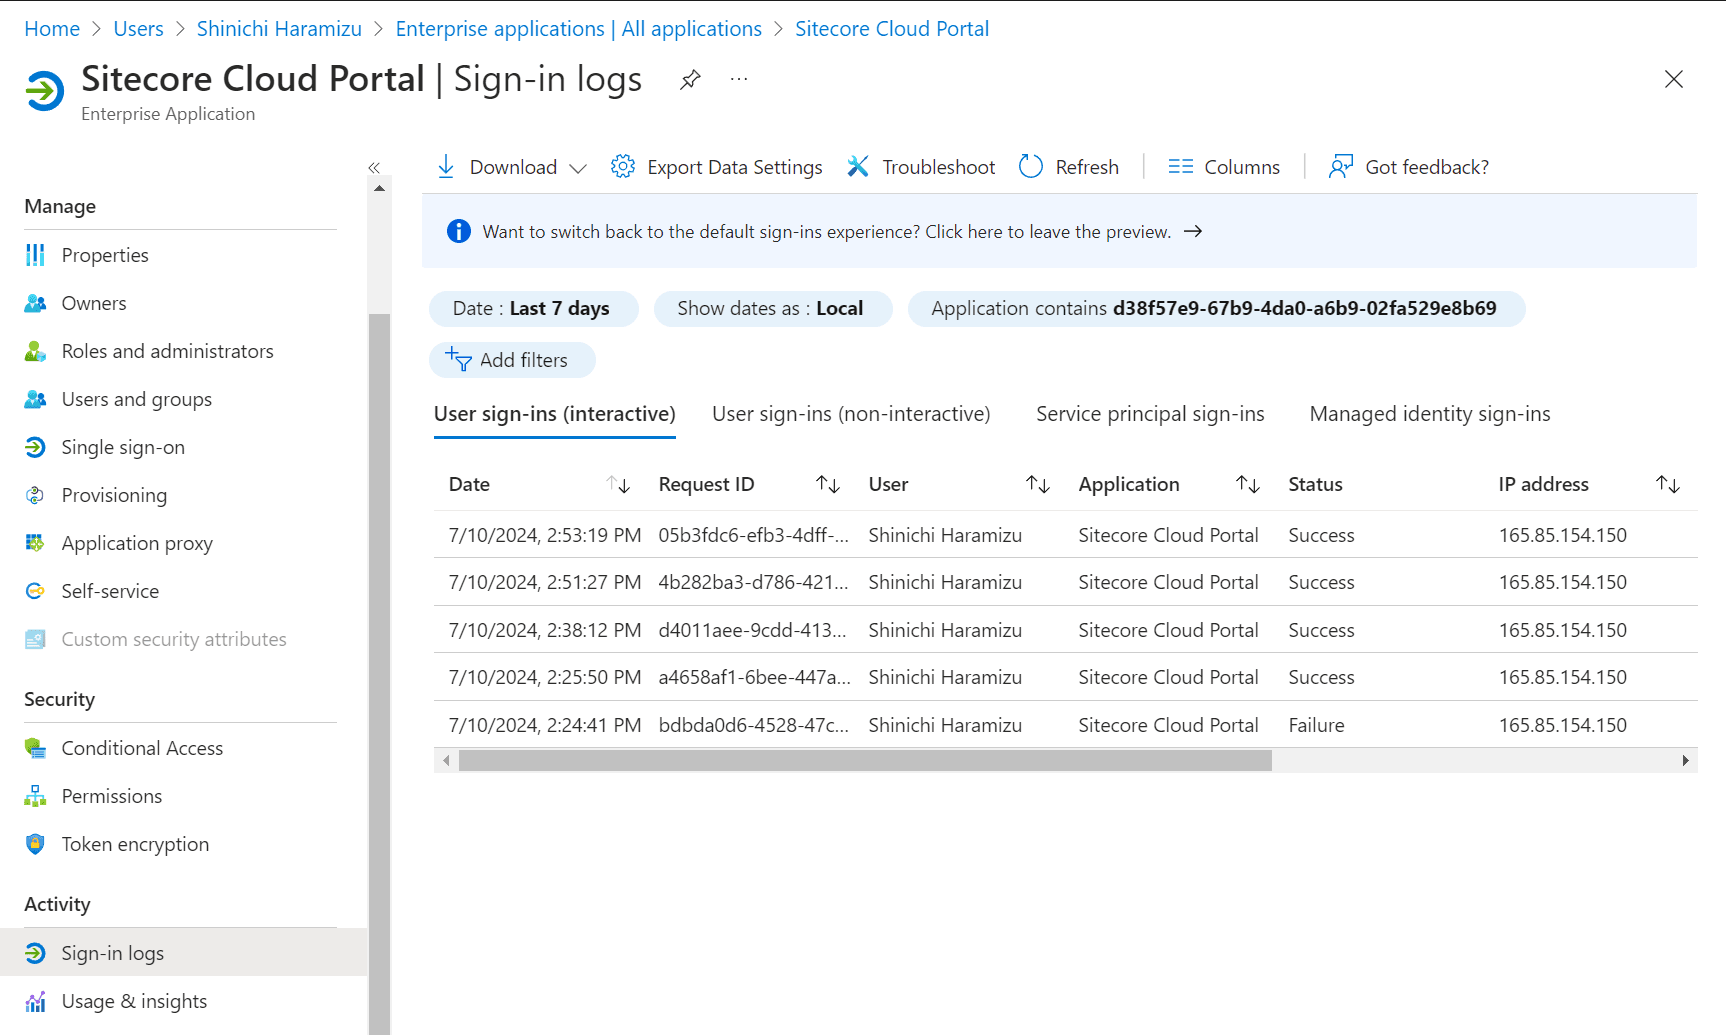
After signing in to the Sitecore Cloud Portal in private mode in your browser with the corresponding account in SSO, check the logs to see the increase.
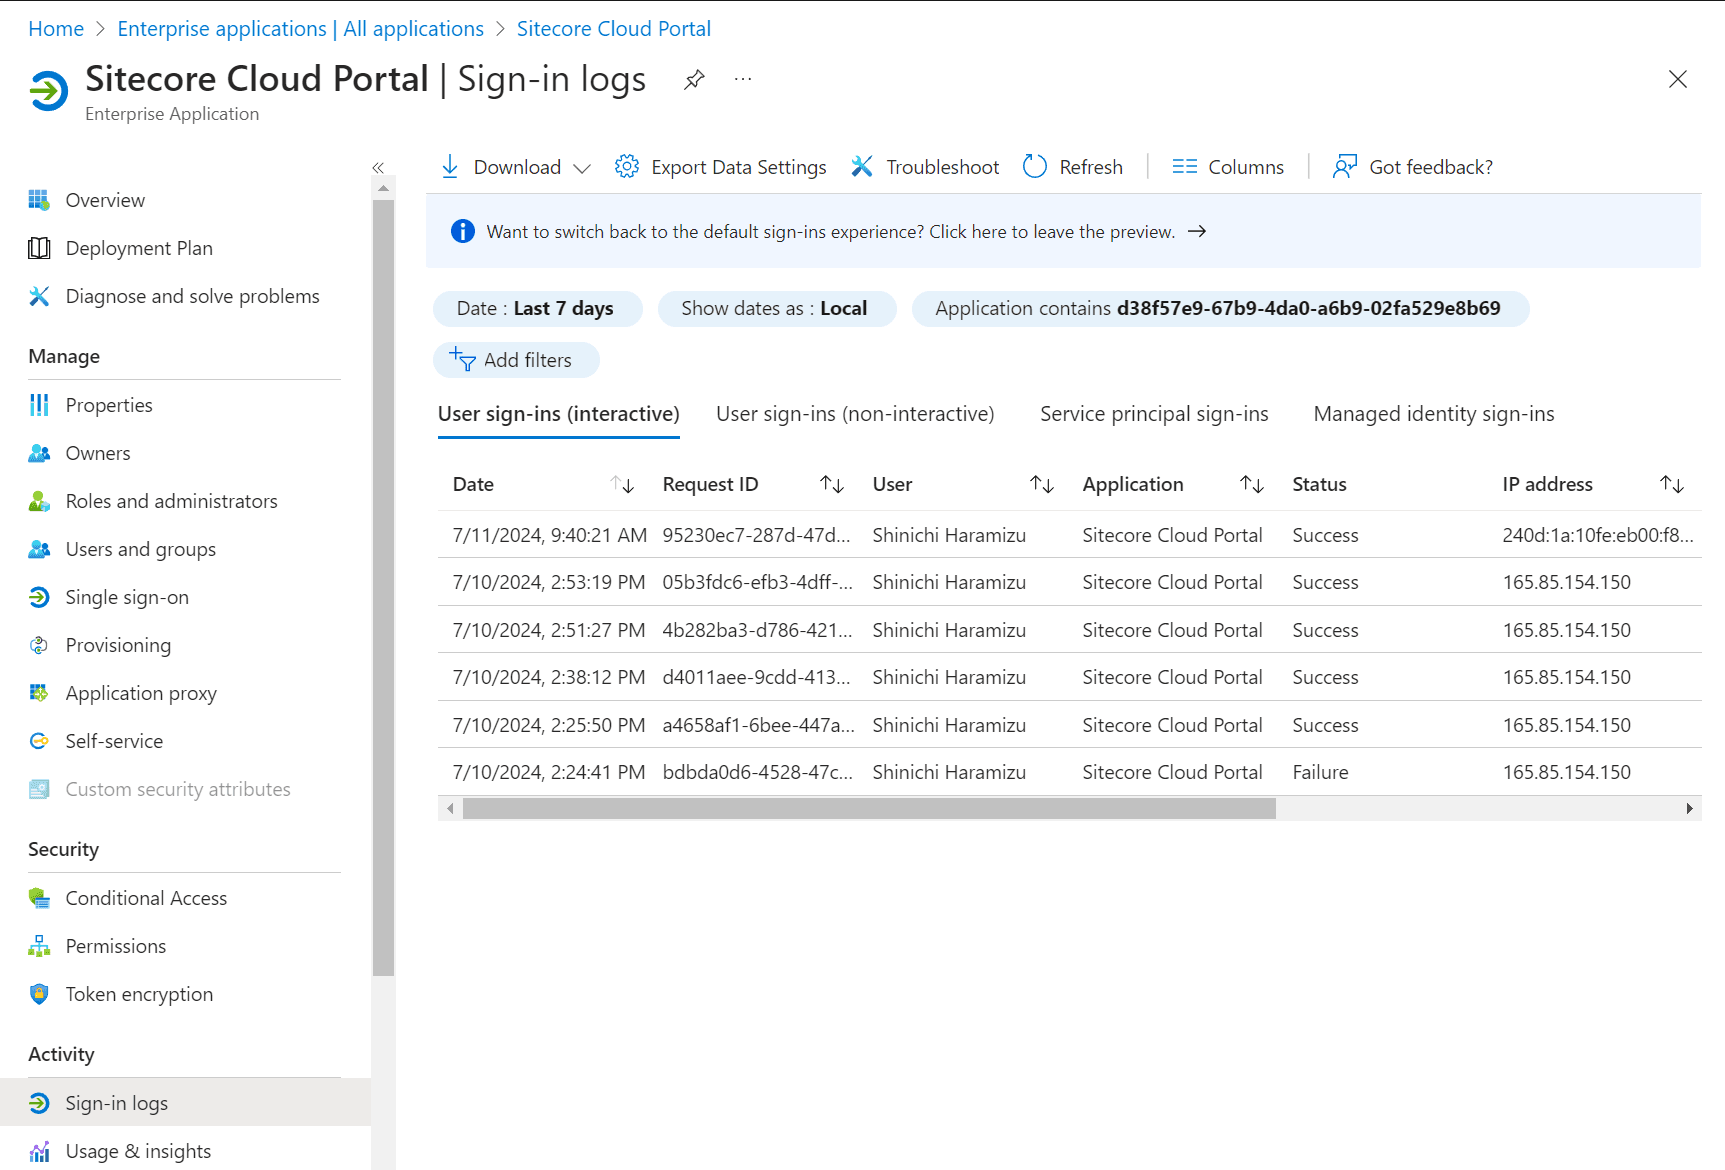
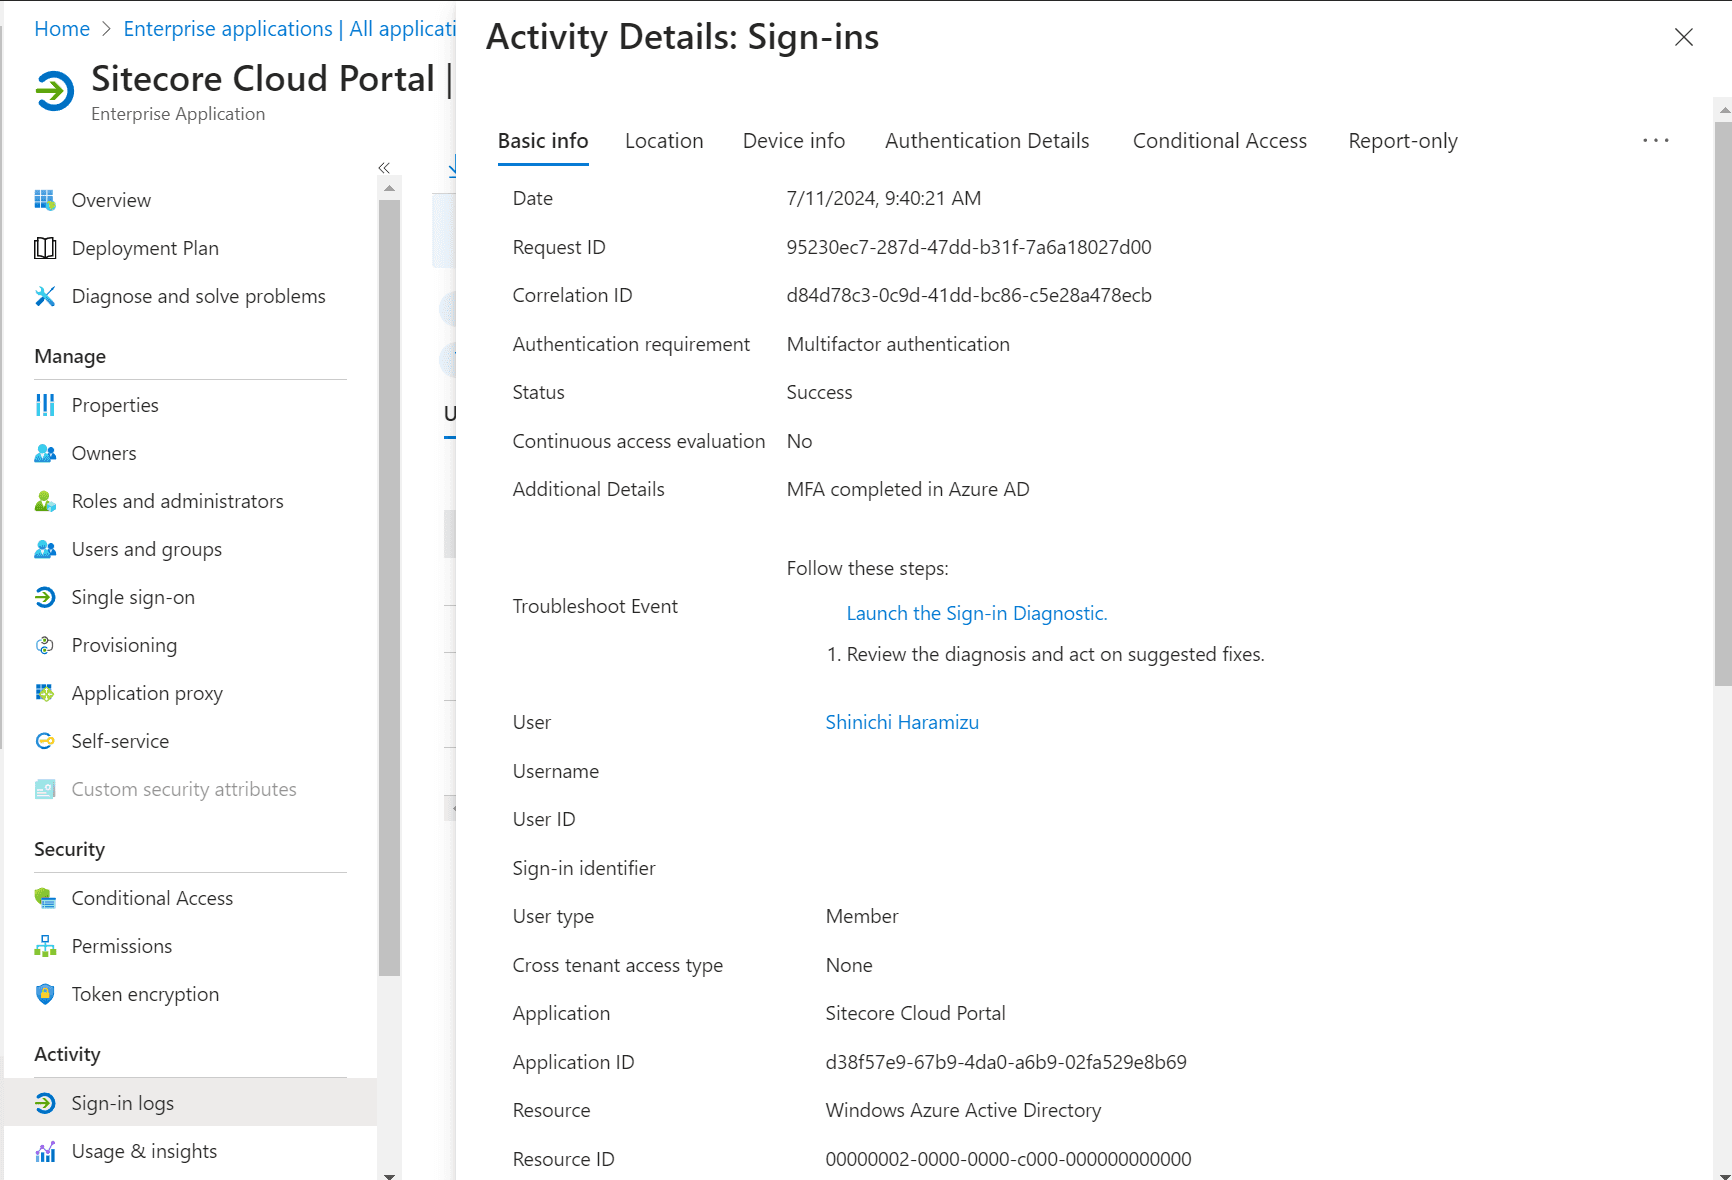
More information about the latest sign-in can be found by clicking on the appropriate record.
The retention period for Entra ID sign-in data is listed on the following page.
Data is retained for 30 days, and the data can also be stored in storage for an even longer period of time.
Working with Auth0
As for setting up SSO to work with Auth0, here are the steps to connect using OpenID Connect.
Auth0 setting
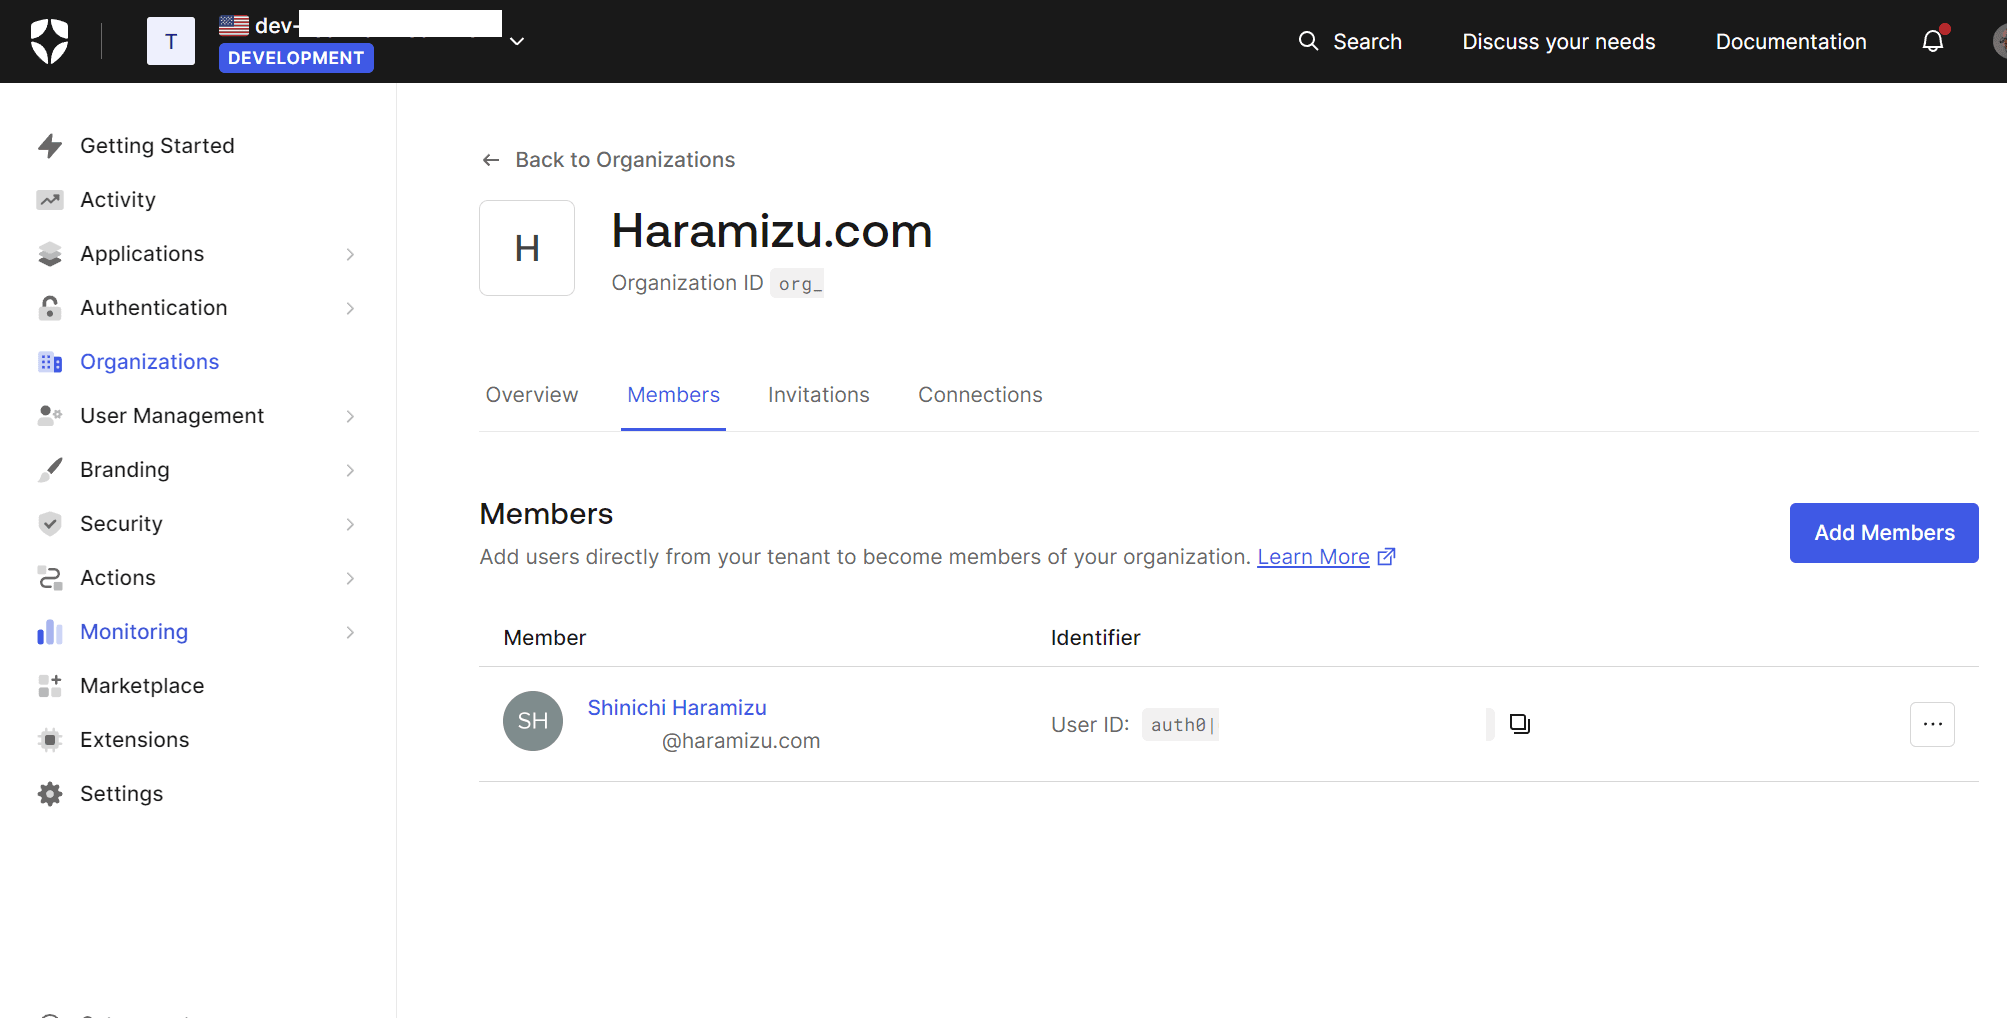
In this article, we will use the evaluation (free) version of Auth0 to proceed with the setup. First, we will create a test user to log in and the organization to which the user belongs.
- Create an Organization
- User Management - Users creates users who can log in
- Assign the created user to the created Organization.
Then add an application. Select Applications - Applications from the menu on the left. This time, the following is displayed.
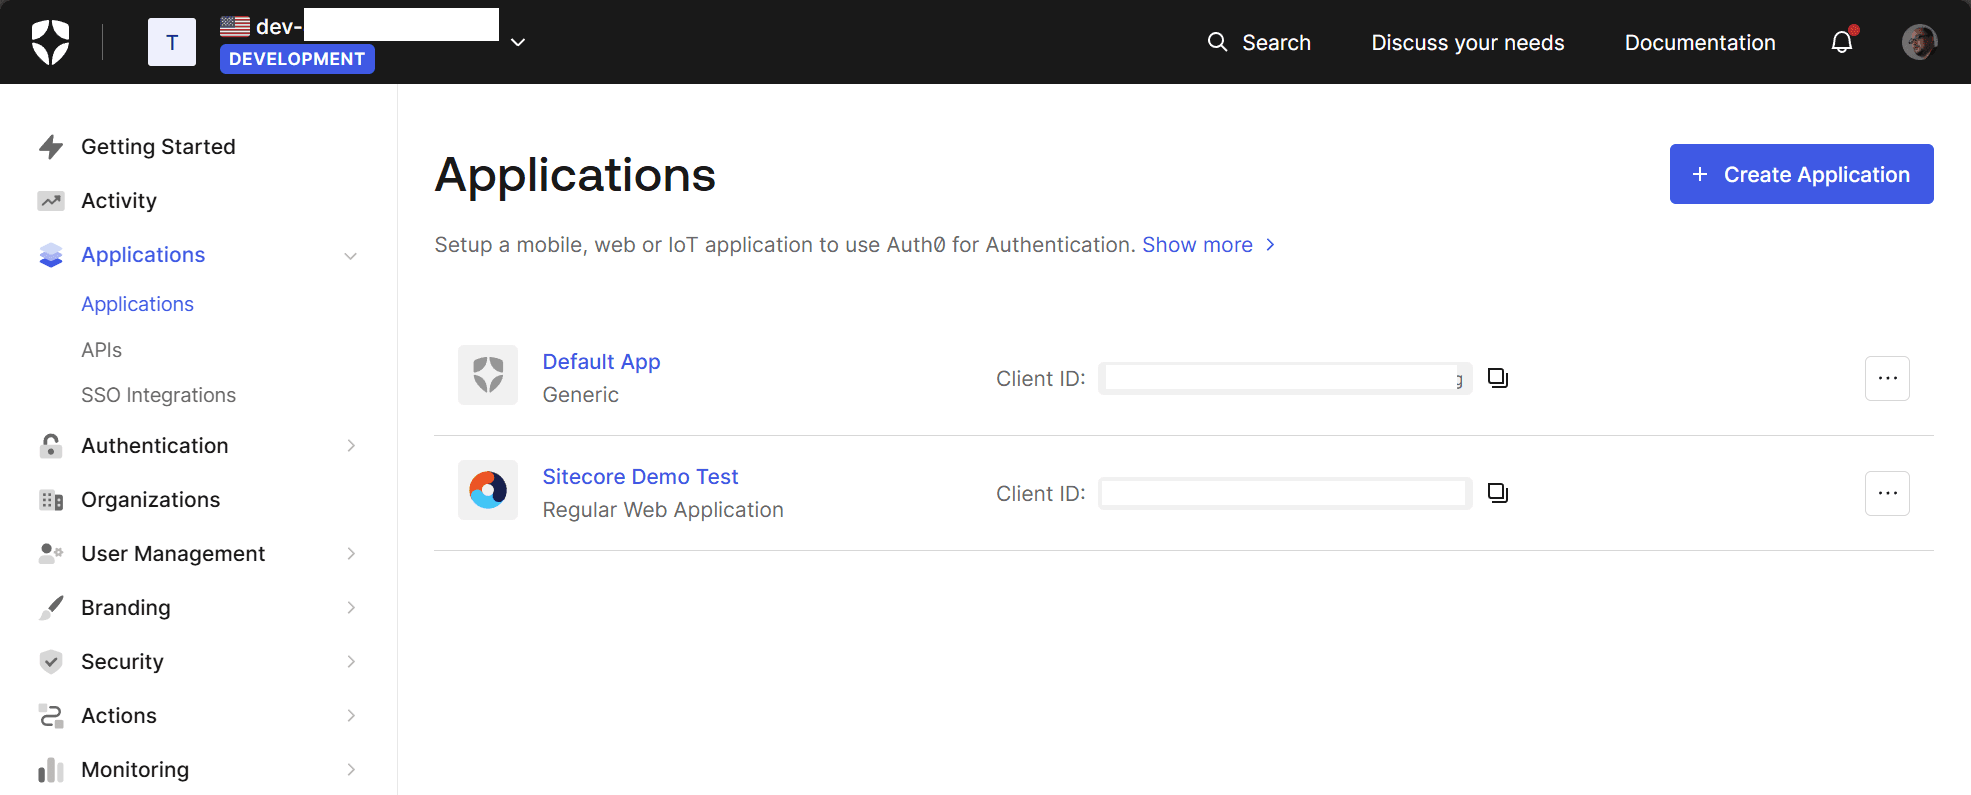
Click on the Create application button in the upper right corner to set the name of the application.
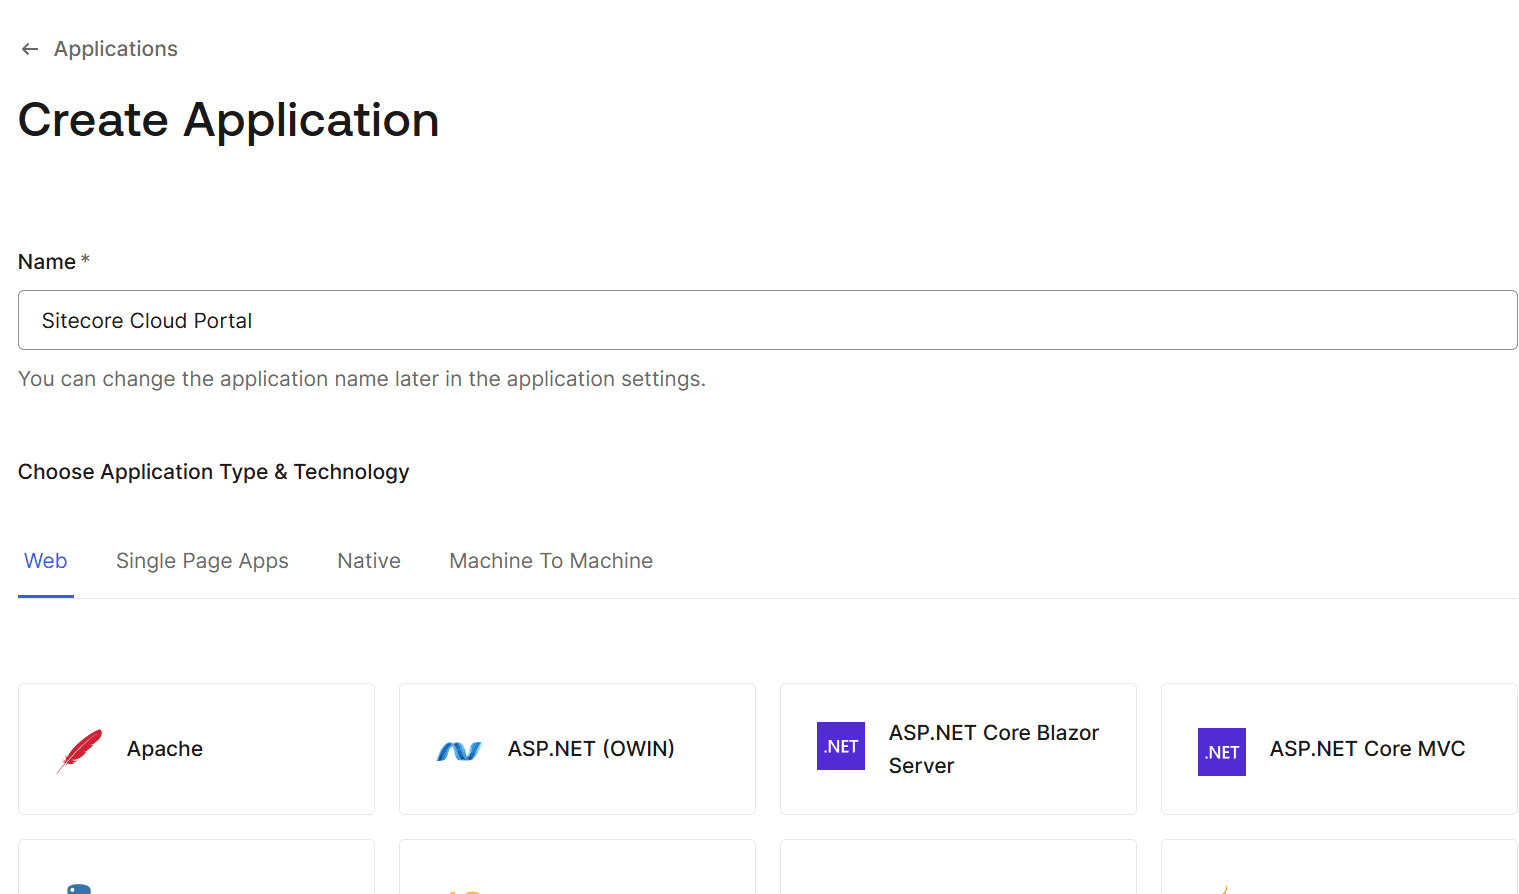
Click the Continue button to create the application. The required settings are as follows
- Domain and Client IDs are required for Sitecore Cloud Portal configuration
- Application Type is set to Regular Web Application.
- Set the Allowed Callback URLs field to https://auth.sitecorecloud.io/login/callback
This completes the initial preparation of Auth0.
Working with Sitecore Cloud Portal
Next, we will proceed with the configuration on the Sitecore Cloud Portal. As before, select Single sign-on ( SSO ) on the left side of the Admin menu.
When you open OpenID Connection as SSO settings, you will switch to the following screen.
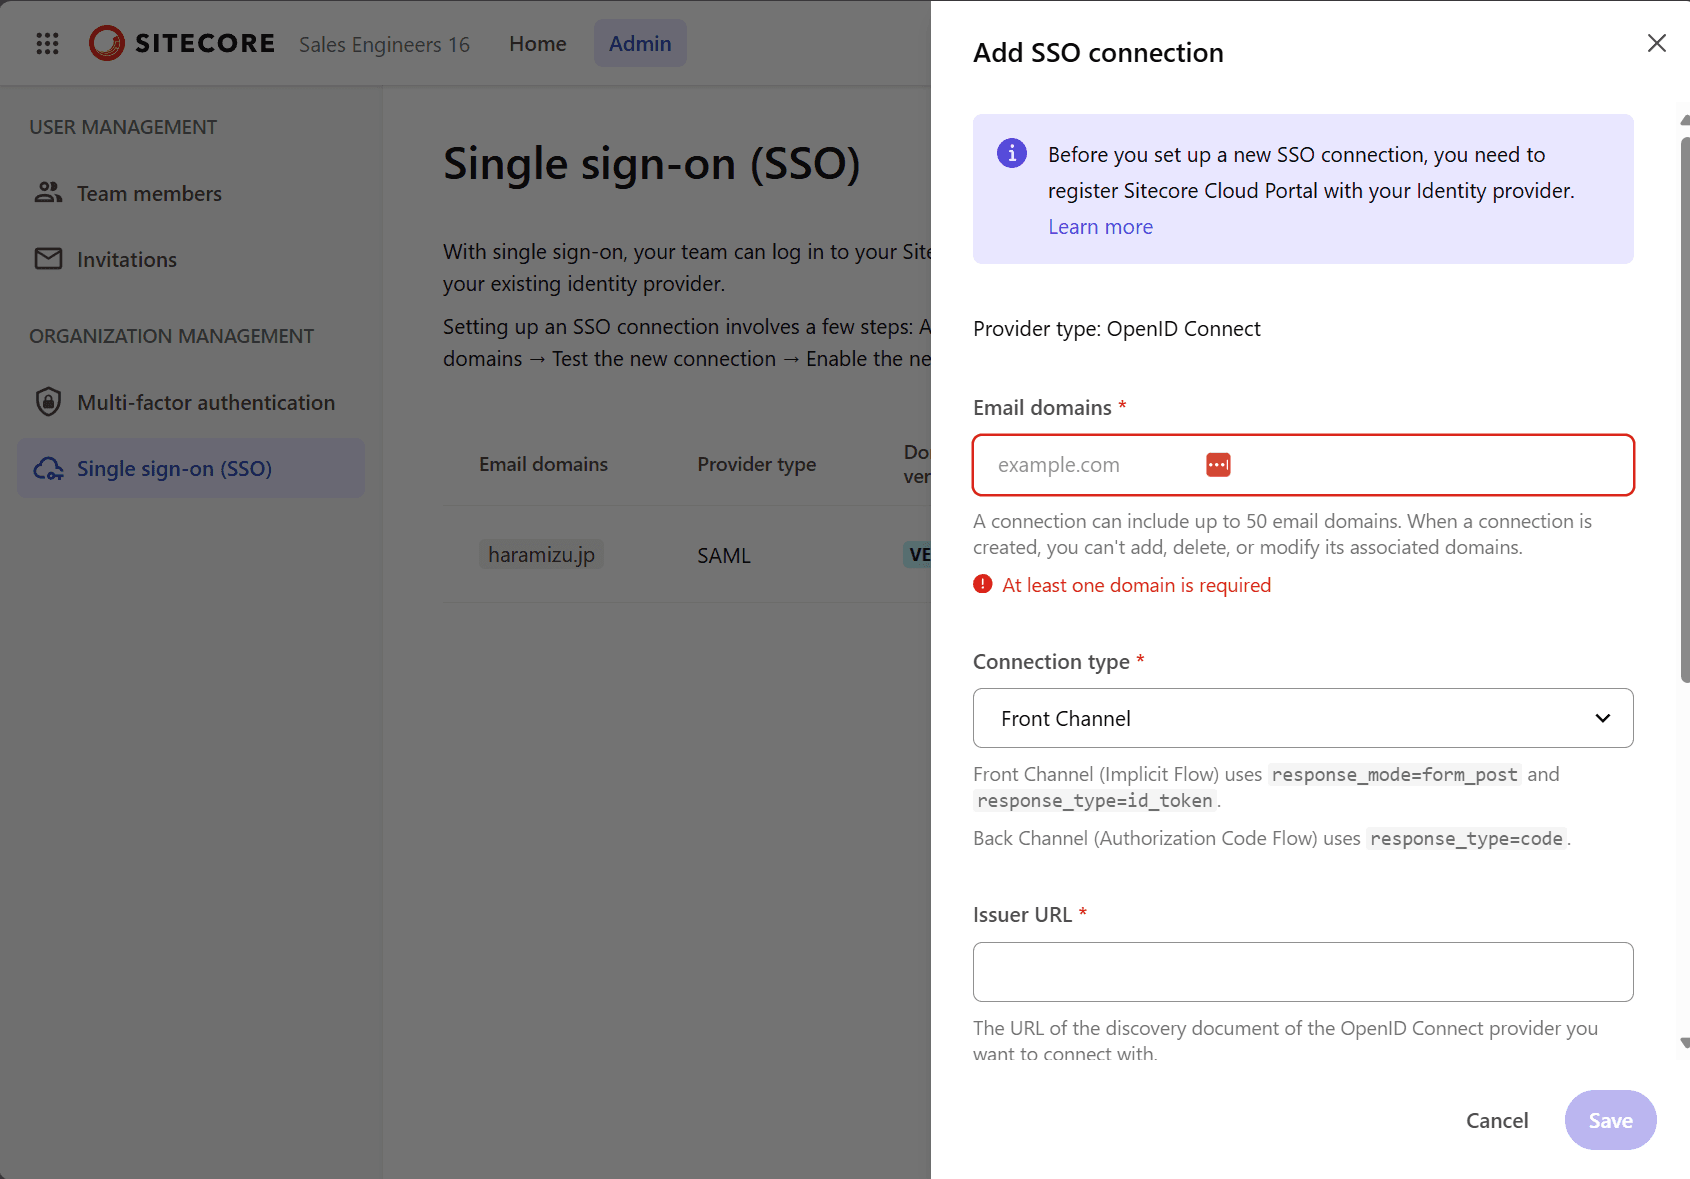
Three items are set here.
- Email domains
- The Issuer URL is set in the form https://your-tenant.auth0.com/.well-known/openid-configuration using the domain name used by Auth0.
- Obtain and set Client ID
After saving, the Domain Authentication screen will appear.
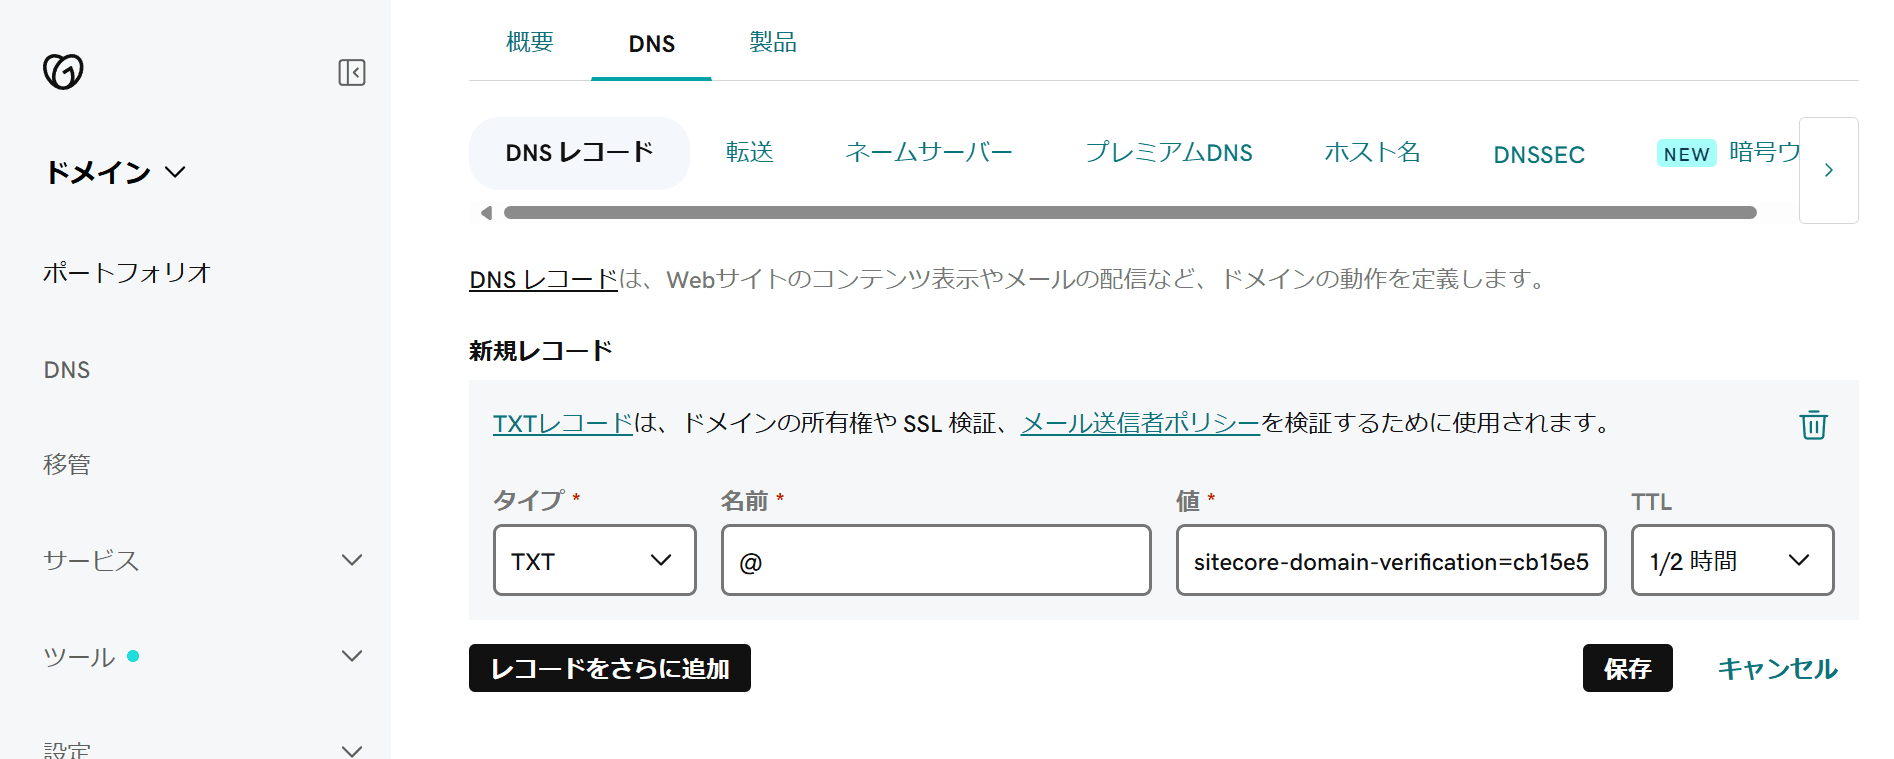
Please implement the key shown as a DNS text record to complete the domain authentication. Below is an example of adding a DNS record with GoDaddy's service.
After the key is reflected and authentication is complete, the dialog changes to the following
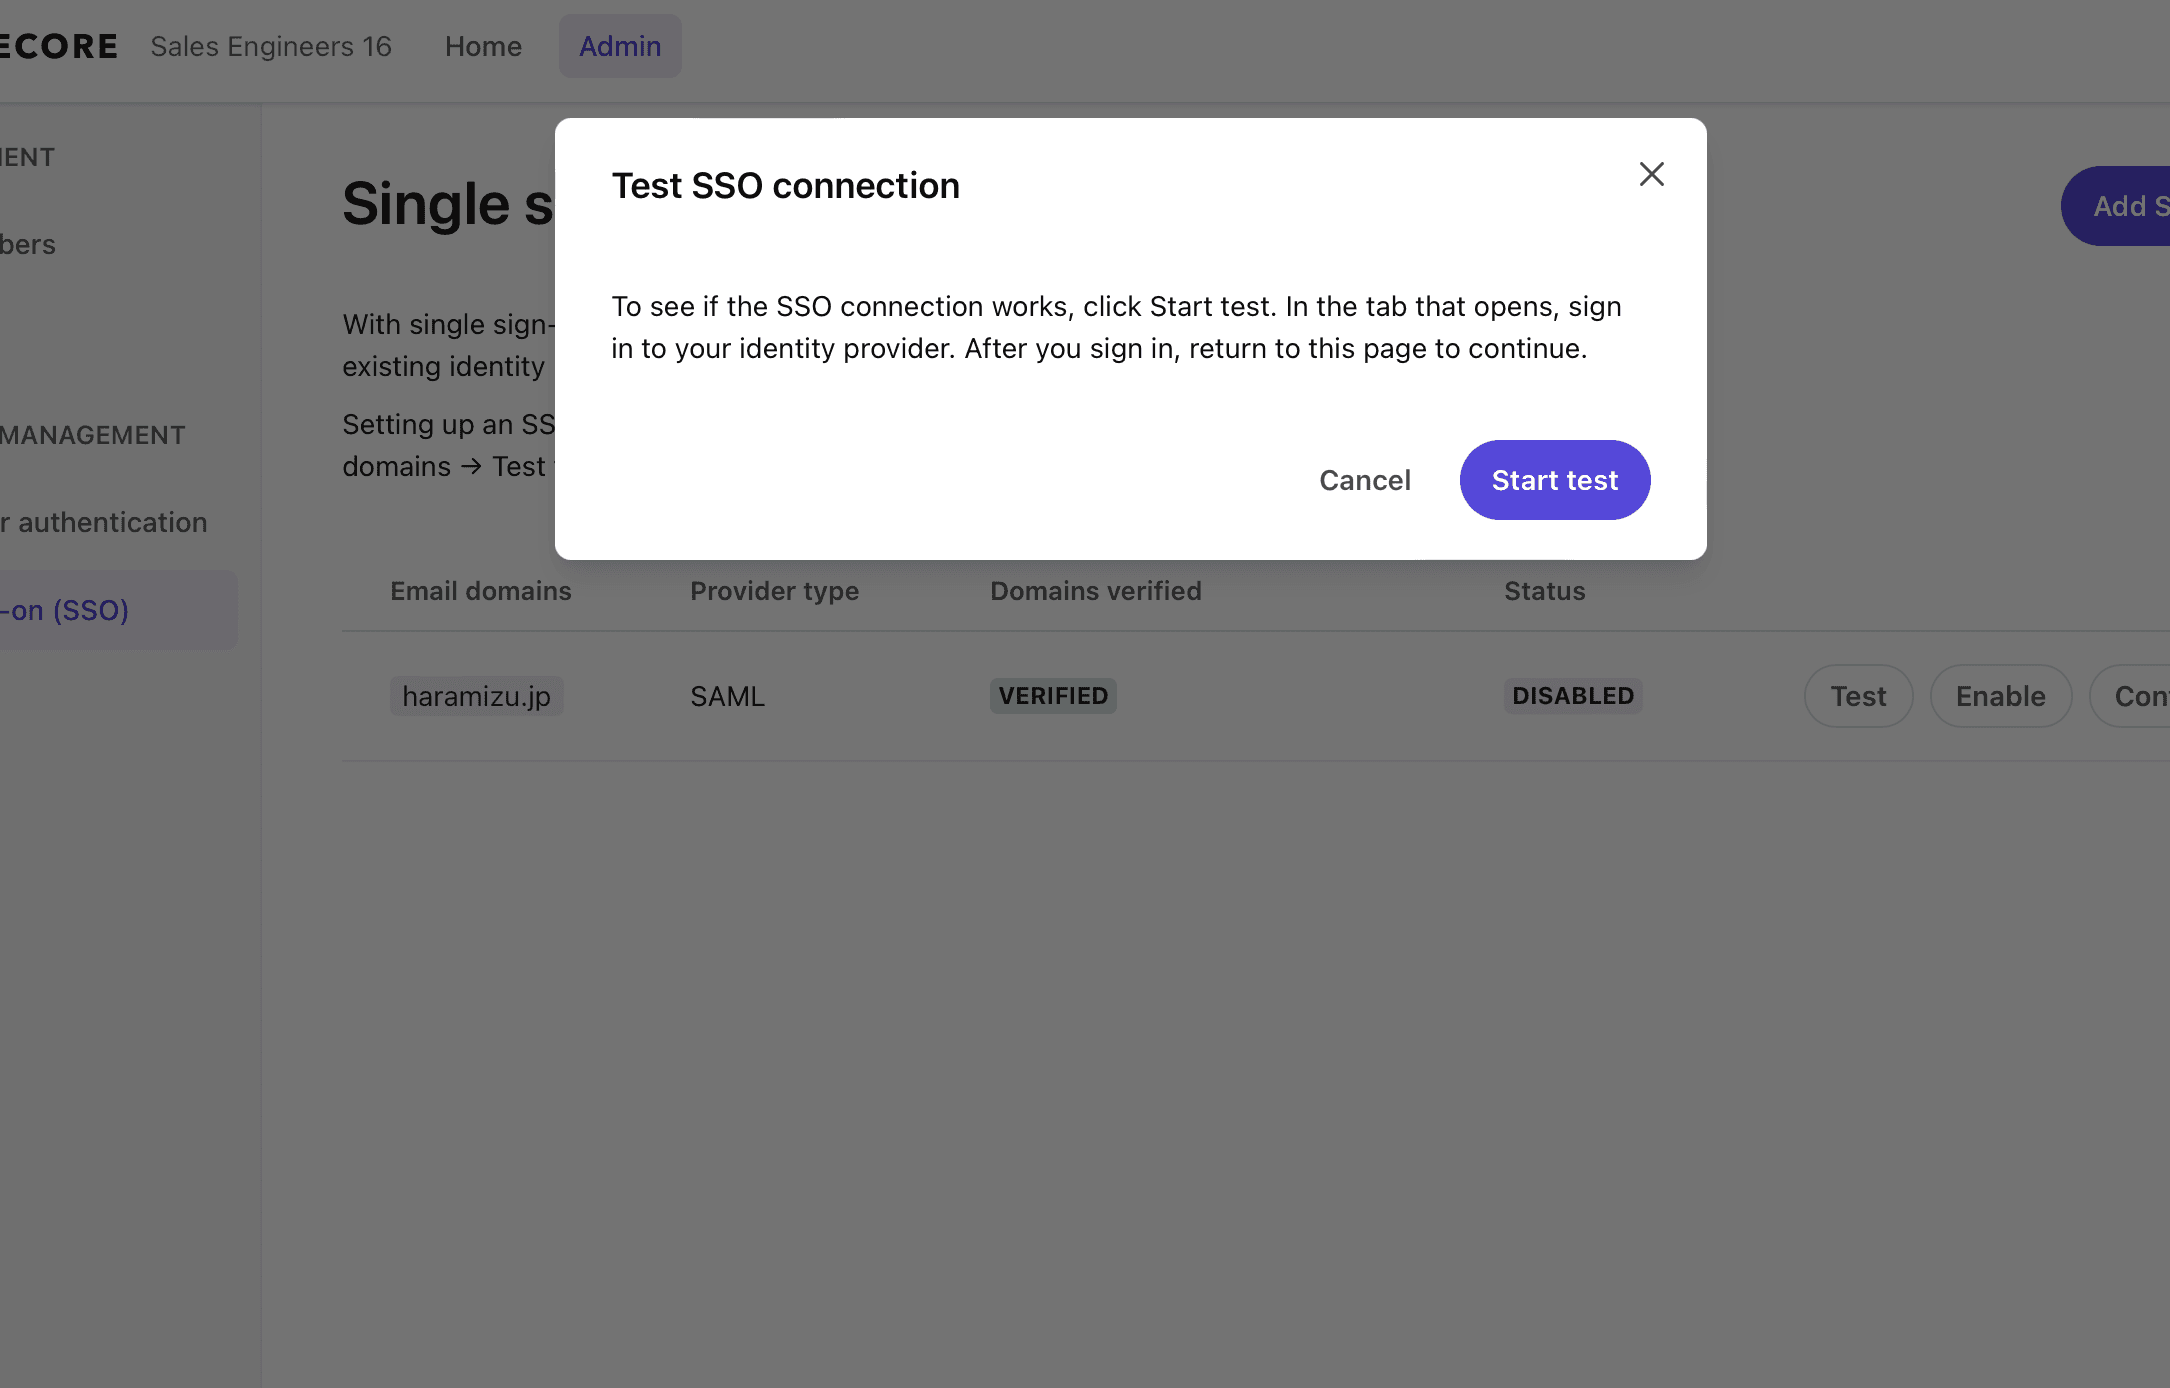
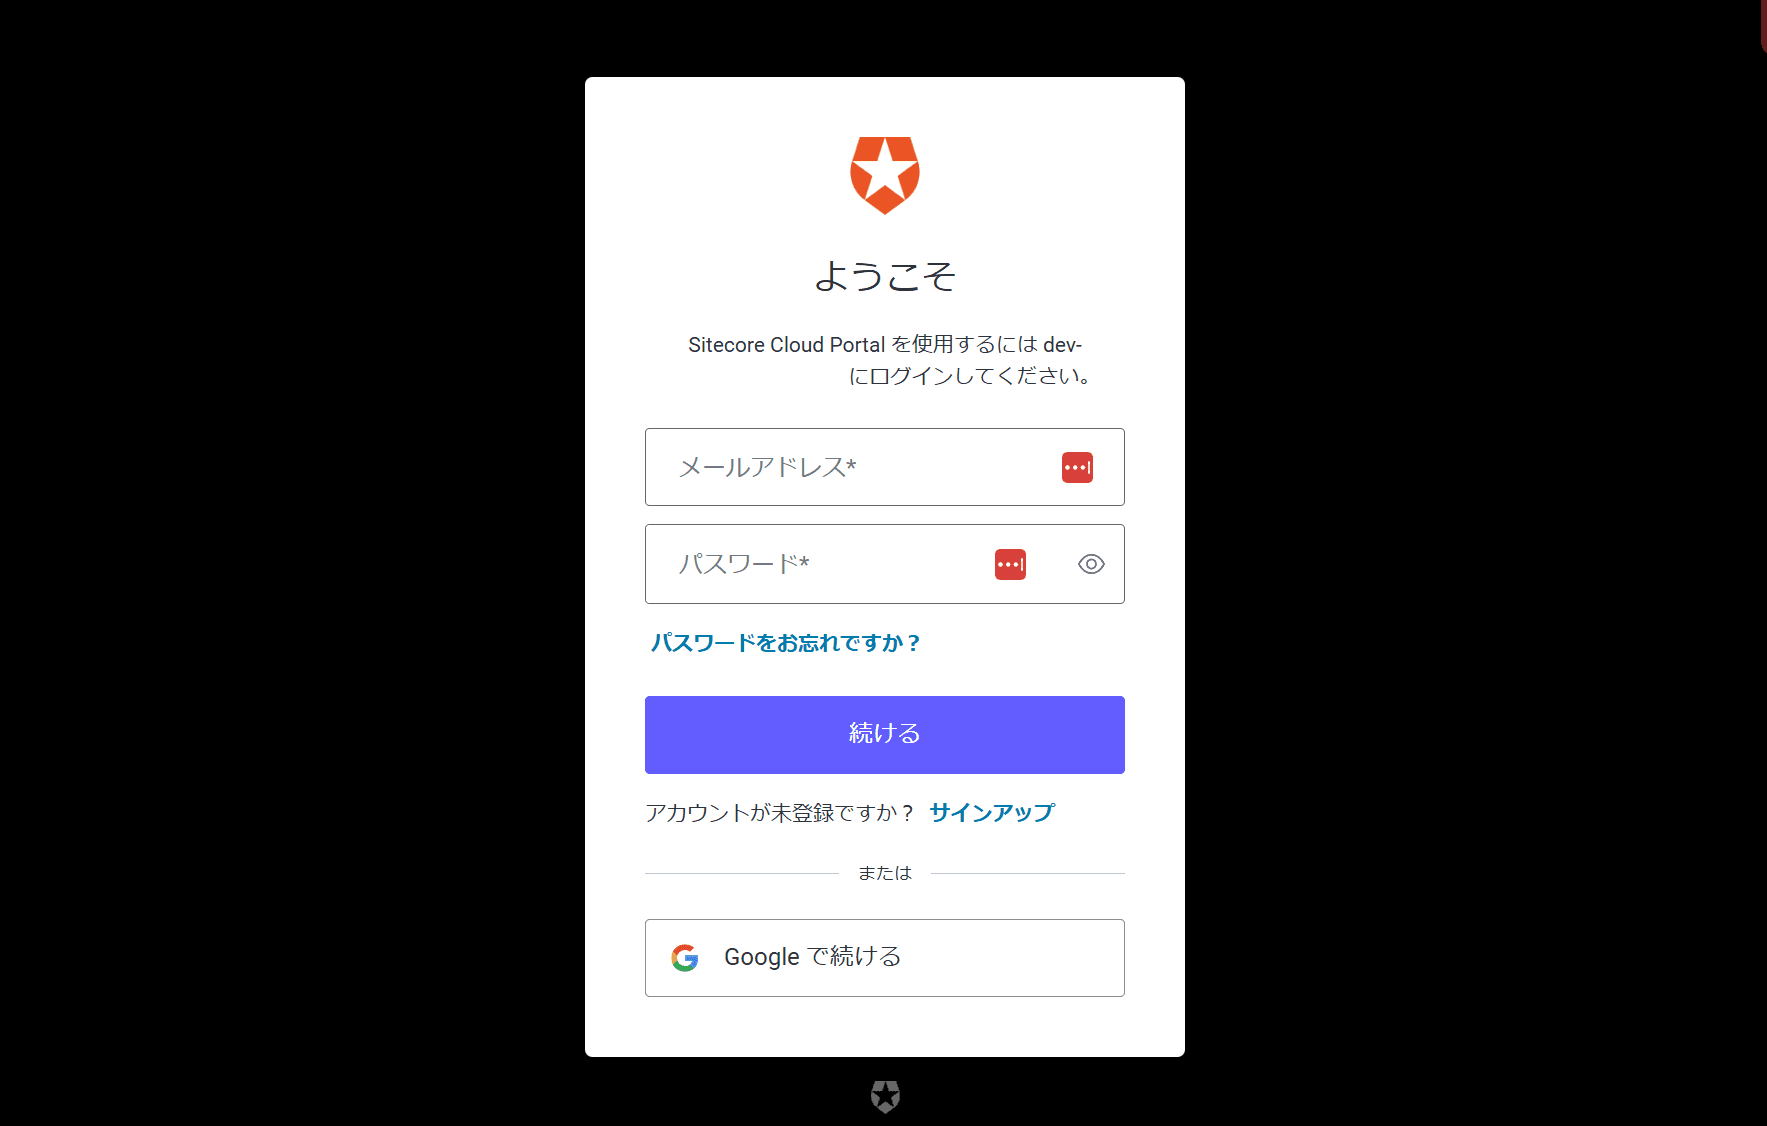
Then run Test SSO Connection. After clicking this button, the Auth0 login screen is displayed as shown below.
If the login is successful, the following screen will appear.
After confirming that it has been successfully completed, press the Enable SSO connection button to enable it. The screen will change as follows.
Click the Enable Now button, and the SSO configuration will proceed and the icon will rotate during configuration.
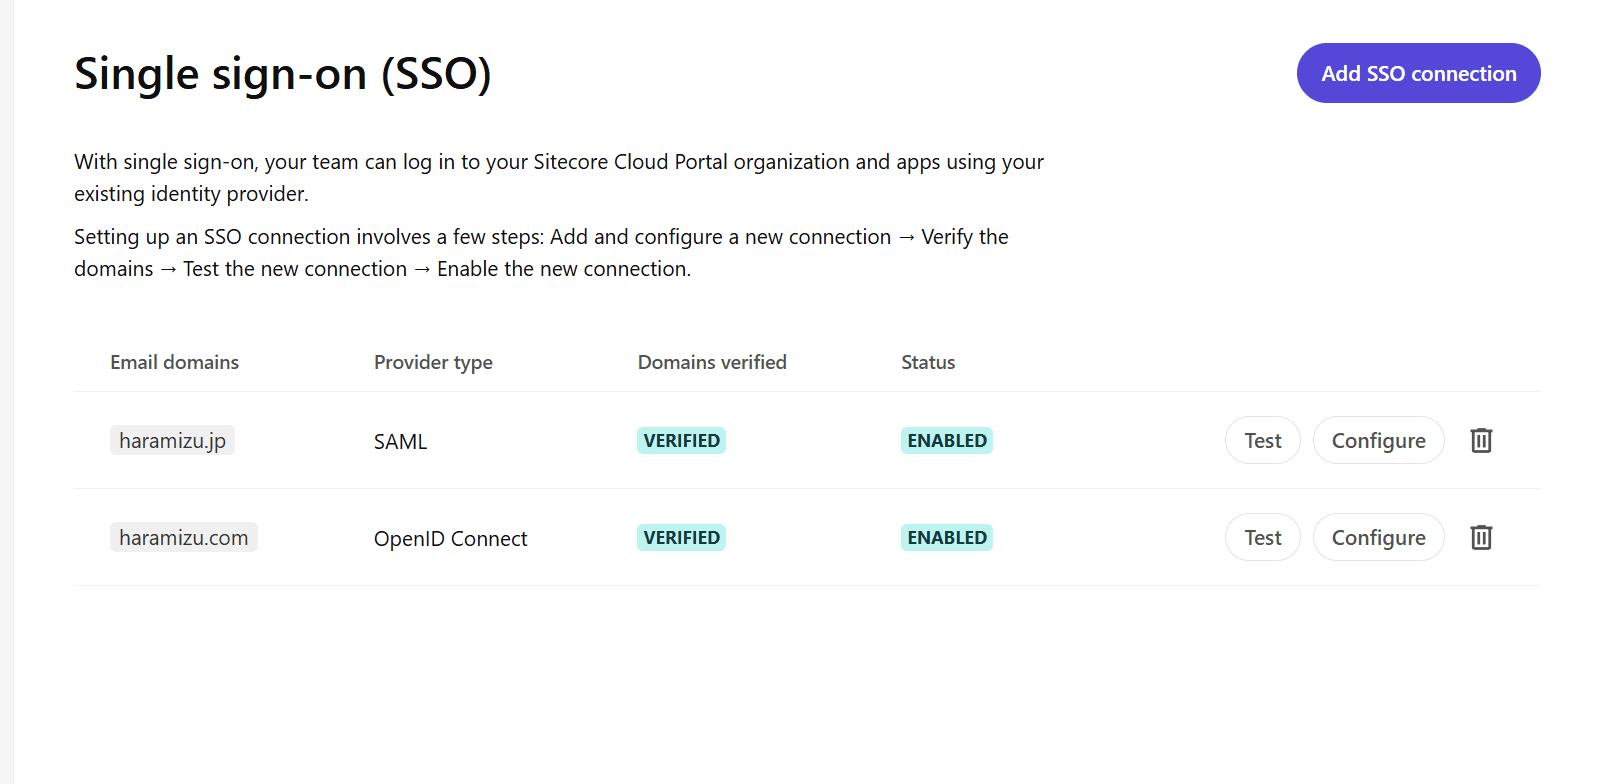
After a few moments, the SSO configuration is complete when the following message is displayed.
Add a user from the relevant domain
This time, since the work description is shorter than for Entra ID, we will perform the user addition. First, add the email addresses of the users to be invited.

An email will be sent to the appropriate email address.
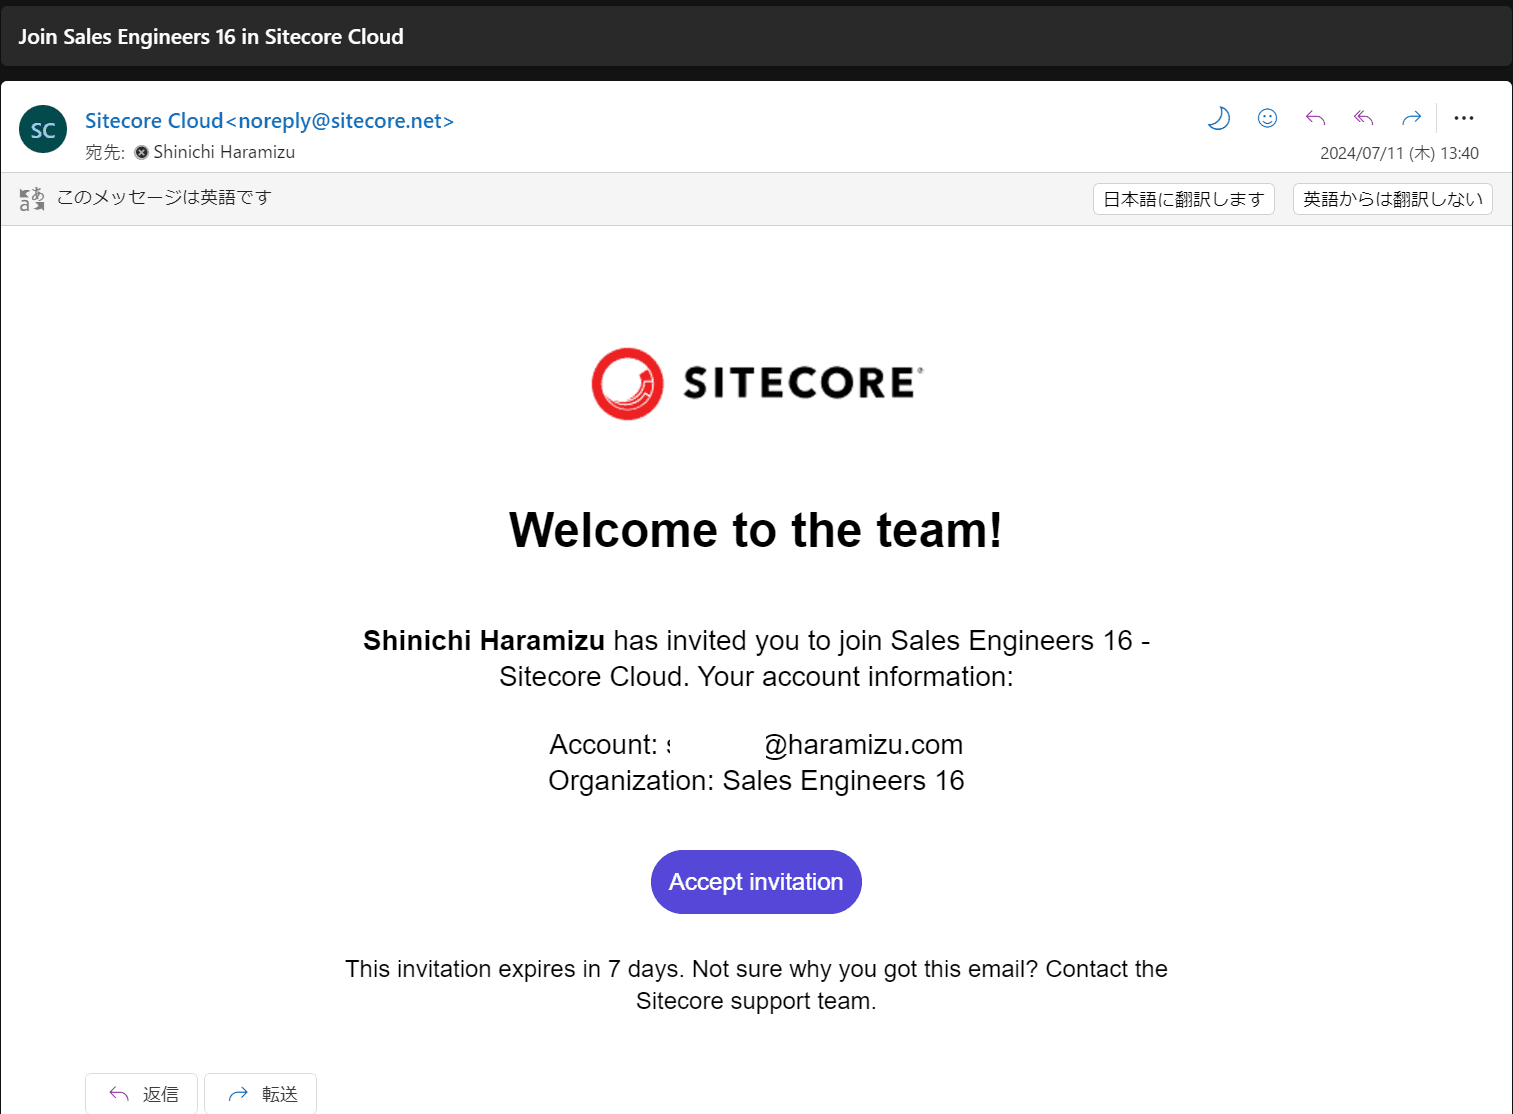
Clicking on the link will take you to the website and confirm your invitation.
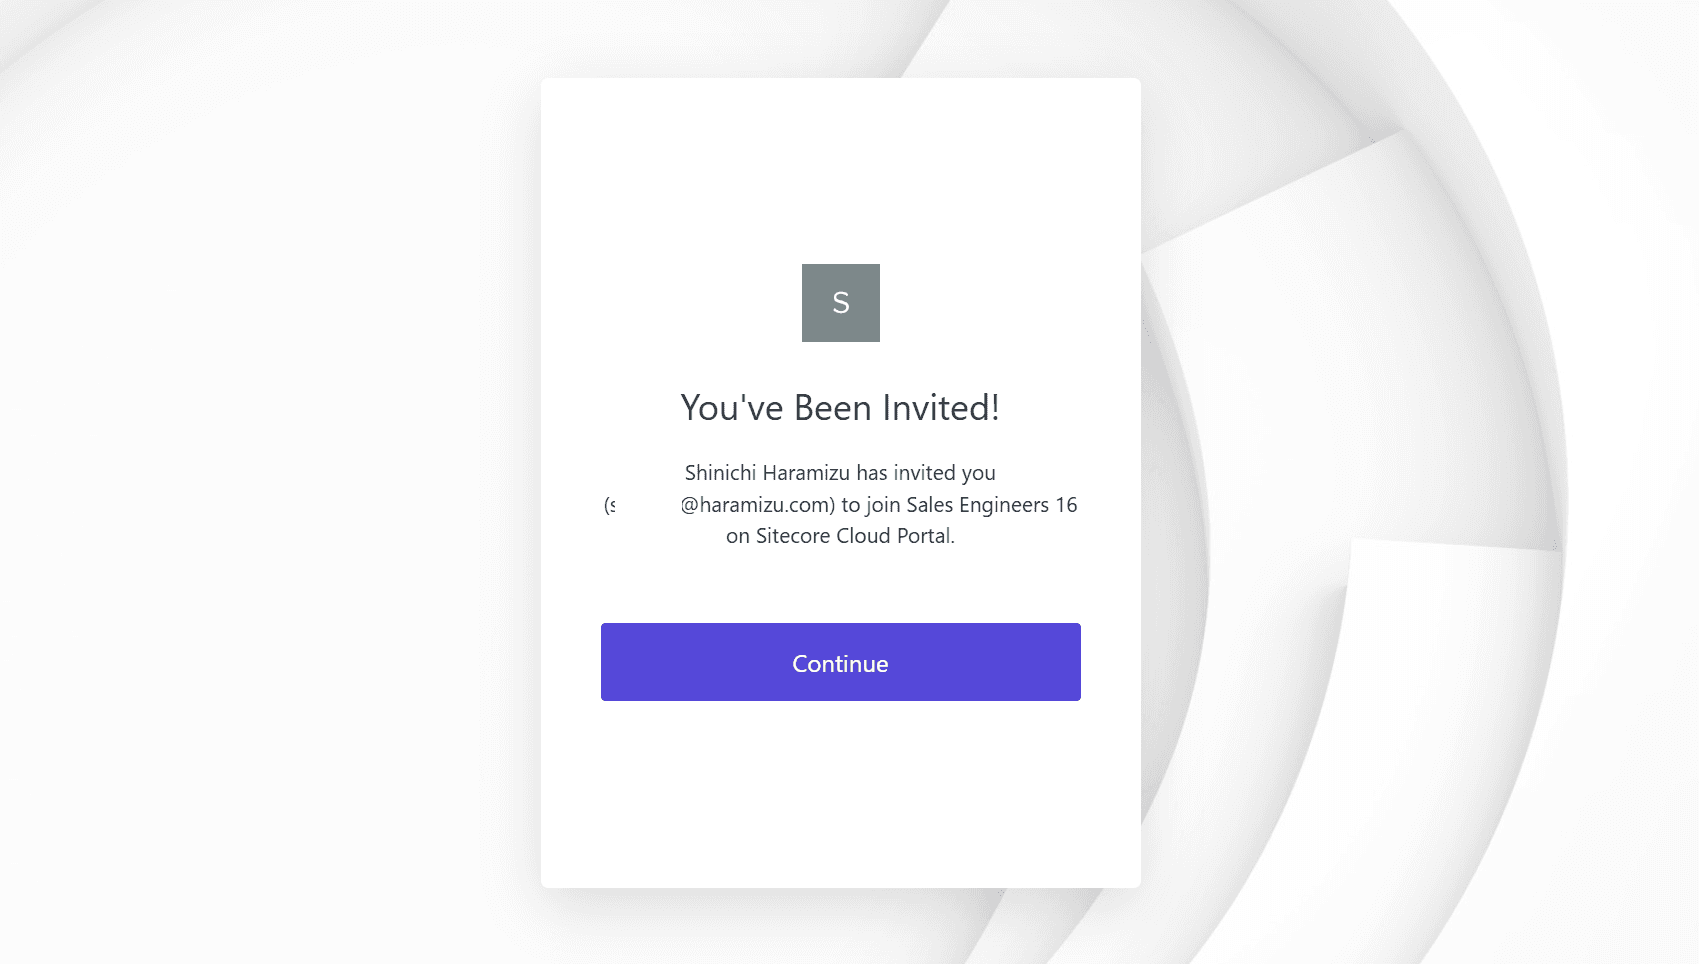
I was able to successfully log in with my Auth0 account.
Summary
Microsoft Entra (formerly Active Directory) and Auth0 have been configured to allow login with SAML authentication. If these two authentication methods are supported, it is possible to work with many authentication services.Both domain authentication with DNS and mutual setting of necessary values between services are required, but once set up, the authenticator can manage users, so we would like to operate using SSO as much as possible.