This document will guide you through the process of integrating Sitecore Content Hub in a Sitecore XM Cloud environment.This article will cover the installation and initial configuration of the module.
Sitecore Connect for Content Hub
2024-12-11
Prerequisites
This time, we will introduce the steps to integrate Sitecore XM Cloud and Content Hub DAM in two environments.
- Sitecore XM Cloud + Sitecore Content Hub
- Docker environment + Sitecore Content Hub
Since the settings for Sitecore XM Cloud, which is a SaaS environment, and the Docker version, which is a local environment, differ, please add the necessary settings to your project as needed.
Preparing Content Hub
To integrate Sitecore XM Cloud and Content Hub, you need to configure Content Hub. The required items are the URI of the server to be integrated and the following items.
- client_id
- client_secret
- username
- password
Client Information
The client_id and client_secret required for integration can be obtained from the OAuth clients screen of the Content Hub management tool. This time, we will prepare a new OAuth Client. Name it XmCloud and create it as follows (assign a GUID to the Client Secret to make it effective as a key).
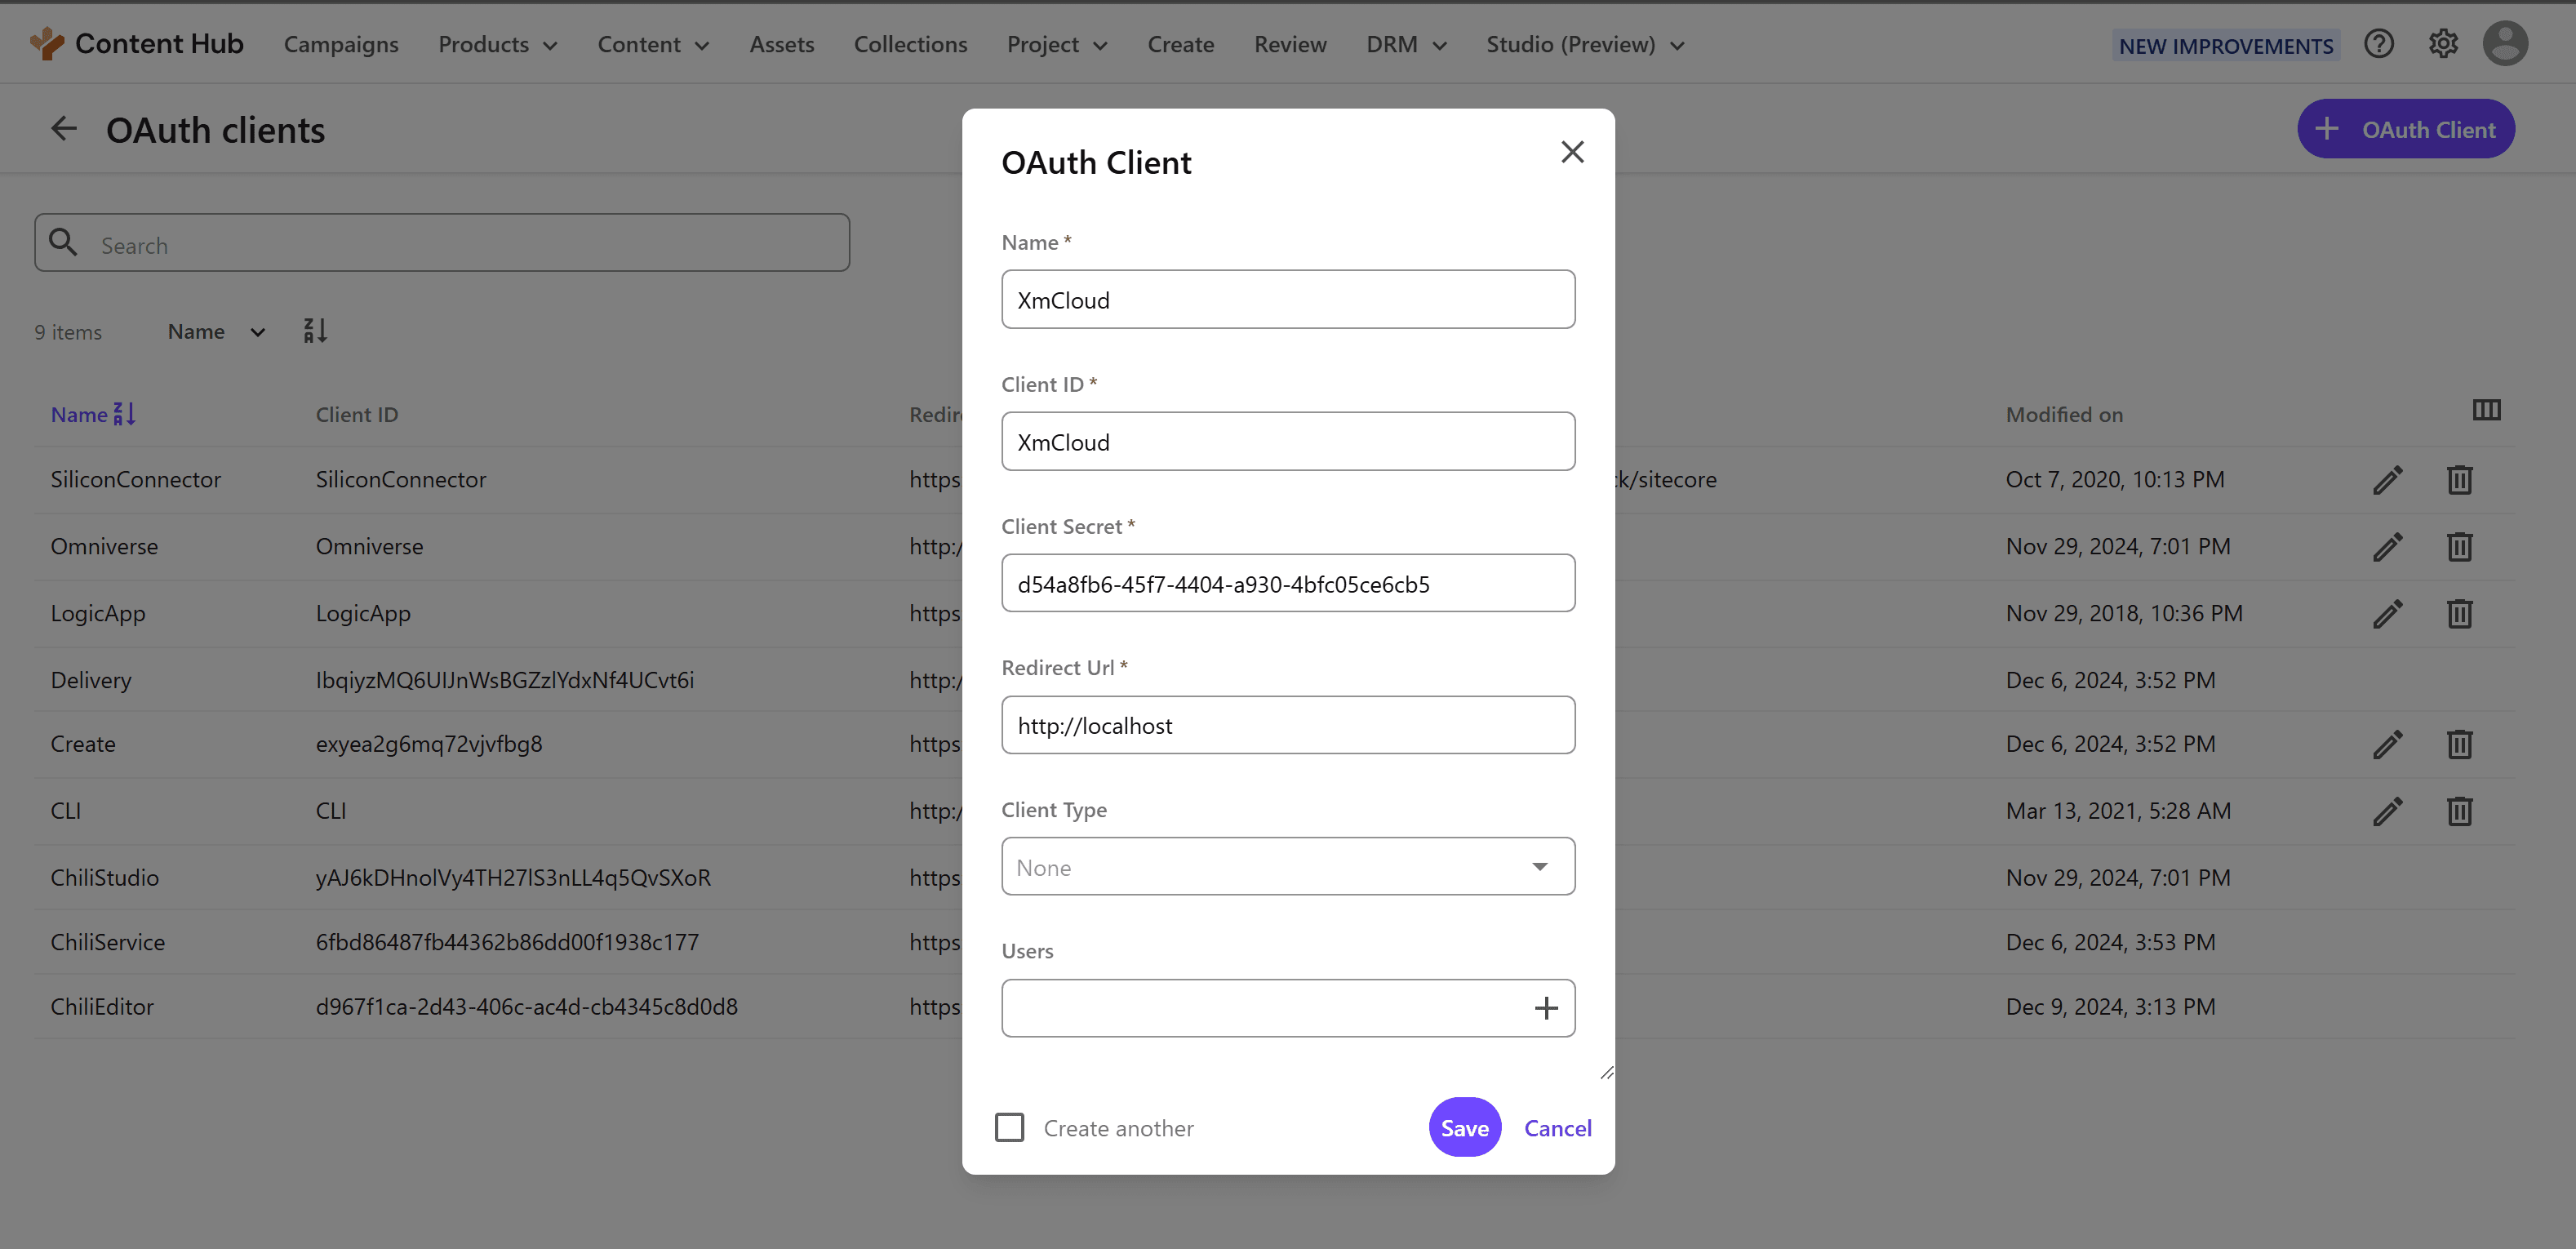
This completes the creation of the OAuth Client with the necessary two keys.
Login Authentication
To make the user created in the next step available for Sitecore authentication, you need to change the authentication mode. The steps are as follows.
- Click
Settingsin the management tool - Select
PortalConfiguration-Authentication - Change
authentication_modeofExternalAuthenticationProviders-samlfrom Active to Passive.
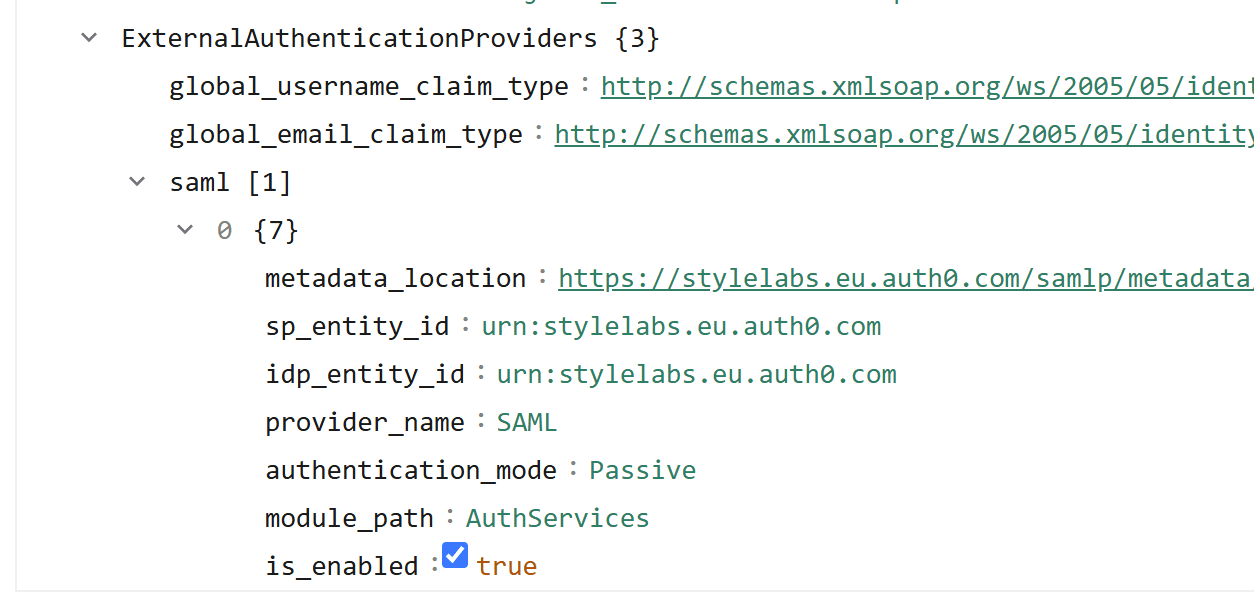
- Click the Save button to apply the settings
This allows you to log in with a local Sitecore account.
User Information
To create a connection string, you need a username and password that can log in. Follow the steps below to create a user.
- Select Users from the management screen.
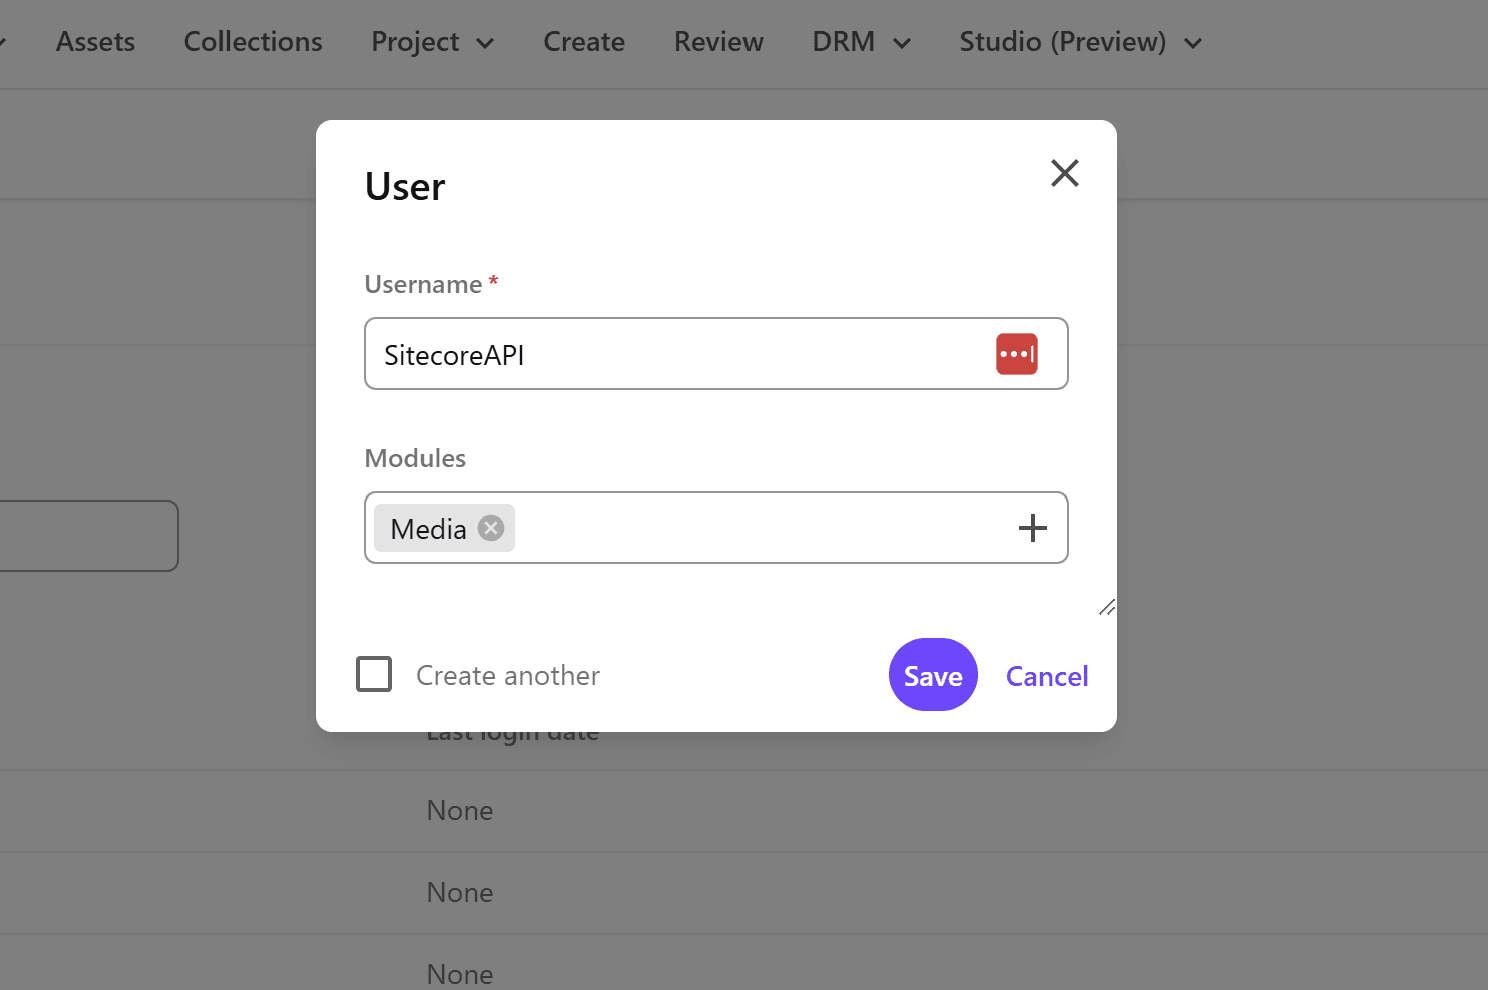
- Click the + User button to create a new user. Set Media for Modules.
- After creating the user, you will be taken to the user information page. The default role cannot be used, so add the following roles to the target account.
- M.Builtin.ContentAdministrators
- M.Builtin.SitecoreDAM.Everyone
- M.Builtin.Editors
- M.Builtin.Readers
- M.Builtin.DRM.Everyone
- To specify a password, you need an email address for password reset, so click Edit Profile and set the email address.
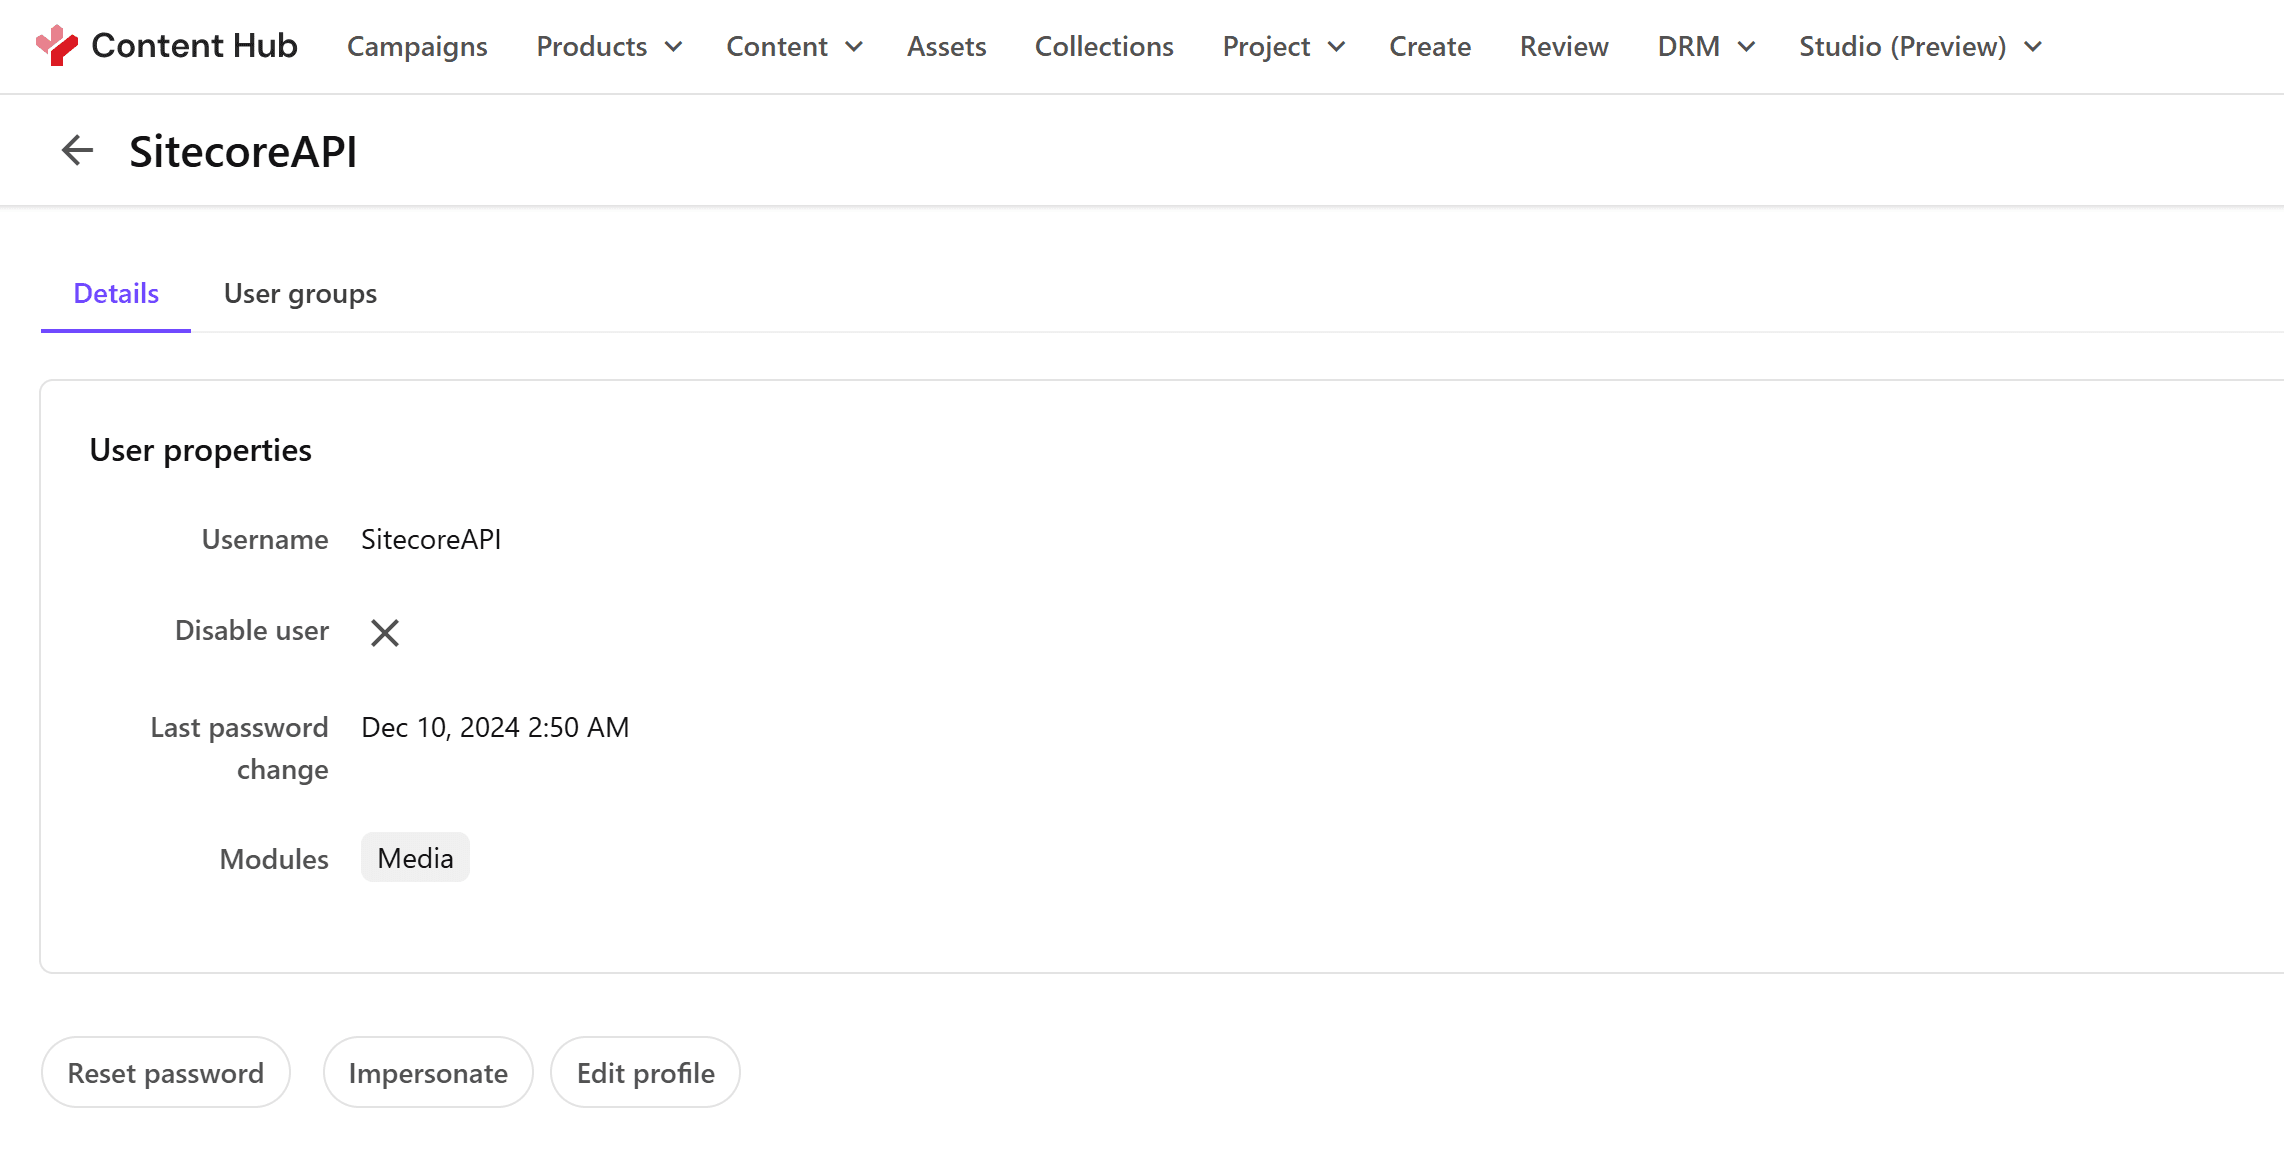
- After setting the email address, click the
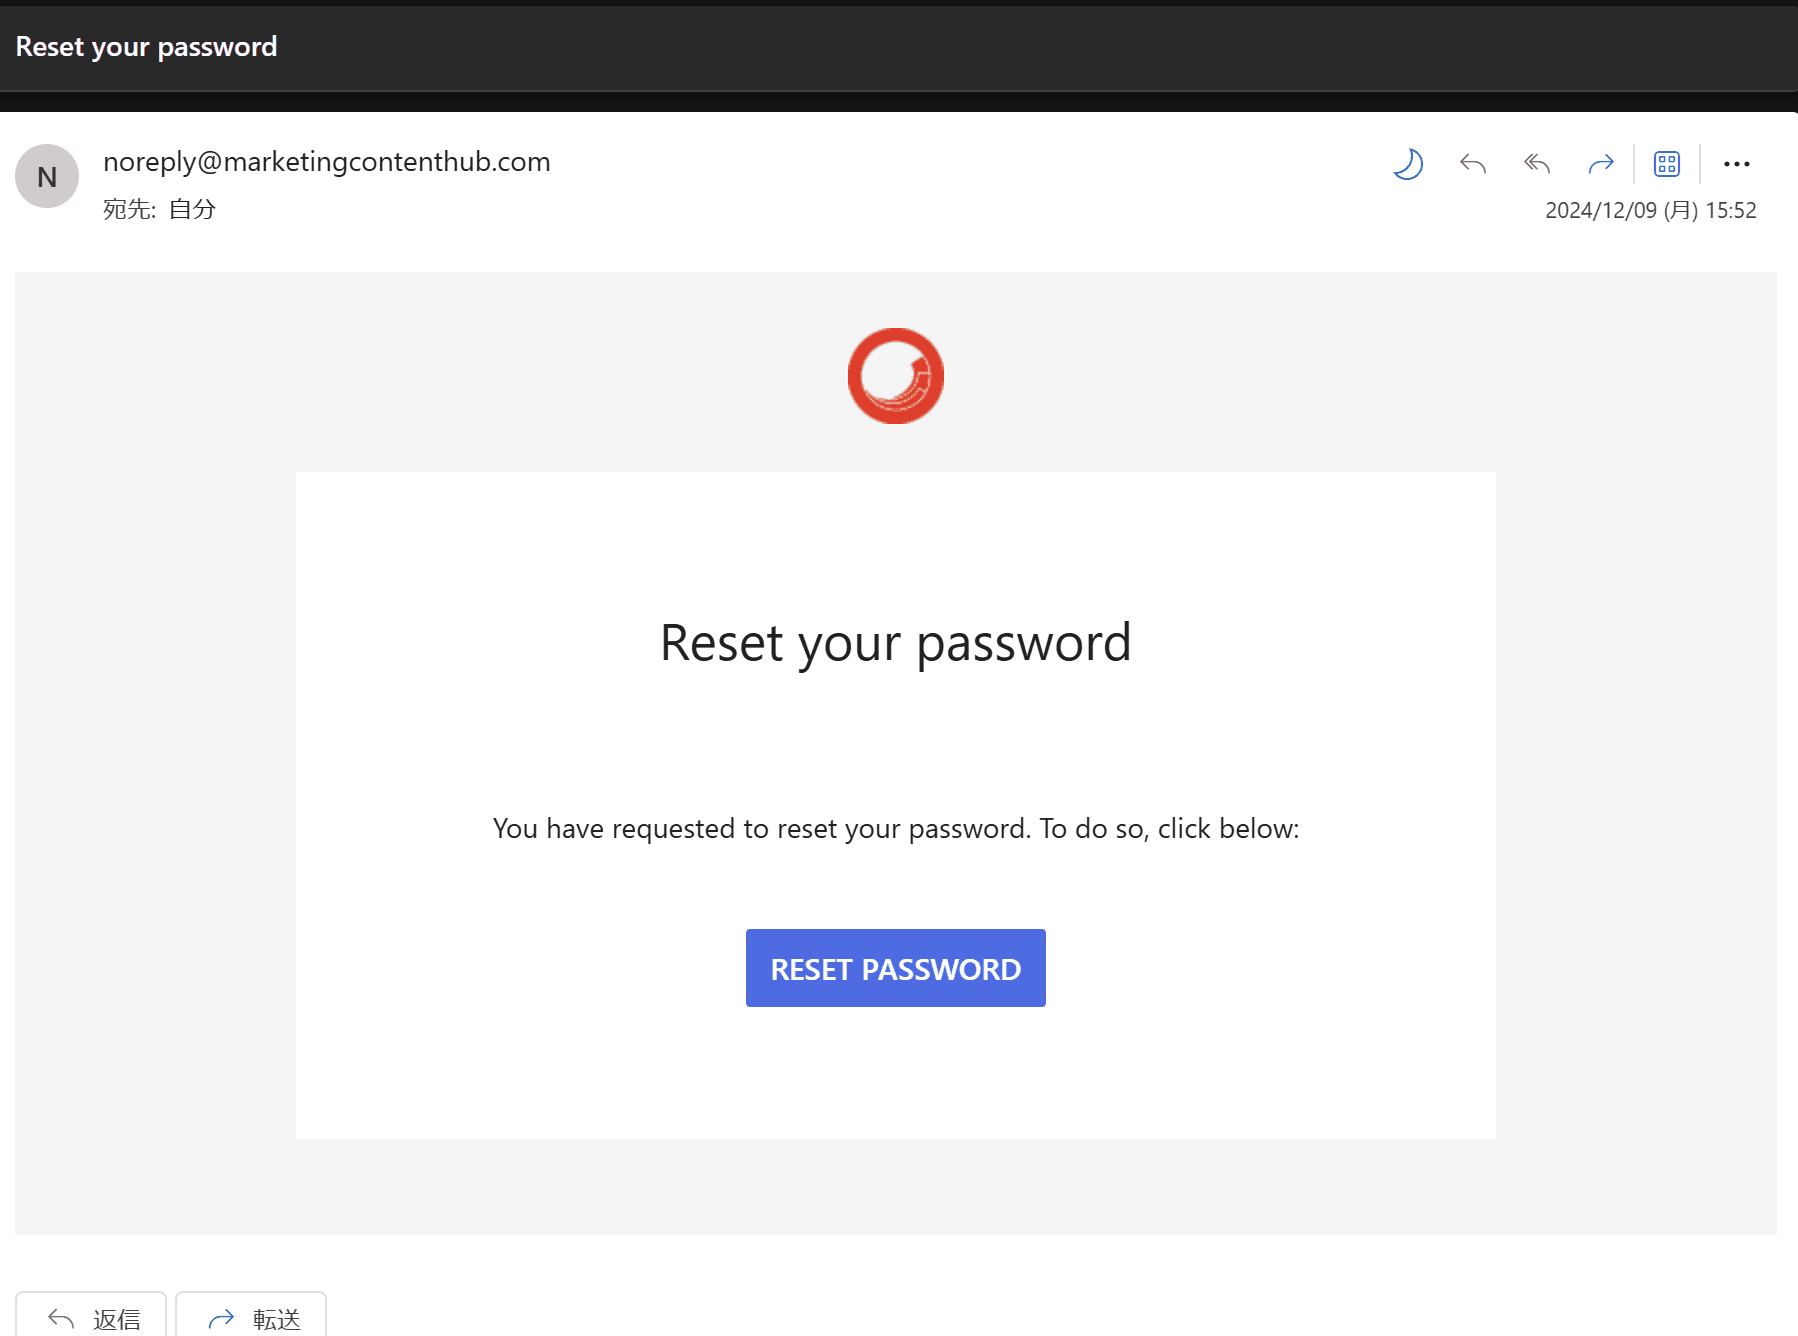
Reset passwordbutton. - After a while, you will receive an email. The email may be in the spam folder as it is sent from a domain that is not usually used. If it is not in your inbox, check your spam folder.
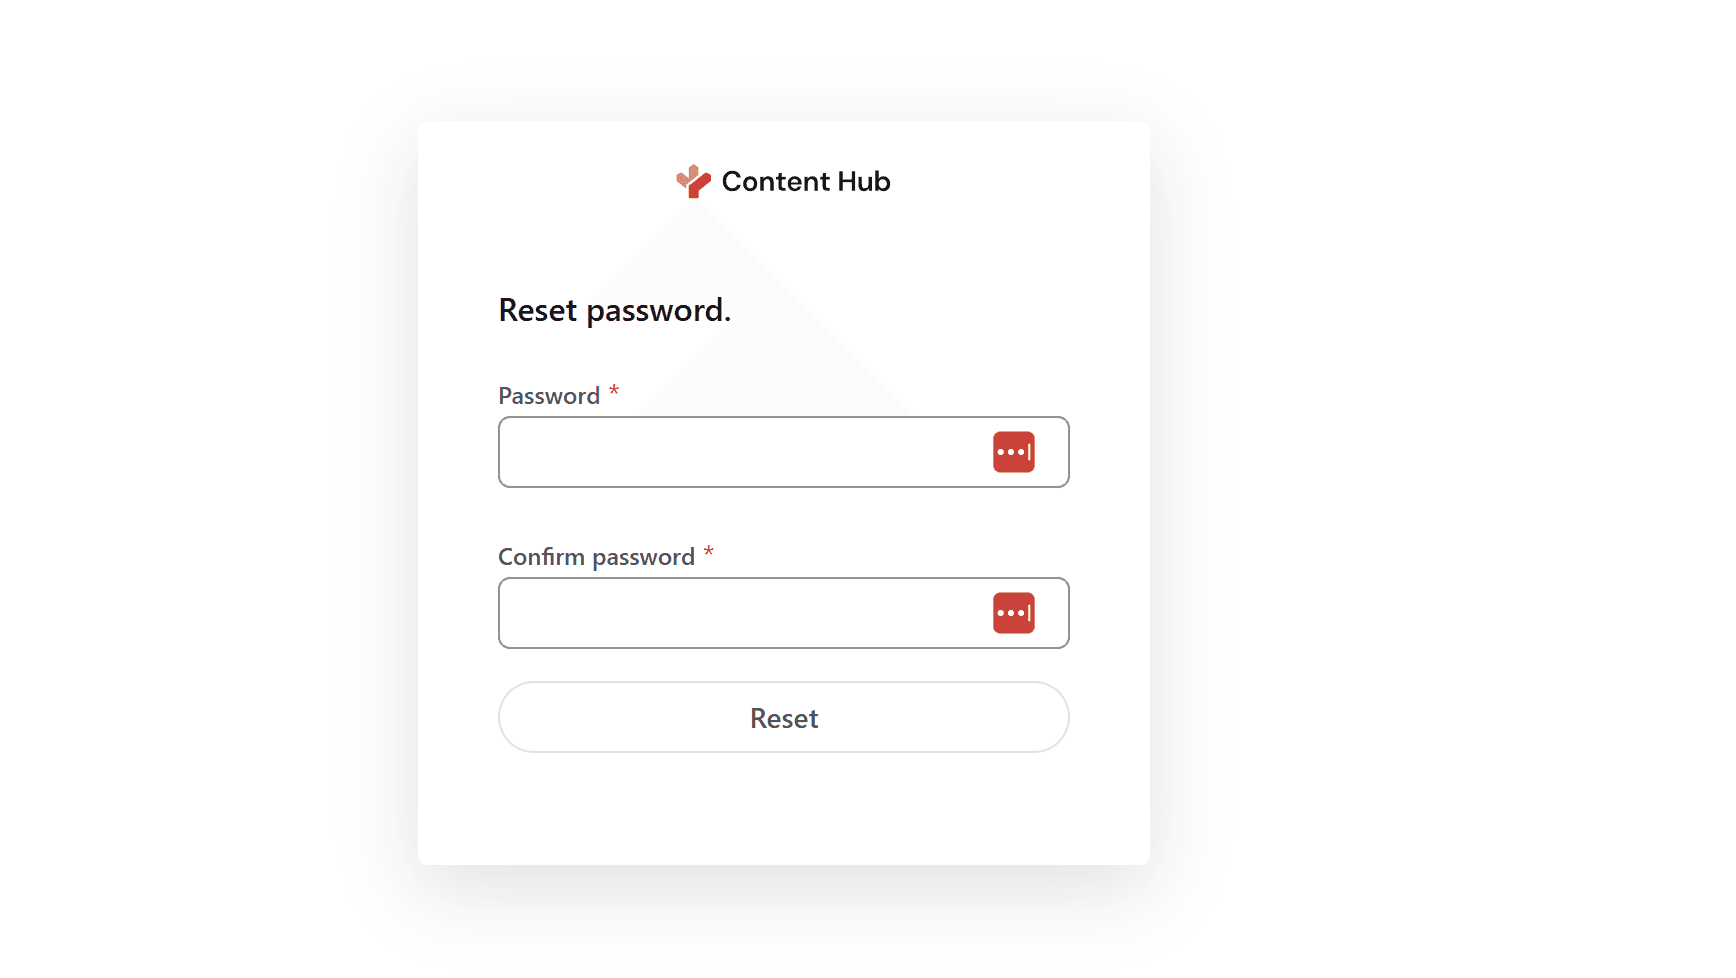
- Set a new password.
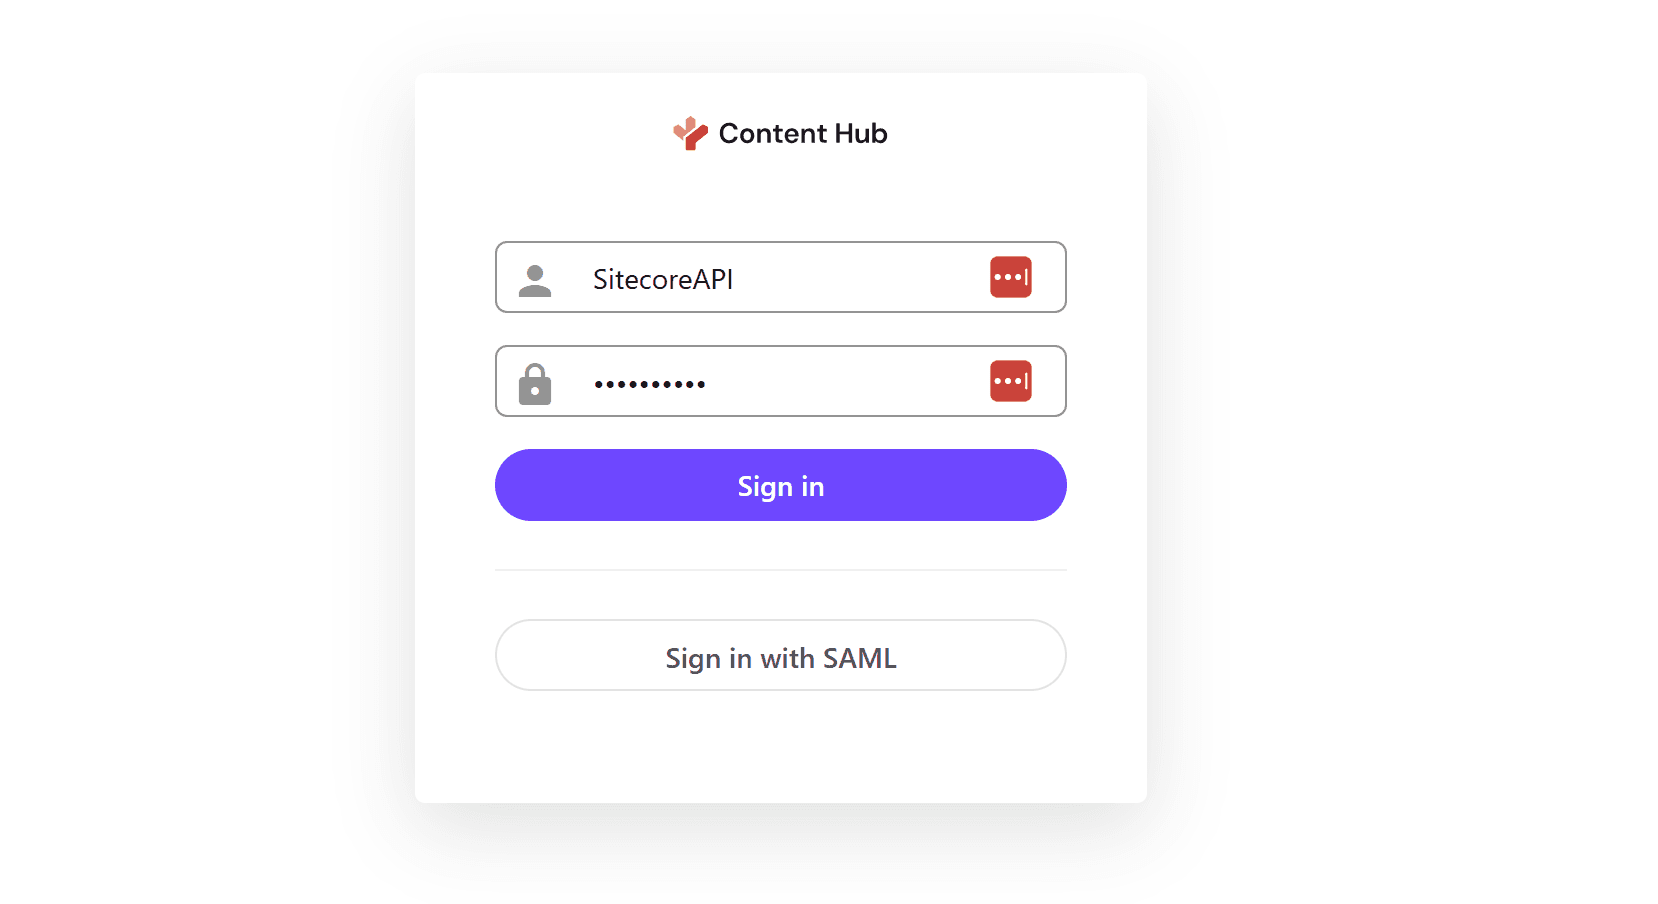
- If you can log in with the username, the user account creation is complete.
Once created, check if you can log in with the username and password.
With the above settings, the username and password are ready.
CORS Settings
The Sitecore Content Hub page has CORS - Cross-Origin Resource Sharing settings enabled, and it only works as an application on permitted sites. Here, specify the URL of the tools used by Sitecore XM Cloud and set the Connector to work.
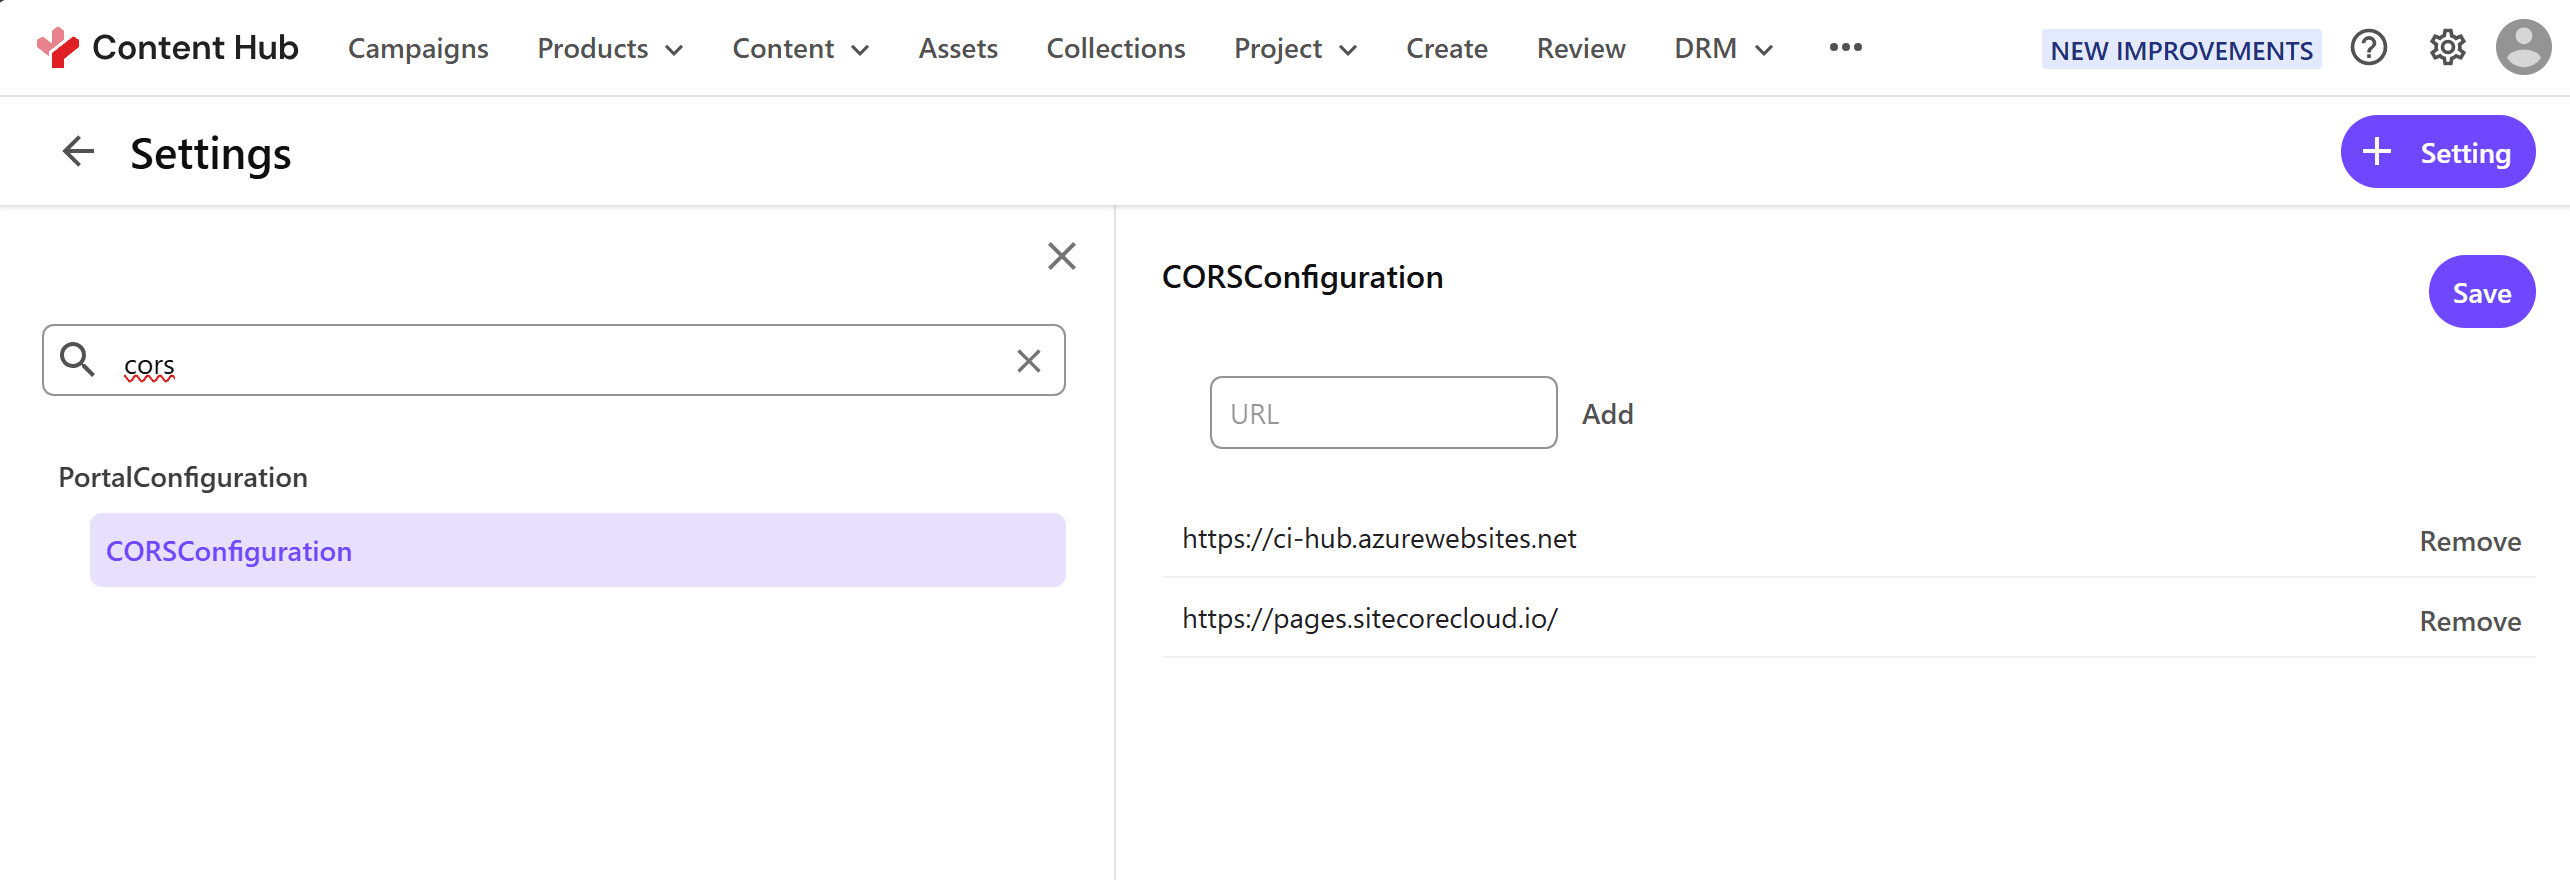
- Open Settings in the Content Hub management tool
- Open PortalConfiguration - CORSConfiguration
- Add https://pages.sitecorecloud.io/ and the URL of the XM Cloud instance as sites
This completes the preparation on the Sitecore Content Hub side.
Sitecore XM Cloud
Using the values prepared in advance, proceed with the settings on the Sitecore XM Cloud side.
Enabling the Connector
When integrating XM Cloud and Content Hub, the connector integration is not in the form of installing a module as in the traditional environment. The integration with Sitecore Content Hub’s DAM and CMP is provided as a standard feature, and enabling this feature is just a matter of setting environment variables.
The official instructions are as follows.
First, select the environment you want to configure in XM Cloud Deploy, and then select Variables from the tab menu items. Then, add the following four items. When setting, specify the URI of the DAM you want to connect to (e.g., https://frutifuljp.sitecoresandbox.cloud/) for uri, and the URL + asset page for Sitecore Content Hub search page URI (e.g.,
| Name | Value |
|---|---|
SITECORE_AppSettings_damEnabled__define | Yes |
Sitecore_ConnectionStrings_DAM_dot_ContentHub | ClientId={client_id};ClientSecret={client_secret};UserName={username};Password={password};URI={uri}; |
Sitecore_ConnectionStrings_DAM_dot_SearchPage | {Sitecore Content Hub search page URI} |
Sitecore_ConnectionStrings_DAM_dot_ExternalRedirectKey | Sitecore |
When you change the environment variables, you need to Rebuild, but you also need to change the settings on the XM Cloud project side. Proceed to the next step.
Updating the Content Security Policy
In the XM Cloud environment, as a security measure, not all tools you want to use on the management screen are displayed in an iFrame. Therefore, you need to change the settings for the First, create a patch file to change the settings. This time, create a file in authoring\platform\xdts\Web.config.xdt.
authoring\platform\xdts\Web.config.xdt
Next, modify the authoring\platform\Platform.csproj file to import the above file as a necessary file when deploying in XM Cloud.
authoring\platform\Platform.csproj
Finally, specify the application of the above xdt file in the xmcloud.build.json configuration file used by XM Cloud.
xmcloud.build.json
After adding the above settings, reflect the code in GitHub and redeploy the XM Cloud instance with Rebuild.
Operation Check
Check if you can access the Content Hub environment from XM Cloud Pages.
- Open Pages
- Select the Image component
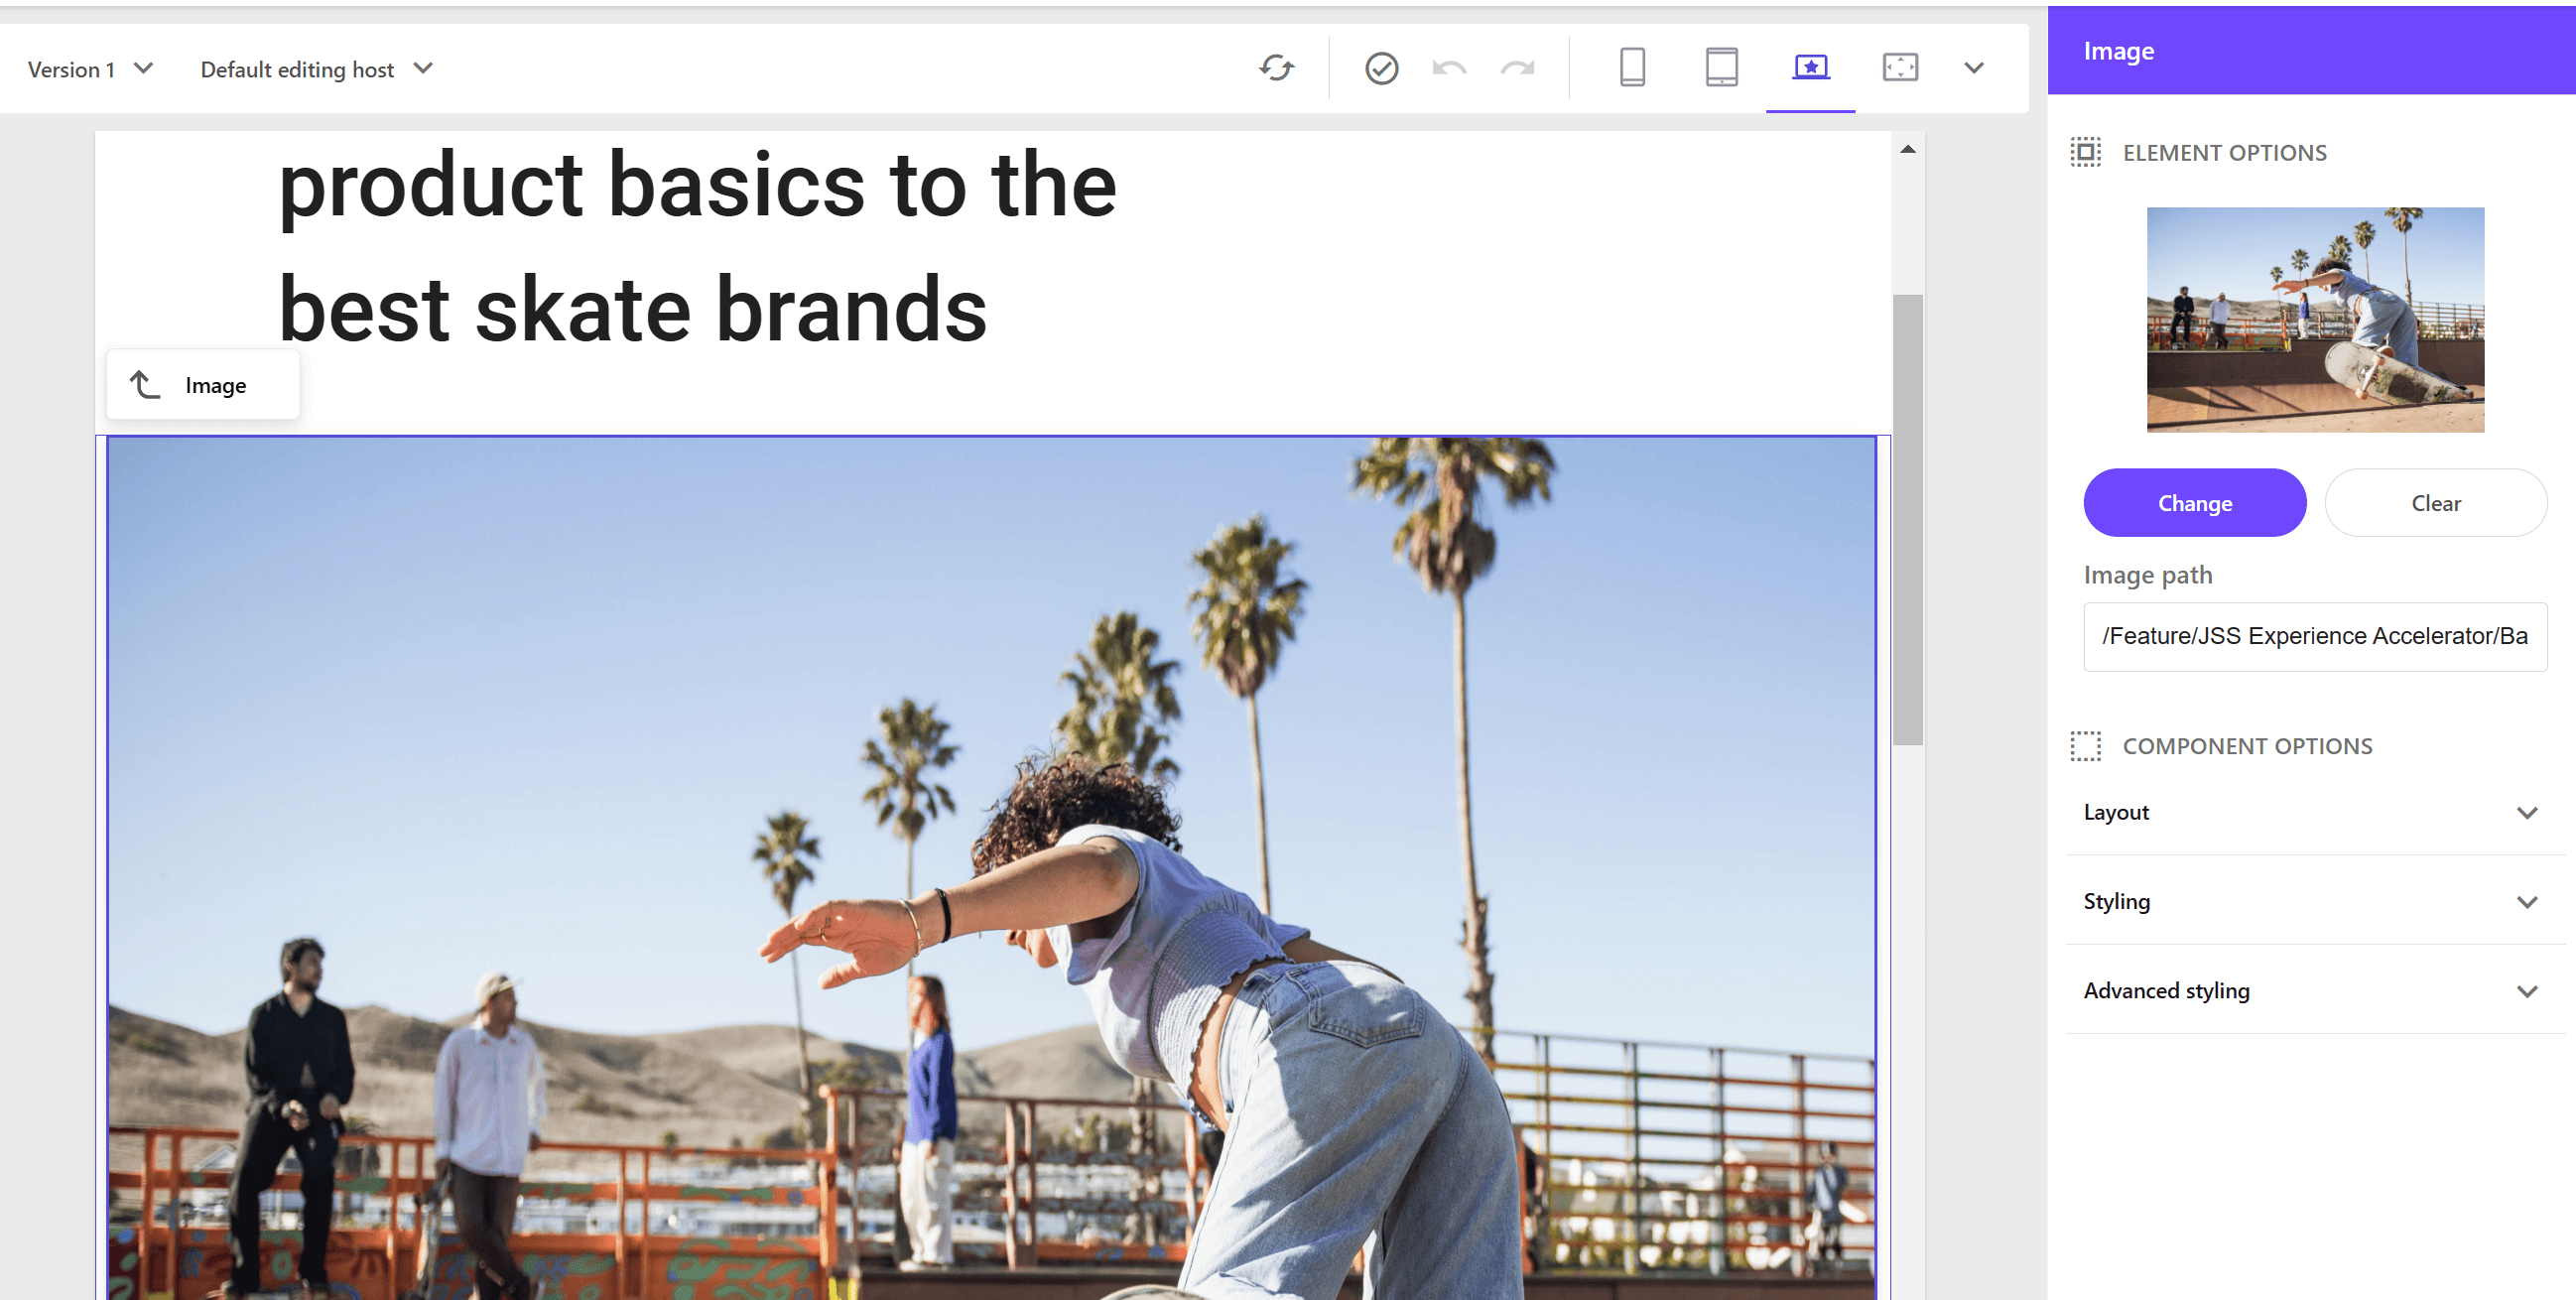
- Click the Change button to switch to the media selection screen
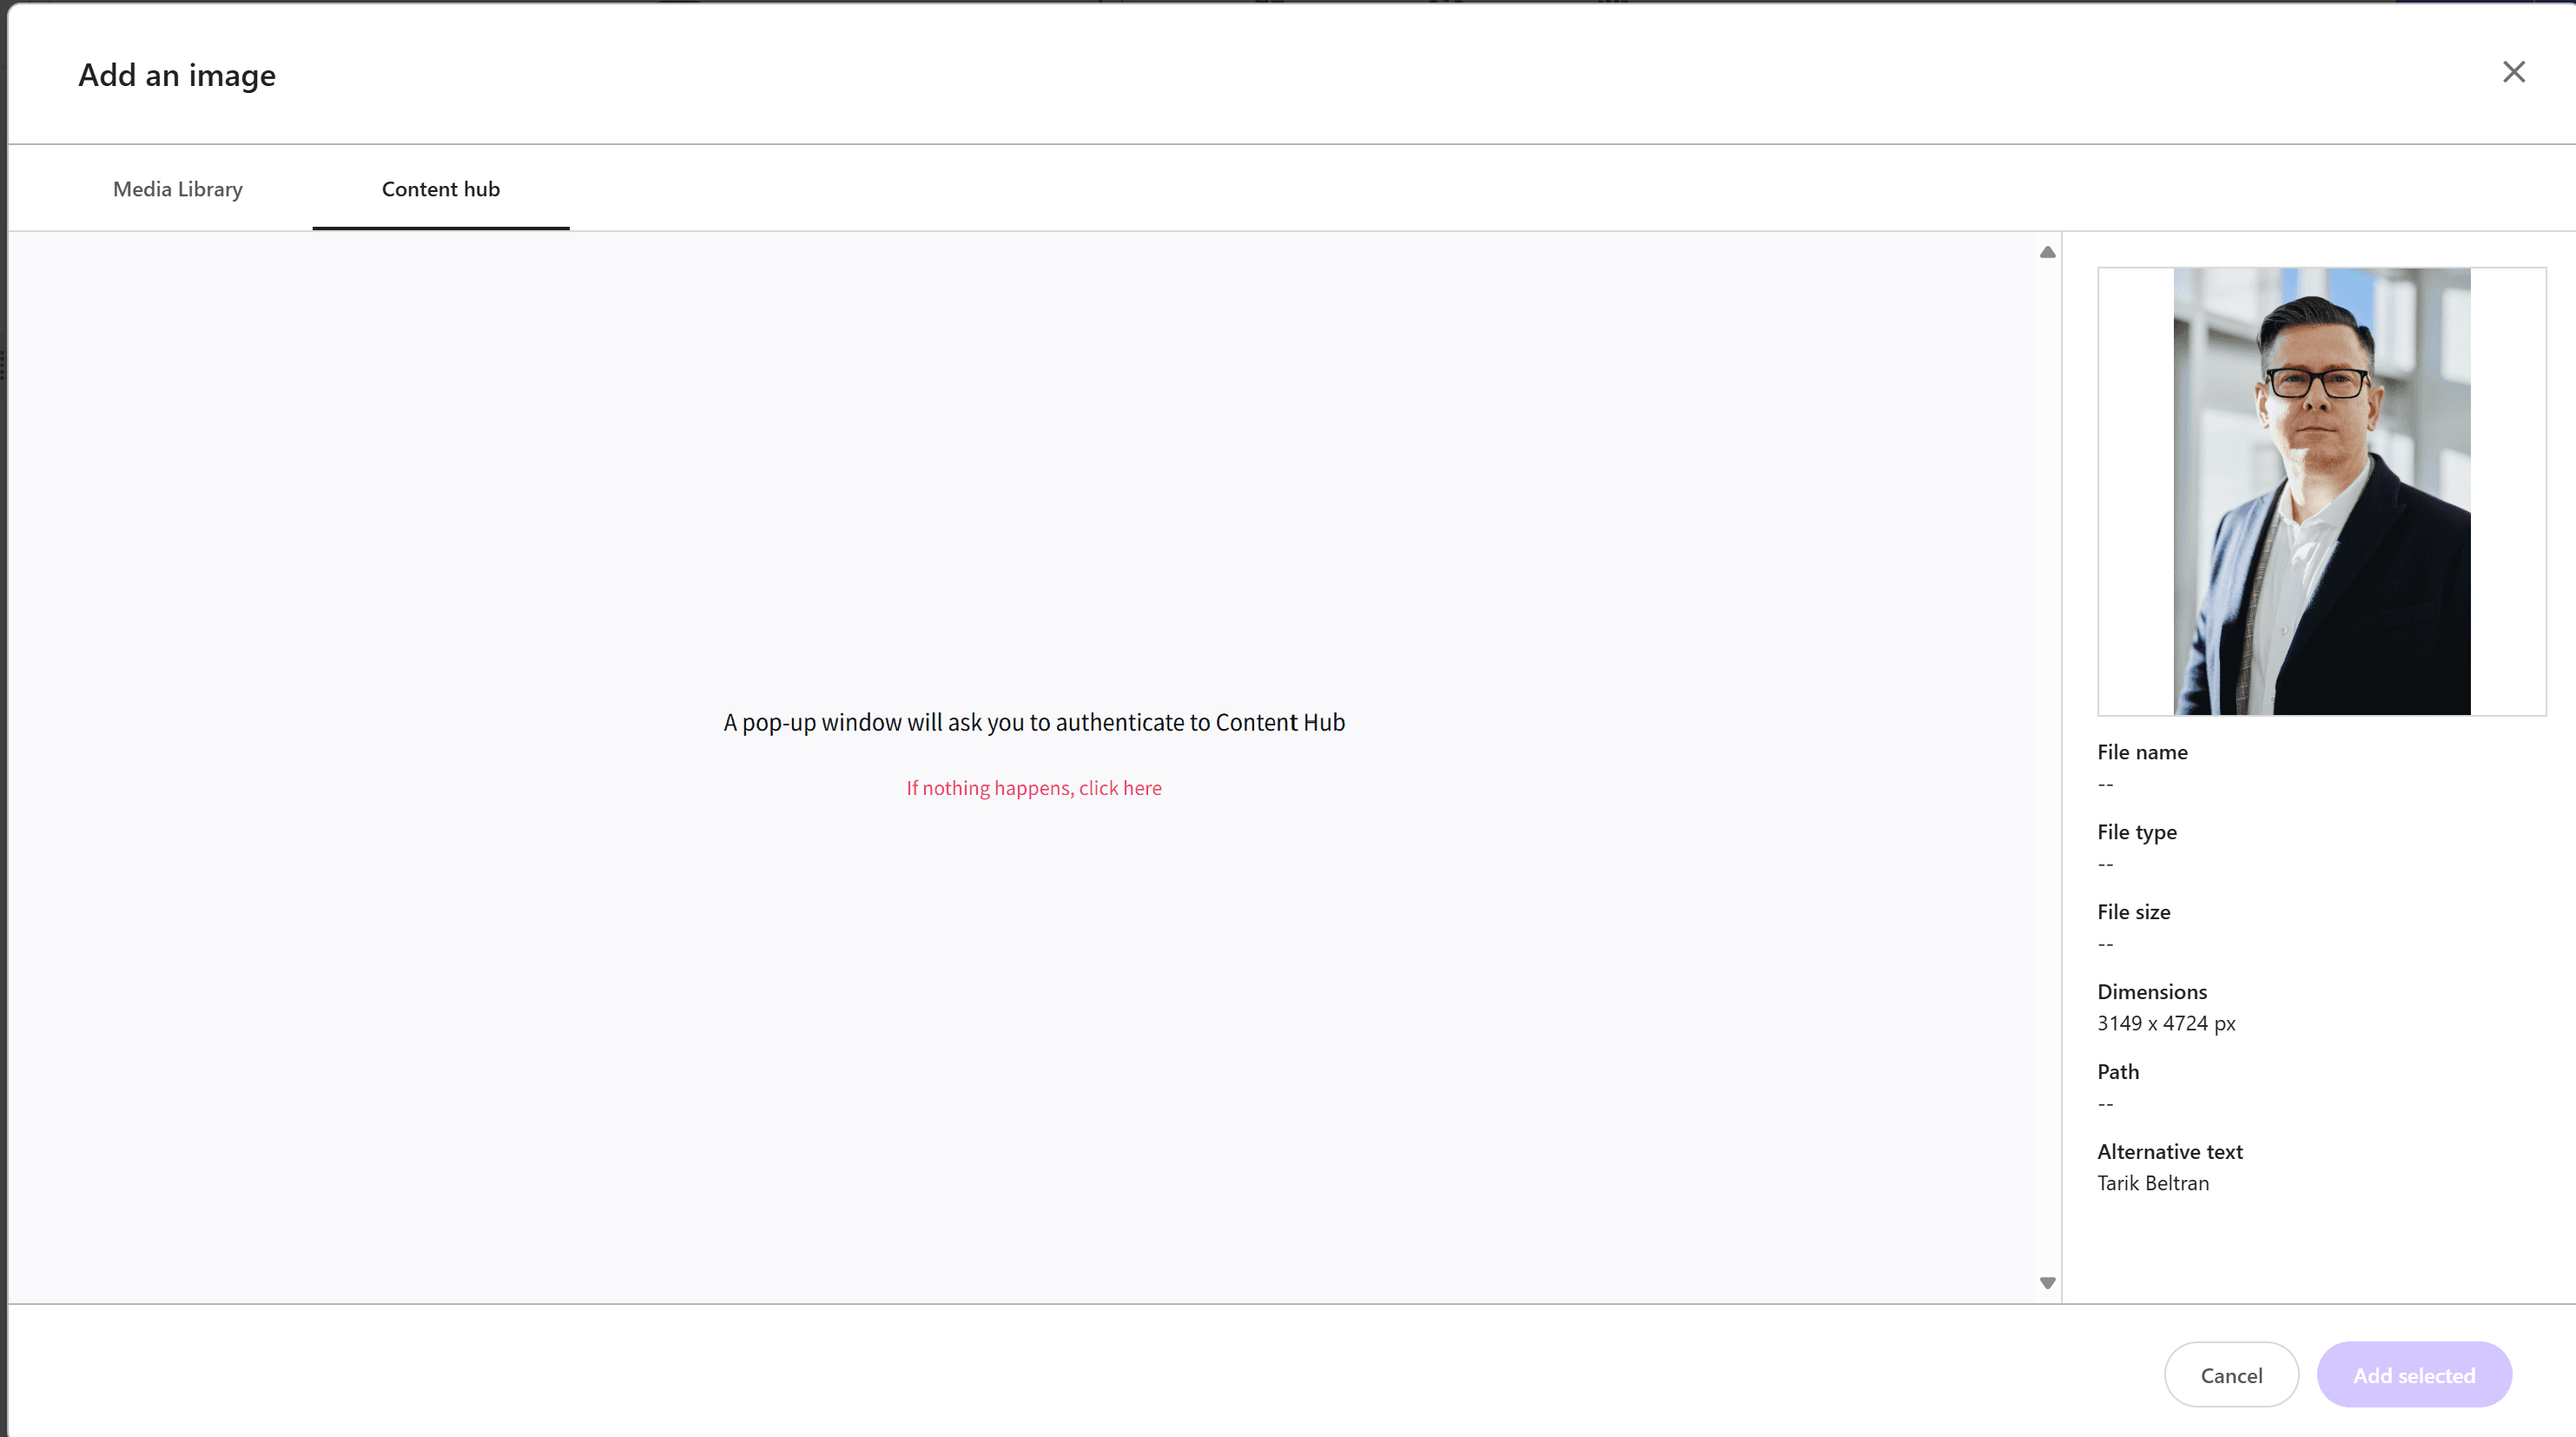
- Open the Content Hub tab. At this time, the login authentication will be displayed, so log in with the account specified this time.
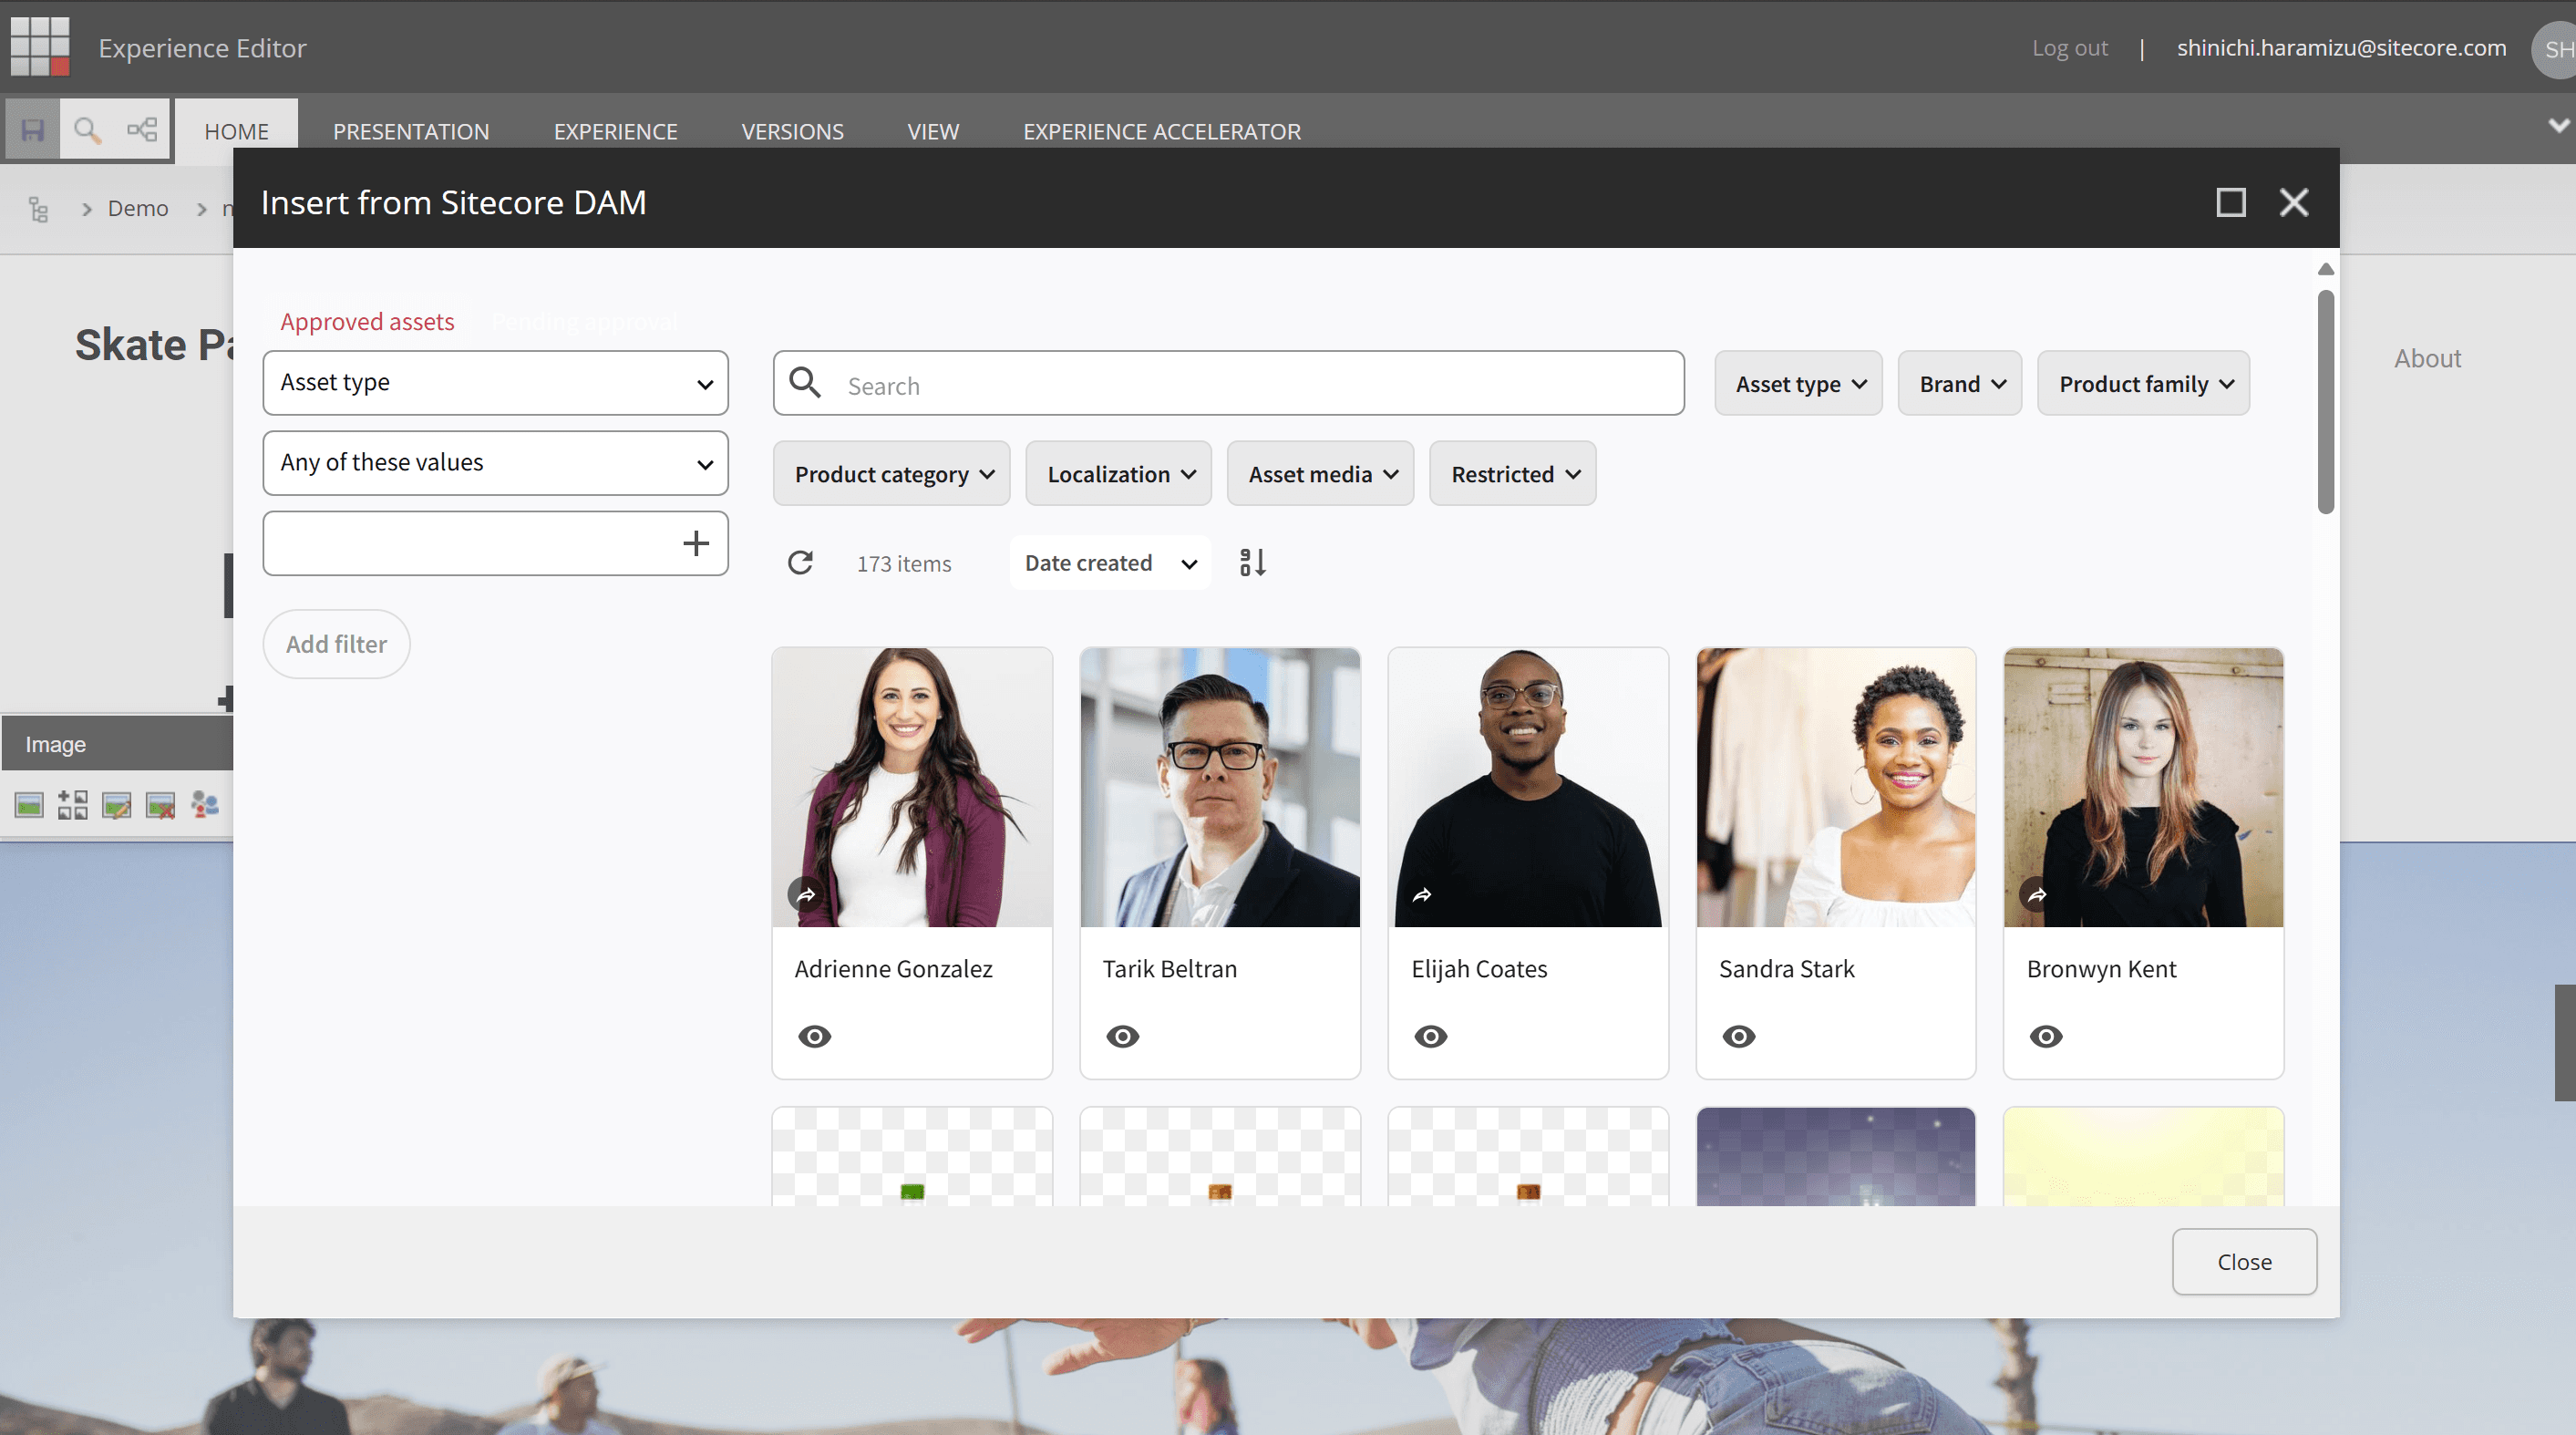
- If the image is displayed as shown below, the settings are complete.
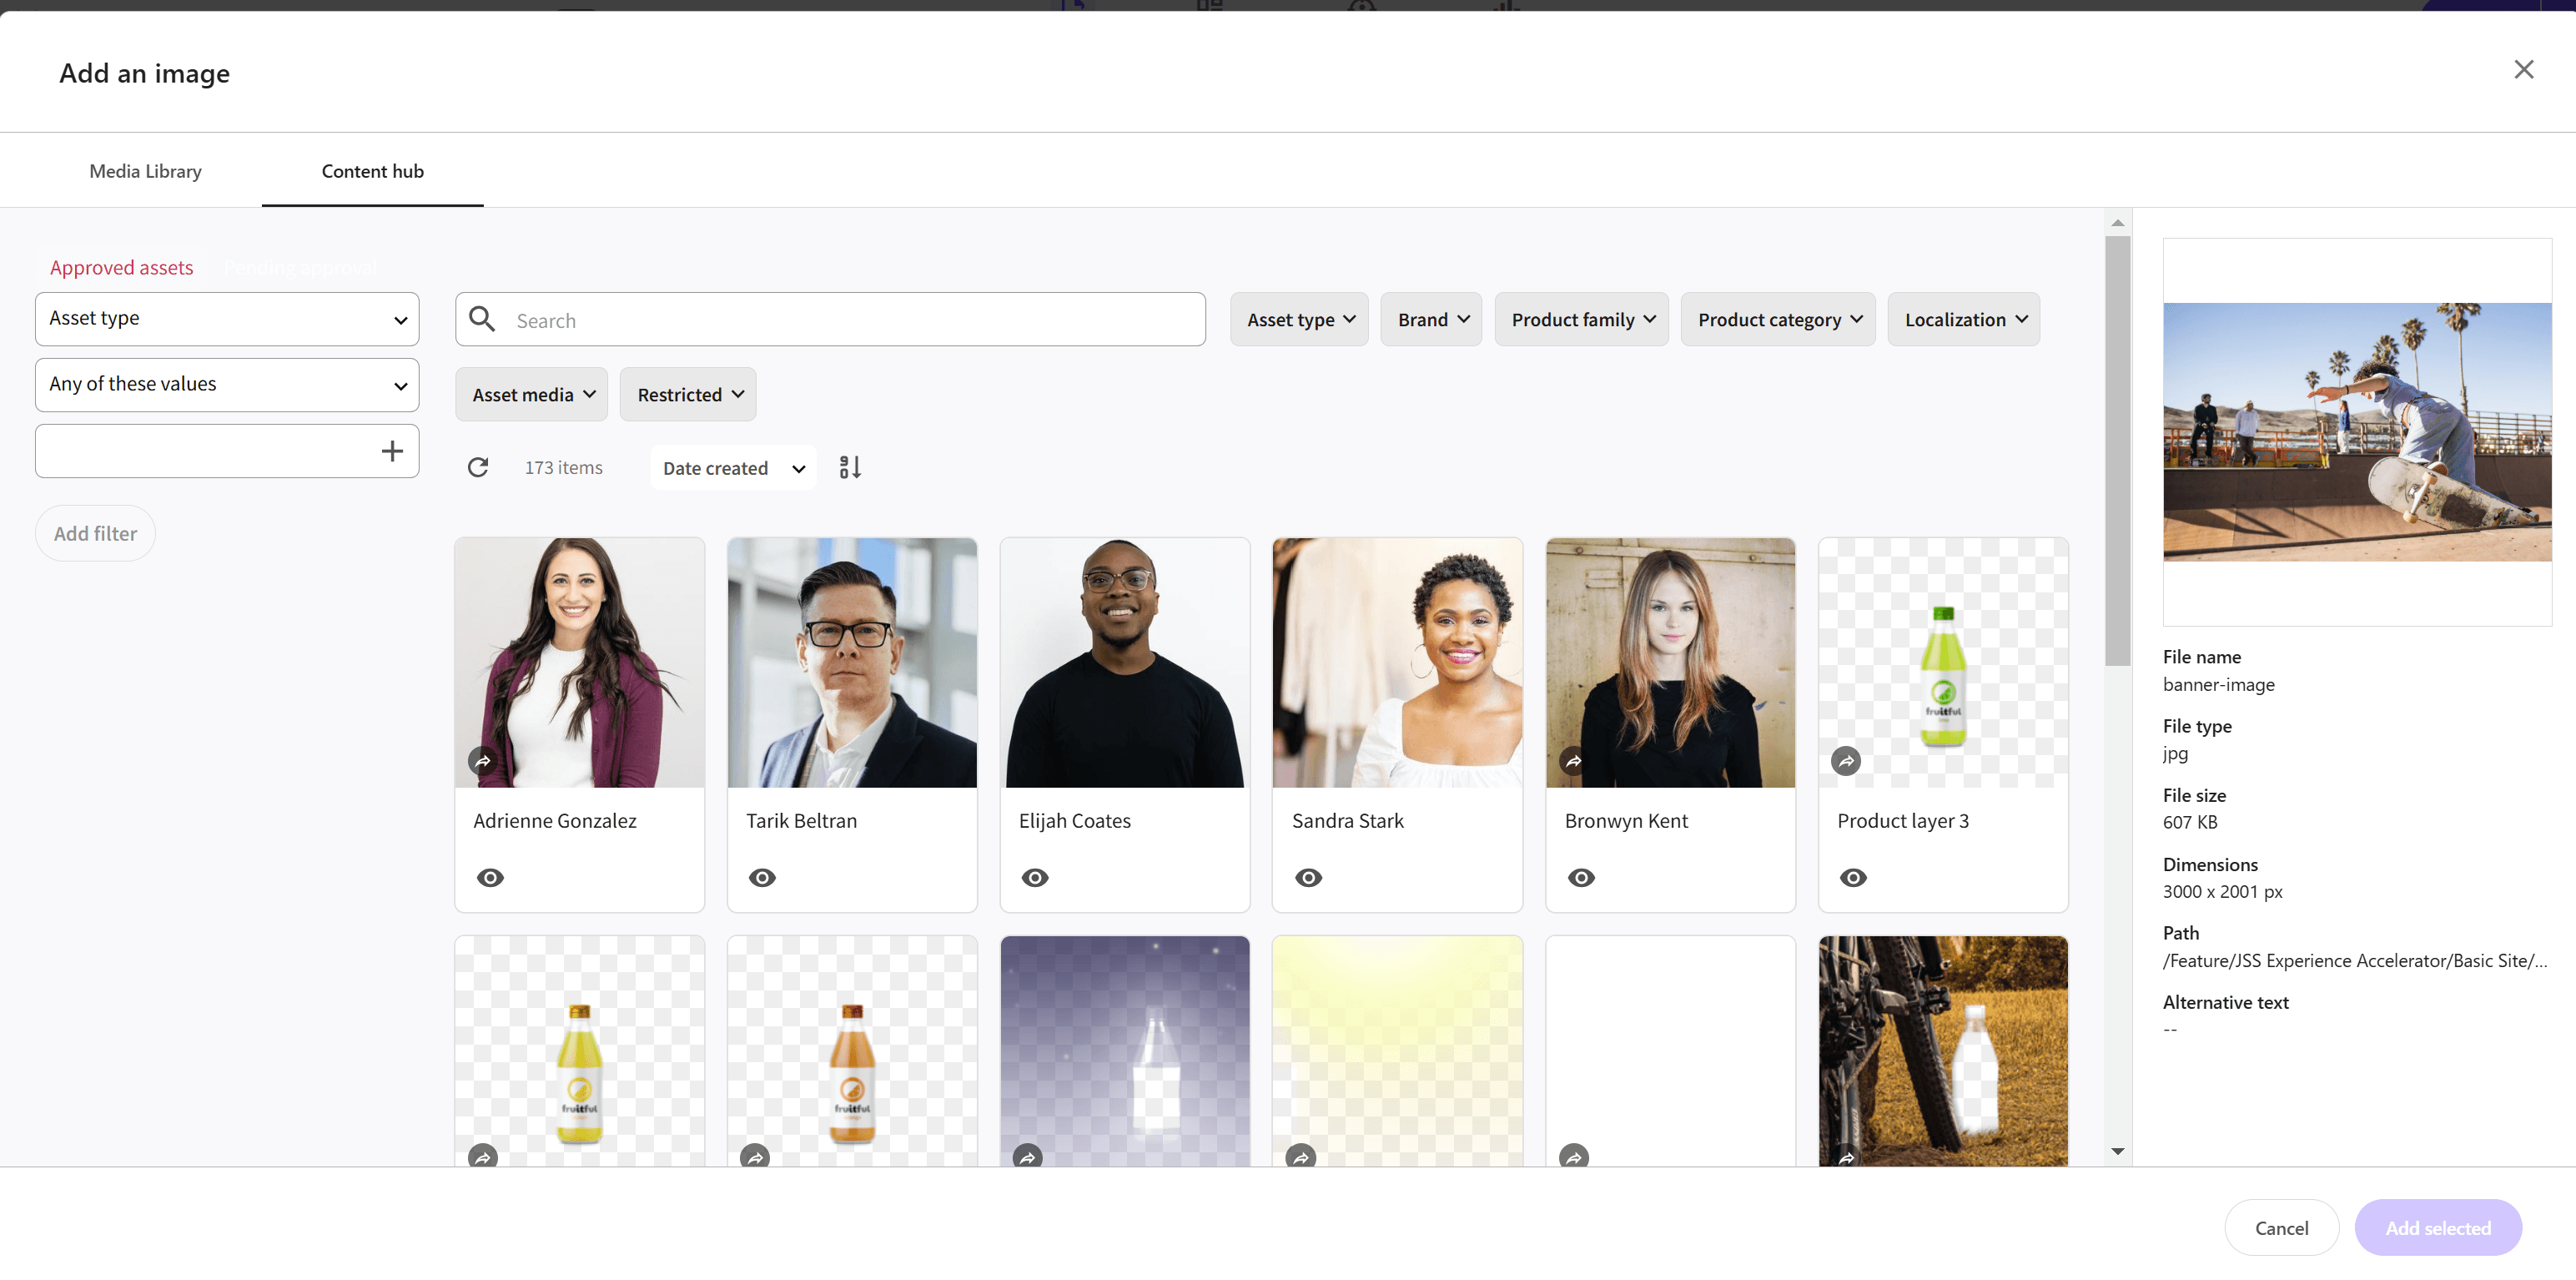
This time, we created an account and set it up so that you can log in. If SSO is enabled and you can access Content Hub, the login will not be displayed.
Docker
This time, we will enable Sitecore Connect for Sitecore Content Hub for the local docker environment. The official procedure is introduced on the following page.
Content Security Policy の更新
The Docker environment of XM Cloud, like the cloud server, does not display all the tools you want to use on the management screen in an iFrame for security reasons. Therefore, you need to change the settings for the Content Security Policy.
Create a patch file to change this setting. This time, create a file in local-containers\docker\build\cm\xdts\Web.config.xdt.
local-containers\docker\build\cm\xdts\Web.config.xdt
To apply this file when creating the Docker image, modify the local-containers\docker\build\cm\Dockerfile file as follows.
local-containers\docker\build\cm\Dockerfile
This completes the changes to the CSP.
Setting Environment Variables
Next, add the same settings to the local Docker environment as you did for the cloud. Use the values already used above for the following settings.
.env
Add the above values to the local-containers\docker-compose.yml to make them available in the docker cm image.
local-containers\docker-compose.yml
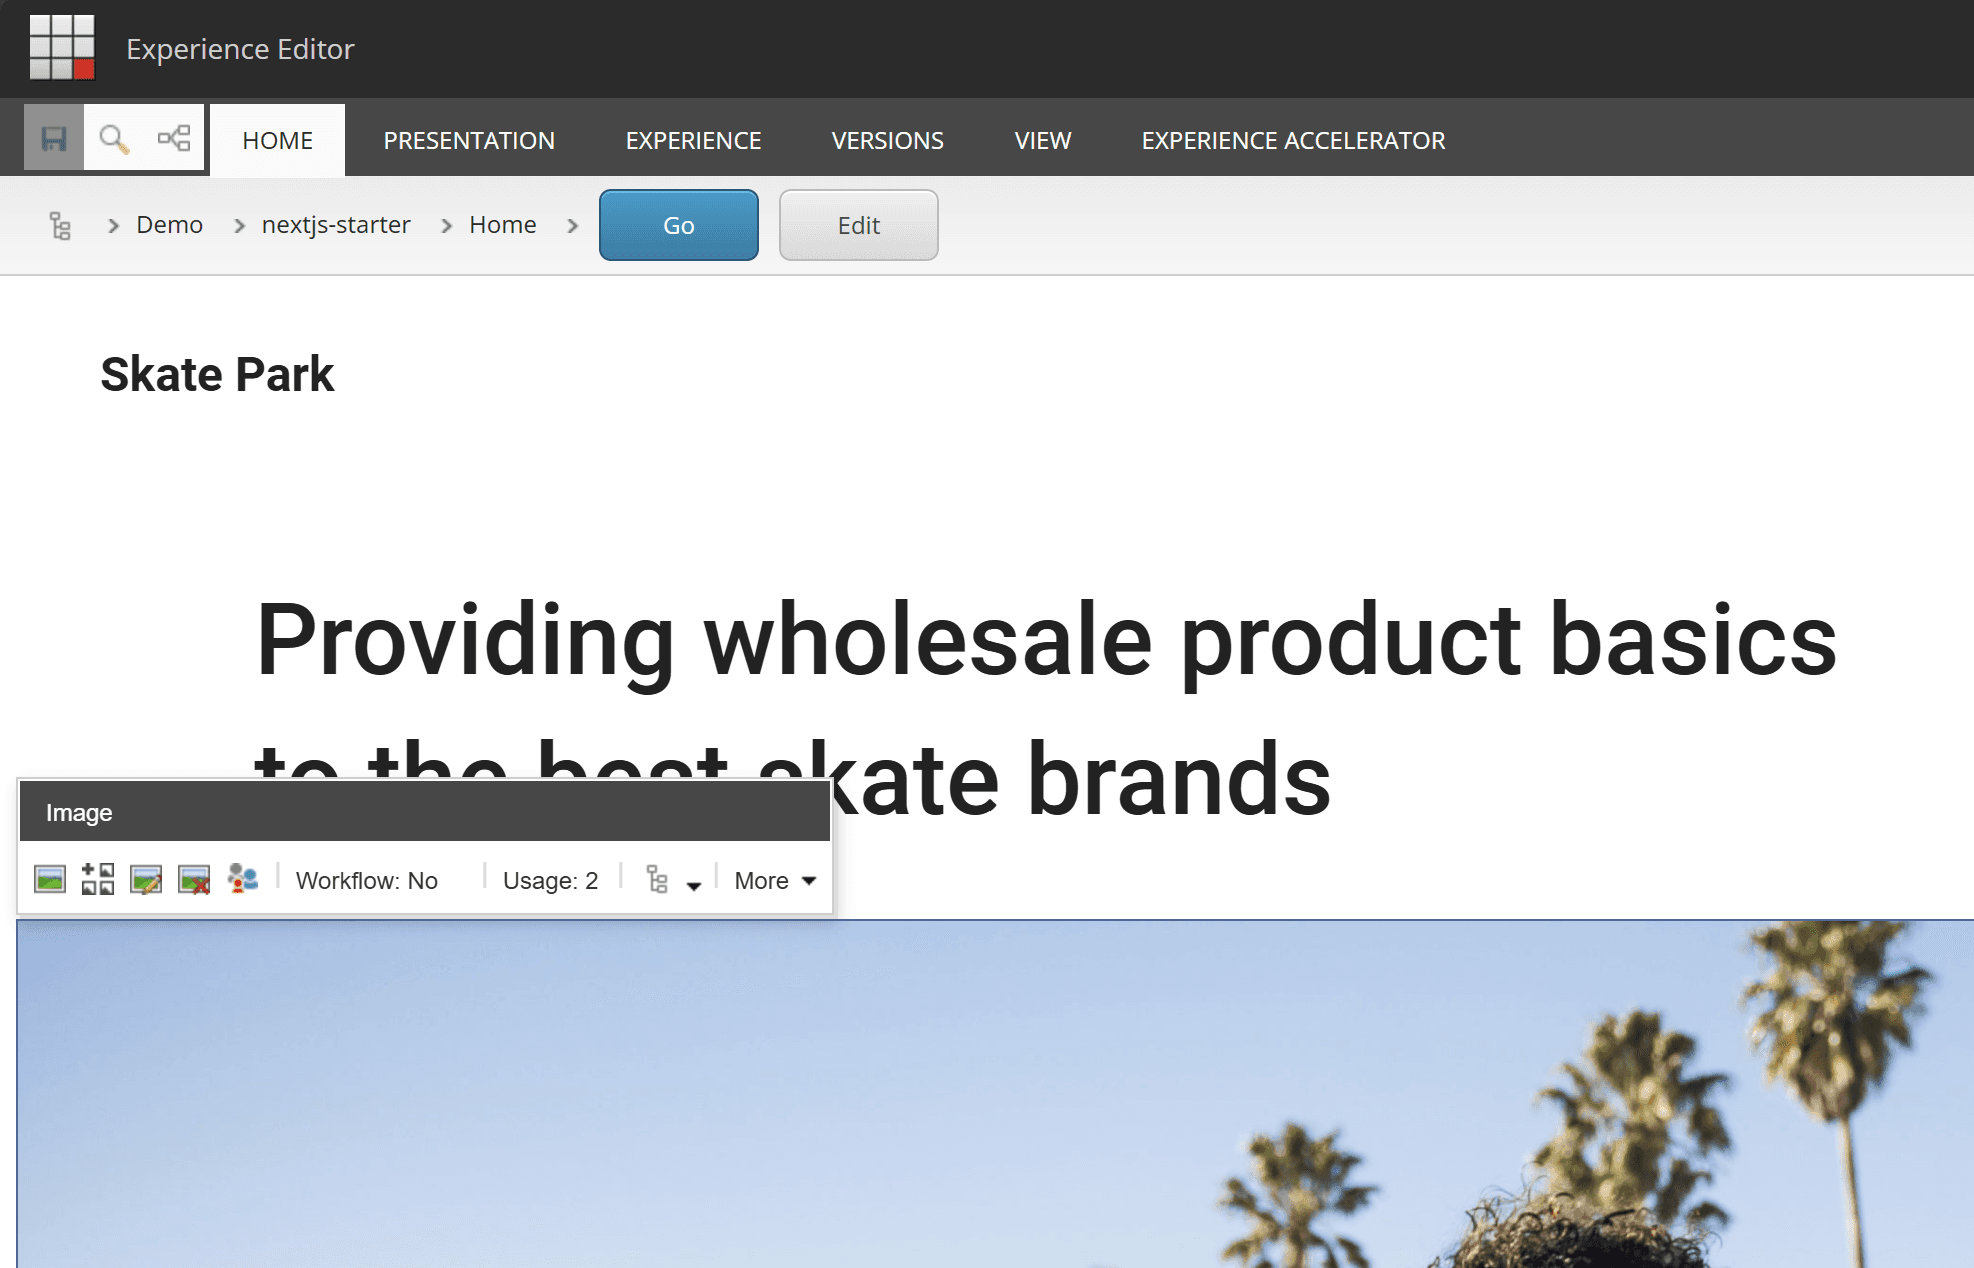
This will enable the Connector. When you click on the image of the sample site, you can see that the icon to use DAM is displayed second from the left.
After clicking this, an error screen will be displayed.
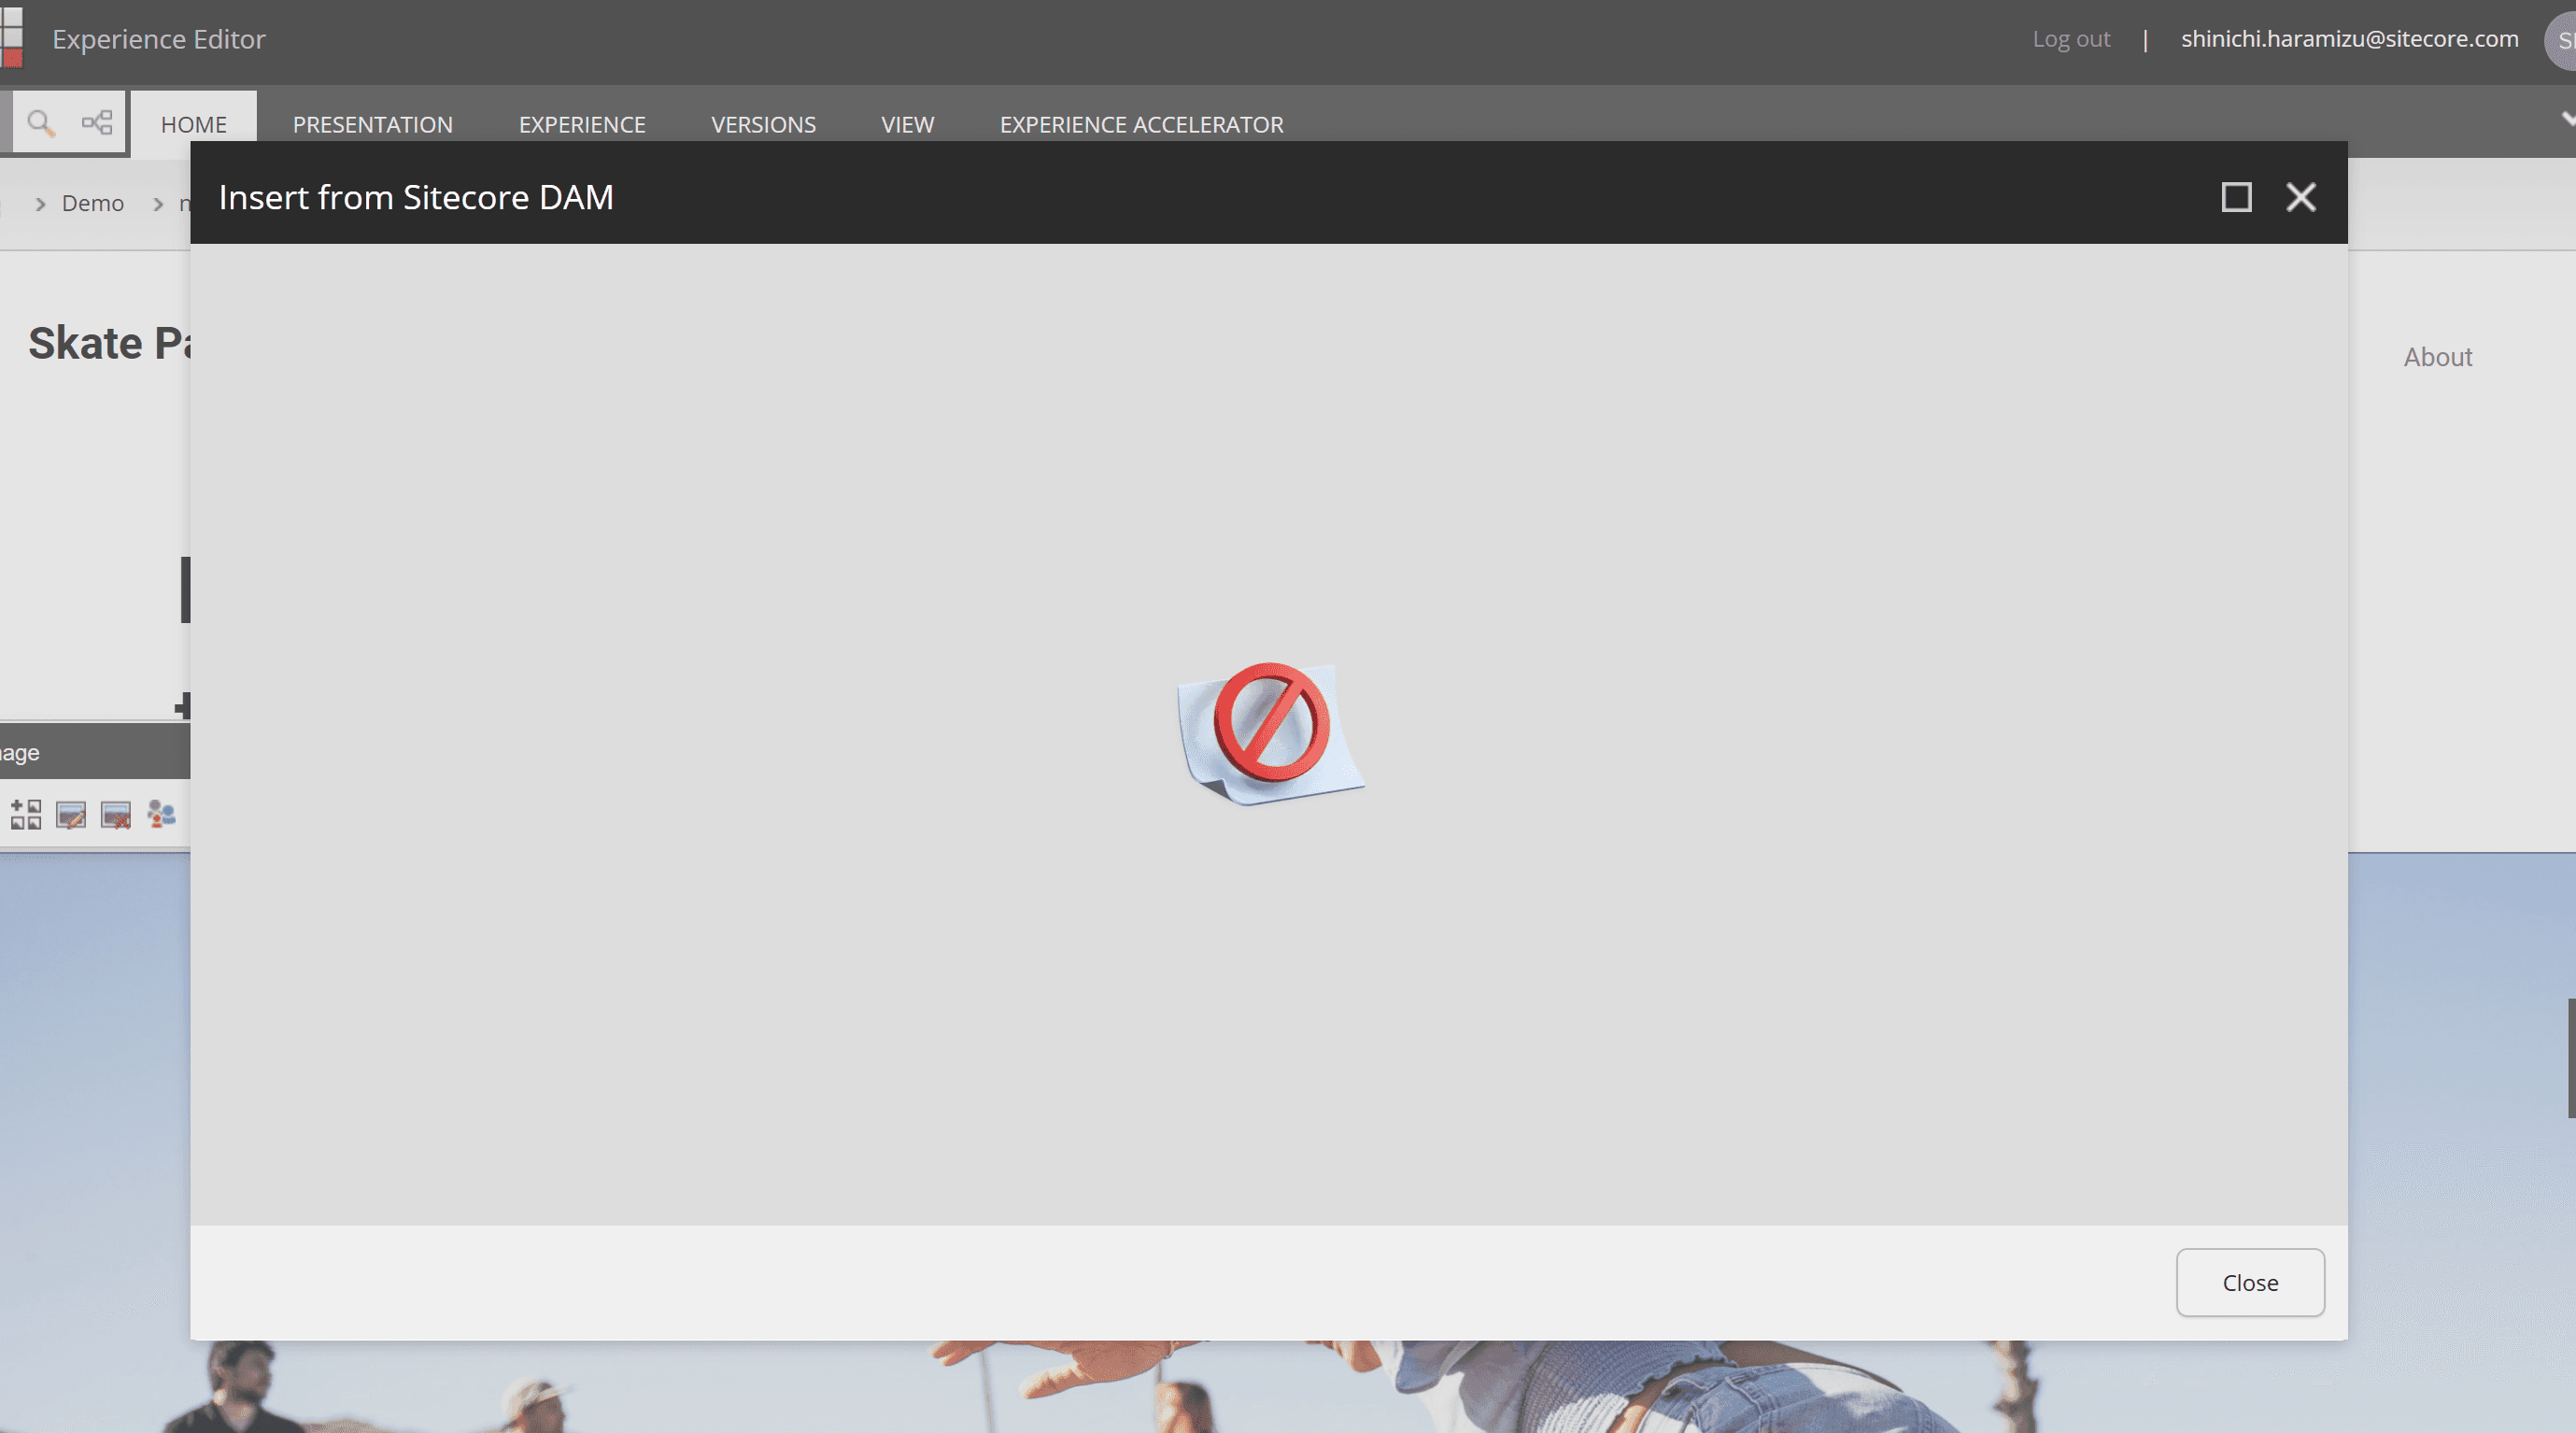
Adding CORS
The reason for the above error is that the Docker instance is not specified in the CORS settings on the Content Hub DAM side. Therefore, change the CORS settings of Content Hub with the following steps.
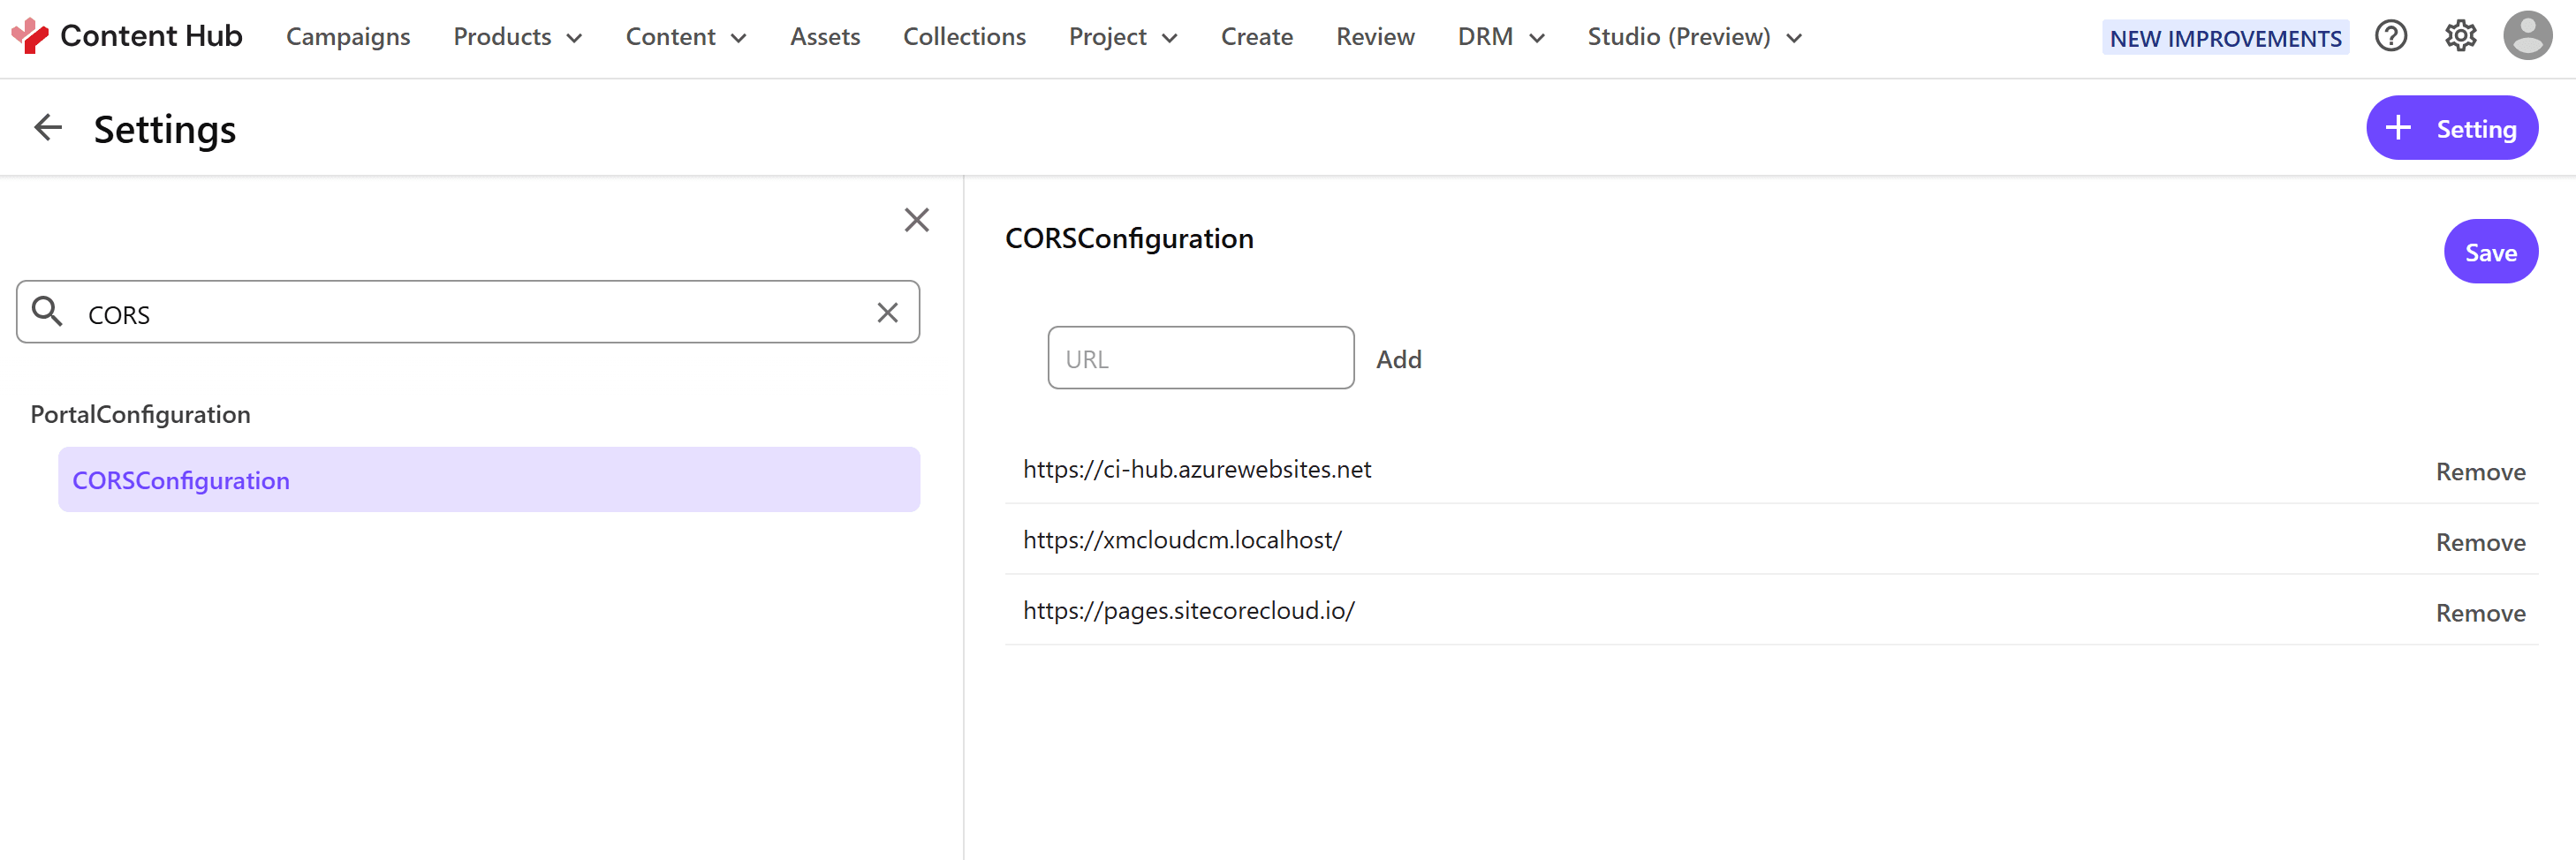
- Open Settings in the Content Hub management tool
- Open PortalConfiguration -
CORSConfiguration - Add https://xmcloudcm.localhost/ and the URL of the XM Cloud instance as sites
This completes the settings. After logging in, you will be able to select DAM assets as shown below.