We provide a template site called tailwind-starter that includes the information introduced on this site. This project applies some changes in addition to the standard template, so we will introduce those contents here.
Creating template
2024-12-18
Prerequisites
The prerequisites for the contents introduced in this document are as follows.
First, the base image was created using the following repository.
The following environment has been confirmed to work.
- Windows 11 Pro
- Node.js 20.18.1
- Docker Desktop 4.36.0
Using the above template, we provide a new sample in the following repository.
The following environment has been confirmed to work.
- Windows 11 Pro
- Node.js 20.18.1
- Docker Desktop 4.36.0
Using the above template, we provide a new sample in the following repository.
The actual procedure is as follows.
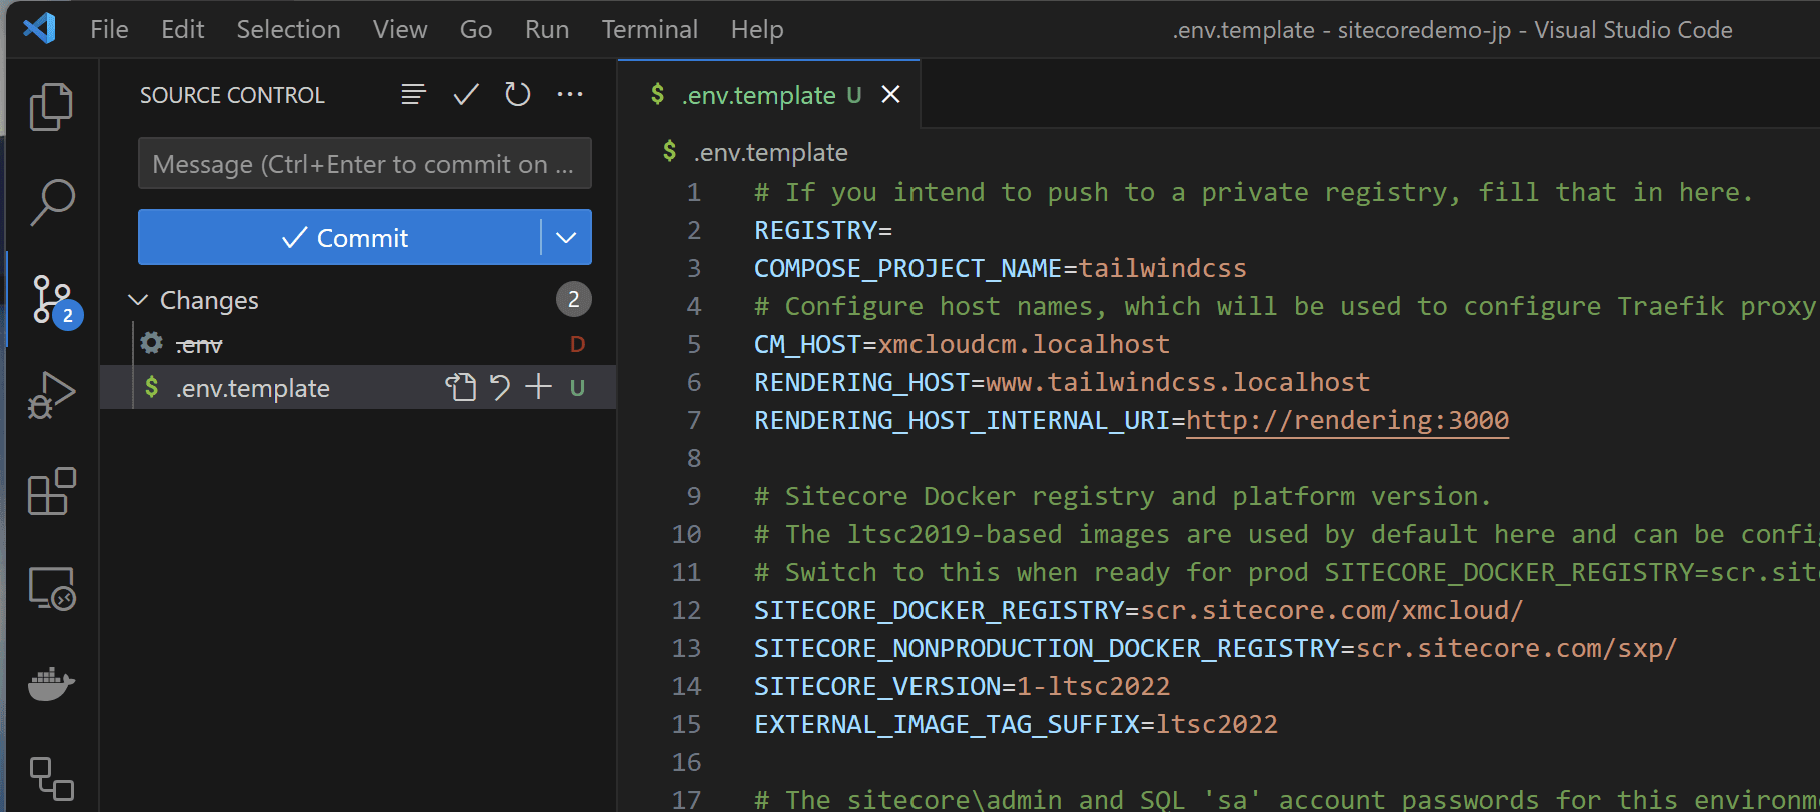
- Rename the .env file to .env.template
- Remove environment-specific keys from env.template
- SITECORE_ADMIN_PASSWORD
- SQL_SA_PASSWORD
- REPORTING_API_KEY
- TELERIK_ENCRYPTION_KEY
- MEDIA_REQUEST_PROTECTION_SHARED_SECRET
- JSS_DEPLOYMENT_SECRET_xmcloudpreview
- SITECORE_API_KEY_xmcloudpreview
- JSS_EDITING_SECRET
- Commit the changes to .env and .env.template to delete the .env file
- Update .gitignore
.gitignore
- This change ensures that the .env file will not be published on GitHub
- Modify the script to create .env from .env.template when running init.ps1.
local-containers\scripts\init.ps1
With the above changes, the .env file is protected, and the local Docker environment is ready.
Launch a Terminal with administrator privileges and start the local environment as follows.
sh
The .env file will be created, and the environment will be set up as shown below.
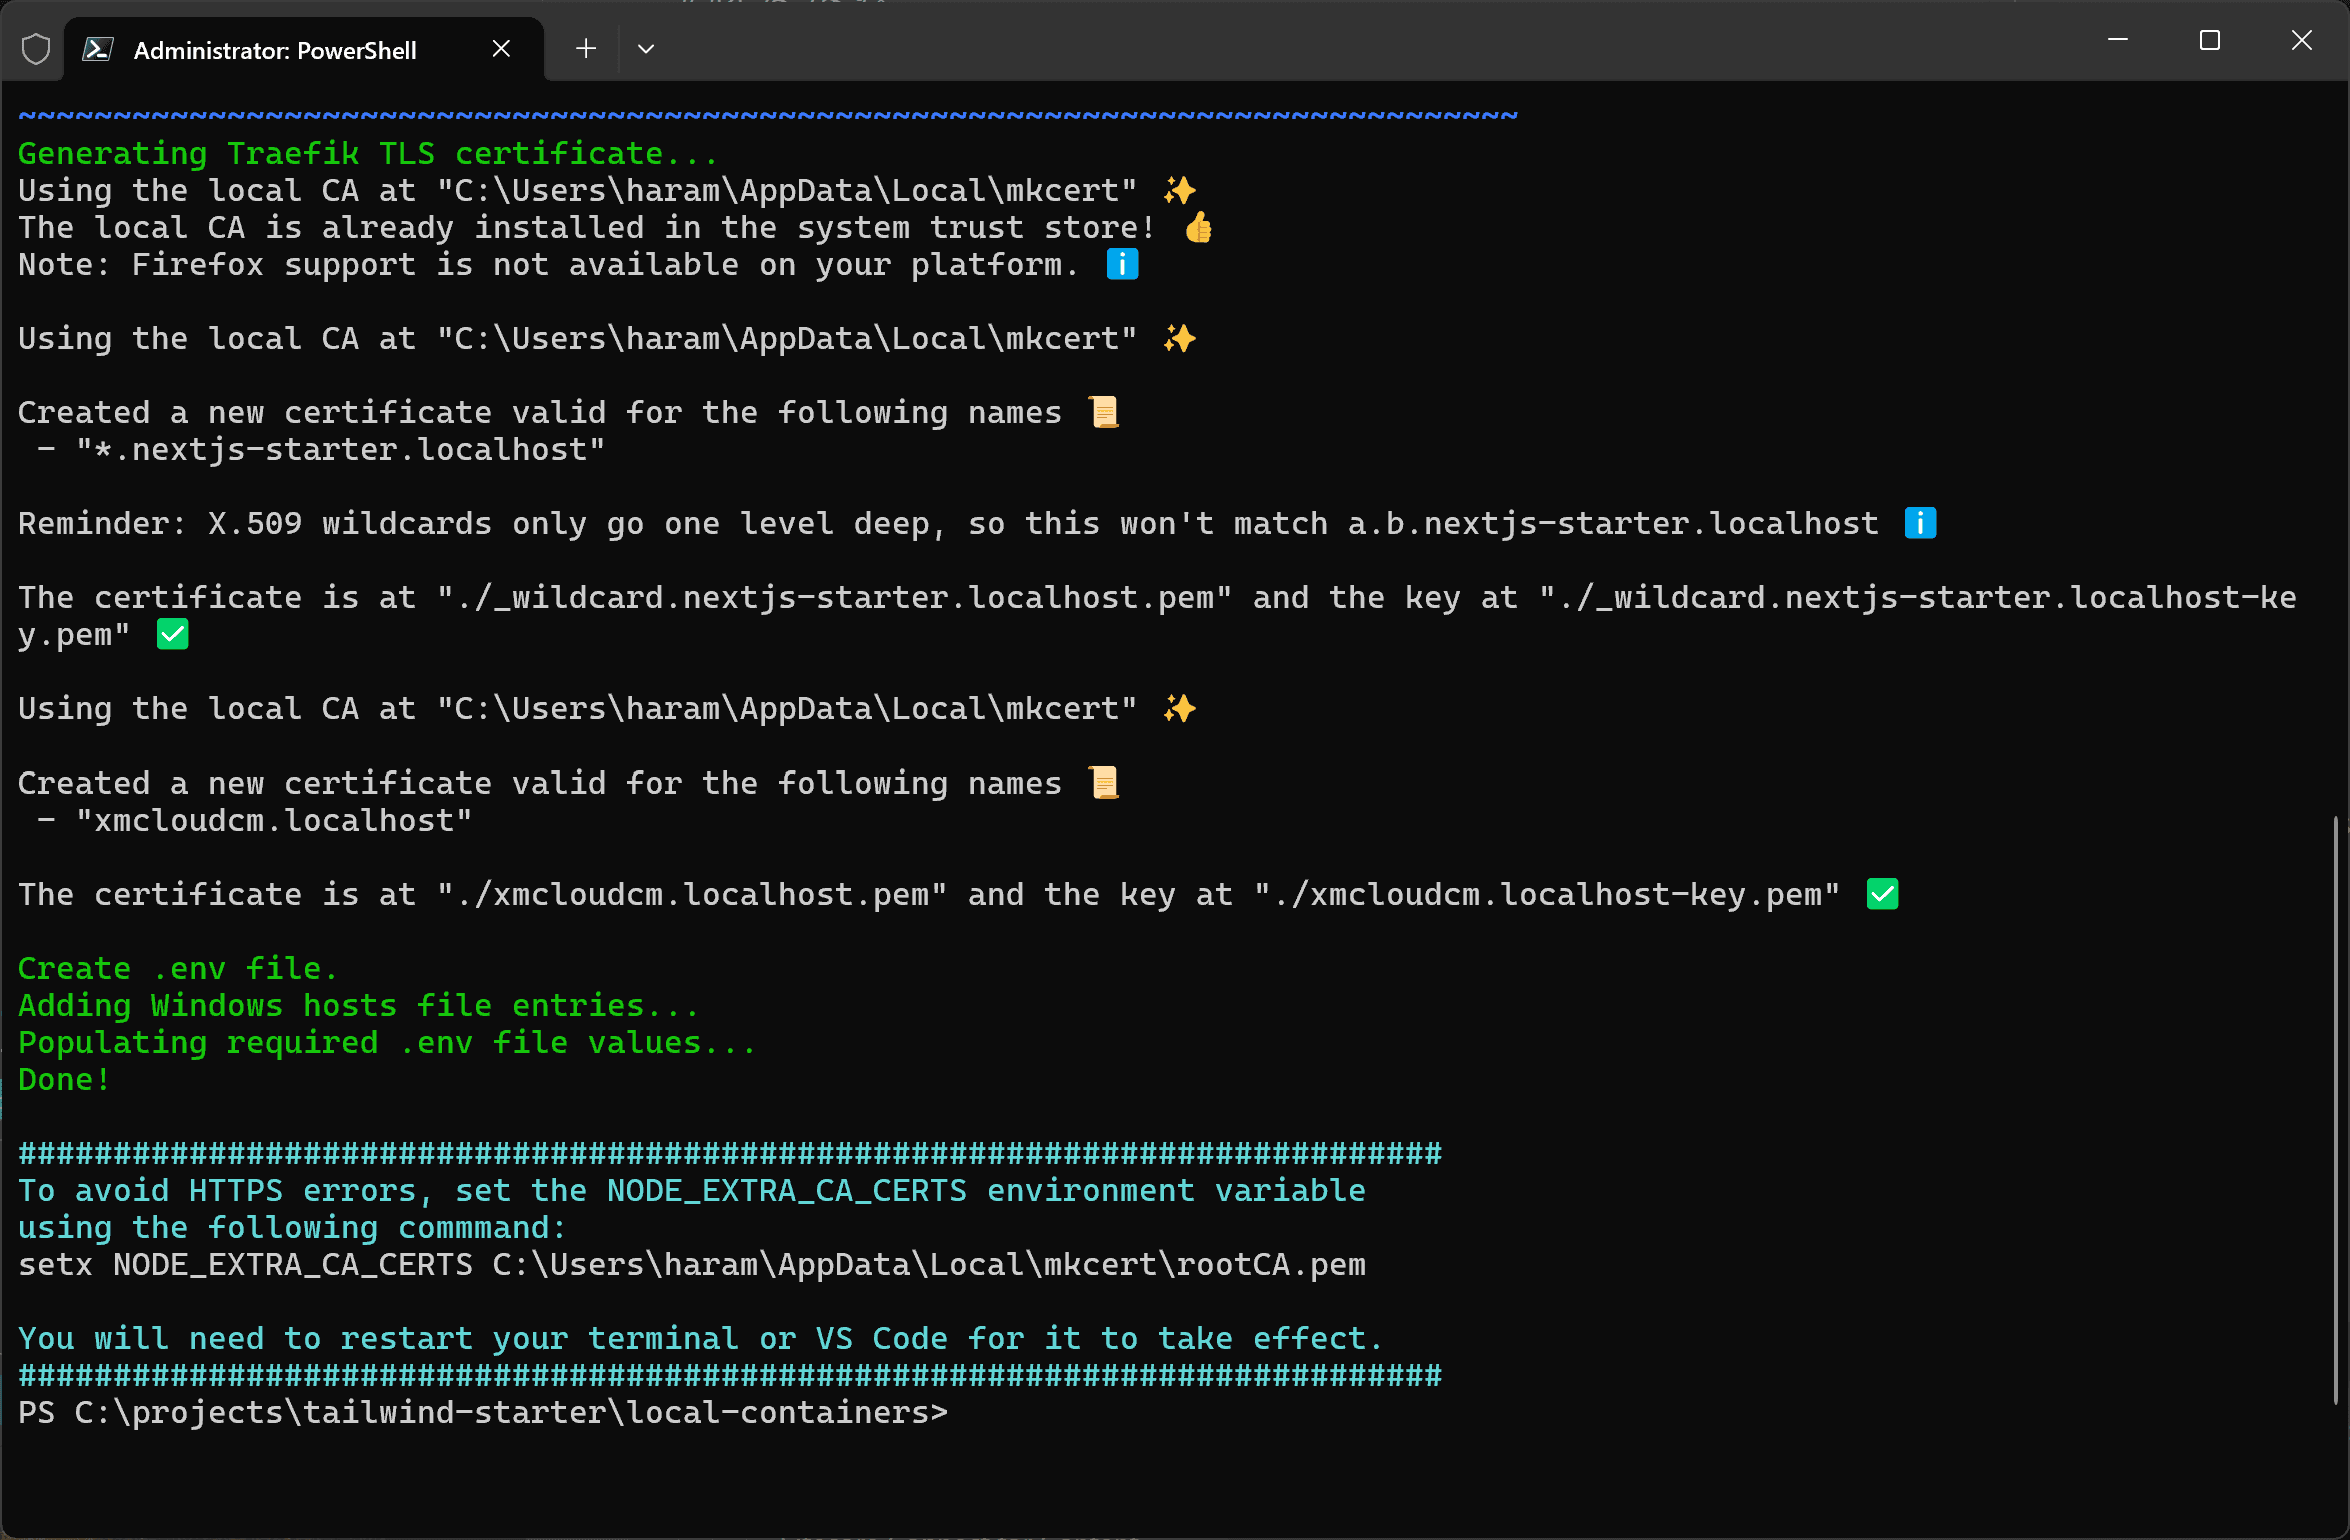
To start the container, run the following command in a Terminal with administrator privileges.
sh
This will start the local Docker environment.
Changes to up.ps1
The local-containers\scripts\up.ps1 file provided by default requires administrator privileges. The code that requires these privileges is as follows.
sh
This code is used to retrieve the Node.js version information from the JSON file xmcloud.build.json that defines the environment variables for XM Cloud and set it as an environment variable. By commenting out this part, you can run ./scripts/up.ps1 without administrator privileges.
Adding Japanese Resources
You can add Sitecore Experience Manager resources to the Sitecore XM Cloud environment and the local Docker environment. This allows you to import Japanese resources for common items.
Caution This procedure is not officially supported.
Preparing Resource Files
This time, we will download and use the resource files of Sitecore Experience Manager from the official site. Download the following files.
- Sitecore Experience Platform 10.4 - Client translations
- Sitecore Experience Accelerator 10.4.0 - Client translations
- Sitecore Headless Rendering 22.0.0 - Client translations
- Sitecore Connect™ for Content Hub 5.2.0 - Client translations
Create a folder local-containers\docker\build\cm\App_Data and extract the downloaded files there. Note that web-related resources are not needed for XM Cloud, so they are omitted.
- cmp.items.core.ja-JP.dat
- dam.items.core.ja-JP.dat
- items.core.ja-JP.dat
- items.core.jss.ja-JP.dat
- items.core.sxa.ja-JP.dat
- cmp.items.master.ja-JP.dat
- dam.items.master.ja-JP.dat
- items.master.ja-JP.dat
- items.master.jss.ja-JP.dat
- items.master.sxa.ja-JP.dat
- cmp.texts.ja-JP.xml
- dam.texts.ja-JP.xml
- texts.ja-JP.xml
- texts.sxa.ja-JP.xml
The resource files are ready.
Applying to Docker Environment
This time, we can apply the resource files by copying them to the cm instance, so add a copy command to the following file.
local-containers/docker/build/cm/Dockerfile
After changing the settings, apply and start the local environment.
- Launch Desktop
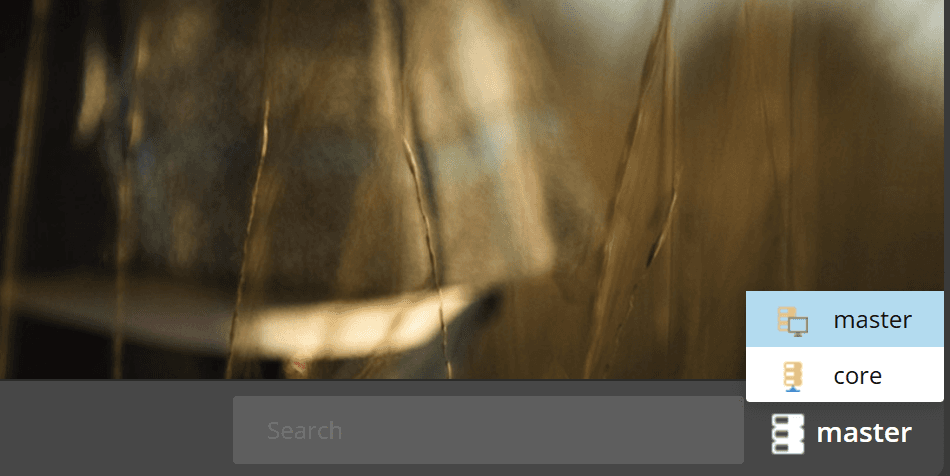
- Click the icon in the lower right corner and switch to Core
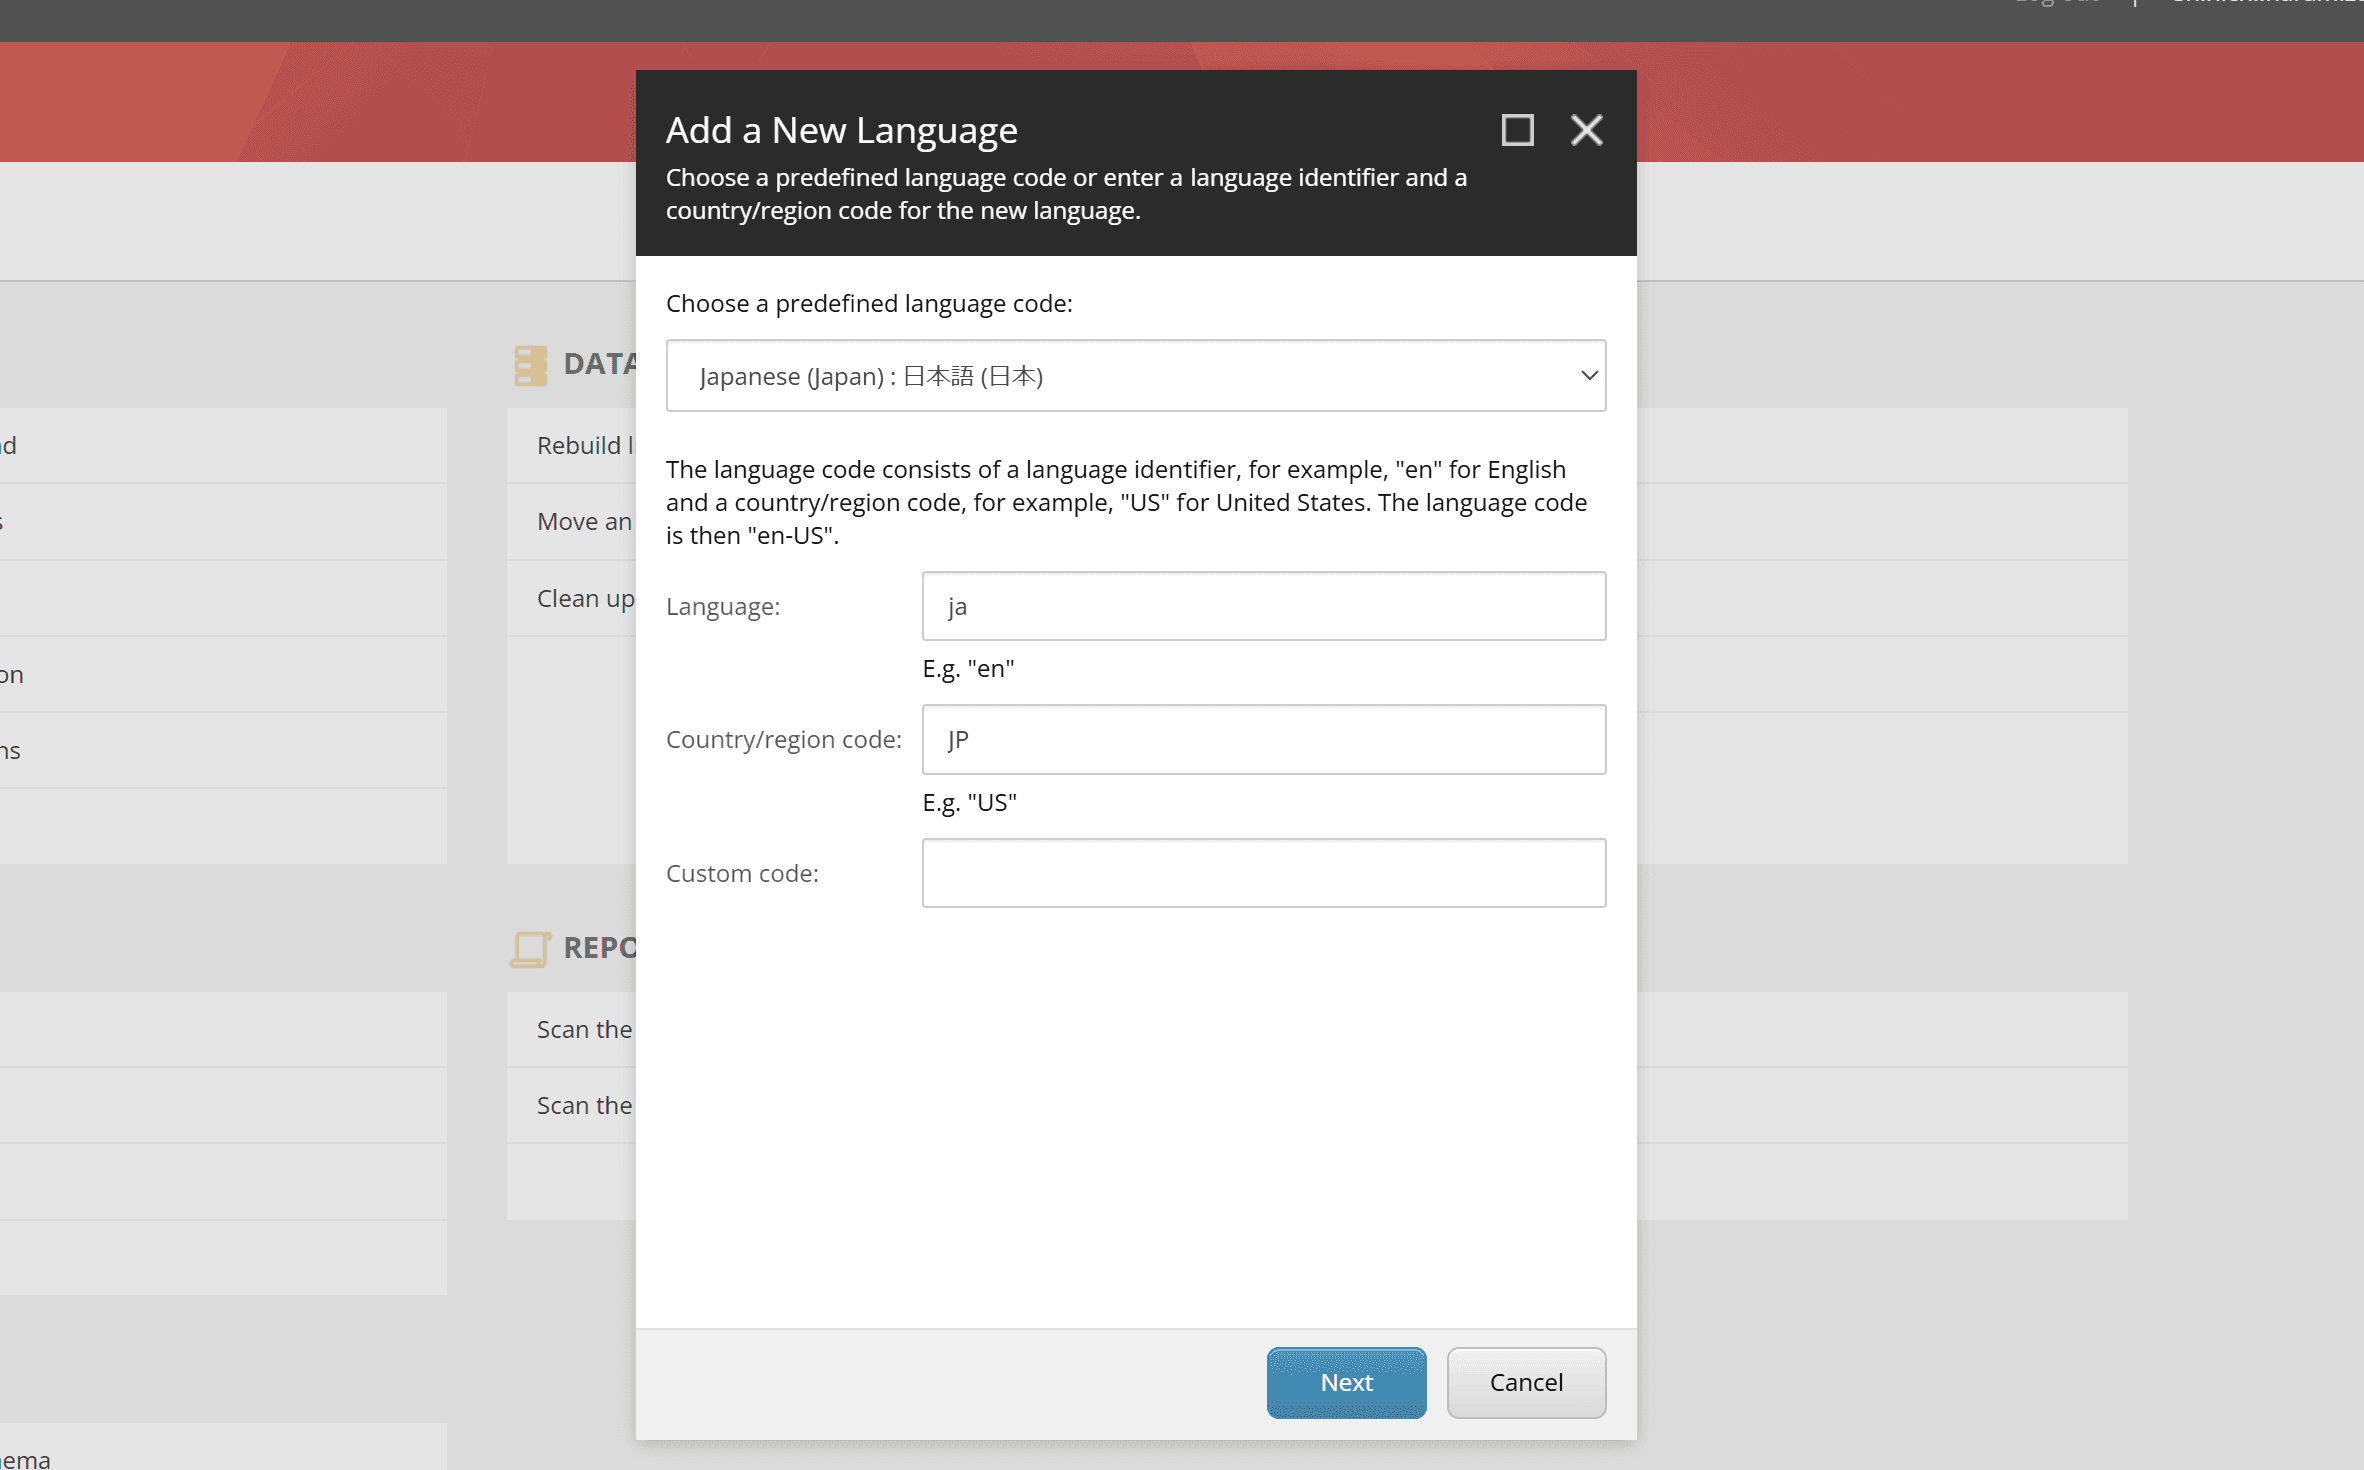
- From the Control Panel, select Localization - Add a new language.
- Add Japanese - Japan
- After adding the language, launch Desktop and switch the database back to master.
With the above steps, you can select Japanese resources. When you set the display language to Japanese in the user profile, the local environment will display data in Japanese.
Applying to XM Cloud Environment
To apply the resource files to the XM Cloud environment, you need to adjust the XM Cloud Deploy to include the resource files through the authoring project. The steps are as follows.
- Create a folder authoring\platform\App_Data and copy the files with the same structure as local-containers\docker\build\cm\App_Data.
- cmp.items.core.ja-JP.dat
- dam.items.core.ja-JP.dat
- items.core.ja-JP.dat
- items.core.jss.ja-JP.dat
- items.core.sxa.ja-JP.dat
- cmp.items.master.ja-JP.dat
- dam.items.master.ja-JP.dat
- items.master.ja-JP.dat
- items.master.jss.ja-JP.dat
- items.master.sxa.ja-JP.dat
- cmp.texts.ja-JP.xml
- dam.texts.ja-JP.xml
- texts.ja-JP.xml
- texts.sxa.ja-JP.xml
- Add the following lines to include the above files in the project file authoring\platform\Platform.csproj.
authoring\platform\Platform.csproj
This allows you to start the XM Cloud instance with the resource files included.
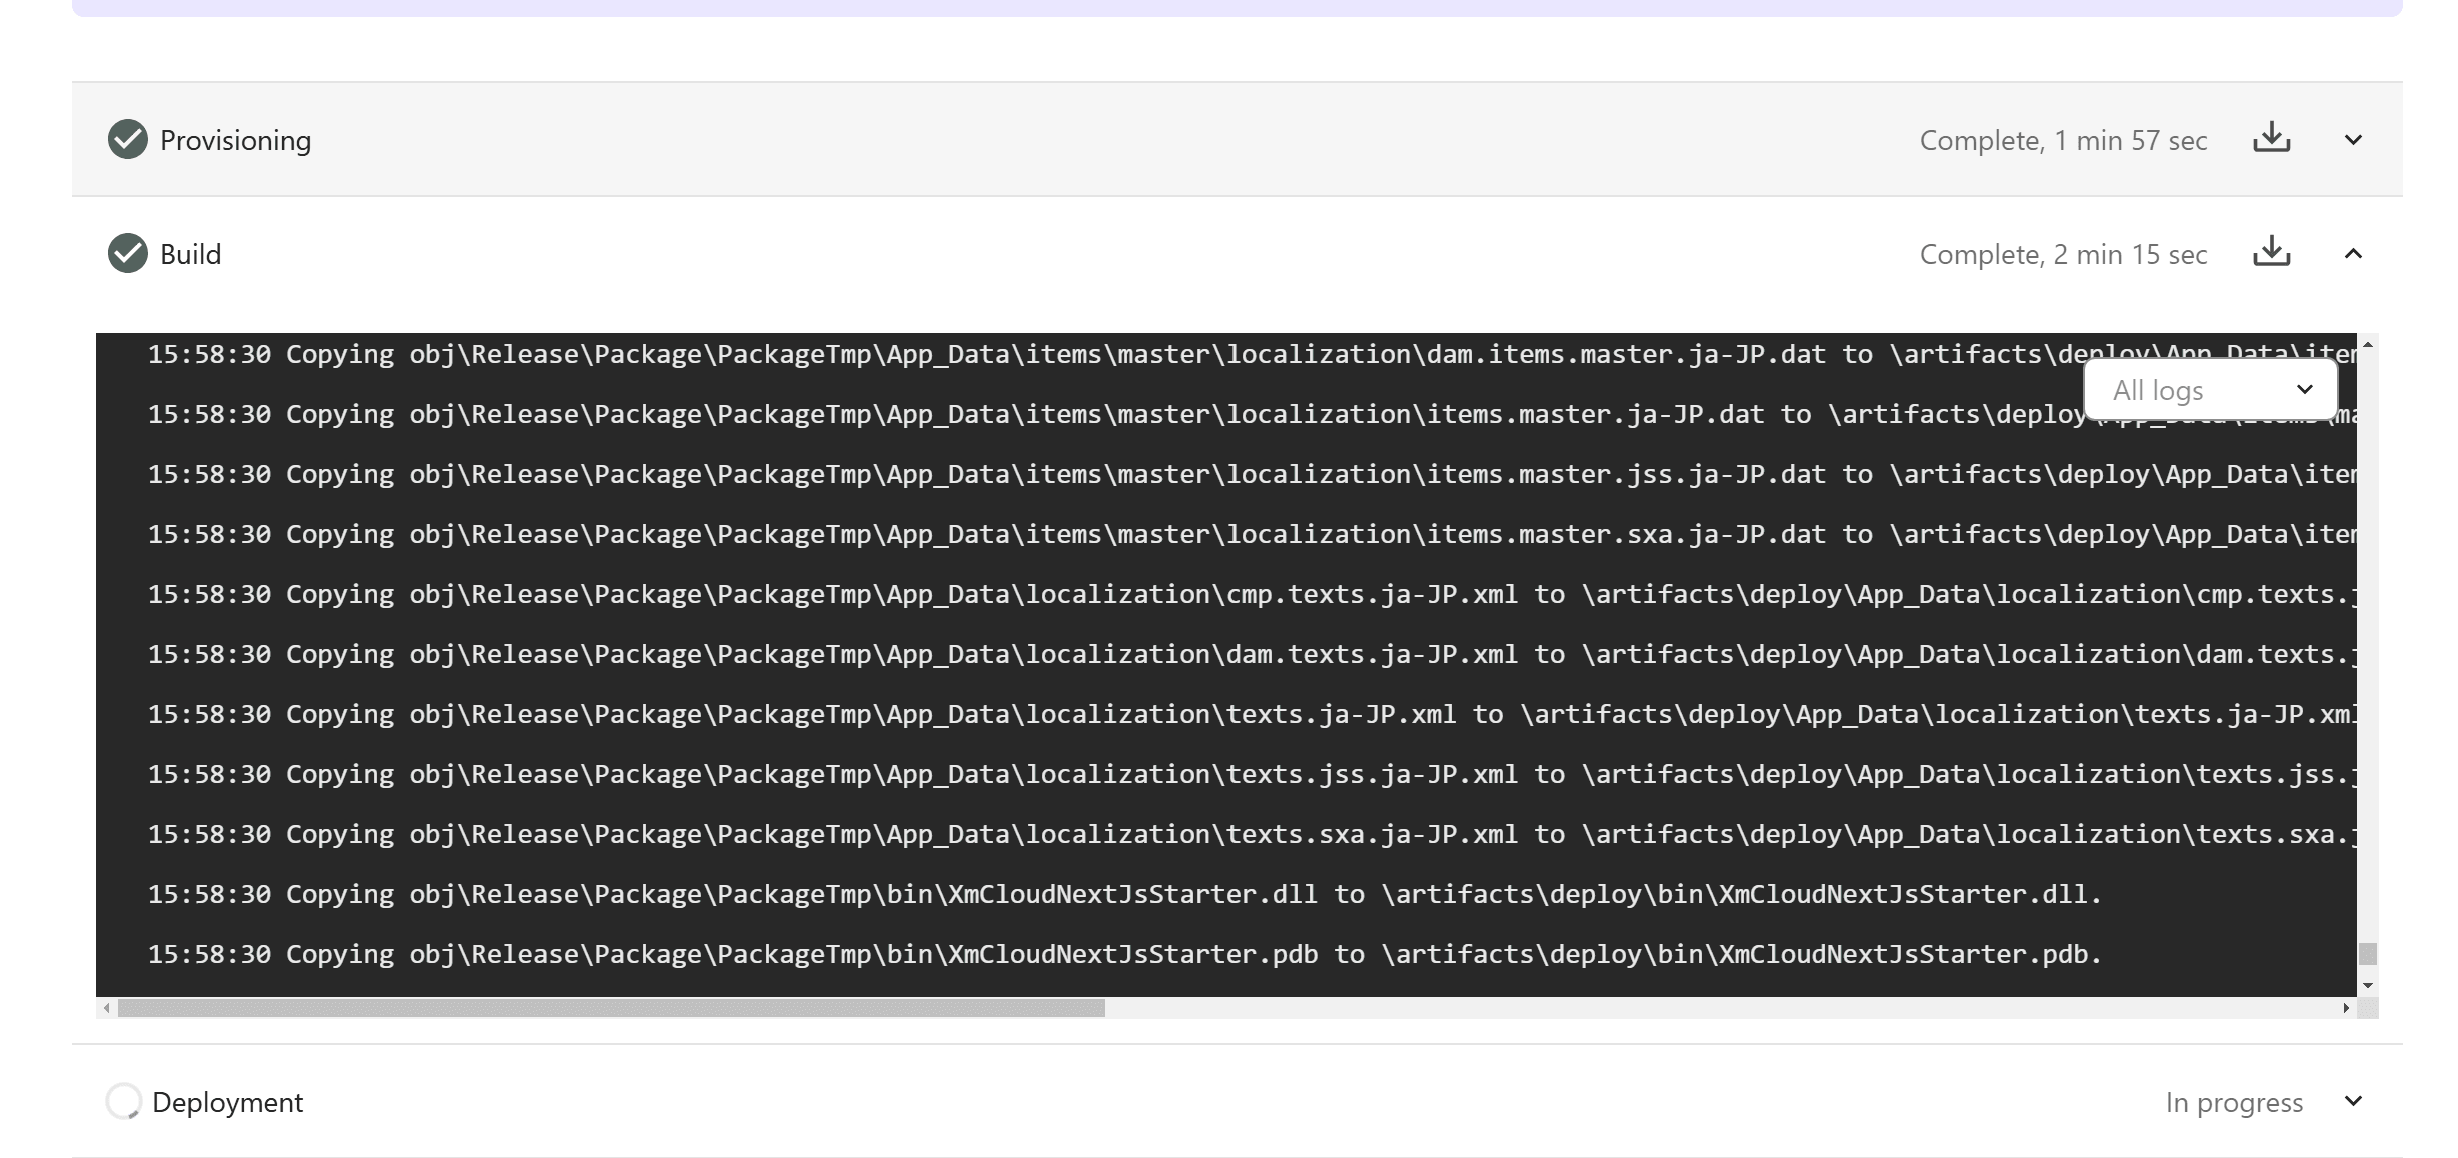
When you build the project with the above settings and deploy it with XM Cloud Deploy, you can confirm that it is deployed with the resource files included.
After the new environment is started, follow these steps to add Japanese resources.
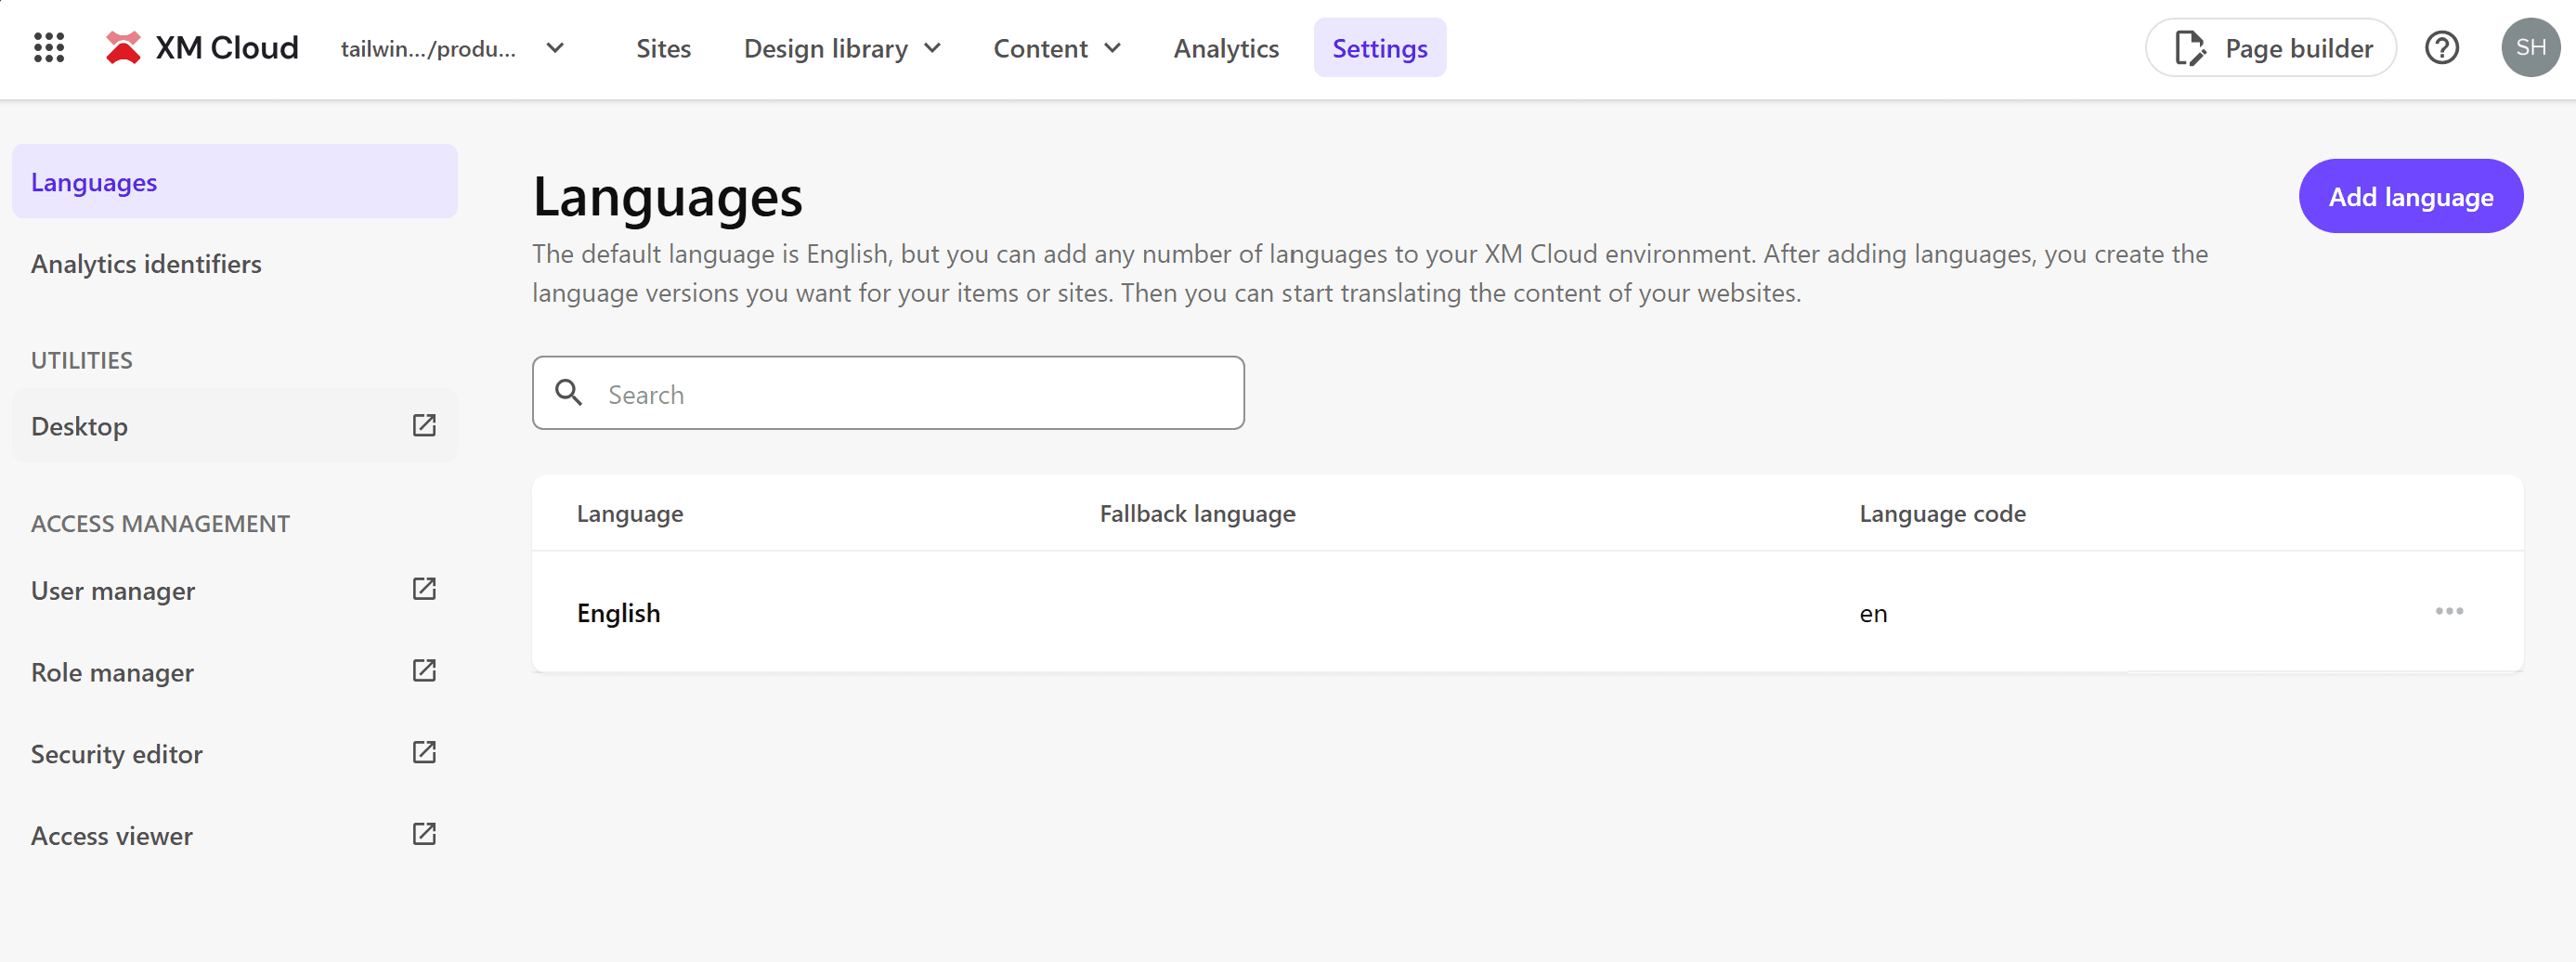
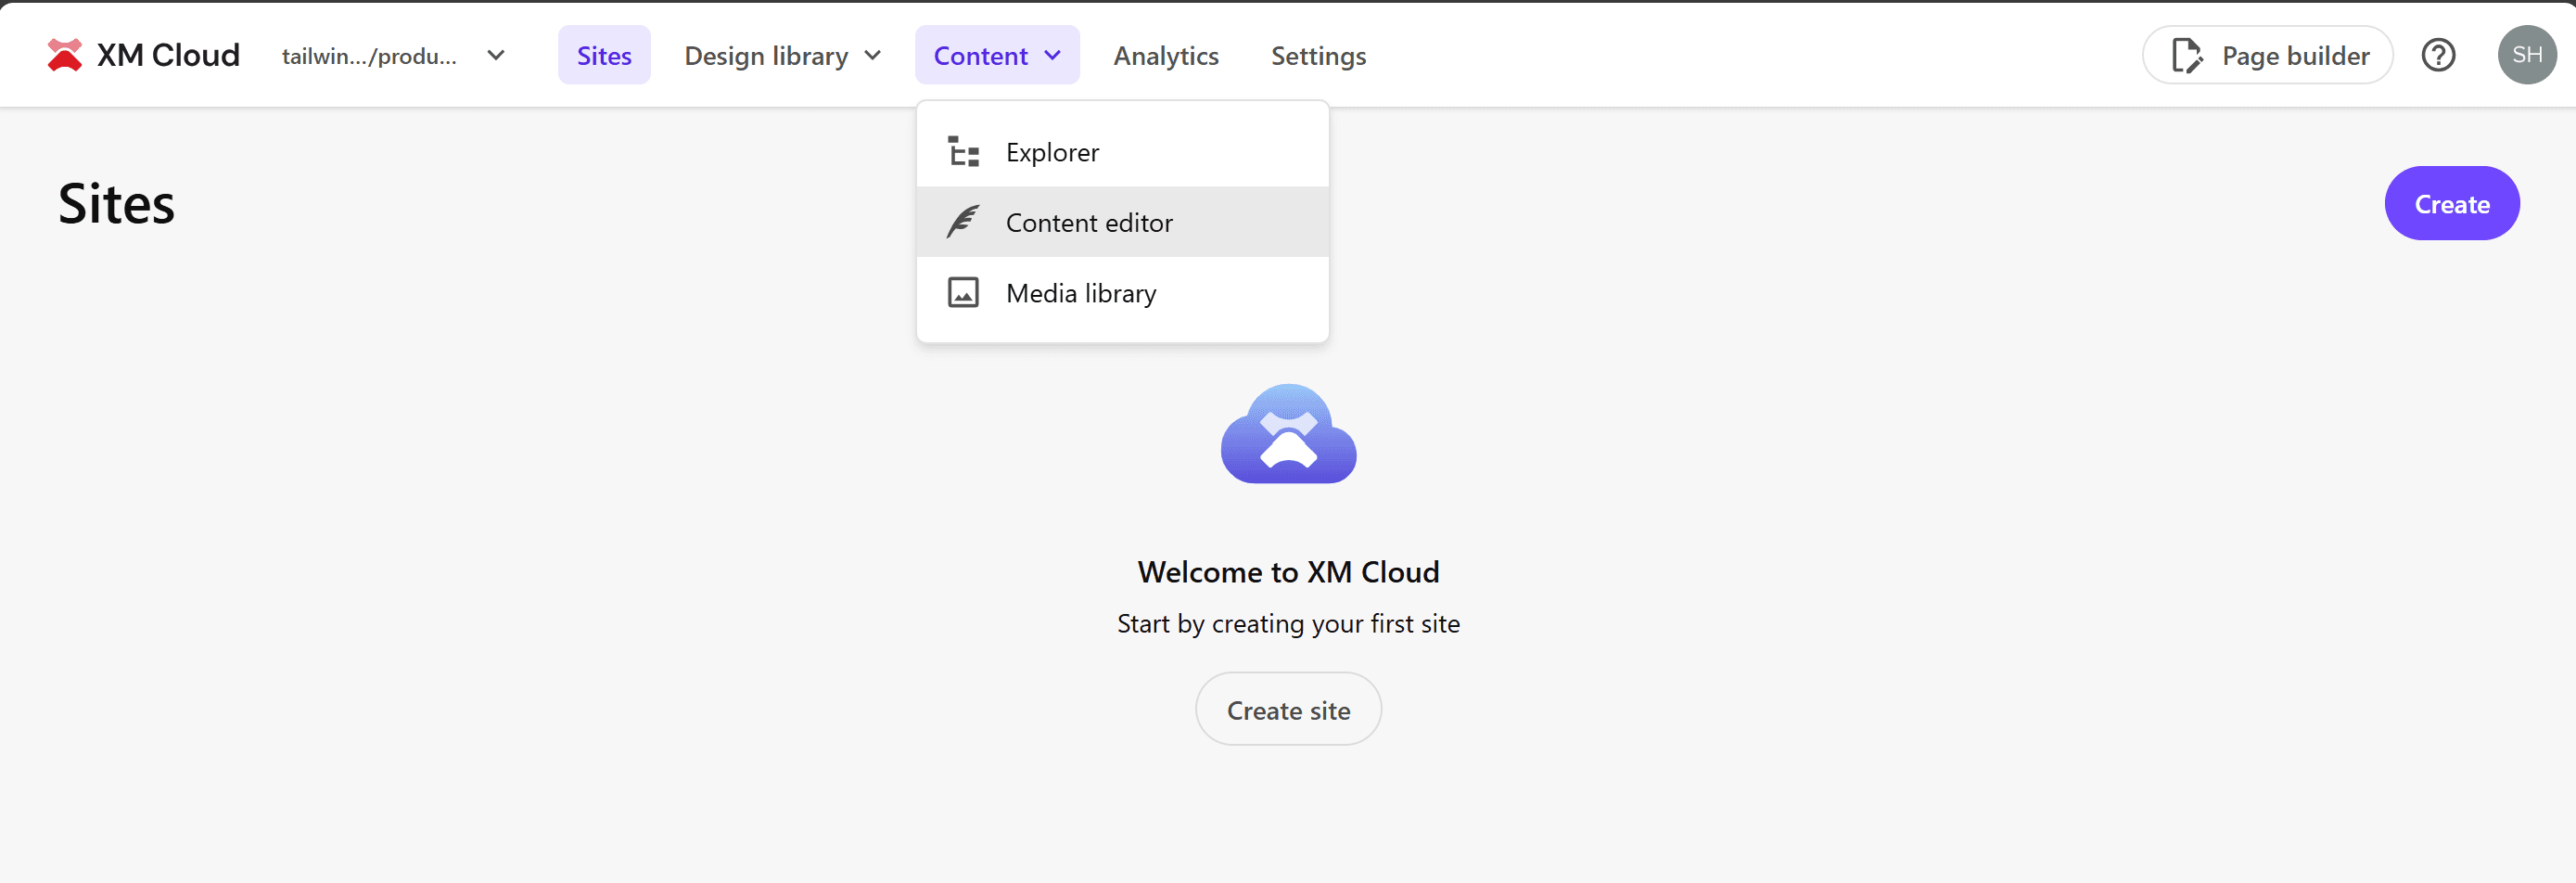
- From the Sites menu that displays the list of sites, select Settings.
- Open Desktop from the left menu
- Click the icon in the lower right corner and switch to Core
- From the Control Panel, select Localization - Add a new language.
- Add Japanese - Japan
- After adding the language, launch Desktop and switch the database back to master.
With the above steps, you can select Japanese resources.
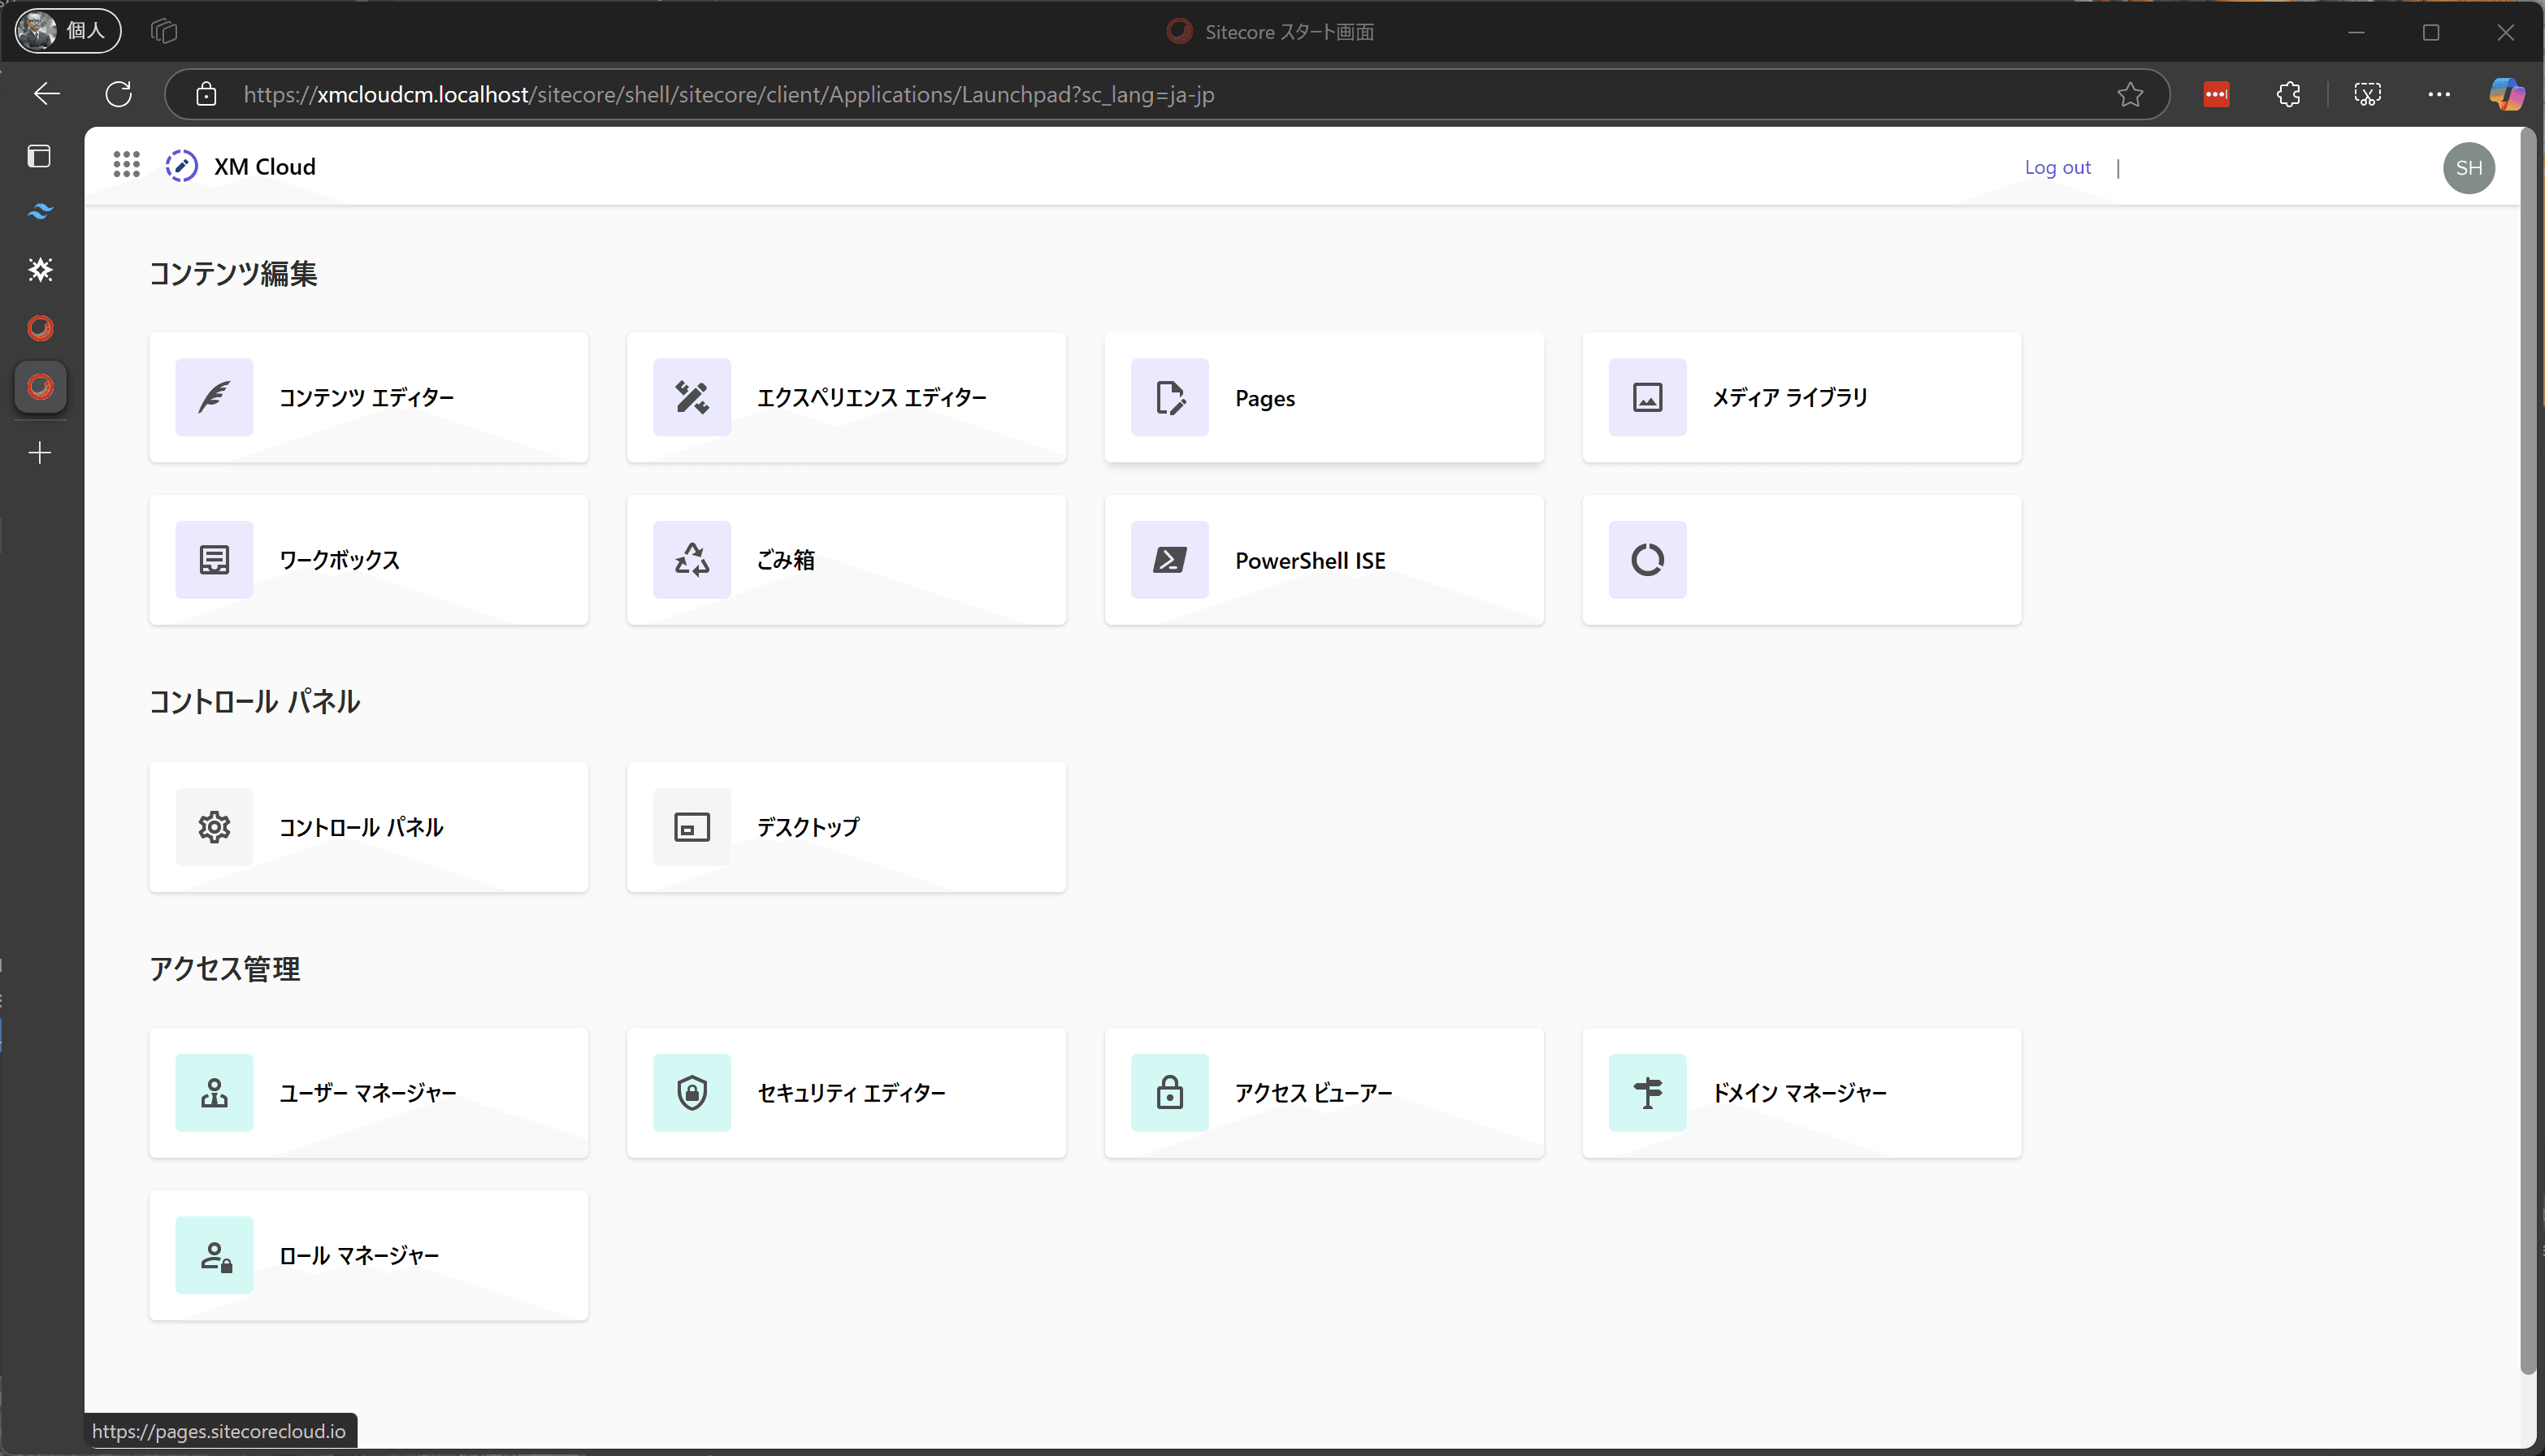
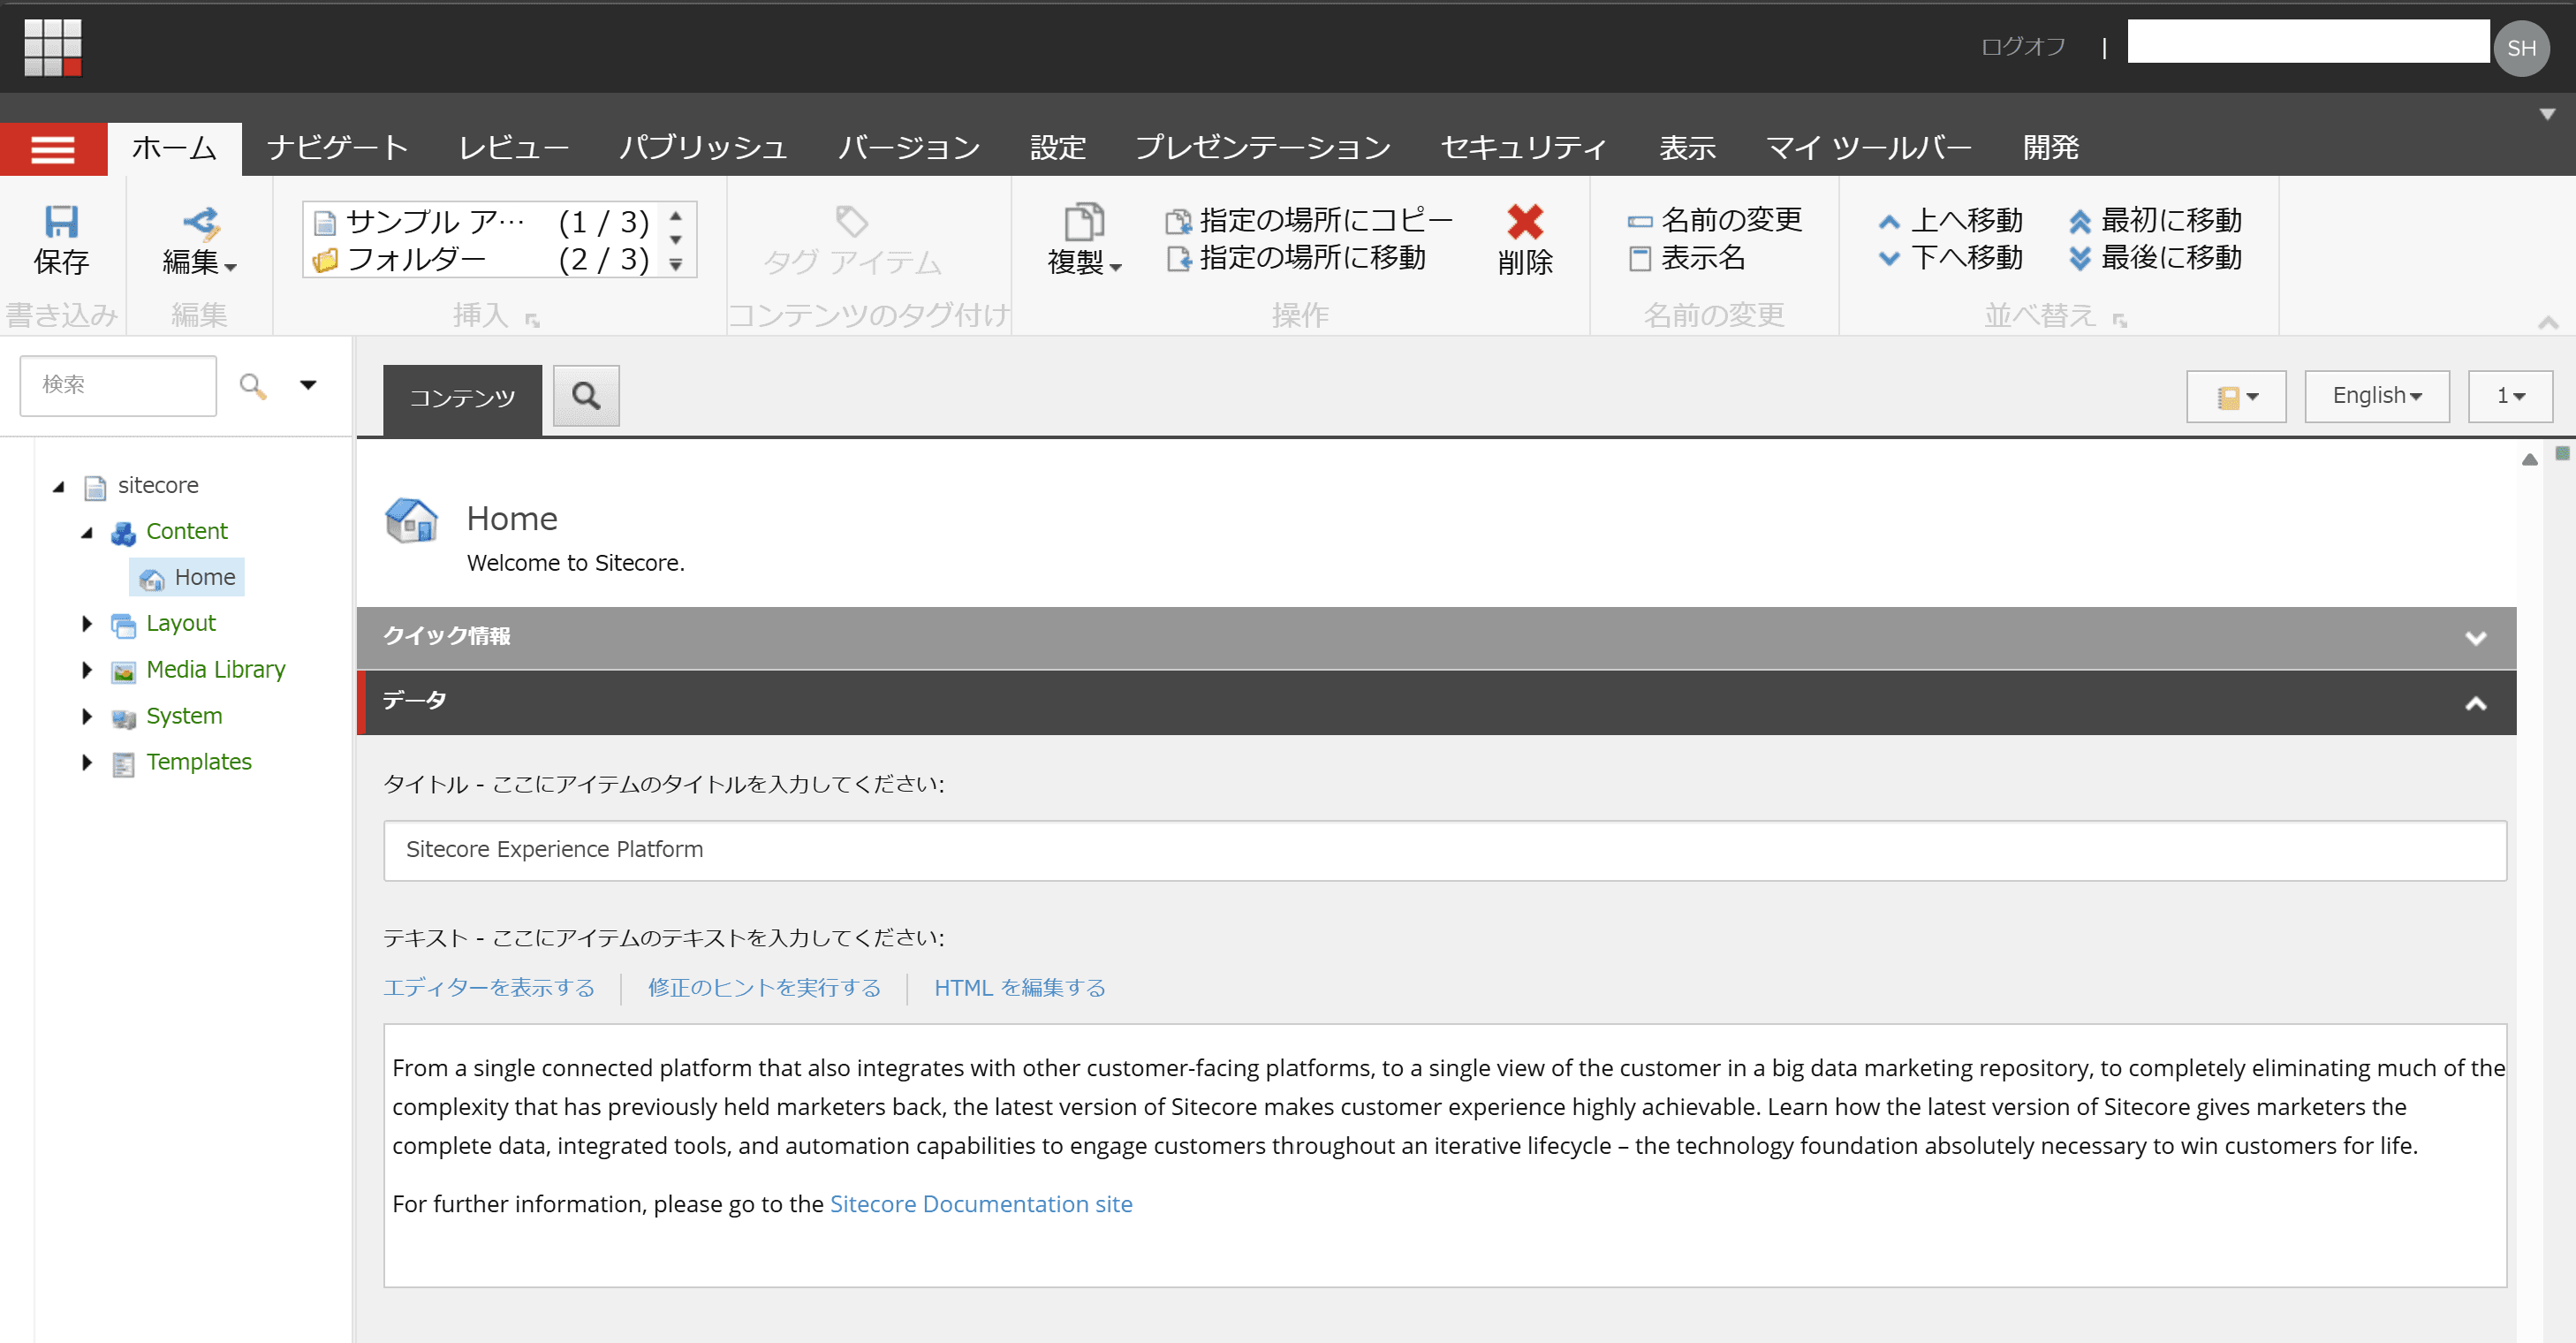
Although it does not apply to all resources in Sitecore XM Cloud, you can confirm that Japanese data is displayed in the Content Editor, which is a common tool. First, open Content Editor under Content in the Sites menu.
This time, to verify that the language is imported correctly, we will switch the language in the URL instead of switching the user’s language. Change the last language in the URL accessing the CMS to &sc_lang=ja-JP. Then, it was displayed in Japanese resources as shown below.
Adding new project
In addition to the existing Next.js Starter Kit and Angular SAP Starter Kit, we will add a new project this time. Ultimately, we will proceed with the steps to make it work with the following structure.
- clean.ps1 — docker image clean up script
- down.ps1 — docker script
- init.ps1 — init script for local instance
- up.ps1 — start xm cloud instance
- docker-compose.override.yml
- docker-compose.yml
- sitecore.json — Sitecore CLI configuration file
- xmcloud.build.json — XM Cloud Deploy configuration file
Prerequisites
We will proceed with creating the project in the following environment.
- Windows 11 Pro 24H2
- Node 22.12.0
- Docker Desktop 4.36.0 (175267)
- Visual Studio Code + Docker 機能拡張
Add Project
First, add a new Next.js project. In the headapps folder, run the following command to add a new project:
sh
In this case, the project will be added as follows.
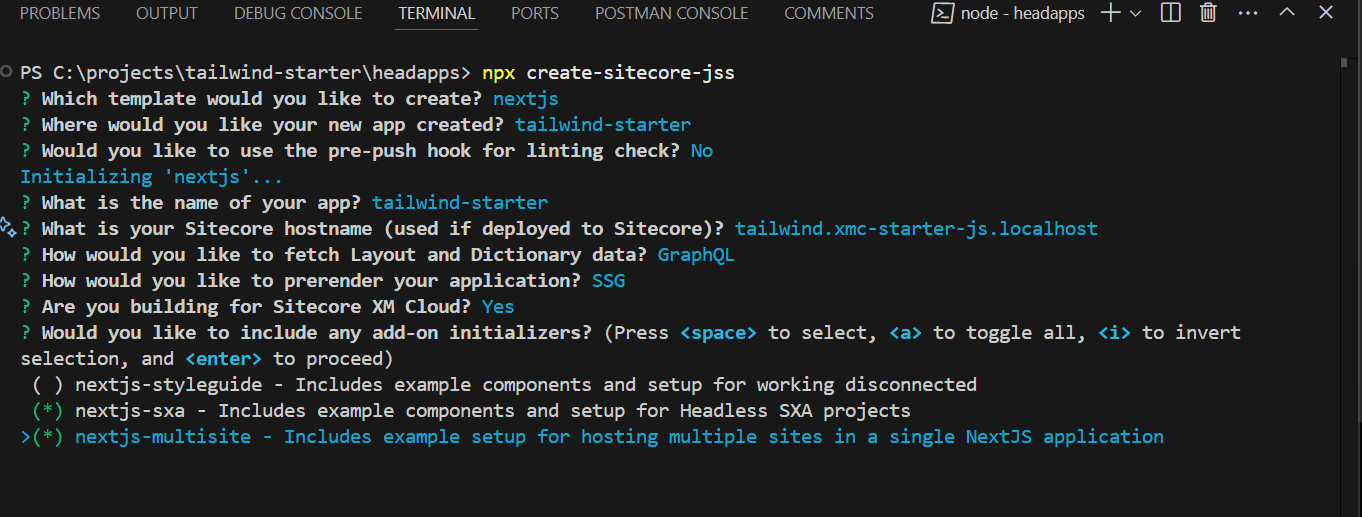
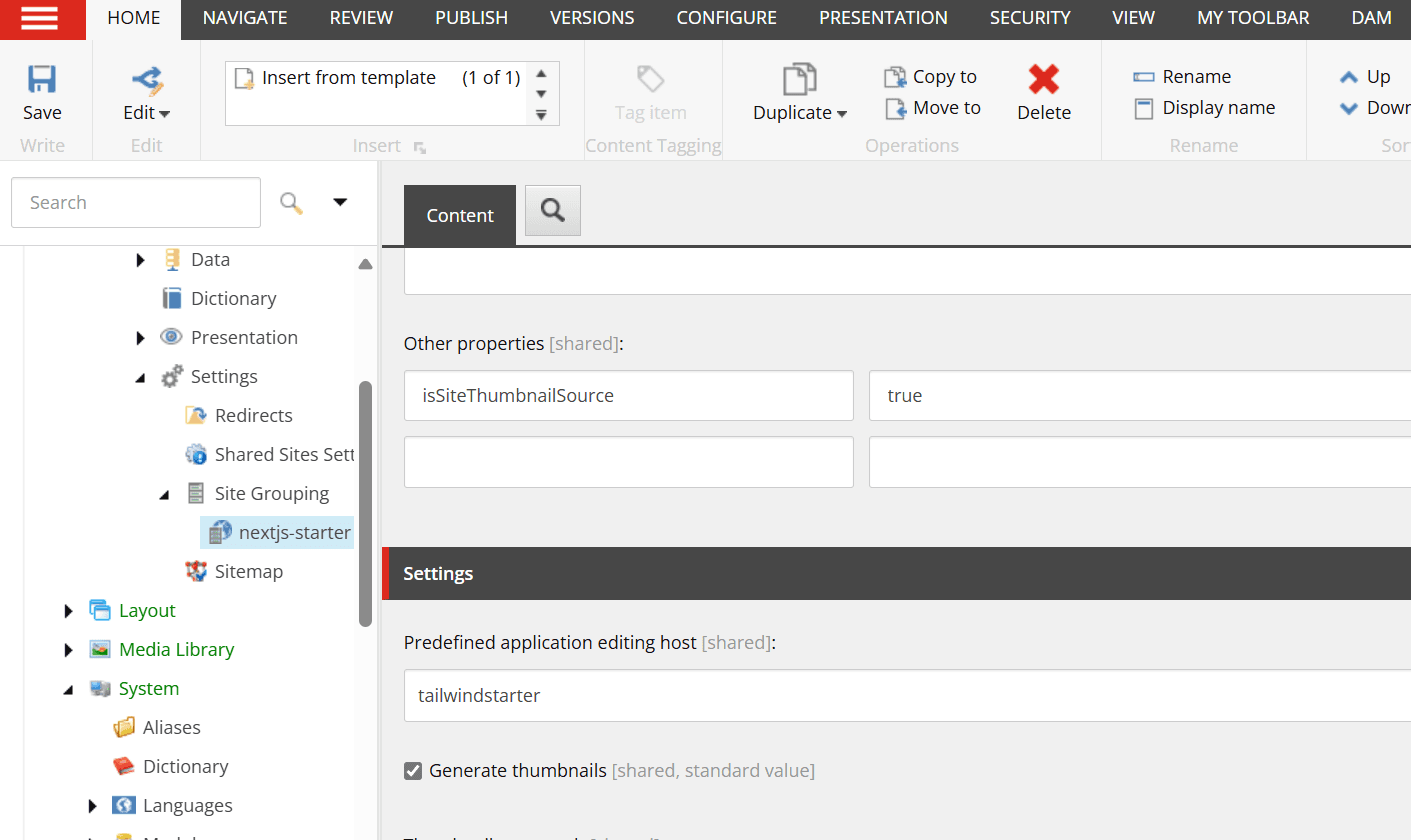
This will add a project in the tailwind-starter directory, similar to the nextjs-starter project.
Docker Environment
Next, modify the local Docker environment configuration to run the tailwind-starter Node.js container.
- Add two environment variables to the .env.template and .env files.
.env.template
- Add the tailwind.xstance for the tailwind-starter. Copy the nextjs-starter image and create a Dockerfile
- Prepare a Node instance for the tailwind-starter. Copy the nextjs-starter image and create a Dockerfile.
local-containers\docker\build\rendering-tailwind\Dockerfile
- Add the following lines to the local-containers\docker-compose.override.yml file to build and start the container.
local-containers\docker-compose.override.yml
- Add the following line to the local-containers\docker-compose.yml file to recognize the container.
local-containers\docker-compose.yml
- Add the following line in local-containers\docker-compose.override.yml to work if rendering-tailwind is started correctly for traefik startup.
local-containers\docker-.override.yml
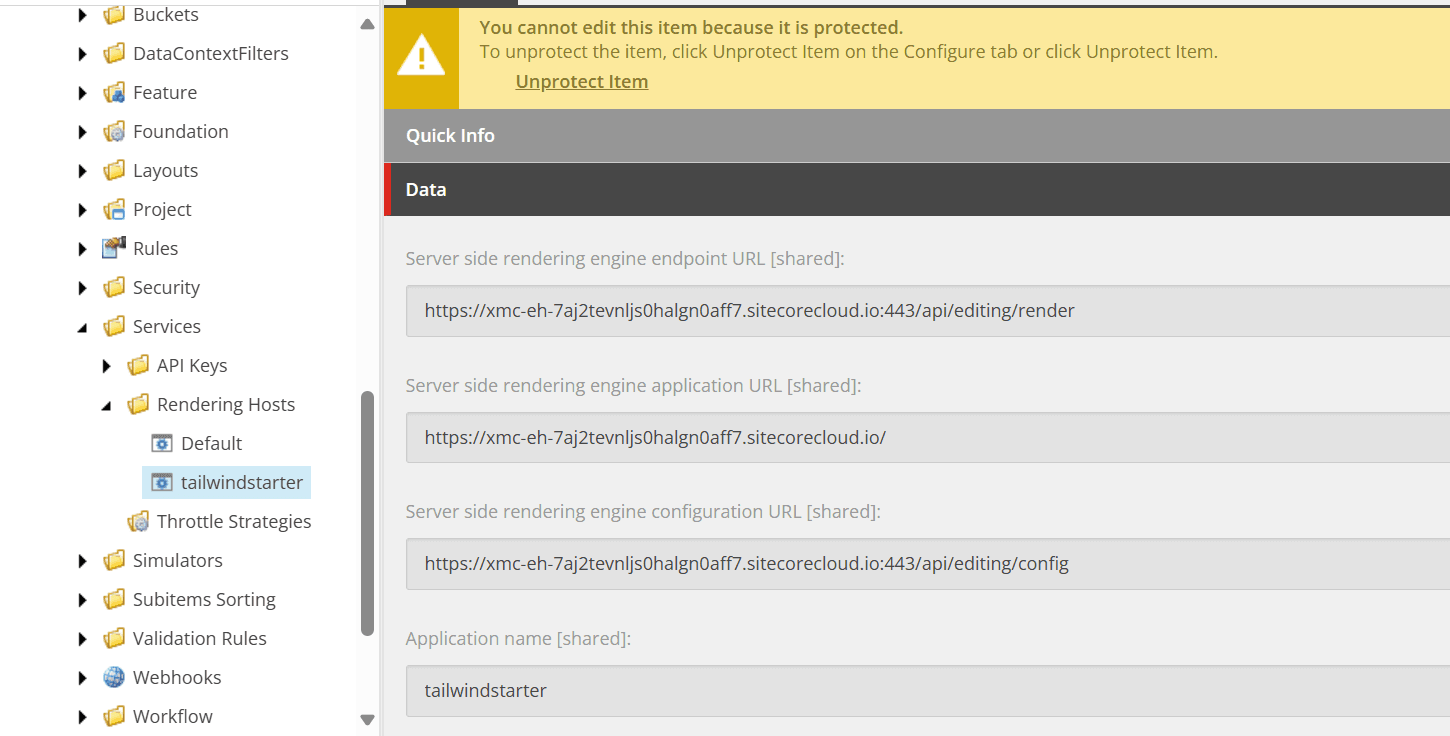
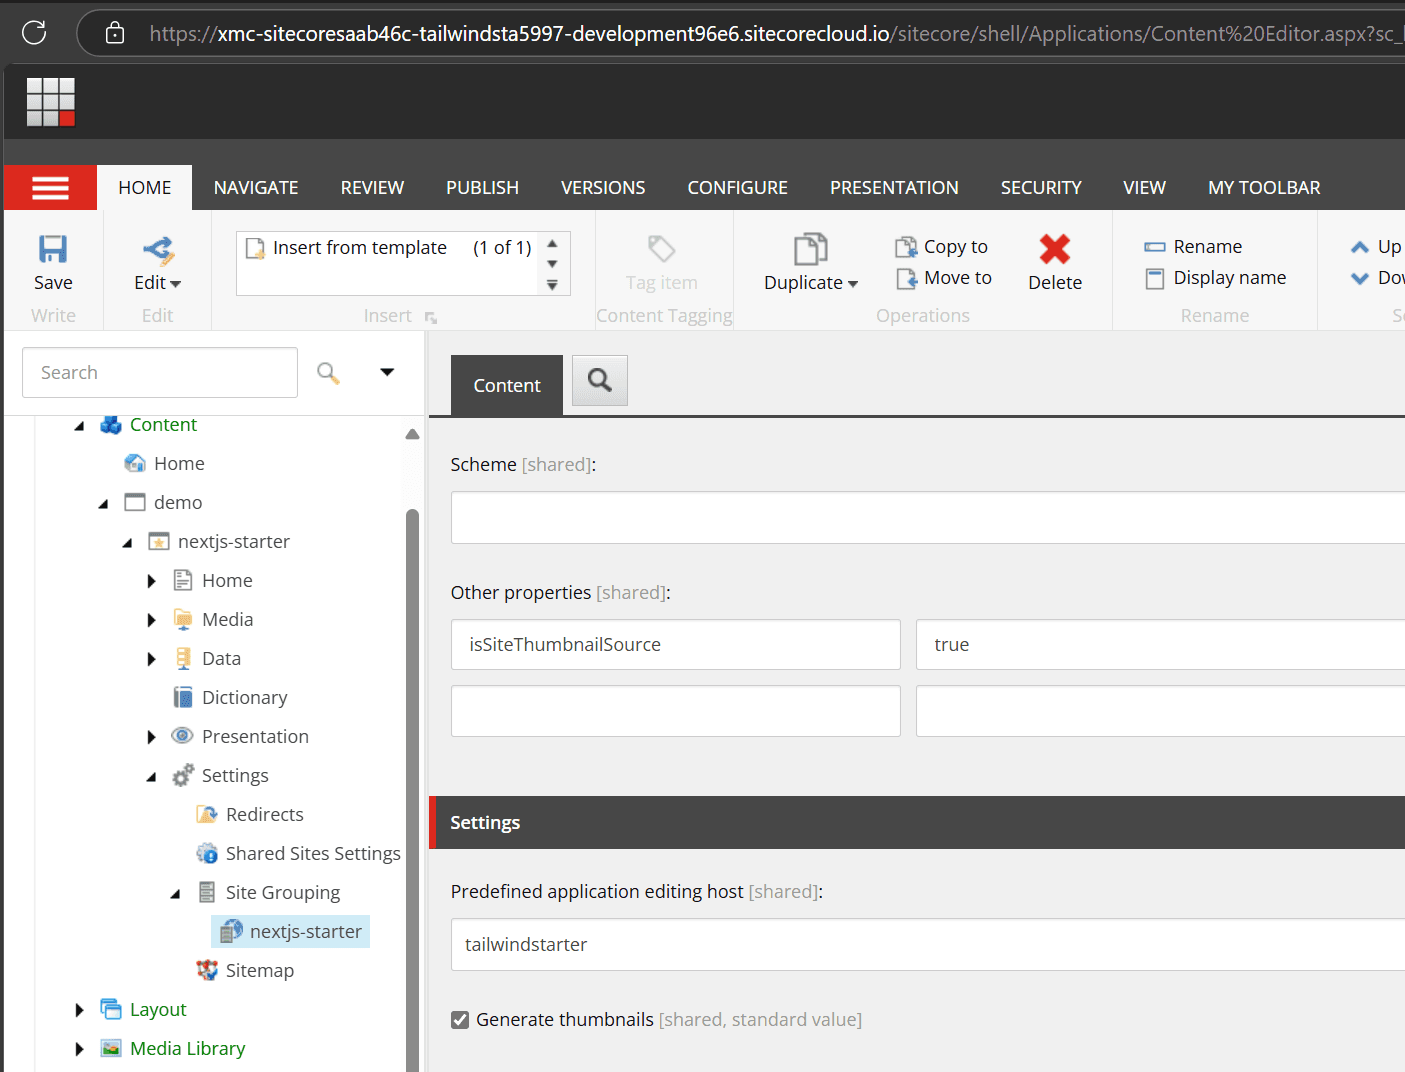
Now, the tailwind-starter will run in a new container. However, Sitecore’s Rendering Host is set to Default, so manual configuration in the Content Editor is required.
- Open Content Editor, select /sitecore/system/Settings/Services/Rendering Hosts/Default, right-click and duplicate the item.
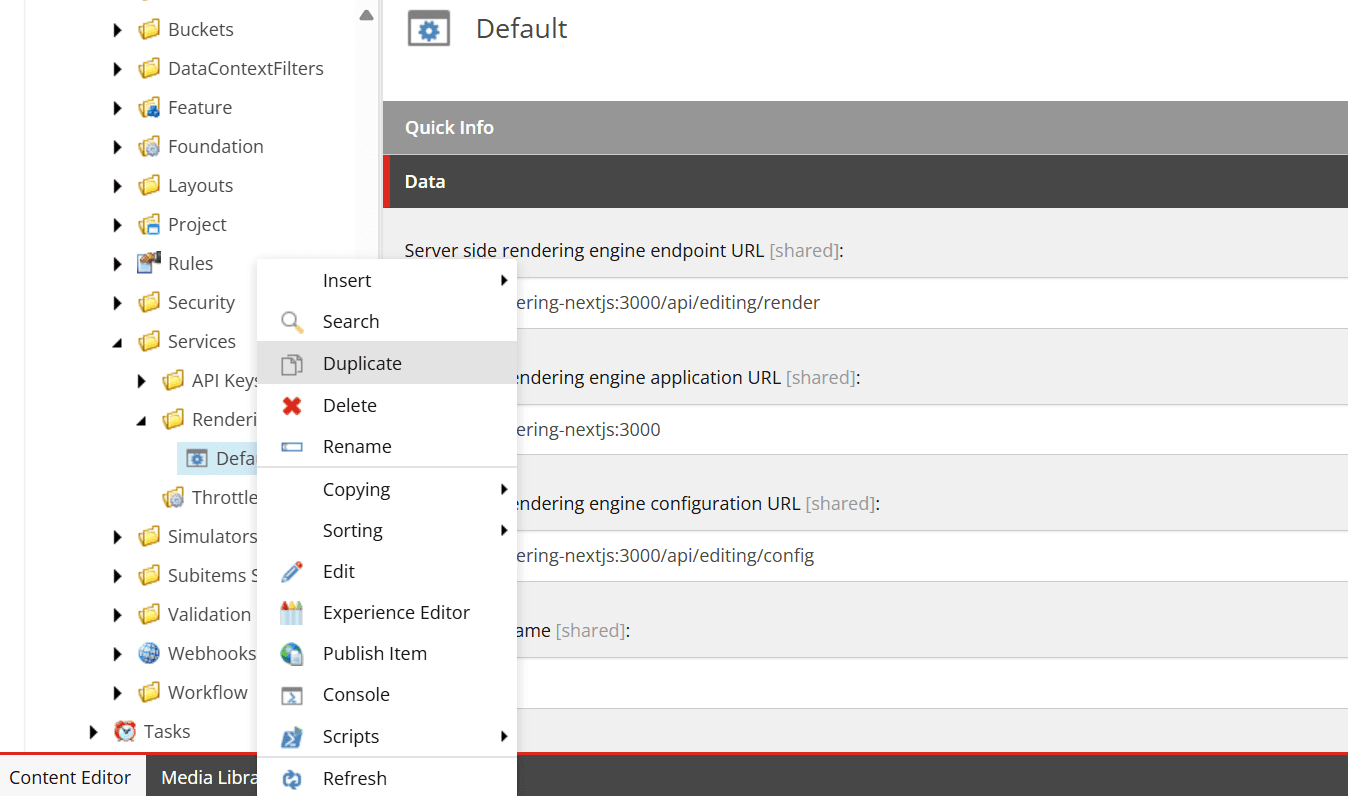
- Name the new item tailwindstarter.
- Change the field values as follows:
| Field Name | Value |
|---|---|
| Server side rendering engine endpoint URL | http://tailwind-nextjs:3000/api/editing/render |
| Server side rendering engine application URL | http://tailwind-nextjs:3000 |
| Server side rendering engine configuration URL | http://tailwind-nextjs:3000/api/editing/config |
The Docker environment is now ready. Start the container-based XM Cloud and verify the environment.
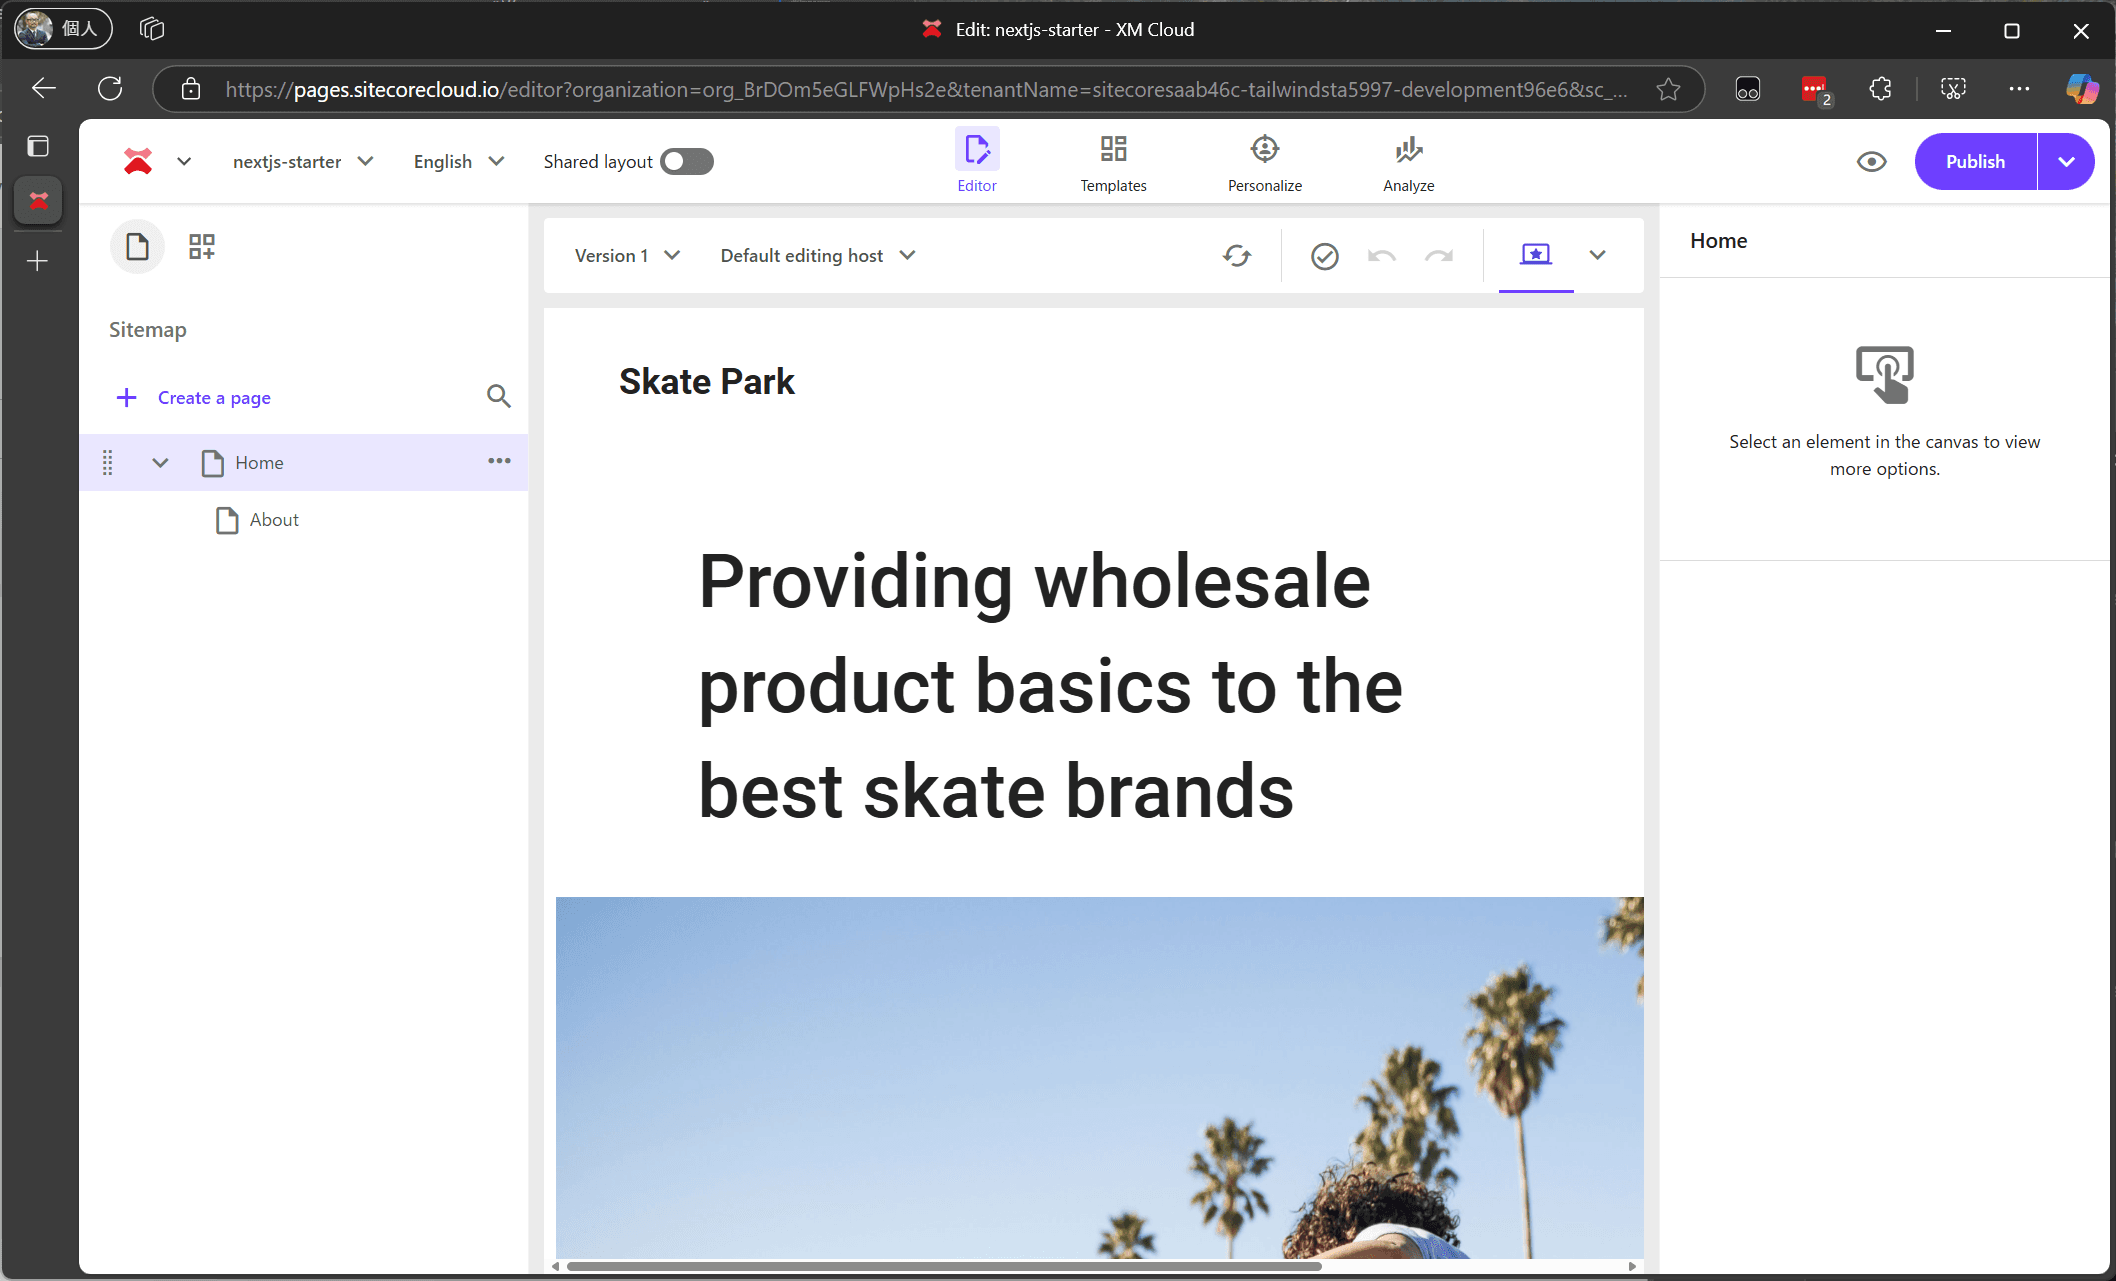
- Add a Basic site and verify it works in Experience Editor.

- Change the Rendering Host of the created site.
- Open the page in Experience Editor and verify it displays correctly.
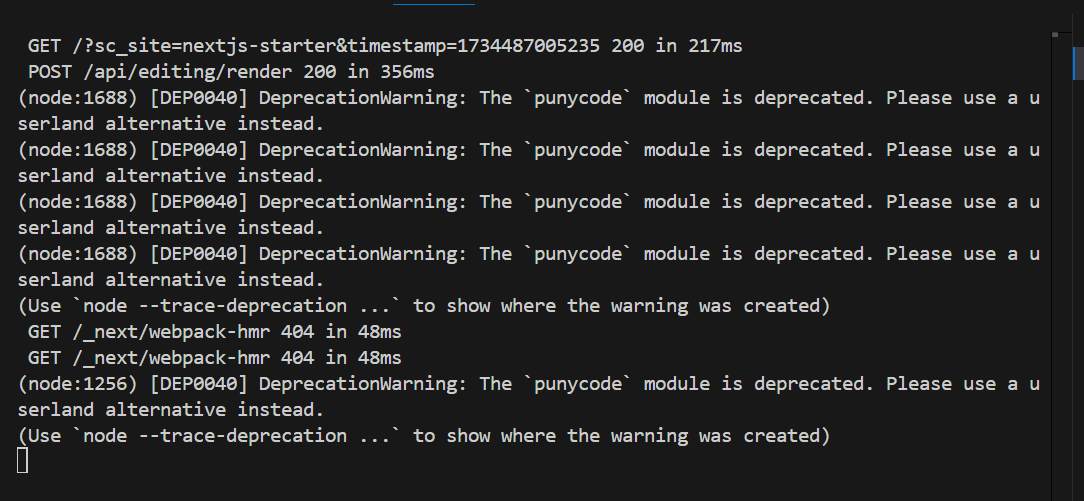
- Check the logs of the rendering-tailwind container in Visual Studio Code.
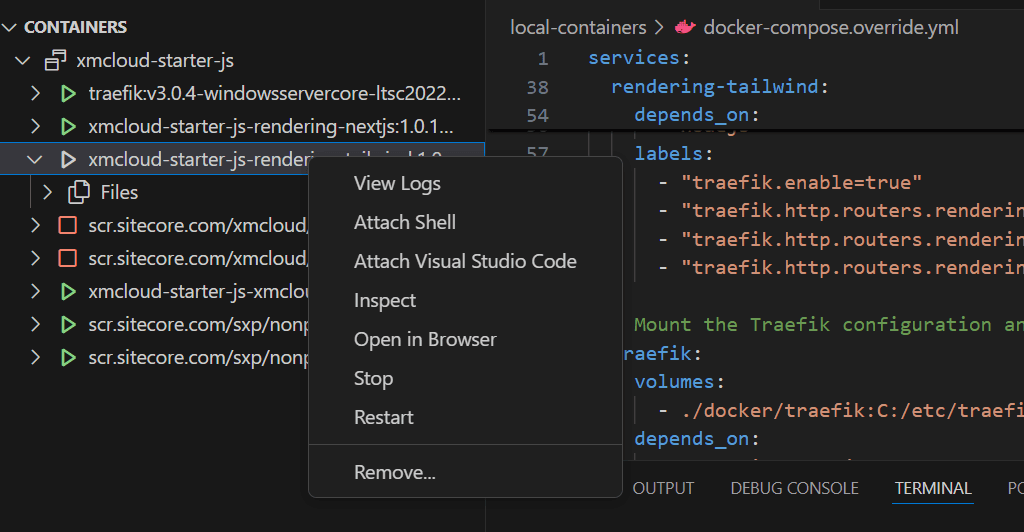
- Confirm the logs show access from the CMS.
This setup allows you to use a separate Node.js container for additional projects and ensures the Experience Editor works with the new Node instance.
XM Cloud Environment
Assuming the above Docker environment setup is complete, here are the specific changes for the XM Cloud environment. Modify the xmcloud.build.json file for the build process.
- Add the following lines to the xmcloud.build.json file.
xmcloud.build.json
- Reflect the changes in the target repository branch and wait for the XM Cloud Deploy to complete.
- Verify that the new CM instance has two Rendering Hosts configured.
- Change the Rendering Host of the sample site.
- Verify the pages render correctly.
The tailwind-starter project provides the same rendering as the Next.js Starter, so switching the Rendering Host displays the page correctly.
Update History
- 2024-12-18 The XM Cloud Front End Application Starter Kits have been updated with the following changes
- Added project additions, so that tailwind-starter runs alongside nextjs-starter and spa-starter.